

Page 1
Mitsubishi Electric Air-conditioner Network System
Central Controller
Model: GB-50A Instruction Book
Contents
Before using the controller, please read this Instruction Book carefully to ensure correct
operation. Store this Instruction Book in a location that is easy to find.
1. Safety ......................................................................1
2. Introduction ...............................................................3
3. Function ....................................................................4
4. External input/output function.....................................8
Page 2
1 Safety
Please take a moment to review these safety precautions. They are provided for your protection and to prevent damage to
the controller.
This safety information applies to all operators and service personnel.
After you have read this manual, always observe the procedures described in the explanations and store it with the
installation manual in a location that is easy to find. If the controller is going to be operated by another person, make
sure that this manual is given to them.
Symbols and Terms
WARNING Incorrect handling can result in death, serious injury, etc.
CAUTION Incorrect handling can result in injury or damage to the building or its contents.
Specific Precautions
WARNING
Ask your dealer or technical representative to
install.
If incorrect installation is done by a customer, it may
cause an electric shock, fire, etc.
Securely install in a place which can withstand the
weight of the controller.
If it is not enough, the unit may fall and cause an
injury.
Make sure that the controller is connected to a
rated power supply.
If the controller is not connected to a rated power
supply, it may cause a fire or damage to the controller.
Never remove the cover during operation.
Touching the charged parts of the controller may cause
severe burns or other personal injury.
Stop the operation if any malfunction occurs.
If malfunction occurs (burning smell, etc.) stop the operation
and turn off the power supply. Contact your dealer or
technical representative immediately. If the controller
continues to operate after a malfunction occurs, this may
cause damage, electric shock or fire.
Do not move and re-install the controller by
yourself.
If installation is incorrect, it may cause an electric
shock, fire, etc. Ask your dealer or technical
representative.
Contact your dealer if the controller will not be
used any more or will be scrapped.
Do not remodel or repair by yourself.
If the controller is redesigned or repair is not
correct, it may cause an electric shock, fire, etc.
Consult your dealer if repair is necessary.
Stop the operation immediately and notify your dealer
if an error code is displayed or malfunction occurs.
Fire or damage may be caused if the controller is
operated in this condition
1
Page 3
Do not install the controller in a place where
flammable gas could leak.
If gas leaks and collects around the unit, it may cause
a fire or explosion.
Do not wash this controller with water.
It may cause an electric shock or malfunction.
Do not touch the switch with wet hands.
It may cause an electric shock.
Operate the controller within the specified
temperature range.
Observe the specified temperature range when
operating the controller. If the controller is used
outside the specified temperature range, it may cause
serious damage. Be sure to check the operation
temperature range in the operation manual.
Do not apply insecticide or flammable sprays to the
controller.
Do not place flammable spray near the controller and make
sure it does not blow directly on the controller as this may
cause a fire.
CAUTION
Do not use the controller in special
environments.
The performance may be reduce or parts may be
damaged if the controller is used in locations subject
to large quantities of oil (including machine oil),
steam, sulfide gas.
Do not touch the switches with sharp objects.
It may cause an electric shock or malfunction.
Do not use the controller for special applications.
This product is designed for use with the MITSUBISHI
ELECTRIC BUILDING AIR CONDITIONING CONTROL
SYSTEM. Do not use the system for other air condition
management operation or applications. It may cause
malfunctions.
2
Page 4
2 Introduction
2-1. About this manual
This manual covers the settings that can be made or functions that can be displayed only on the GB-50A
body.
2-2. Monitor and operation of the air conditioners
To monitor and operate the air conditioners, license for “GB-50A License Pack” or “Web Monitor” must be
purchased and registered. Purchase the license from the dealer, and register on the Initial Setting Web or
on the Web for Monitor and Operation.
Refer to Web Browser Operation Manual for monitor and operation of air conditioners.
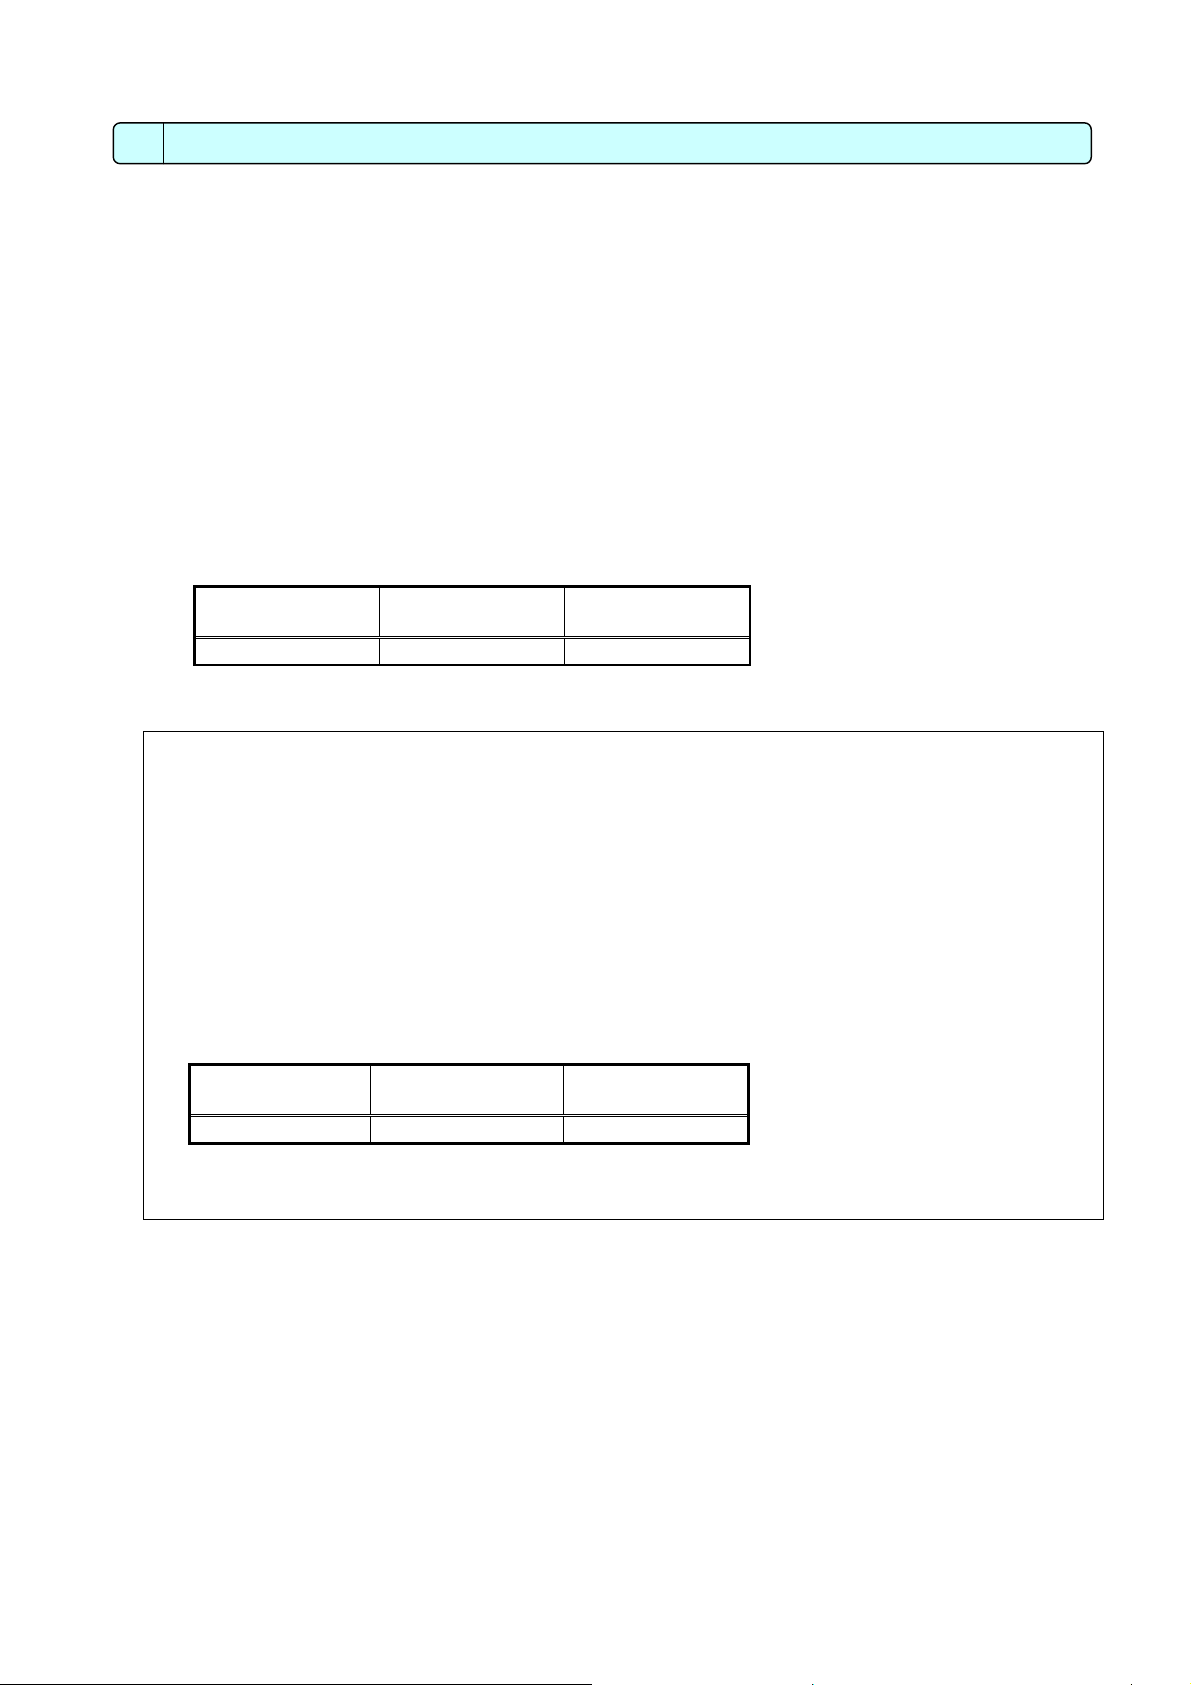
The format in which the Web page address for each GB-50A is expressed on the Web browser, as well as
the default user name and password are shown below.
http://[IP address of the GB-50A]/administrator.html
Note: For example, type http://192.168.1.1/administrator.html if the GB-50A IP address is [192.168.1.1].
Notes
● With the registration of “GB-50A License Pack,” Web Monitor,” “Annual Schedule,” “Weekly Schedule,”
“Sending Error Mail,” and “Maintenance Tool Advanced” functions will be available.
● Consult the dealer for information on other functions that require a license (i.e. “Charge” “Saving Energy
Control”).
● Ask the dealer for the Web Browser Operation manual, which covers monitor and operation of air
conditioners.
● Initial settings such as making group changes are covered in the Initial Setting Web manual.
The format in which the Web page address for each GB-50A is expressed on the Web browser, as well
as the default user name and password are shown below.
Maintenance user initial init
User
Managers administrator admin
http://[IP address of the GB-50A]/g-50/administrator.html
Note: For example, type “http://192.168.1.1/g-50/administrator.html” if the GB-50A IP address is [192.168.1.1].
User
Default
user name
Default
user name
Default
password
Default
password
3
Page 5

3 Function
Notes
● Refer to the WEB Browser Operation Manual for the operation of GB-50A.
● There are two ways to make the initial settings via LAN: one is to use the initial setting web and the
other is to use the initial setting tool. Either can be used to make the settings, although initial setting
web has more functions than the initial setting tool.
3-1. Specification
Table 3-1 Specification list
Item Specification
Interface M-NET : DC30V/24V;0.13/0.15A
LAN : Ethernet 10Base-T
Input/output :DC12V or 24V (External power supply)
Environmental condition
Dimensions 130(H) ✕250(W) ✕38 (D) mm/51/8(H) ✕97/8(W) ✕ 11/2(D)in
Weight 1.1kg/ 2 1/2 lb
Installation Environment
Number of control unit
Temperature Operating range 0 to 40ºC / 32 to 104ºF
Storage range -20 to 60ºC / -4 to 140ºF
Humidity 30~90%RH (No condensation)
In the control panel box (indoor)
*This unit is installed and used in a business office or equivalent
environment.
Indoor unit or independent OA processing unit or LOSSNAY
: 50 units maximum (50 groups maximum)
Number of units (indoor or independent OA processing unit or LOSSNAY) in
one group
: 1-16 units
*Note Indoor unit, independent OA processing unit and LOSSNAY
can not register to the same group.
Number of remote controllers in one group
: 1-2
Number of system controllers in one group
: 0-4 (including the number of remote controller in one group)
: 0-3 for groups which have one remote controller.
Number of indoor units interlocked with one OA processing unit or
LOSSNAY
: 0-16 (some types of OA processing unit can only be operated
when interlocked to a maximum of 9 units)
4
Page 6

3-2.Function list
The use of GB-50A requires a license registration. By registering the license, group or block operation of
the units on the Web browser will become available. Registration for the license that is required to use
various functions can be completed on the license registration page.
Table 3-2 List of Web monitoring function
Item Content
Start/stop Switching start/stop collectively or for each group
Operation mode Switching cool/dry/fan/auto/heat collectively or for each group
Temperature setting Setting room temperature collectively or for each group
Set temperature range Cool/dry: 19ºC-30ºC /67ºF-87ºF
Heat: 17ºC-28ºC /63ºF-83ºF
Auto: 19ºC-28ºC /67ºF-83ºF
Air velocity Switching air velocity in 4 steps collectively or for each group.
Air direction Switching in 4 steps vertically and for swing collectively or for each group
(Selectable air direction differs depending on the model)
Start/stop of interlocked
equipment (Lossnay)
Prohibition of local control Selecting the items for which local control is prohibited collectively or for each
Error display Identifies the unit in trouble and displays the nature of trouble
Switching start (Hi/Lo)/stop collectively or for each group when connecting with
interlocked equipment (Lossnay).
(However, ventilation mode can not be selected for the interlocked equipment.)
group.
(Items include start/stop, operation mode, temperature setting and filter sign.)
*Note: Preset temperature range varies on different models.
Filter sign display and
reset
Malfunction history Malfunction history can be check up to 64 contents in both unit and
Annual/weekly schedule Using the annual/weekly schedule function by license registration.
Malfunction e-mail history E-mail history can be check up to 64 contents.
* The above specification may be changed depending on the equipment connected or combined.
* The block setting and the registration of block/group names require the initial setting tool or initial setting
web.
*Without prior notice, the content may be changed.
Filter sign display can be reset in each group or collectively.
communication error.
5
Page 7

3-3 Setting Functions
Make initial settings with either the Initial Setting Web or Initial Setting Tool.
Table 3-3 List of initial-setting functions
Item This Unit Initial Setting Tool
M-NET address
setting
IP address setting
Function selection
Group registration
Registration of
interlocked
operation with the
Lossnay unit
Switch for start-up
mode
Other settings
√ √
√
(simple setting)
√ √
√ √
√ √
√
√ √
√ √
Initial Setting
Web
Remarks
The default value is 0.
The settings of the simple
setting have the priority
over other settings.
Presence/absence of
K transmission converter
connection, local operation
prohibition setting, and external
input mode
Available functions vary
depending on the tools.
1) How to set the IP address with dipswitches
IP addresses between 192.168.1.1 and15 can be set using the 4-pin dip switch on SW2.
Set this switch before turning the power on.
(Inside the cover)
SW 2
ON
OFF
1 2 3 4
1 2 3 4 Contents (IP address)
Address that is set with Initial Setting Web or
OFF OFF OFF OFF
OFF OFF OFF ON Starts from 192.168.1.1
OFF OFF ON OFF Starts from 192.168.1.2
OFF OFF ON ON Starts from 192.168.1.3
OFF ON OFF OFF Starts from 192.168.1.4
OFF ON OFF ON Starts from 192.168.1.5
OFF ON ON OFF Starts from 192.168.1.6
OFF ON ON ON Starts from 192.168.1.7
ON OFF OFF OFF Starts from 192.168.1.8
ON OFF OFF ON Starts from 192.168.1.9
ON OFF ON OFF Starts from 192.168.1.10
ON OFF ON ON Starts from 192.168.1.11
ON ON OFF OFF Starts from 192.168.1.12
ON ON OFF ON Starts from 192.168.1.13
ON ON ON OFF Starts from 192.168.1.14
ON ON ON ON Starts from 192.168.1.15
Initial Setting Tool.
(Initial IP address setting is 192.168.1.1)
Note
● When setting IP addresses with the Initial Setting Web or the Initial Setting Tool, set all four
dipswitches on SW2 to OFF.
6
Page 8

6
Notes
●
When 15 or fewer GB-50A units are used in the designated network for air-conditioning, it is recommended that
the IP address be set using SW2 on the unit.
● If the set IP address of GB-50A is forgotten, check the IP address that is registered on the monitoring PC (WEB
or TG-2000A). GB-50A can be started by changing the setting of SW2 on GB-50A and using an arbitrary fixed
IP address as a temporary IP address. It is recommended to paste a sticker with the IP address on the unit, so
that the IP address of GB-50A is available at all times. Once GB-50A is started up with a temporary IP address,
a new IP address can be assigned to it on the Initial Setting Web.
2) Setting of the service switch
The switches must be OFF for normal use. The switch setting change works when the power is turned on
next time.
SW 1
ON
OFF
1 2 3 4
Not to be used
1 2 Contents Remarks
OFF OFF
ON OFF - Setting is prohibited.
OFF ON - Setting is prohibited.
ON ON
*SW1-3 and SW1-4 are always OFF.
Start up with the normal
mode
Start up with the update
mode
*This setting is for normal use.
*The software can be updated with the
normal mode. If the update fails, or the
software does not work properly use
this setting to update the software
again.
3-4 Service LED display
This unit comes with an LED that displays operation status.
Power supply
Table 3-4 List of services LED
LED No. Items Contents
Power supply
LED
LAN LAN LINK ON : During LINK / OFF: No LINK
LAN LAN ACT Flicker: During communication / OFF: No communication
LED1 Start-up ON : Start-up not completed / OFF : Start-up completed
LED2 Operation ON/OFF ON : 1 or more units are ON / OFF: All OFF
LED3 Error Flicker: Error occurred on 1 or more units / OFF: Normal state
LED4 (not defined) LED5 (not defined) LED6 M-NET communication
POWER LAN LINK/ACT 1 2 3 4 5
LED
Powering status ON : Power is supplied / OFF: Power is cut off
(transmission)
LAN
LED1-6
Flicker : During communication / OFF: No communication
7
Page 9

4 External input/output function
*External signal input requires the external I/O adapter (Model: PAC-YG10HA) sold separately.
4-1 External input function
(1) The function of external input
• Emergency stop/normal operation, ON/OFF, local remote control prohibit/permit can be controlled for
conditioners being controlled with a non-voltage contact signal input from an external input source.
(the dip switches)
• The condition of external input signal is displayed on the operation setting screen for each group.
No. Function of external input signal Remarks
1 External input signal not used -------------------------------------------------------------
2 Perform emergency stop with level signal During emergency stop, only ON/OFF of the
3 Perform ON/OFF operation with level signal Only the ON/OFF operation of the central controller
4 Perform ON/OFF operation, prohibit/permit
operation with pulse signal
*Settings for these functions can be set with the Initial Setting Web or Initial Setting Tool.
(2) Level signal and pulse signal
(3) Specification of external input interface
CN2 Lead Wire
No.5 Orange Emergency stop/normal
No.6 Yellow Not used Not used OFF input
No.7 Blue Not used Not used Local remote controller
No.8 Gray Not used Not used Local remote controller
No.9 Red Common (DC12V or DC24V)
Table 4-1. Function settings of external input
central controller and local remote controller’s
operation will be prohibit.
and the local remote controller will be prohibit.
Set the pulse width while the contact is ON to 0.5 to
1.0 second.
Emergency stop/normal
level signal
input
ON/OFF level signal
ON/OFF input ON input
ON/OFF, prohibit/permit
pulse signal
prohibit input
permit input
8
Page 10

(A) Level signal
① When the level signal is selected, the operation (only ON/OFF operation) for the central controller and
the local remote controller are prohibited (except during normal operation).
② When the emergency stop/normal operation signal is selected, the status will be changed from normal
operation to emergency stop when the external input signal contact turns OFF to ON, and will be
changed from emergency stop to normal operation when external input signal contact turns ON to OFF.
Emergency stop signal will bring the air conditioners to stop, and canceling the emergency stop will not
automatically restart these units. To go back to the previous operation status, they must be manually
turned back on.
③ When ON/OFF input signal is selected, the status will be changed from OFF to ON when the external
input signal contact turns OFF to ON.
(B) Pulse signal
①Even if the ON signal is input during ON, the status will remain at the ON status.
②When the local remote controller is prohibited, the ON/OFF operation, operation mode selection and
temperature setting from the local remote controller is prohibited.
③Set the pulse width (contact ON time) to 0.5 to 1.0 second.
4-2 External output function
(1) The function of external output
●The “ON” signal is output when one or more air conditioner are in the ON operation.
●The “Malfunction” signal is output when one or more air conditioner malfunctions.
(2) Specification of external output interface
CN2 Lead wire Description of each terminal
No. 1 Green Common (0V)
No. 2 Black ON/OFF
No. 3 Brown Malfunction/Normal
9
Page 11

10
Page 12

11
 Loading...