

Page 1
Installation Plan
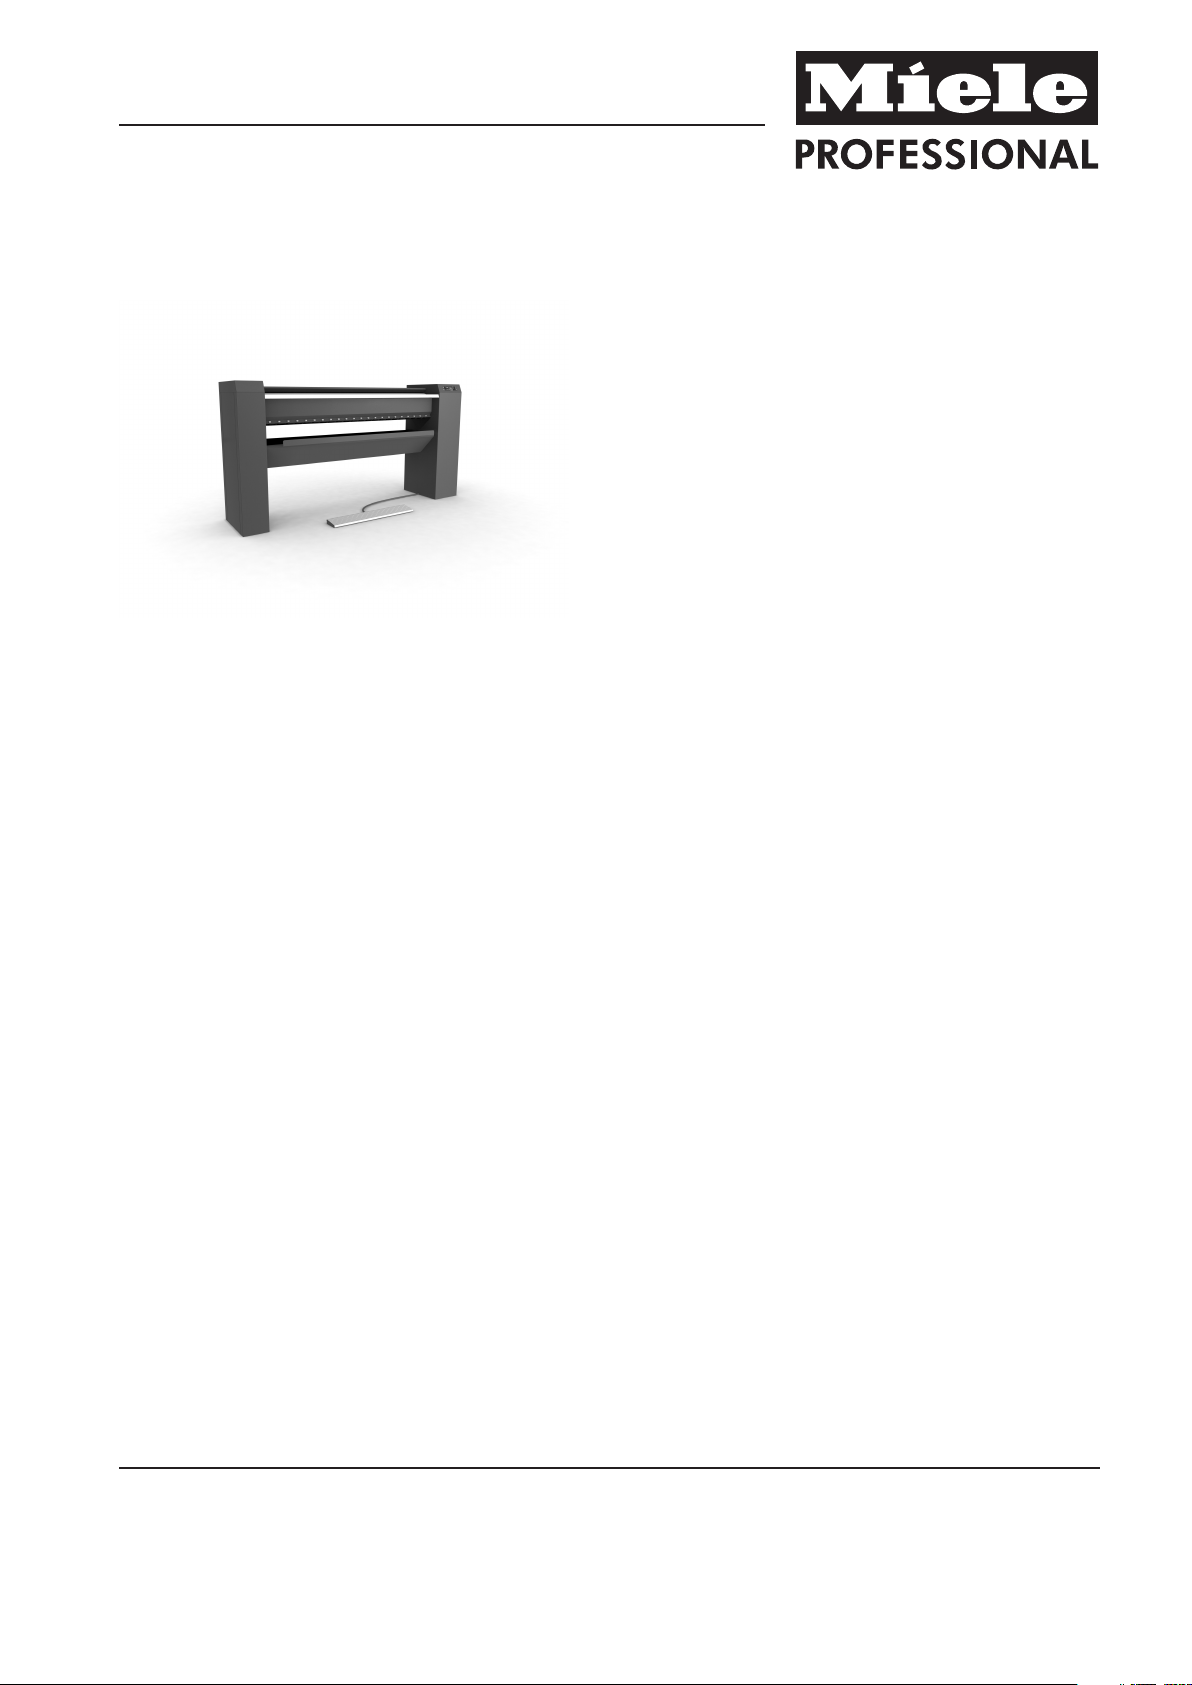
Commercial Rotary Iron
PM 1210
PM 1214
PM 1217
To avoid the risk of accidents or damage to the
machine, it is essential to read these instructions
before it is installed and used for the first time.
en - US
M.-Nr. 09 981 760
Page 2

Contents
Notes for installer ................................................................................................................ 3
Installation ............................................................................................................................. 3
Setting up the rotary iron....................................................................................................... 4
Mounting the toe-kick (optional)............................................................................................ 4
Install the laundry box on the laundry outfeed table. ............................................................ 4
Duct for venting steam .......................................................................................................... 4
Substitute duct lengths ..................................................................................................... 5
Maximum permissible total duct length............................................................................ 5
Electrical connection ............................................................................................................. 6
Installation Plan ................................................................................................................... 7
Flatwork ironer PM 1210, PM 1214, PM 1217 ...................................................................... 7
Technical details.................................................................................................................. 8
2
Page 3
Notes for installer
The rotary iron should be installed by a
Miele trained installer.
Storage of the machine
The following conditions must be observed
for transport and storage:
Temperature: minimum of - 77°F / 25°C to
maximum of 131°F / 55°C
Humidity: minimum of 5% to maximum of
75%, non-condensing
Maximum storage period: 2 years
Operating conditions
In general, the operating conditions of DIN
60204 and EN 60204-1 apply.
Temperature and relative humidity
Temperature: 40°F / 5°C - 104°F / 40°C
Relative humidity: 10% - 85%
At 70°F (21°C) ambient temperature, the
maximum permissible relative humidity is
70%.
Do not operate the machine in a room
where cleaning machines operate with
solvents containing PERC or CFC.
Motor sparking may convert solvent va‐
pors into hydrochloric acid which can
lead to consequential damage.
Installation
The machine is transported to the installa‐
tion site while still in the packaging. Do not
remove the packaging until right before in‐
stallation.
The machine may be transported or lifted
from the wooden frame only with the lat‐
eral mounting flaps mounted.
First lift the machine at the installation site
by the wooden frame. The suspension
points for lifting hooks/straps are located
under the side columns between the screwon feet.
During installation, remember that the clear‐
ance next to and behind the machine col‐
umns must amount to at least 23 5/8"
(600mm) so that the side plates remain ac‐
cessible.
The machine should be set up so that the
light shines parallel to the infeed table as
much as possible.
The clearance in front of the machine must
amount to at least 60" (1.5m) to prevent a
heating of foreign materials (furniture, walls).
There should be a clearance of at least 39"
(1m) above the machine.
A base and anchoring means are not neces‐
sary.
During the transport of the machine, pay
attention to its stability. The iron may not
be transported without the wooden frame
(e.g., in case of a move). For a new trans‐
port, lift the iron onto the wooden frame
and fasten it there.
3
Page 4

Notes for installer
Setting up the rotary iron
Dismantle the mounting flaps on the left
and right sides.
Check the roller and front and outside of
the side columns using a level.
Align the machine using the screw-on feet
in such a way that the side columns and
roller are level with each other. In the
process, the feet may be unscrewed a
maximum of 2 3/8" (60mm).
Counter the screw-on feet according to
the alignment using the nuts (under the
side columns).
Mounting the toe-kick (optional)
Mounting the optionally available toe-kick
can raise the machine by 4" (100mm).
Dismantle the mounting flaps on the left
and right sides.
Unscrew the screw-on feet by the maxi‐
mum amount (> 2 3/8" (60mm)).
Duct for venting steam
Never connect an exhaust hood to an
active chimney, dryer vent, flue, or room
venting ductwork It must also be laid sep‐
arately to any exhaust air duct used for a
laundry dryer.
The moist warm exhaust air must be vented
to the outdoors by the shortest route possi‐
ble. To ensure optimum air flow, the ducting
should contain as few bends as possible
and airtight connections. Filters and louvers
may not be installed into the exhaust duct.
Since the relative humidity can amount to
up to 100%, suitable measures must be
taken to prevent condensate from flowing
back into the machine. If the available pres‐
sure of the machine fan for overcoming con‐
ductor resistance does not suffice, an ac‐
cording dimensioned additional fan must be
installed in the shaft or roof outlet on-site.
Ensure that there is sufficient ventilation in
the room where the ironer is installed
Hold the side columns with a suitable aid
and remove the screw-on feet.
Mount the screw-on feet into the toe-kick
and push the toe-kick under the column.
Screw the toe-kick to the base plate of the
machine.
Install the laundry box on the laun‐
dry outfeed table.
During installation, bring the laundry shelf
into a horizontal position.
Loosen the fastening screws of the laun‐
dry shelf.
Rotate the laundry box by 180° and mount
with the fastening screws on the laundry
outfeed table.
– The connection for the exhaust air duct
for steam extraction (optional for PM
1210) is located on the rear of the left side
column and has a diameter of 2 3/4"
(70mm).
– The exhaust air duct must have an internal
diameter of 2 3/4" (70mm).
– To prevent the build-up of condensation in
an upward sloping exhaust ducting, a 1/8"
- 3/16" (3-5mm) ø condensate trap should
be fitted at the lowest point.
– Ensure that there is sufficient ventilation in
the room where the ironer is installed
– The on-site ducting system and the exit
point to the outside must be checked on a
regular basis for a build-up of lint and
cleaned if required.
– The air duct leading into the open should
be protected against the elements, e.g.
using a suitable hood or grille or with a
90° bend.
4
Page 5

Notes for installer
Substitute duct lengths
Molded part
90° bend r = 2 d 10" (0.25m)
45° bend r = 2 d 5 7/8" (0.15m)
90° bend r = d 13 3/4" (0.35m)
45° bend r = d 10" (0.25m)
90° creased
bend
45° creased
bend
Substitute duct
length
PM 1210*
PM 1214
PM 1217
r = 2 d 27 9/16" (0.7m)
r = 2 d 21 5/8" (0.55m)
Maximum permissible total duct length
Adequate room ventilation must be ensur‐
ed during operation.
Minimum inside
duct diameter
(sheet metal
Maximum permissi‐
ble total duct length
Exhaust air
ducting)
PM 1210*
PM 1214
PM 1217
2 3/4" (70mm) 16' 4 7/8" (5m)
3 1/8" (80mm) 65' 7 3/8" (20m)
3 9/16" (90mm) 104' 11 13/16" (32m)
4" (100mm) 131' 2 13/16" (40m)
*Optional extraction fan
Once the machine has been success‐
fully installed and connected, replace all
the external parts that were removed.
90° segmen‐
tal bend (3
weld seams)
45° segmen‐
tal bend (3
weld seams)
90° bend
made of flex‐
ible duct
45° bend
made of flex‐
ible duct
r = 2 d 17 11/16" (0.45m)
r = 2 d -
r = d r = 2 d 19 11/16" (0.5m)
r = 4 d 13 3/4" (0.35m)
r = d r = 2 d 15 3/4" (0.4m)
r = 4 d 11 13/16" (0.3m)
According to the number of bends, the sub‐
stitute duct lengths must be deducted from
the maximum permissible duct length.
5
Page 6

Notes for installer
Electrical connection
All electrical work must be performed by
a qualified service technician in accord‐
ance with all applicable codes and stand‐
ards.
– The electrical connection and wiring dia‐
gram are located behind the mounting
flap of the right side column.
– The values for the electrical connection
and fuse rating can be found on the data
plate (see the "Technical data" chapter in
this document).
– If the appliance is hard wired, a multiple-
pole separator must be installed. Separa‐
tors with a contact gap of more than 1/8"
(3 mm) are valid as separators. All compo‐
nents have to bear CSA or UL approval.
– The plug connection or the disconnector
must be accessible at all times.
– You must be able to lock the disconnector
or monitor the point of disconnection at all
times in case the appliance has to be dis‐
connected from the power supply.
6
Page 7

Flatwork ironer PM 1210, PM 1214, PM 1217
Type of heating: electrical
Installation Plan
Measurements in inches
* = Option for PM 1210
a
Electrical connection
b
Exhaust connection
7
Page 8

Technical details
53121005USA, PM 1210 EL USA 3AC 240/220/208V 50-60Hz 09/2014
Voltage 3 AC 240/220/208V 50-60Hz
Fuse rating 3 x 20 A
Roller length 39 ³/₈" / 1000 mm
Roller diameter 8 ⁸/₃₂" / 210 mm
Type of heating Electric
Overall machine dimensions Width 61 ¹⁵/₁₆" / 1573 mm
Depth 18 ¹/₂" / 470 mm
Height 40 ⁵/₈" / 1032 mm
Minimum wall distance, lateral 23 ⁵/₈" / 600 mm
Minimum wall distance, rear 23 ⁵/₈" / 600 mm
Net weight 269 lbs (122 kg)
Max. load bearing in operation 1235 N
Total connected load 5.3/5.0/4.1 kW
Heat output, electrical 4.9/4.1/3.7 kW
Drive output, roller 0.35 kW
Fan output -
Electrical connection 4 x AWG 10 / 4 x 4 mm²
Exhaust air connection -
Ironing output 56.2 lbs/h / 25.5 kg/h
Roller Speed 2.3 - 6.1 rpm
Outer circumference line‐
ar speed
Contact pressure 1.02 psi / 0.7 N/cm²
Fan air output -
Max. permitted pressure loss -
Material Side columns Stove-finished, galvanized sheet steel
Roller Galvanized sheet steel
Heater plate Aluminium, hard-anodized
Padding Steel wool
Material padding Polyester needle felt with aramid needle felt cloth
Largest removable part Laundry outlet table
Heat dissipation rate at installation site 4.9/4.1/3.7 MJ/h
Sound pressure level 54 dB (A)
Sound power level 60.6 dB
4' 11" - 13' 1" fpm (1.5 - 4.0 m/min)
8
Page 9

Technical details
53121006USA, PM 1210 EL USA AC 240/220/208V 50-60Hz 09/2014
Voltage AC 240/220/208V 50-60Hz
Fuse rating 2 x 20 A
Roller length 39 ³/₈" / 1000 mm
Roller diameter 8 ⁹/₃₂" / 210 mm
Type of heating Electric
Overall machine dimensions Width 61 ¹⁵/₁₆" / 1573 mm
Depth 18 ¹/₂" / 470 mm
Height 40 ⁵/₈" / 1032 mm
Minimum wall distance, lateral 23 ⁵/₈" / 600 mm
Minimum wall distance, rear 23 ⁵/₈" / 600 mm
Net weight 269 lbs (122 kg)
Max. load bearing in operation 1235 N
Total connected load 3.7/3.2/2.9 kW
Heat output, electrical 3.3/2.7/2.5 kW
Drive output, roller 0.35 kW
Fan output -
Electrical connection 3 x AWG 10 / 3 x 4 mm²
Exhaust air connection -
Ironing output 49.6 lbs/h / 22.5 kg/h
Roller Speed 2.3 - 6.1 rpm
Outer circumference line‐
ar speed
Contact pressure 1.02 psi (0.7 N/cm²)
Fan air output -
Max. permitted pressure loss -
Material Side columns Stove-finished, galvanized sheet steel
Roller Galvanized sheet steel
Heater plate Aluminium, hard-anodized
Padding Steel wool
Material padding Polyester needle felt with aramid needle felt cloth
Largest removable part Laundry outlet table
Heat dissipation rate at installation site 3.3/2.8/2.5 MJ/h
Sound pressure level 54 dB (A)
Sound power level 60.6 dB
4' 11" - 13' 1" fpm (1.5 - 4.0 m/min)
9
Page 10

Technical details
53121405USA, PM 1214 EL USA 3AC 240/220/208V 50-60Hz 09/2014
Voltage 3 AC 240/220/208V 50-60Hz
Fuse rating 3 x 30 A
Roller length 55 ¹/₈" / 1400 mm
Roller diameter 8 ⁹/₃₂" / 210 mm
Type of heating Electric
Overall machine dimensions Width 77 ¹¹/₁₆" / 1973 mm
Depth 25 ⁵/₈" / 651 mm
Height 40 ⁵/₈" / 1032 mm
Minimum wall distance, lateral 23 ⁵/₈" / 600 mm
Minimum wall distance, rear 23 ⁵/₈" / 600 mm
Net weight 309 lbs (140 kg)
Max. load bearing in operation 318 lbs (1415 N)
Total connected load 7.6/6.5/5.9 kW
Heat output, electrical 7.1/6.0/5.3 kW
Drive output, roller 0.35 kW
Fan output 0.11 kW
Electrical connection 4 x AWG 10 / 4 x 4 mm²
Exhaust air connection 2 3/4" (70 mm)
Ironing output 62 lbs/h (28 kg/h)
Roller Speed 2.3 - 6.1 rpm
Outer circumference line‐
ar speed
Contact pressure 1.02 psi (0.7 N/cm²)
Fan air output 67.7 cfm (115 m³/h)
Max. permitted pressure loss 0.01 psi (100 Pa)
Material Side columns Stove-finished, galvanized sheet steel
Roller Galvanized sheet steel
Heater plate Aluminium, hard-anodized
Padding Steel wool
Material padding Polyester needle felt with aramid needle felt cloth
Largest removable part Laundry outlet table
Heat dissipation rate at installation site 7.1/5.9/5.3 MJ/h
Sound pressure level 54 dB (A)
Sound power level 60.6 dB
4.9 - 13.1 fpm (1.5 - 4.0 m/min)
10
Page 11

Technical details
53121705USA, PM 1217 EL USA 3AC 240/220/208V 50-60Hz
TW
S
Voltage 3 AC 240/220/208V 50-60Hz
Fuse rating 3 x 50 A
Roller length 65 3/8" (1660 mm)
Roller diameter 9 13/16" (250 mm)
Type of heating Electric
Overall machine dimensions Width 87 15/16" (2233 mm)
Depth 26 5/8" (651 mm)
Height 43 11/16" (1110 mm)
Minimum wall distance, lateral 23 5/8" (600 mm)
Minimum wall distance, rear 23 5/8" (600 mm)
Net weight 417 lbs (189 kg)
Max. load bearing in operation 428 lb (1905 N)
Total connected load 12.4/10.5/9.4 kW
Heat output, electrical 11.8/9.9/8.9 kW
Drive output, roller 0.4 kW
Fan output 0.11 kW
Electrical connection 4 x AWG 8 / 4 x 6 mm²
Exhaust air connection 2 3/4" (70 mm)
Ironing output 110 lbs/h (50 kg/h)
Roller Speed 1.9 - 5.7 ¹/min
Outer circumference line‐
ar speed
Contact pressure 0.72 psi (0.5 N/cm²)
Fan air output 67.7 cfm (115 m³/h)
Max. permitted pressure loss 0.01 psi (100 Pa)
Material Side columns Stove-finished, galvanized sheet steel
Roller Galvanized sheet steel
Heater plate Aluminium, hard-anodized
Padding Steel wool
Material padding Polyester needle felt with aramid needle felt cloth
Largest removable part Laundry outlet table
Heat dissipation rate at installation site 9.0/11 MJ/h
Sound pressure level 54 dB (A)
Sound power level 59.7 dB
1.5 - 4.5 m/min
09/2014
11
Page 12

Please have the model and serial number
of your appliance available before
contacting Technical Service.
U.S.A.
Miele, Inc.
National Headquarters
9 Independence Way
Princeton, NJ 08540
Phone:
Fax:
www.mieleusa.com
Technical Service & Support
Nationwide
800-991-9380
800-220-1348
Phone:
Fax:
proservice@mieleusa.com
800-991-9380
609-419-9898
609-419-4241
Alteration rights reserved / Publication date: 45
17
M.-Nr. 09 981 760 / 02
 Loading...