

Page 1
Using Advanced ScanWizard To Perform A Batch Scan
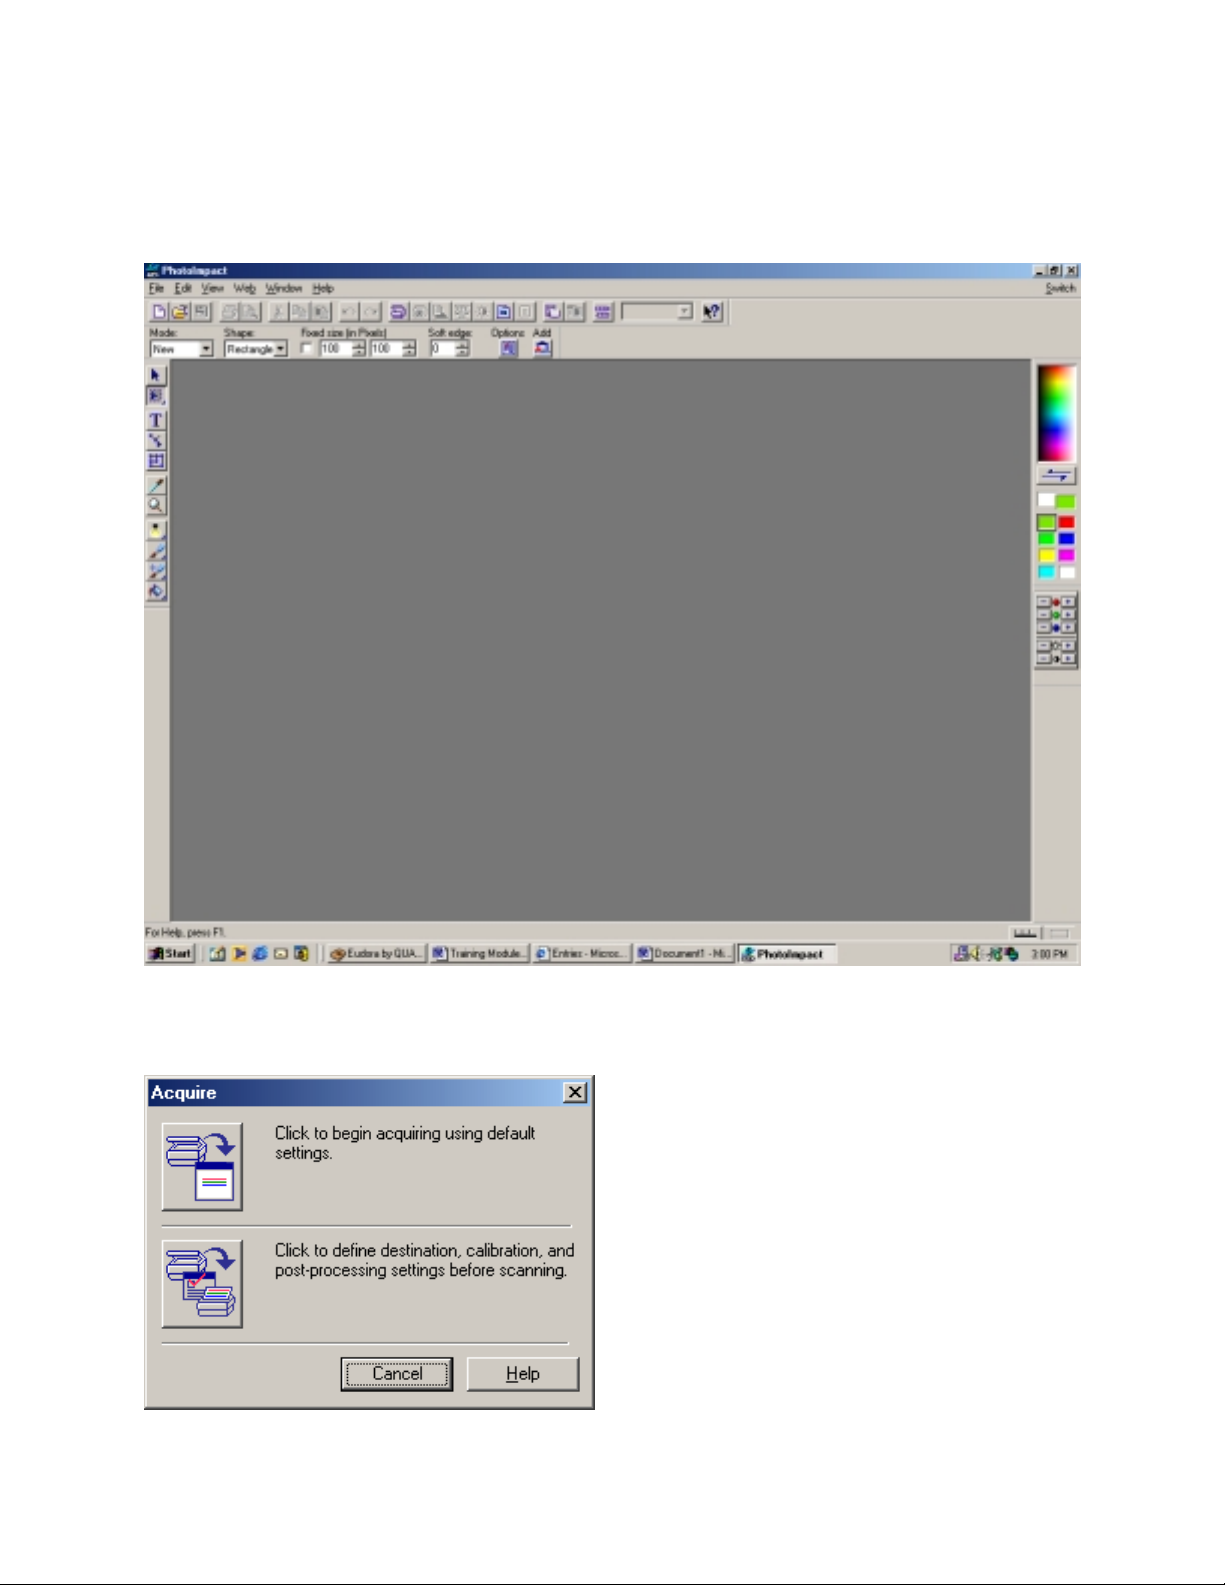
1. Open an Imaging Software Such as Ulead Photo Imapact seen below.
2. Click on FILE> SCANNER > MICROTEK SCANWIZARD 5, this will bring up the
Acquire dialog box.
1
Page 2
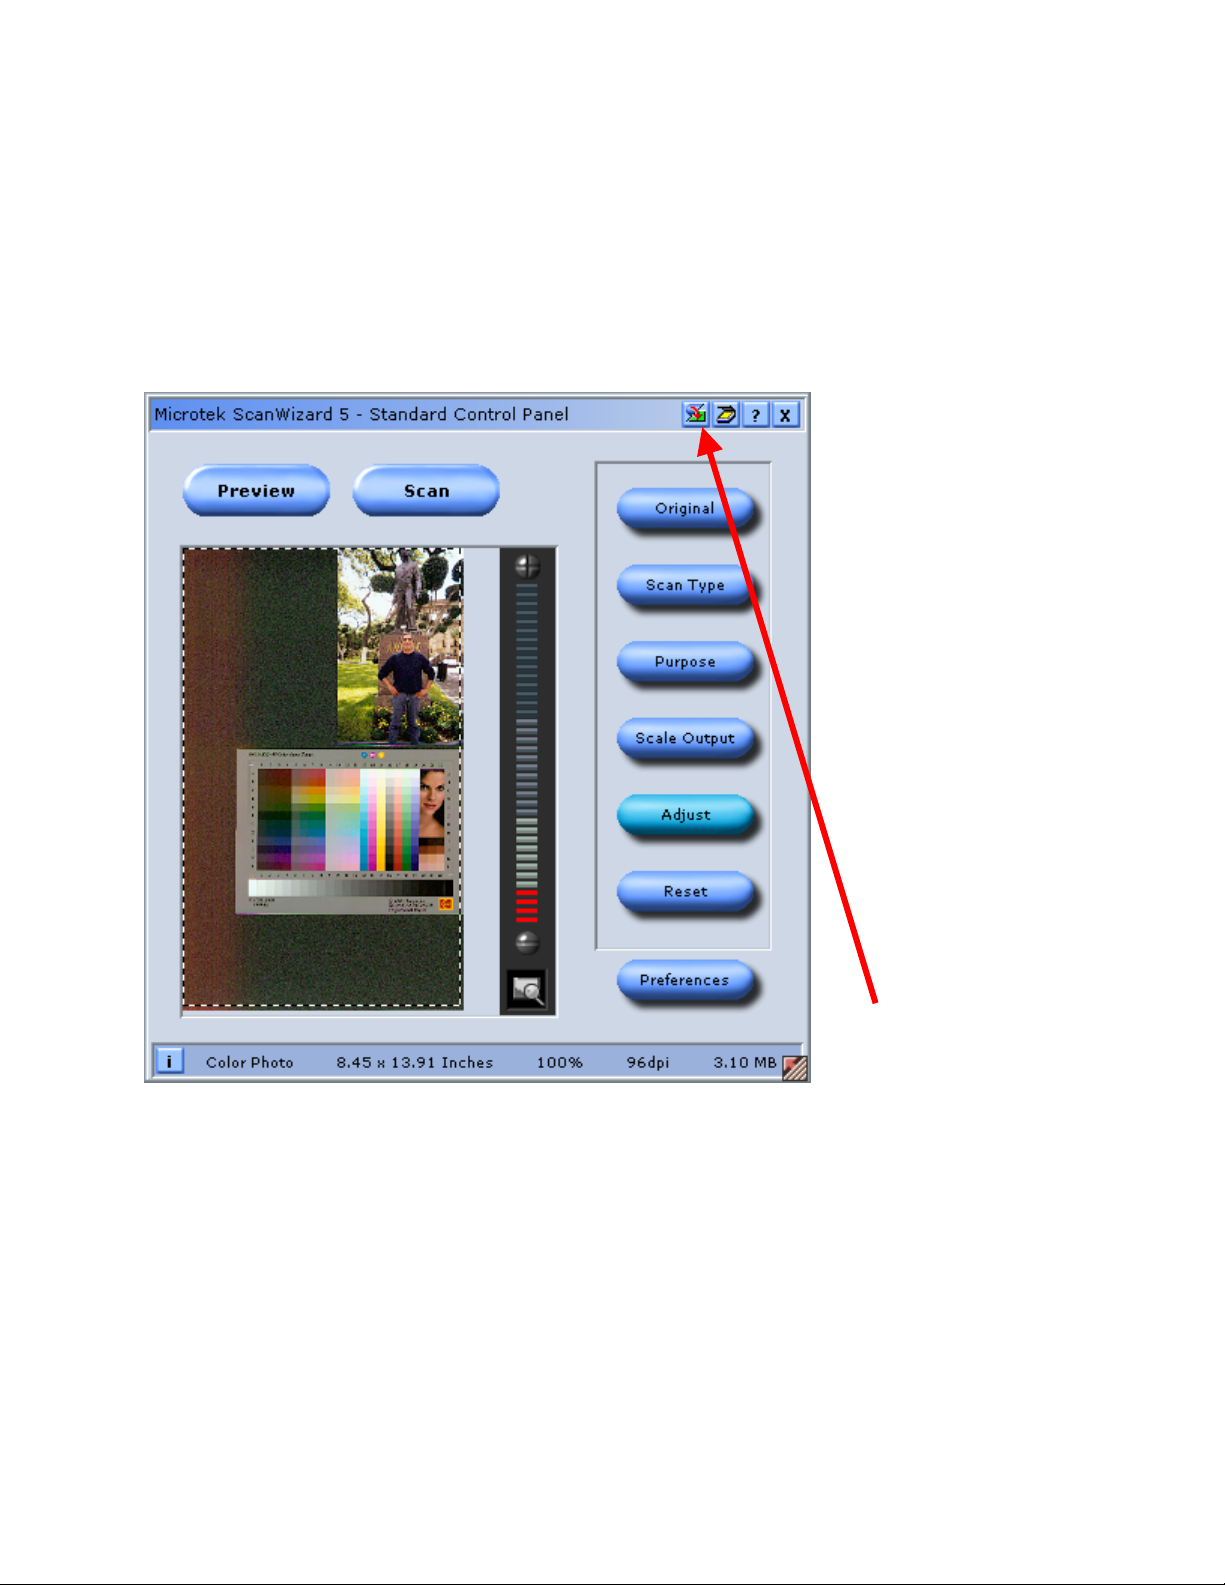
3. Click the Acquire button to open Microtek Scan Wizard 5.
4. Click on the Advanced Control Panel switch button as illustrated above.
2
Page 3
SW5 Advanced Control Panel
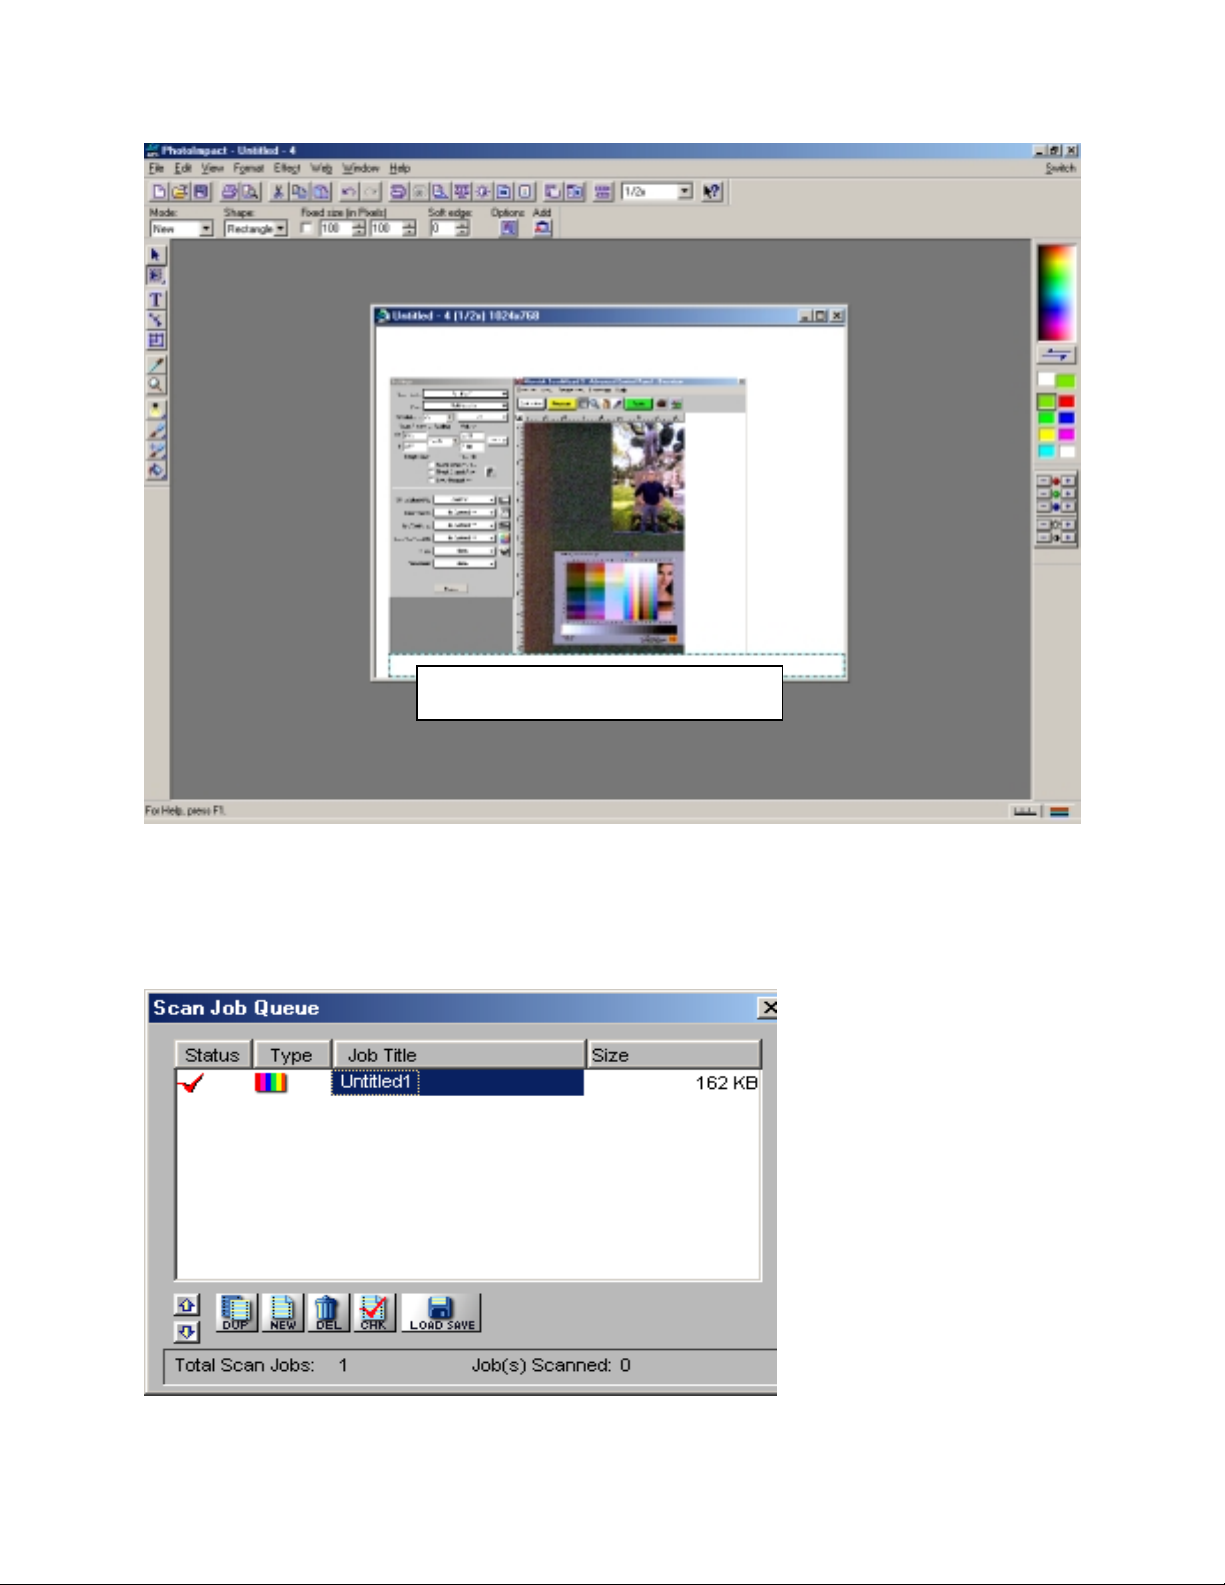
5. Once SW5 Advanced Control Panel has been open. Go to View and click on Show Scan
Job Window. The Scan Job Queue Window will be displayed. Notice how it only shows
one red check mark under Status Column. This means that there only one scan job
selected.
3
Page 4

6. To Perform a Batch we need to have two or more Scan Jobs Queued. To do this click on
the NEW icon at the bottom of the Scan job Queue Window as illustrated below.
Notice that we now have to Red Check Marks under the Status Category. Also notice we
now have the second Scan job Identified as Untitled 2.
4
Page 5

7. There are now two scan jobs queued, notice in our ScanWizard 5 Advanced Control
Panel Preview Window, there are also two Scan Frames. (See Illustration Below)
The same rules apply for each of the
scan frames. You may select each
scan frame individually and set the
desired settings to that scan frame.
For example if want the first scan
frame to have settings of 100dpi in
millions of colors and 100% scaling
you can do a completely different
setting for the second scan frame.
For example the second scan frame
can be set to 1000’s of shades of
gray, 600dpi and 200% scaling.
Scan Frame One – Once the user has
selected the desired settings for scan
frame one and then the Scan button
is clicked and selected, ScanWizard
5 Advanced will begin by scanning
this frame first. Immediately after
scanning the first scan frame,
ScanWizard 5 will begin to Scan the
Second Scan frame with the selected
settings for that scan frame.
ScanWizard offers this option, which
can be very beneficial when time is
of the essence. You may elect to
scan 4, 5 or even more images at one
time. All you need to do is queue
the desired amount of scan jobs, set
the proper settings for each scan
frame, click on the Scan button and
go do something else on your
computer, run a quick errand, have a
snack, take a break and etc. The
point is this feature is a great time
saving tool.
5
Page 6

8. The final result will be multiple final scans in your Image editing software. These scans
will then be ready for custom editing, achieving, printing, emailing etc. See the
illustration below.
6
 Loading...