

Page 1

!
!
!
!
!
!
!
!
PLEASE&READ&
!
"#$%!&%'(!)*+&*,!$%!-(.)!/#'!)*+&-*0/&('(!1!Jive&
Communications&may¬&support&some&features&discussed&
in&this&document2!!
!
3,'*%'!%''!.&(!.+,$+'!4.0&)'+/*/$.+!.(!0.+/*0/!&%!-.(!*!
0.)5,'/'!,$%/!.-!%&55.(/'4!-'*/&('%2!!
!
"#*+6%!-.(!0#..%$+7!8$9':!
Page 2
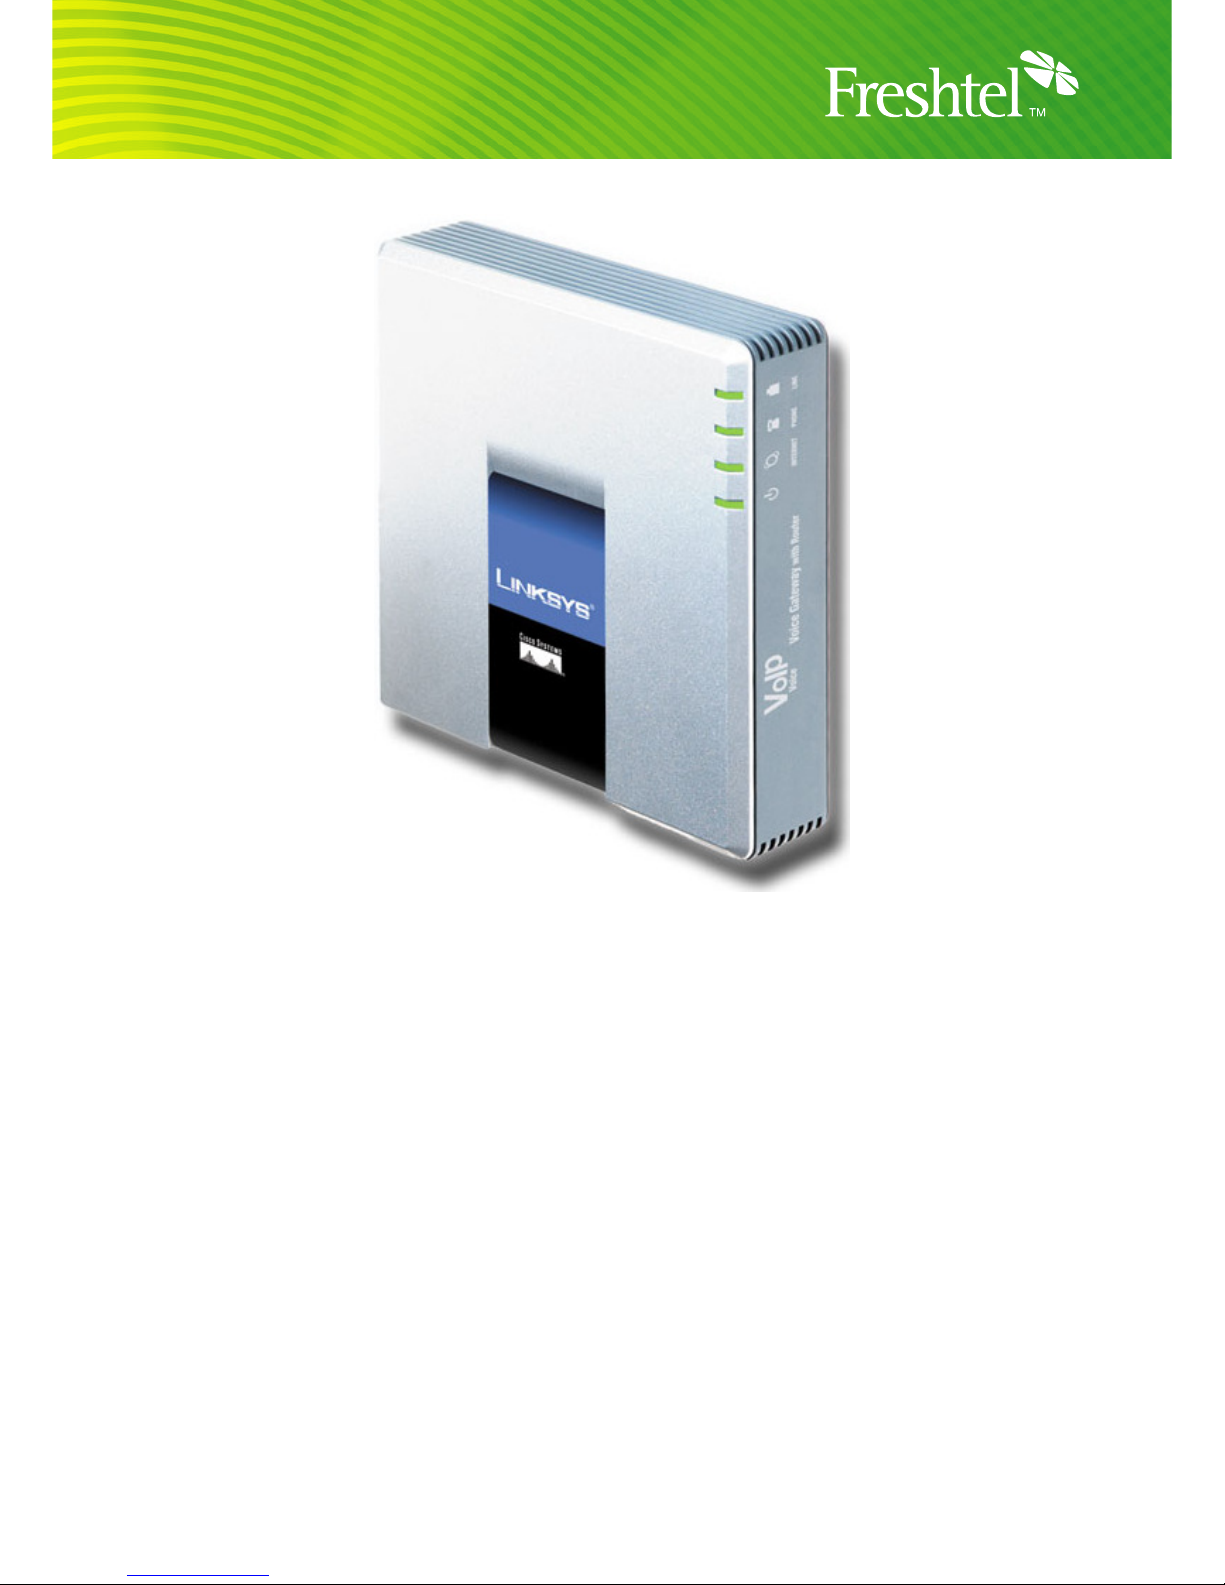
LINKSYS / SIPURA SPA-1xxx/2xxx/3xxx
CONFIGURATION GUIDE
Minimum Requirements
• Active Freshtel Internet Phone account
o http://www.freshtel.net
• Broadband Internet Connection
o 256/64 kbps minimum
• Broadband Modem/Router
o Must have an Ethernet port to connect to the Linksys.
• Analogue Telephone with RJ-11 line (Desktop or Cordless)
Page 3

Before You Begin
Please note that all information in this guide is applicable to the SPA-1000,
SPA-2000 and SPA-3000 range. These include the SPA-2000, SPA-2100,
SPA-3000 and SPA-3102.
We recommend you ensure that the latest firmware for this device has been
downloaded and installed. For further information, visit the manufacturer’s
website at http://www.linksys.com
If you are using the Freshtel Internet Softphone on your PC with the same
Freshtel number that you wish to use in your Linksys, we advise you to
uninstall or disable the Freshtel softphone. Your Freshtel account can only be
active at one point on our network at any one time, and having two identical
active accounts will cause conflicts.
If you do not yet have a Freshtel account, you should go to our website at
http://www.freshtel.net and register a new account before starting to configure
the Linksys.
Initial Setup
Before configuration, please refer to the Linksys user guide for further
information on how to connect the device to your home network.
If you require more advice, please refer to our help documents on our website
at http://www.freshtel.net/help or contact Customer Care at info@freshtel.net.
Page 4
SPA-1xxx/2xxx/3xxx Configuration
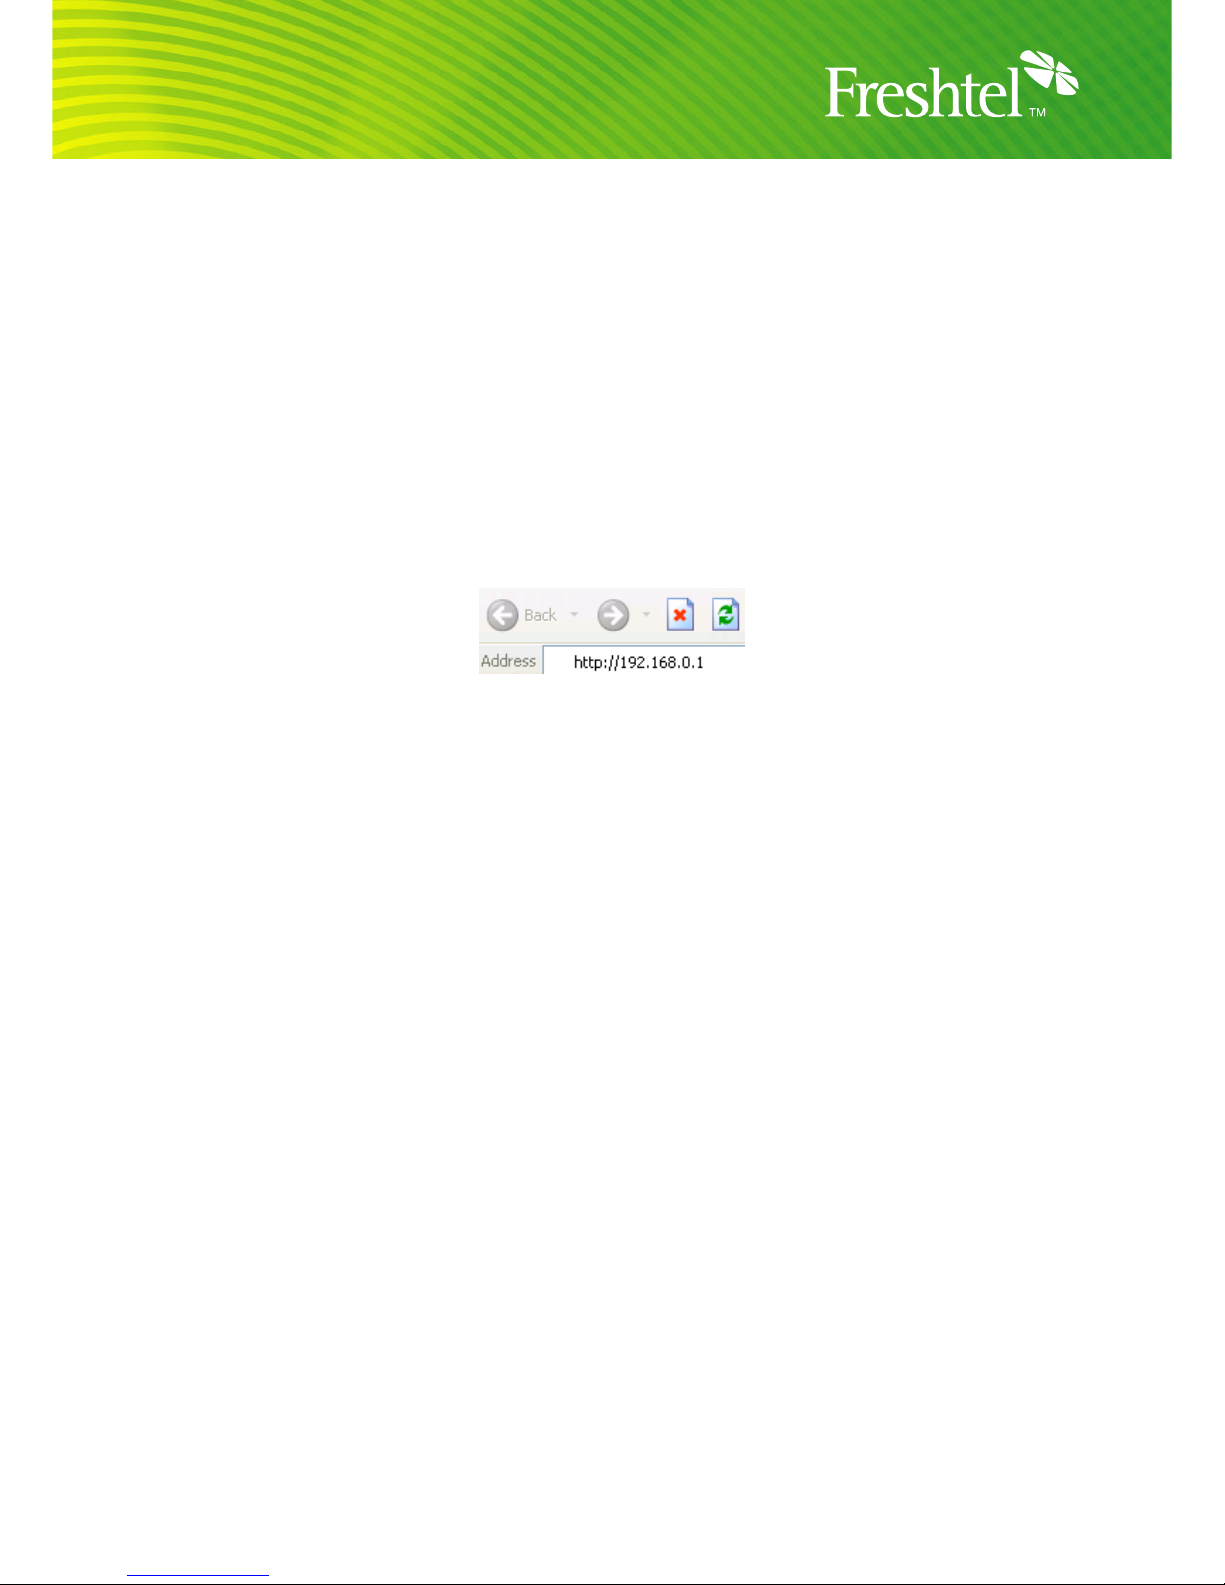
Using your telephone handset obtains the IP address of the ATA:
1. Dial **** to enter the Linksys Configuration Menu
2. Dial 110# to get the IP address of the Linksys
3. Write down the IP address of the Linksys.
4. For some models, you may then need to dial 7932#, then 1#,
then 1 to enable the web server of the Linksys ATA.
Enter the IP address of the Linksys in your browser’s address bar to access
the configuration menu.
Figure 1.1
If you are experiencing difficulty trying to connect to the device at this point, try
step #4 above. If you still have problems after this please refer to the user
guide or contact Linksys Technical Support for further assistance.
VoIP Configuration
Once you have logged into the Configuration Center, click the ADMIN LOGIN
link on the top right hand side of the page. Next, click the ADVANCED link
next to it.
If you have a Linksys ATA with a built-in router, such as the SPA-3102, you
will then need to click the VOICE tab at the top of the page.
For more information regarding each property and option, please refer to the
user manual.
Page 5

SIP Set-up
Figure 1.2
Figure 1.3
Note: All other settings should be left as default.
1. Click on the LINE 1 tab
2. Enter the following:
a. LINE ENABLE: Yes
b. SIP PORT: 5060
c. PROXY: sip.freshtel.net
d. MAKE CALL WITHOUT REG: Yes
e. ANS CALL WITHOUT REG: Yes
f. REGISTER: Yes
g. REGISTER EXPIRES: 3600
h. DISPLAY NAME: Your FRESHTEL Number
(e.g. 81118111)
i. PASSWORD: Your FRESHTEL Password
j. USER ID: Your FRESHTEL Number
k. USE AUTH ID: No
l. PREFERRED CODEC: G729a
m. USE PREF CODEC ONLY: No
n. DTMF TX METHOD: Auto
o. SILENCE SUPP ENABLE: No
p. FAX CED DETECT ENABLE: Yes
q. NAT MAPPING ENABLE Yes
3. Click on SUBMIT ALL CHANGES
Page 6

DIAL PLAN Set-up
Figure 1.4
1. Click on the LINE 1 tab
2. Enter the following:
DIAL PLAN:
Dial Plan (Australia only -- user has no local call prefix set)
(*123|*xxxxxxxx|<000:61000>S0|<112:61112>S0|<106:61106>S0|61000S0|61112S0|61106S0|
0[2378][2-9]xxxxxxx|0[4569]xxxxxxxx|611300xxxxxx|611800xxxxxx|6113xxxx|6118xxxx|[1-9]x.)
Dial Plan (Australia only -- user has local call prefix set)
(*123|*xxxxxxxx|000S0<:@gw0>|112S0<:@gw0>|106S0<:@gw0>|001[09]x.|0[4569]xxxxxxxx|0[2378][2-9]xxxxxxx|[29]xxxxxxx|1300xxxxxx|1800xxxxxx|13xxxx|18xxxx|1[4-79]x.)
If you do not know whether you have Local Call Prefix set, refer to the
page titled ‘Setting Local Call Prefix On Your Account’ later in this
document.
3. Click on SUBMIT ALL CHANGES
Page 7

STUN Set-up
Figure 1.5
1. Click on the SIP tab
2. Enter the following:
a. Handle VIA Received: Yes
b. Insert VIA Received: Yes
c. Handle VIA rport: Yes
d. Insert VIA rport: Yes
e. STUN ENABLE: No
3. Click on SUBMIT ALL CHANGES
Page 8

Call Progress Tones
Figure 1.6
1. Click on the REGIONAL tab
2.
Enter the following:
Dial tone: 400@-19,425@-19,450@-19;10(*/0/1+2+3)
Busy Tone: 425@-19;10(.375/.375/1)
Reorder Tone: 425@-19,425@-29;60(.375/.375/1,.375/.375/2)
Ringback Tone: 400@-19,425@-19,450@19;*(.4/.2/1+2+3,.4/2/1+2+3)
MWI Dial Tone: 400@-19,425@-19,450@19;2(.1/.1/1+2);10(*/0/1+2)
Ring1 Cadence: 60(.4/.2,.4/2)
Page 9

Figure 1.7
Control Timer Values
a. HOOK FLASH TIMER MIN: 0.07
b. HOOK FLASH TIMER MAX: 0.13
Distinctive Call Waiting Tone Patterns
c. CWT8 CADENCE: 30(.2/.2,.2/4.4)
Distinctive Ring Patterns
d. RING 1 CADENCE:
• 60(1.5/3.4)
e. RING 3 CADENCE:
• 60(1.5/3.4,.4/.2,.4/2,.4/.2,.4/2,.4/.2,.4/2,.4/.2,.4/2,.4/.2,.4/2,.4/.
2,.4/2,.4/.2,.4/2,.4/.2,.4/2,.4/.2,.4/2,.4/.2,.4/2)
Page 10

Miscellaneous
Figure 1.8
f. TIME ZONE: GMT+10:00 (or relevant to your area)
g. FXS PORT IMPEDANCE:
220+820||120nF
3. Click on SUBMIT ALL CHANGES
Page 11

PSTN Line Settings
If you have a Linksys ATA with a FXO port for connecting a PSTN line, such
as a SPA3000 or a SPA3102, you will now need to click on the PSTN Line
tab. Otherwise, you may skip this step.
PSTN Disconnection Detection
1. Click on the PSTN LINE tab.
Figure 1.9
a. DISCONNECT TONE: 425@-30,425@-30;1(.375/.375/1+2)
International Control
Figure 1.10
b. FXO PORT IMPEDANCE: 220+820||120nf
c. PSTN TO SPA GAIN: 3
d. ON-HOOK SPEED: 26ms (Australia)
2. Click on the SUBMIT ALL CHANGES button.
Page 12

Extra Information
If you ever need to reset the device to its factory defaults, perform the
following with your handset:
1. Dial “ **** “
2. Dial “ 73738# “
3. Dial “ 1” (to confirm)
Please note – this should only be done if you need to erase all the settings
you’ve entered!
Page 13

Making Your Call
Please refer to the following examples for making calls via your handset using
the Linksys.
Examples
FRESHTEL Number:
1. *8000 1234
Landline Number:
1. 61 3 9123 4567, or
2. 03 9123 4567, or
3. 9123 4567 (with local prefix set to relevant state)
Mobile Number:
1. 61 412 345 678 (Drop the First Zero)
2. 0412 345 678 (works with and without local prefix set)
National Numbers:
1. 1300 number:
a. 61 1300 123 456, or
b. 1300 123 456 (with local prefix set to relevant state)
2. 1800 number:
a. 61 1800 123 456, or
b. 1800 123 456
3. 13 number:
a. 61 13 12 34, or
b. 13 12 34
International Numbers:
1. (Country Code) (Area Code) (Number)
a. Example: 44 708 12345678
Page 14

Setting Local Call Prefix on Your Account
1. Log into your account at http://www.freshtel.net
2. Click on MY ACCOUNT
Figure 1.11
Figure 1.12
Page 15

3. Click on UPDATE MY DETAILS
Figure 1.13
3. Scroll down to the PREFIX section, and select from one of the following
options
a. “Not Specified” No Prefix to be set
b. “NSW, ACT” 02
c. “Queensland” 07
d. “SA, WA, NT” 08
e. “Victoria, Tasmania” 03
4. Click on UPDATE MY DETAILS
Page 16

Definitions
• BIT - Binary Digit - Bits are widely used as a measurement for network
transmission. One hundred megabits per second means that 100 million
pulses are transmitted per second.
• Broadband – Internet Connection that has a connection speed greater than
256kbps downstream and 64kbps upstream.
• Broadband Router - A device that provides access to the Internet for
multiple computers, typically including a network switch with four or more
Ethernet ports for wired connections to desktop and laptop computers.
• BYTE – Binary Table - Another form of measurement to determine size and
speed. 1 byte is equivalent to 8 Bits, so for an internet connection of
256/64kbps (kilobits per second, kilo meaning 100 units), it is roughly
equivalent to 25 Kilobytes per second (download rate) and 6 kilobytes per
second (upload rate).
• Ethernet – A type of cable which is used to interconnect network devices to
allow communication between them over the medium.
• FRESHTEL – Freshtel Internet Telephone
• Freshtel – VoIP Internet Telephone Company
• KBPS – Kilobits Per Second is the measurement used to determine the
bandwidth speed of an internet connection.
• Mbps – Megabits Per Second – A unit of measurement used to show the
capacity and/or rate of speed for a particular medium in megabits.
• MBps – Megabytes Per Second - A unit of measurement used to show the
capacity and/or rate of speed for a particular medium in megabytes.
• NAT- Network Address Translation maintains and controls the separation of
a public IP address to one or more private IP addresses. Commonly used for
internet connection sharing via a router.
• USB – Universal Serial Bus – A “Plug-and-Play” medium used to
interconnect different types of USB compatible devices to each other either
via USB 1.1 (at 12Mbps maximum transfer rate), or Hi-Speed USB 2.0 (at
480Mbps maximum transfer rate).
• Wireless Broadband – Same as broadband, however is a medium
transmitted through radio waves set at a certain radio frequency.
• Windows XP – Microsoft’s current Operating System platform for PC based
systems.
E-Mail: info@freshtel.net
 Loading...