

Page 1
User Instructions
LTSL5R
5W LED Outdoor Round Solar Lights
Please read these instructions and retain them for future reference.
Important information
1. Open the package, inspect the product and install it carefully.
If any damage is found, please keep the package and return the damaged product.
2. Please read the specifications and parameters in the instructions before installation.
3. Please tighten the solar light and accessories before use.
4. Important: Turn the switch on before use (Fig. 1)
Working Principle
● The solar panel charges the battery on sunny days.
● The charging and discharging process is controlled intelligently
without manual operation.
On time can be modified using the remote control (3H/5H/8H)●
● The CCT can be change by pressing the button on the solar lights
or by remote control. See Fig.2 for modes.
● Automatic lighting control (when no timer is set):
▪ 100% brightness from 1H to 4H
▪ 50% brightness from 5H to 8H
▪ 30% brightness from 9H to 12H
PLEASE NOTE: THE PERFORMANCE OF THE LIGHTS MAY BE
AFFECTED BY POOR WEATHER CONDITIONS.
DURING WINTER MONTHS LIGHT DURATION WILL BE REDUCED.
Daylight
Fig. 1
Cool white
Installation Accessories Available:
● LTSLSPK - Spike for LTSL5 Solar Lights
● LTSLPT - Post Top Base Plate for LTSL5 Solar Lights
● LTSLWB - Wall Bracket for LTSL5 Solar Lights
● LTSLEXT - Extension Pole for LTSL5 Solar Lights
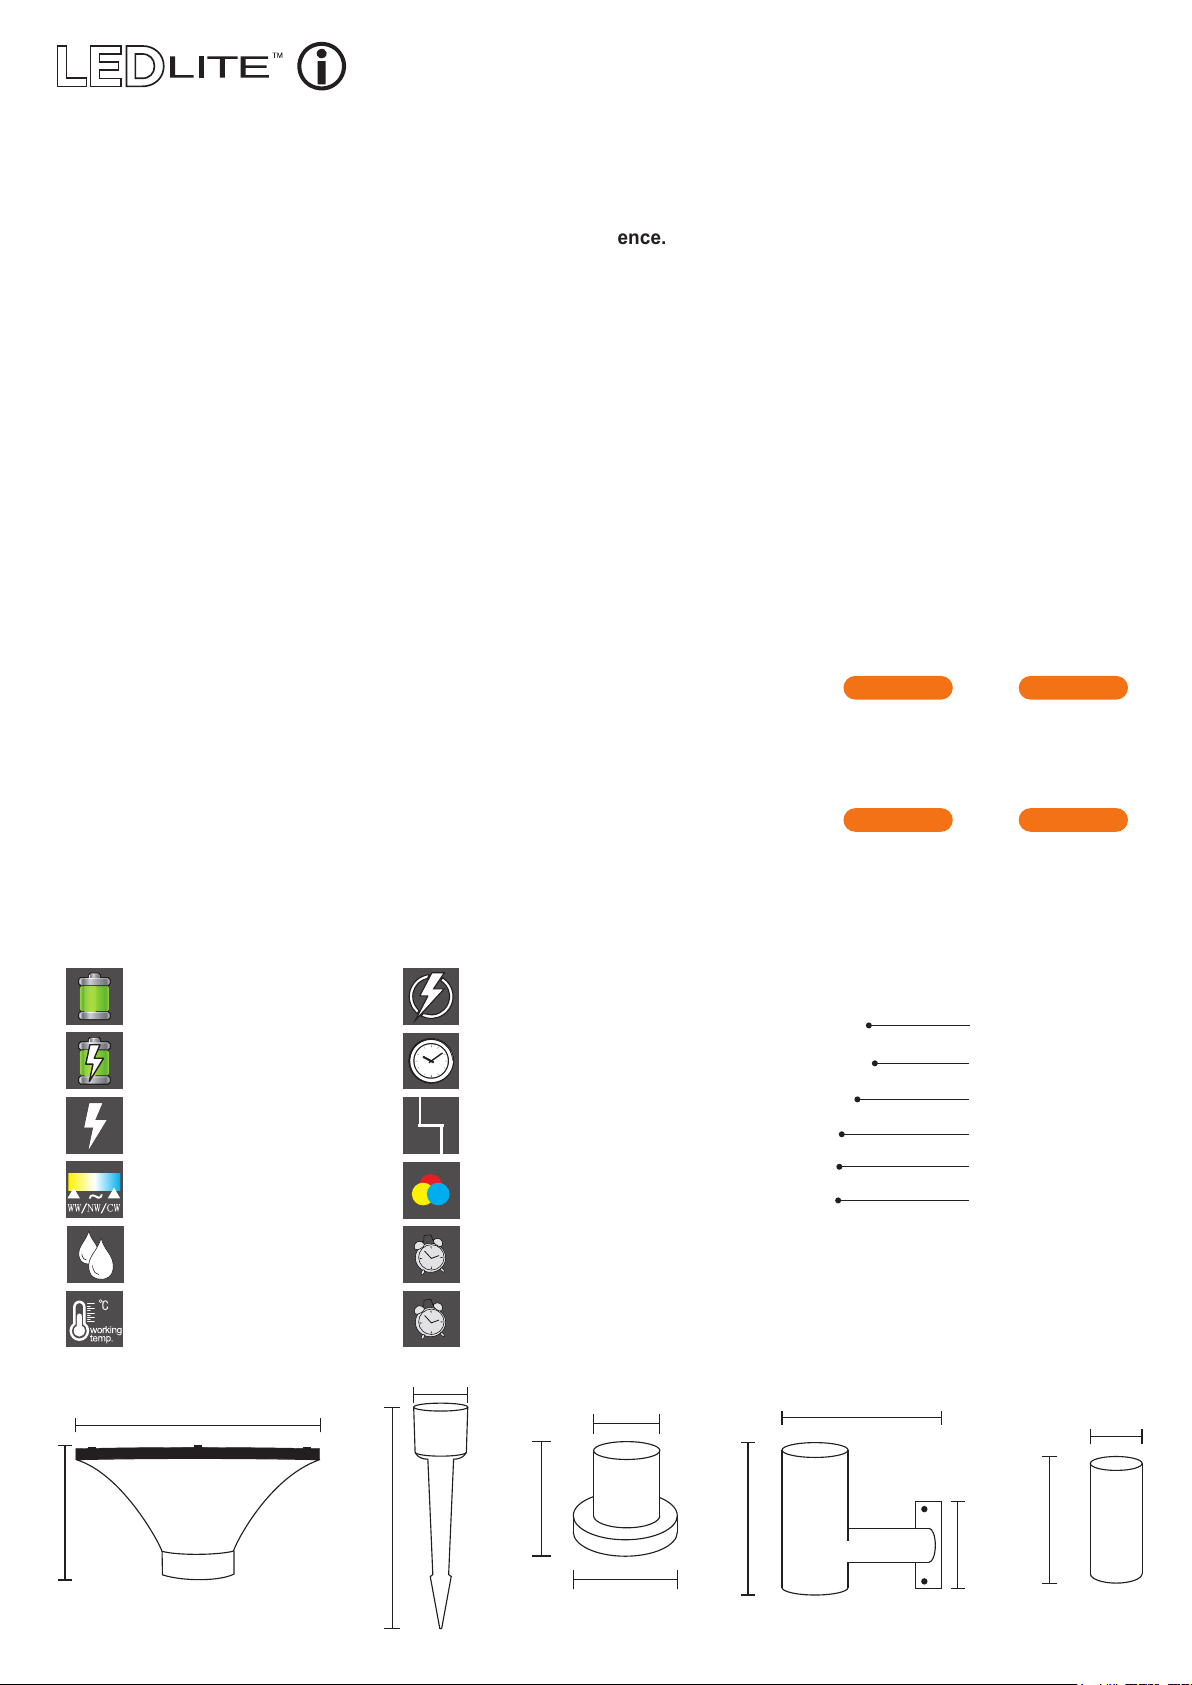
Specifications:
Ternary Lithium Battery Power: 5W
Capacity: 4.0Ah
Battery Voltage: 4.2V
CCT Changeable
WW / CW / DL
IP Rating: IP65
0 0
-20 C ~ +45 C
Dimensions:
205mm
3H
8H
5H
65mm
3h/5h/8h Timer Function
Aluminium + PC
Body Colour: Black
Lampshade: Frosted
Direct Sunlight
6 Hours Charging
Lasts 3-5 Rainy Days
65mm
Warm white
Fig. 2
Remote control functions:
Change CCT
Turn ON Button
Turn OFF Button
Night Time Light 3 hours
Night Time Light 5 hours
Night Time Light 8 hours
230mm
Off
65mm
106mm
245mm
70mm
108mm
150mm
245mm
100mm
LTSL5R LTSLSPK LTSLPT LTSLWB LTSLEXT
Page 2

Installation Methods
1. Using LTSLSPK Spike and
LTSLEXT Extension Pole
Mark the position and drill the
1 2
fixing holes
Use screws to fix the solar
light tight onto the wall
Screw the spike & extension
1 2
pole together
Press Button to adjust CCT
and assemble the solar light.
3 4
Add more extension poles if
necessary
Push the spike in to the ground
2. Using LTSLWB Wall Bracket
Press the button and adjust the
colour temperature
3 4
3. Using LTSLPT Post Top Base
Assemble the solar light on
the wall bracket
Rotate the small pillar and
1 2
assemble the base
Press the button and adjust the
3 4
colour temperature
Fix the post top base
tightly onto a flat surface
Assemble the solar light on
the post top base
Rotate the small pillar and
assemble the base
1 2
Press the button and adjust the
colour temperature
3 4
Fix the base tightly onto
a flat surface
Screw the extension poles
and solar light onto the base
4. Using LTSLPT Post Top Base
Plate and LTSLEXT Extension
Poles
 Loading...