


WELCOME
INTRODUCTION
The A1 + is a dedicated 80 watt acoustic amplifier - designed to give the acoustic guitar player the most authentic electric reproduction of an acoustic instrument possible.
Capable of producing the wide variety of sparkling high, luscious mids and tone full lows associated with high quality acoustic instruments.The A1+ is ideal for the singer songwriter who demands outstanding performance for both guitar and vocals.
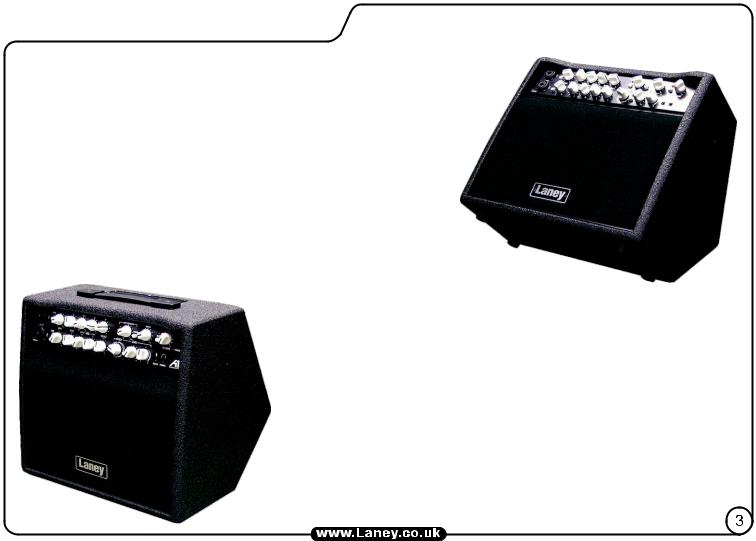
The A1+ is a kick back style amp design, making it ideally suited to operate as your main sound source on stage in a conventional position or up close and personal kicked back as your stage monitor.The A1+ can also be mounted onto a pole stand by using the provided top hat in the base of the unit, giving you additional options.
The A1+ preamp houses two channels each containing everything we think you'll need in order to get a great sound.The driver
compliment consists of a specially developed 8” Bass Driver and a 1” Dome Tweeter, ensuring that the natural acoustic tones your guitar produces will be reproduced faithfully by the A1+.
The A1+ is finished in a stylish, textured Polyurethane coating and a foam fronted metal grille creating a very stylish and rugged amplifier which will continue to look good gig after gig,
Because the A1+ has been designed by gigging musicians we understand that it is important to be able to rely on your amplifier and to make sure that's the case every A1+ is extensively tested both electronically and by a player before it is shipped out. We are happy that your A1+ will give you years of trouble free service.
All the features & controls are covered over the next few pages, please take time to read this manual fully as it will allow you to get the very best from your amplifier, read on, play and enjoy...

FRONT PANEL CONTROLS
1
2
1+2
ON
1Combi Socket (for use with either XLR or 6.3 Jack) is provided for connecting your instrument or microphone. Only use good quality screened cable.
2 Engages an EQ pre-shape circuit to give a natural Mid cut, Bass & Treble Boost sound.
3Lights when peak levels are reached.To give optimum levels adjust Gain(4) till the peak LED just illuminates on the very loudest passages. (After adjusting the EQ it may be necessary to readjust Gain)
4Controls the level of preamp gain on the channel.Turning this control clockwise will add more gain to your guitar signal, use this in conjunction with Volume (13) to achieve the correct volume and gain level you require.
5Active Bass control allowing boost and cut of the low-frequency response of the pre-amplifier.To give optimum levels adjust gain till the peak LED just illuminates on the very loudest passages.
6Selects the mid-frequencies (200Hz to 9KHz) to be cut or boosted in conjunction with the paramid level control (7)
7Boosts or cuts the chosen frequency set by (6).To boost the chosen frequency turn the control clockwise, to cut the chosen frequency turn anticlockwise.
4

8 Active Treble control allowing boost or cut of the high frequency response of the pre-amplifier.
9Anti-Feedback control can be switched in and out here and adjusted with (10) to eliminate the "body resonance" feedback often associated with amplified acoustic guitars at high volume levels.
10To eliminate "body resonance" feedback, switch the filter in with (9) and adjust this control until the body resonation reduces; you should find a “sweet spot on” the control where it disappears.Turning further out of the sweet spot will bring the resonation back up again.This setting will be the optimum for that particular guitar but may need to be altered if you plug in another guitar.
11Switches the phase of the signal from the amplifier.When you play any acoustic guitar the sound it produces is a waveform, the same applies to an acoustic guitar plugged into an acoustic amplifier. It is not uncommon for these two waveforms - which occur simultaneously, to be out of phase with each other.To a player who is sat close to an amplifier this poses a small problem if the wave forms are out of phase as they are destructive to each other and cancel each other out.This would cause the guitar to sound a little thin and lack-lustre. Engaging the phase switch switches the phase of the amplified signal removing the problem of destructive interference. However sometimes the low frequencies being in phase can cause acoustic feed back problems, to avoid this try operating the phase reversal switch. Most times this will cure the problem.One thing to point out is that the audience does not hear any phase problems as by the time the sound wave reaches them any phase differences have been cancelled out naturally.
12Mutes the amplifier. LED is flashing when muted.
13Sets the overall listening volume of the amplifier.
14When illuminated indicates that power is connected to the unit and it is ready to go.
15 |
18 |
19 20
Effects Control Set: See pages 8-9 for detail of their operation.
A 3.5mm Stereo line input for connection of a CD/MP3 player as a backing track. Control the level of the input using the Level control (20).
21Socket for connecting a pair of quality headphones.When in use, the internal loudspeaker is automatically muted.
22Lights when Phantom Power has been applied to Channel 2. (See rear panel controls).
(ALWAYS SWITCH OFF AND DISCONNECT THE POWER CORD WHEN NOT IN USE)
5
 Loading...