


WIRELESS TEMPERATURE STATION
Model K84322 | Instruction Manual
La Crosse Technology’s Wireless Temperature Station provides you with precise, real-tim e weather data
straight fr om your bac k y ar d. Monitor indoor and outdoor temperature, t r ack t em per ature trends and set
customizabl e temper ature alerts easily—all on one convenient device. The Temperature Station features
a wireless transmission range of over 200 feet (60 meters) in open ai r from the transmitter to the
Temperature Station.
Wireless Temperature Station
Outdoor Temperature Transmitter TX141-A
La Crosse Technology Page 1

Table of Contents
Wireless Temper ature Station 1
Outdoor Temper ature Transmitter TX141-A 1
Table of Contents 2
Features 3
Setup instructions Step-by-Step 3
Troubleshooting 3
Manual Search for Outdoor Transmitter 3
Function Buttons 4
Program Menu 4
Set Calendar 4
12/24 Hour Time Format 4
Set Time 4
Fahrenheit/Celsius 5
Alarm Time 5
Set Alarm 5
Activate/ Deac tivate Alarm 5
Snooze 5
MIN/MAX Readings 5
Low Battery Icon 6
Temperature Al er ts 6
Select Alert Value 6
Temperature Aler ts ON/OFF 6
Temperature Aler t Sounds 6
Temperature Trend Ar r ows 7
Outdoor Temper ature Flashes 7
Install Batteries in the Temperature Station 7
Install batt eri es i n the O utdoor Transmitter 7
Care and Maintenance 7
Position Temperature Station 7
Position Outdoor Transmitter 8
Specifications 8
Indoor Temperature 8
Outdoor Temper ature 8
Power Requirement s 8
Battery Lif e 8
Dimensions 9
Warranty Information 9
FCC Statement 10
K84322
4.27”L x 1.48”W x 3.88”H
(108 x 38 x 99 mm)
2-AA Batteries TX141-A
1.57" L x 0.79" W x 5.12" H
(40 x 20 x 130 mm)
2-AA Batteries
La Crosse Technology Page 2
Features
• Calendar (Month/date, 2000-2099 Def ault Year 2012)
• Time (hour/minute)
• Indoor Temperature
• Indoor Temperature Trend
• Wireless Outdoor Temperature
• Outdoor Temperature Trend
• °F/°C selectable
• Alarm and Snooze Function
• Large 2 inch Outdoor Temperature numbers
• Low Battery indic ator for Outdoor Sensor and Station
• MIN/MAX Daily Records with auto reset (0:00)
• High/Low Temperature Alert for Outdoor Temperature
• High/Low/Off Backlight option
• Sensor Signal Str ength
• S its on desktop or tabletop
Setup Instructions Step-by-Step
STEP 1:
• Slide the battery cover tab down and pull out to remove the battery cov er.
• Insert two new AA batteries (not included) into the back of the Temperature Station. Observe the
correct polarit y ( see marki ng insi de the battery compartment).
• The Temperature Station will light up and show, indoor tem per ature.
• Do Not Mix Old and New Batteries
• Do Not Mix Alkaline, Standard, Lithium or Rechargeabl e B atteries
STEP 2:
• Ensure that the t r ansmit ter is within 10 feet of the Temperature Station.
• Remove battery cover from TX141-A transmitt er. Sli de the bat tery cover down and lift off the front of
the transmitter.
• Insert two new AA batteries into the transmit ter. Observe the correct polarity.
• Within three minutes the Temperature Stati on will show readings in the outdoor temper ature area on
the LCD.
Note: Allow the Temper ature Station and the transmitter to stay wit hin 10 feet of each other for the first
15 minutes of set up.
Troubleshooting
After the bat teries are inserted, the Temperature Station will search for the outdoor temperature
transmitter for 3 minutes.
The antenna sym bol will flash during reception, and temper ature display will be dashes “---“.
No antenna symbol will show during RF (radio frequency) synchroni z ation.
If synchronization fails once, the antenna will lose one bar.
If synchronization fails twice, the antenna will lose two bars.
If RF (radio frequency ) r ec eption fails five times, the antenna symbol will show:
The antenna will show full display with successful RF (radio fr equenc y ) r ec eption.
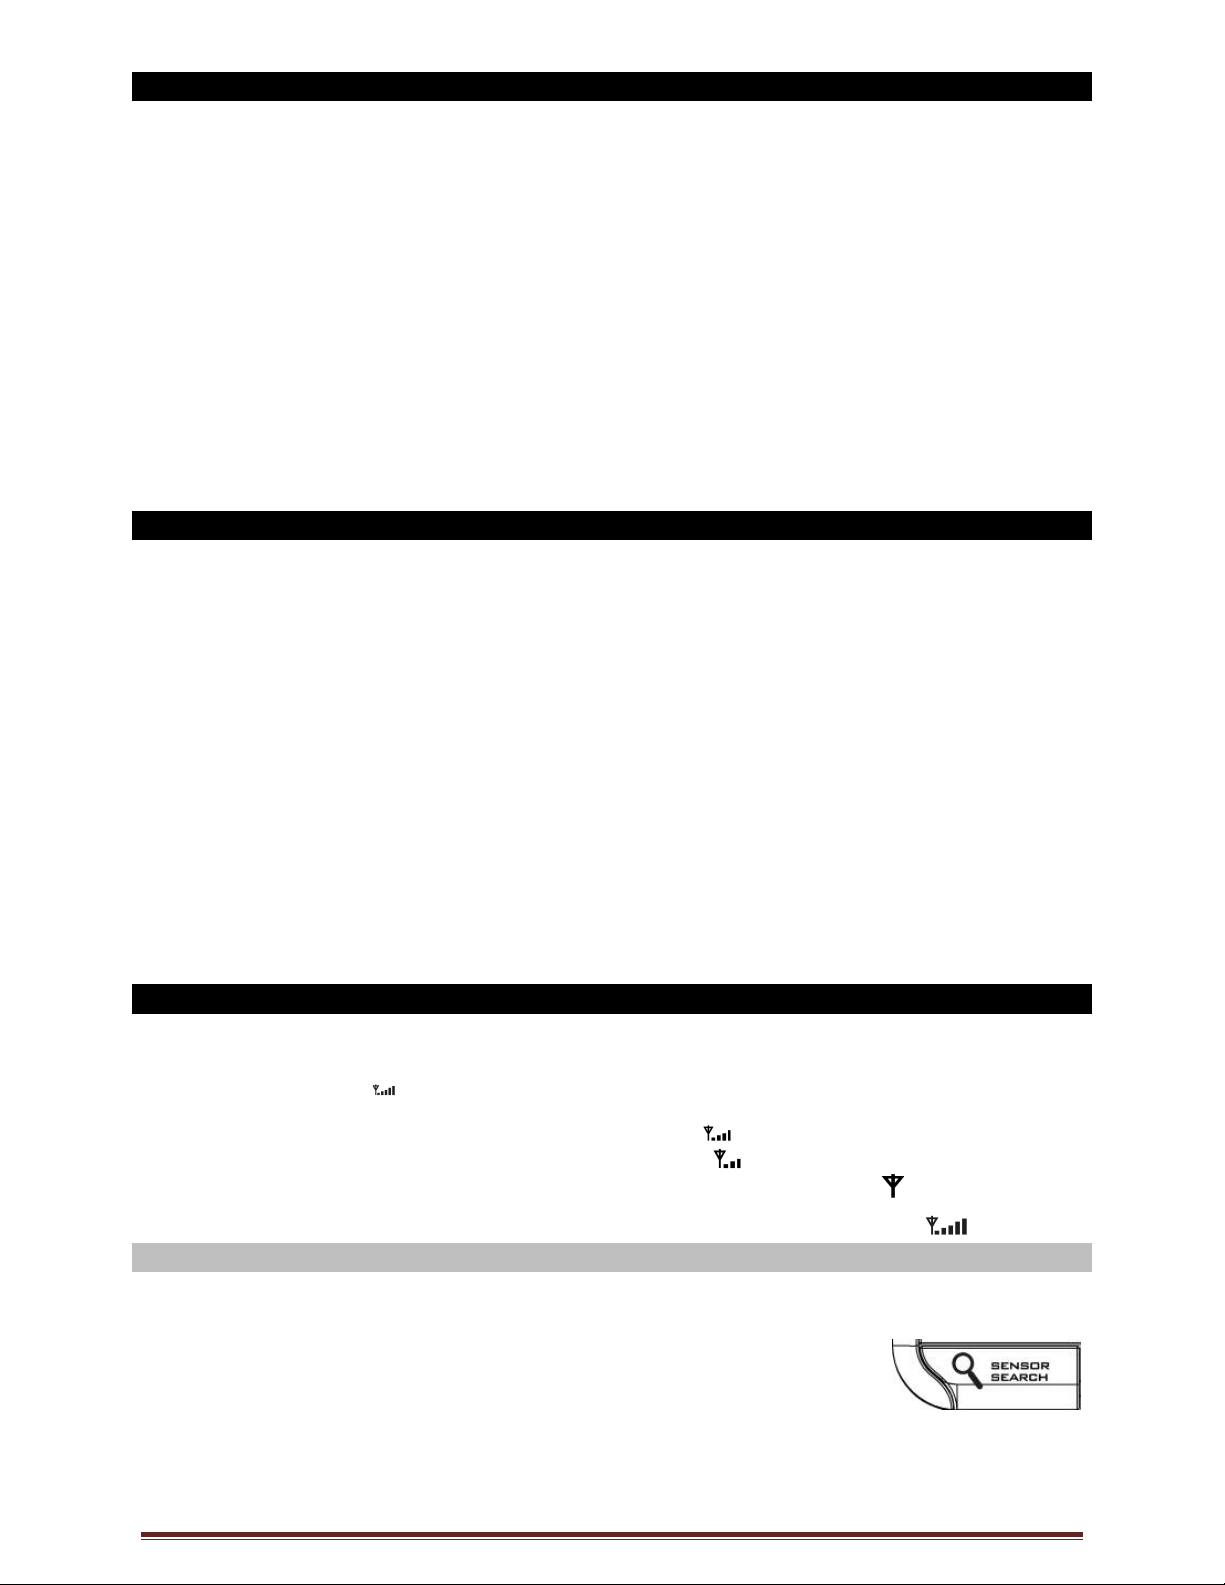
Search for Transmitter
If the outdoor temperature is not displayed after three minutes, hol d the SENSO R SEARCH butt on on
the temperatur e station for three seconds to search for outdoor t r ansmitter.
Next remove the bat tery cover from the TX141-A transmitter then press the
TX button to send a signal.
If it still does not r ec eive the outdoor temperature, remov e the bat teries from
both the temperature station and the transmitter for 15 mi nutes repeat setup
instructions from step 1.
The maximum transmitting range in open air is over 200 feet (60 meters). Obstacles such as walls,
windows, stucco, conc r ete and large metal objects can reduce the range.
La Crosse Technology Page 3

12H
Function Buttons
Front Back
Program Menu
The program menu all ows you to select your preferences:
Year
Month
Date
12/24-Hour Time Format
Hour
Minutes
Fahrenheit/Celsius
The SETTINGS button moves The MAX button will The MIN button will
through the program m enu, increase a value decrease a value
and confirm selections.
Set Calendar
To set the calendar:
1. Hold the SETTINGS button until the station beeps.
2. The Year will fla sh.
3. Use the MAX or MIN buttons to choose the year.
4. Press the SETTINGS button to confi rm and mov e to t he month.
5. The Month will flash.
6. Use the MAX or MIN buttons to choose the month.
7. Press the SETTINGS button to confi rm and mov e to t he date.
8. The Date will f la sh.
9. Use the MAX or MIN buttons to choose the date.
10. Press the SETTINGS button to confirm and move to Fahrenhei t/Celsius.
Note: The day of the week will set aut om atically once the year, month and date
are set.
12-hour or 24-hour Tim e Format
The Time may be displayed in 12-hour or 24-hour format. Default is 12-hour time.
Note: When in 12-hour form at AM or PM will show in f ront of the hour.
1. Hold the SETTINGS button f or thr ee seconds to ent er time set mode.
2. 12H will flash.
3. Use the MAX or MIN buttons to choose 12-hour or 24-hour time format.
4. Press the SETTINGS button to confi rm and mov e to hour.
Set Time
To set the time manually:
1. The Hour digit will fla sh.
2. Use the MAX or MIN buttons to choose the hour.
3. Press the SETTINGS button to confi rm and move to minutes.
4. The Minutes wil l flash .
La Crosse Technology Page 4

5. Use the MAX or MIN buttons to choose the minutes.
6. Press the SETTINGS button to confi rm and mov e to t he year.
Fahrenheit/Celsius
1. °F or °C will flash.
2. Use the MAX or MIN buttons to select Fahrenheit or Celsius.
3. Press and release the SETTI NGS butt on to confirm and exit the program
menu.
Note: When no buttons are pressed for ten seconds, the Temperature
Station will save the last change and default back to norm al mode.
Alarm Time
The TIME ALARM button The MAX button will The MIN button will
moves through the alarm set mode, increase a value decrease a value
and confirm selecti ons.
Set Time Alarm
In normal mode, press and release the TIME ALARM button once to show alarm time. Hold the TIME
ALARM button for three seconds to enter alarm set mode.
1. The Hour will flash.
2. Use the MAX or MIN buttons to set the hour.
3. Press the TIME ALARM button to confirm and switch to minutes.
4. The Minutes wil l flash .
5. Use the MAX or MIN buttons to set the minut es.
6. Press TIME ALARM button to confirm and exit.
Note: When no buttons are pressed for ten seconds, the Temperature Station will save the last change
and default back to normal mode.
Activate/ Deac tivate Time Alarm
In normal mode, pr ess and release the TIME ALARM button once to show alarm time.
Press and release the T IME ALARM button repeatedly to turn ON/OFF alarm.
The alarm icon appears when alarm is activated.
Note: The crescendo al arm will ring for 2 minutes then turn off if no buttons are pressed.
Snooze
When the alarm sounds press the TIME ALARM button to snooze the alarm for 10
minutes.
The snooze option c an be r epeated three times.
The alarm icon will flash while t he snooze f eature is active.
Note: While the alarm sounds, press any butt on except the TIME ALARM button to turn the alarm off.
MIN/MAX Temperatures
The Temperatur e Station will show the daily minimum and maximum temperatures each day star ting at
midnight (12: 00 AM). T he Temper ature Station automatically resets the MIN/MAX temperatures
at midnight (12:00 A M).
• View MIN data : Press and release the MIN butt on to view the minimum Indoor and Outdoor
Temperatures. After ten seconds the LCD will return to the curr ent temperatures.
• Reset MIN data: Hold the MIN button for 3 seconds and the Indoor and all O utdoor Mi nimum
La Crosse Technology Page 5

Temperatures will be r eset to current temperatures.
• View MAX data: Press and release the MAX button to view the maximum Indoor and Outdoor
Temperatures. After ten seconds the LCD will return to the curr ent temperatures.
• Reset MAX data: Hold the MAX button f or 3 seconds and the Indoor and all Outdoor
Maximum Temperatures wil l be r eset to current temperatures.
Note: When no buttons are pressed for ten seconds, the temperatur e station will return to
display the current temperature.
Low Battery Icon
• When the low battery icon appears in the indoor (IN) reading section, replace the batteries i n the
weather station.
• When the low battery icon appears in the outdoor (OUT) readings section, replace the batteries in
the outdoor transmitter.
Temperature Alerts
Alert values are set when they flash i n the outdoor t emperat ur e ar ea. Temperature alerts are turned on or
off in the Temperature Alert box.
One or all the temperature al ert s may be set.
Range for outdoor temperat ur e aler t:
-40°F to 140°F (-40°C to 60°C)
Select Temperature Alert Values
Hold the TEMP ALERTS button for three seconds, until the temperature station
beeps, to enter alert setting.
OUTDOOR HI alert will flash where the outdoor temperature shows. Press the MAX or MIN
buttons to set the alert value, and press the TEMP A LERTS button to confirm. Then press the
TEMP ALERTS button again switch to OUTDOOR LOW setting.
OUTDOOR LO alert will flash where the outdoor temperature shows. Press the MAX or MIN
buttons to set the alert value, and press the TEMP ALERTS button to confirm and exit.
Note: After selecti ng temperature alert values, use the next step t o turn individual alerts ON or
OFF.
T emperature Alerts ON/OFF
From normal time and tem per ature display mode, press and release the TEMP
ALERTS button to toggle between:
o Outdoor HI
o Outdoor LO
Press the MAX button (Alert ON) to turn the selec ted alert ON.
The alert icon appears when alarm is activ ated.
Press the MIN button (Alert OFF) to turn the selec ted alert OFF.
Note: When no temperature alerts are set the Temperature Alert area will show OFF.
Temperature Aler t Sounds
When temperature alert is ri nging, corresponding alert icon will flash.
The alert will ring for five seconds every minute, until the temperatur e is out of alert range.
Press any button to stop alert. The alert icon will still show.
Turn Alert OF F: In normal mode, press and release the TEMP ALERTS button to select the alert to
turn off. With HI or LO alert selected, press the MIN button to turn that alert OFF.
La Crosse Technology Page 6

Temperature Trend Arrows
The indoor and outdoor temper ature trend arrows will update ev er y 30 minut es or less. These
trends represent tem per ature changes over the past three hours.
UP: Temperature rose more than 2°F/1°C in the past three hours
RIGHT: Temperature has not changed mor e than 2°F/1°C in the past three hours
DOWN: Temperature fell more than 2°F/ 1° C in the past t hr ee hour s
Outdoor Temperature Flashing
Low battery icon present in the outdoor temperature area:
1. Change bat teries in the transmitt er , and press the TX button.
2. Hol d the SENSOR SEARCH button for 3 seconds and the Temperature
Station will search for the outdoor transmitter again.
End of Transmission Range:
1. Move the transmitter closer to the Temperature Station.
2. Avoid obstructions in the signal path.
3. Keep tr ansmitter and Temperature Station away from electronics.
Install Batteries in the Temperature Station
1. Slide tab down and pull out to remove battery cover.
2. I nstall two new AA batteries according to the polarity markings.
• Do Not Mix Old and New Batteries
• Do Not Mix Alkaline, Lithiu m, Standard or Rechargeable Batteri es
If the Temperature Station does not display indoor temperature after 60
seconds, remove adapter and batteries and wait for at least 60 seconds
before repeati ng the setup process.
Install Batteries in the Outdoor Transmitter
1. Slide the battery cover down, then lift off the front of the transmitter.
2. I nsert two new AA batteries into the transmitter. Observe the correct polari ty ( see marki ng
inside batter y compar tment).
3. Keep transmitter 5-10 ft. from the Temperature Station during setup.
4. After 15 minutes, if the outdoor tem per ature shows on the Temperature Station, you can
move the outdoor transmi tter outside to a shaded location within range of the Temperature
Station.
Care and Maintenance
• Do Not Mix Old and New Batteries
• Do Not Mix Alkaline, Lithiu m, Standard or Rechargeable Batteri es
• Do not expose the Temperature Station to extreme temperatures, v ibration or shock. Keep dry.
• Clean Temperature Station with a soft dam p cl oth. Do not use solvents or scouring agents.
• The Temperature Station is not a toy. Keep it out of reach of children.
• The Temperature Station is not to be used for medical purpose or for public informati on. It is for home
use only.
• The specifications of this Temperature Station may change without prior notice.
• Improper use or unauthorized opening of housing will void the warranty.
• I f the Temperature S tation does not work properly, change the batteries.
Position the Temperature Station
Choose a location f or the Temper ature Station that is within range of the outdoor transmitter. The
Temperature Stati on has a built in base stand to sit on a table or desk.
La Crosse Technology Page 7

• Choose a location 6 f eet or more from elec tronics such as cordless phones, gaming systems,
televi sions, micr owaves, routers, baby monitors, et c., which can prevent signal reception.
• Be aware of electric al wir es and pl um bing within a wall.
• Best reception is achieved when the front or the back of the Temperature Station is facing the
outdoor transmitter. This allows a larger portion of the antenna to r ec eive a signal.
Positio n t he Outdoor Transmitt e r
Once the Temperature Station shows the outdoor temper ature, place it and the transmitter in the desired
locations and wait approximately 1 hour before permanentl y mounting the transmitter to ensure that there
is proper reception. The transmitter should be mounted v ertic ally, in a shaded, protected area, at least 6
feet from the ground to avoid dam age and ensure acc ur ate readings. The transmitter is water resistant,
not waterproof and shoul d not be placed anywhere it will become submer ged in water or subj ec t to
standing water or snow. Choose a location for the transmitter that is within range of the Temperature
Station and under an overhang for accuracy.
Option 1:
• Install one mounting screw (included) into a wall leavi ng approximately ½ of an inch
(12.7mm) extended.
• Place the transmitter onto the screw using the hanging hole on the backside.
• Gently pull the transmi tter down to lock the screw into place.
Option 2:
• Insert the mounting screw through the front of the transmitter and into the wall.
• Tighten the screw to snug (do not over tighten).
To achieve a true temperature reading, mount where direct sunl ight cannot reach the outdoor transmitt er .
Mount the outdoor transmitter on a North-facing wall or in any well shaded area. Under an eave or deck
rail work well. The maximum transmitting range in open air is over 200 feet (60 meters). Obstacles such
as walls, windows, stucco, c onc r ete, and large metal objects can reduc e the range. Place the transmitter
at least 6 feet in the air to im prove signal transmission.
Specifications
Indoor
Temperature Range: + 32°F to +122°F (0°C to 50°C)
Interval: A bout every 30 seconds
Outdoor
Temperature Range: -40°F to 140°F (-40°C to 60°C)
Distance: Over 200 feet (60 meters) RF 433M Hz (open air)
Interval: A bout every 50 seconds
Power
Temperature Stati on: 2-AA, IEC, LR6 batteries (not included)
TX141-A Transmitter: 2-AA, IEC, LR6 batteries (not inc luded)
Battery Lif e
TX141-A Transmitter
Battery Lif e: Battery life is over 24 months when using reputable battery brands.
Temperature Stati on
Battery Lif e: Battery life is over 24 months when using reputable battery brands.
La Crosse Technology Page 8

Dimensions
Temperature Stati on: 4. 27” L x 1.48”W x 3.88”H (108 x 38 x 99 mm)
TX141-A Transmitter: 1.57" L x 0.79" W x 5.12" H (40 x 20 x 130 mm)
Warranty Informati on
La Crosse Technology, Ltd provides a 1-year limited warranty on this product against manufacturi ng
defects in materials and workmanship.
This limited warranty begins on the original date of purchase, is v alid only on products purchased and
used in North America and only to t he ori ginal purchaser of this product. To receive warranty service, the
purchaser must contac t La Crosse Technology, Ltd for problem determination and service procedures.
Warranty service c an only be performed by a La Crosse Technology, Ltd authoriz ed service center. The
original dat ed bill of sale must be presented upon request as proof of pur c hase to La Cr osse Technology,
Ltd or La Crosse Technology, Ltd’s authorized service center.
La Crosse Technology, Ltd will repair or replace this product, at our opti on and at no charge as stipulated
herein, with new or reconditioned parts or products if found to be defec tive during the limited warranty
period specified above. All replaced parts and products become the property of La Crosse Technology,
Ltd and must be returned t o La Crosse Technology , Ltd. Replacement parts and product s assume the
remaining ori ginal warrant y , or ninety (90) days, whichever i s longer. La Cr osse Technology, Ltd will pay
all expenses for l abor and m aterials for all repairs covered by this warranty. If necessary repairs are not
covered by this warranty, or if a product is examined which is not in need or repai r, y ou will be c har ged for
the repairs or examination. The owner must pay any shipping charges inc ur r ed in gett ing your La Crosse
Technology, Ltd produc t to a La Crosse Technology, Ltd authorized service center. La Crosse
Technology, Ltd will pay gr ound r eturn shipping charges to the owner of the produc t to a USA address
only.
Your La Crosse Technology, Ltd warranty covers all defects in materi al and workmanship with the
following specif ied exceptions: (1) damage caused by acci dent, unreasonable use or neglect (i ncl uding
the lack of reasonable and necessary maintenance); (2) damage occur r ing during shipment (claims must
be presented to the carrier); (3) damage to, or deteriorati on of, any accessory or decor ative surface; (4)
damage resulting from failure to follow instructi ons cont ained in your owner’s manual; (5) damage
resulting from the performance of repairs or alterations by someone other than an authoriz ed La Cr osse
Technology, Ltd aut hori z ed service center; (6) units used for ot her than home use (7) applications and
uses that this product was not intended or (8) the products inability to receive a signal due to any source
of interferenc e.. This warranty covers only actual defects withi n the product itself, and does not cover the
cost of install ation or removal from a fixed installati on, norm al set-up or adjustments, claims based on
misrepresentati on by the seller or performance variati ons resulting from installation-related
circumstances.
LA CROSSE TECHNOLOGY, LTD WILL NOT ASSUME LIA BILIT Y FO R INCI DE NTAL,
CONSEQUENTIAL, PUNIT IVE , OR OTHER SIMILAR DAMAGE S ASSOC IATED WITH THE
OPERATION OR MALFUNCTION OF THIS PRODUCT. THIS PRODUCT IS NOT TO BE USED FOR
MEDICAL PURPOSES OR FOR PUBLIC INFORMATION. THIS PRODUCT IS NOT A TOY. KEEP OUT
OF CHILDREN’S REACH.
This warranty giv es you specific legal rights. You may also have other ri ghts specif ic to your State.
Some States do no allow the excl usi on of consequential or incidental damages ther efore the above
exclusion of limi tation may not apply to you.
For warranty work, technical support, or information contact:
La Crosse Technology, Ltd
2809 Losey Blvd. S.
La Crosse, WI 54601
Product Registr ation:
www.lacrossetechnology.com/support/register
Contact Support : 1-608-782-1610
La Crosse Technology Page 9

Printed in China
Online information at:
www.lacrossetechnology.com/k84322
Protected under U.S. Patents:
5,978,738
6,076,044
6,597,990
FCC Statement
RF Exposure mobil e:
The internal / external antennas used for this mobile transmitter must provide a separation distanc e of at
least 20 cm (8 inches) fr om all persons and must not be co-located or operati ng in conj unc tion with any
other antenna or tr ansmit ter."
Statement accordi ng to FCC part 15. 19:
This device complies with Part 15 of the FCC Rules. Operat ion is subject to the following two conditions:
(1) this device may not cause harmful interference, and (2) this device must accept any interferenc e
received, including interference that may cause undesired operation.
Statement accordi ng to FCC part 15. 21:
Modificati ons not ex pr essly appr oved by this company could void t he user's author ity to operate the
equipment.
Statement accordi ng to FCC part 15. 105:
NOTE: This equipment has been tested and found to comply with the limits for a Class B digital device,
pursuant to Part 15 of the FCC Rules. T hese limits are designed to provide reasonable protection against
harmful interf er enc e in a r esi dential installation. This equi pm ent generates uses and can radiate radio
frequency energy and, if not installed and used in accordance with the instruc tions, may cause harmful
interfer enc e to radio c ommunications.
However, there is no guarantee that interference will not occ ur in a partic ular installation. If this equipment
does cause harmful int erference to radio or televi sion reception, which can be determined by turning the
equipment off and on, the user i s encouraged to try to correct the interference by one or more of t he
following measures:
• Reori ent or relocate the receiving antenna.
• Incr ease the separat ion between the equipment and receiver.
• Connect the equipment into an outlet on a circuit different from that to which the receiver is
connected.
• Consult the dealer or an experienced radio/T V technician for help
All rights reserv ed. This handbook must not be reproduced in any form, even in ex c er pts, or duplicated or
processed using elec tronic, mechanical or chemical procedures without written permission of the
publisher.
This handbook may cont ain mi stak es and printing errors. The informati on in this handbook is regularly
checked and correcti ons made in the next issue. We accept no liability for technical mistakes or printing
errors, or thei r consequence s.
All trademarks and patent s are ack nowledged.
La Crosse Technology Page 10
 Loading...