

Kohler K-1800, K-1801, K-1805 Installation And Care Manual
Installation and Care Guide
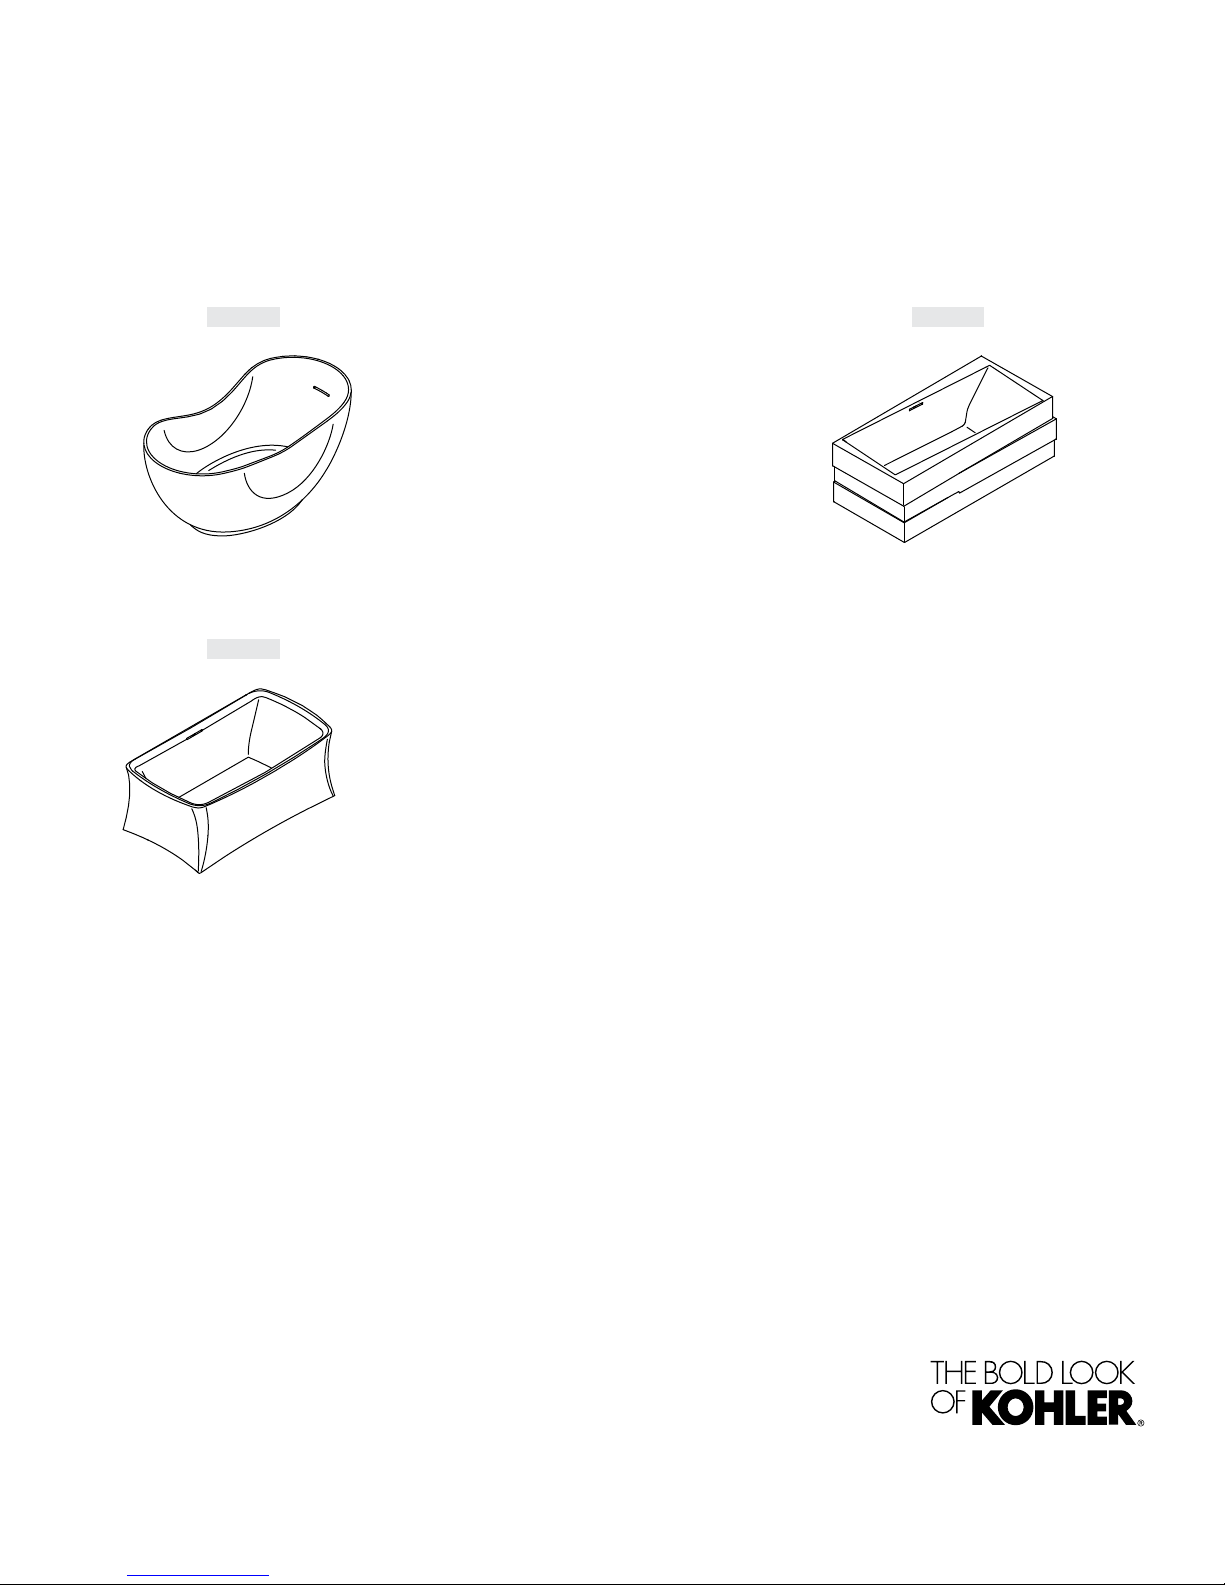
Freestanding Bath
K-1800 K-1801
K-1805
Record the model number for reference:
Enregistrer le numéro du modèle pour référence:
Apunte el número de modelo para
referencia:__________________________
Français, page “Français-1”
Español, página“ Español-1”
1207308-2-A
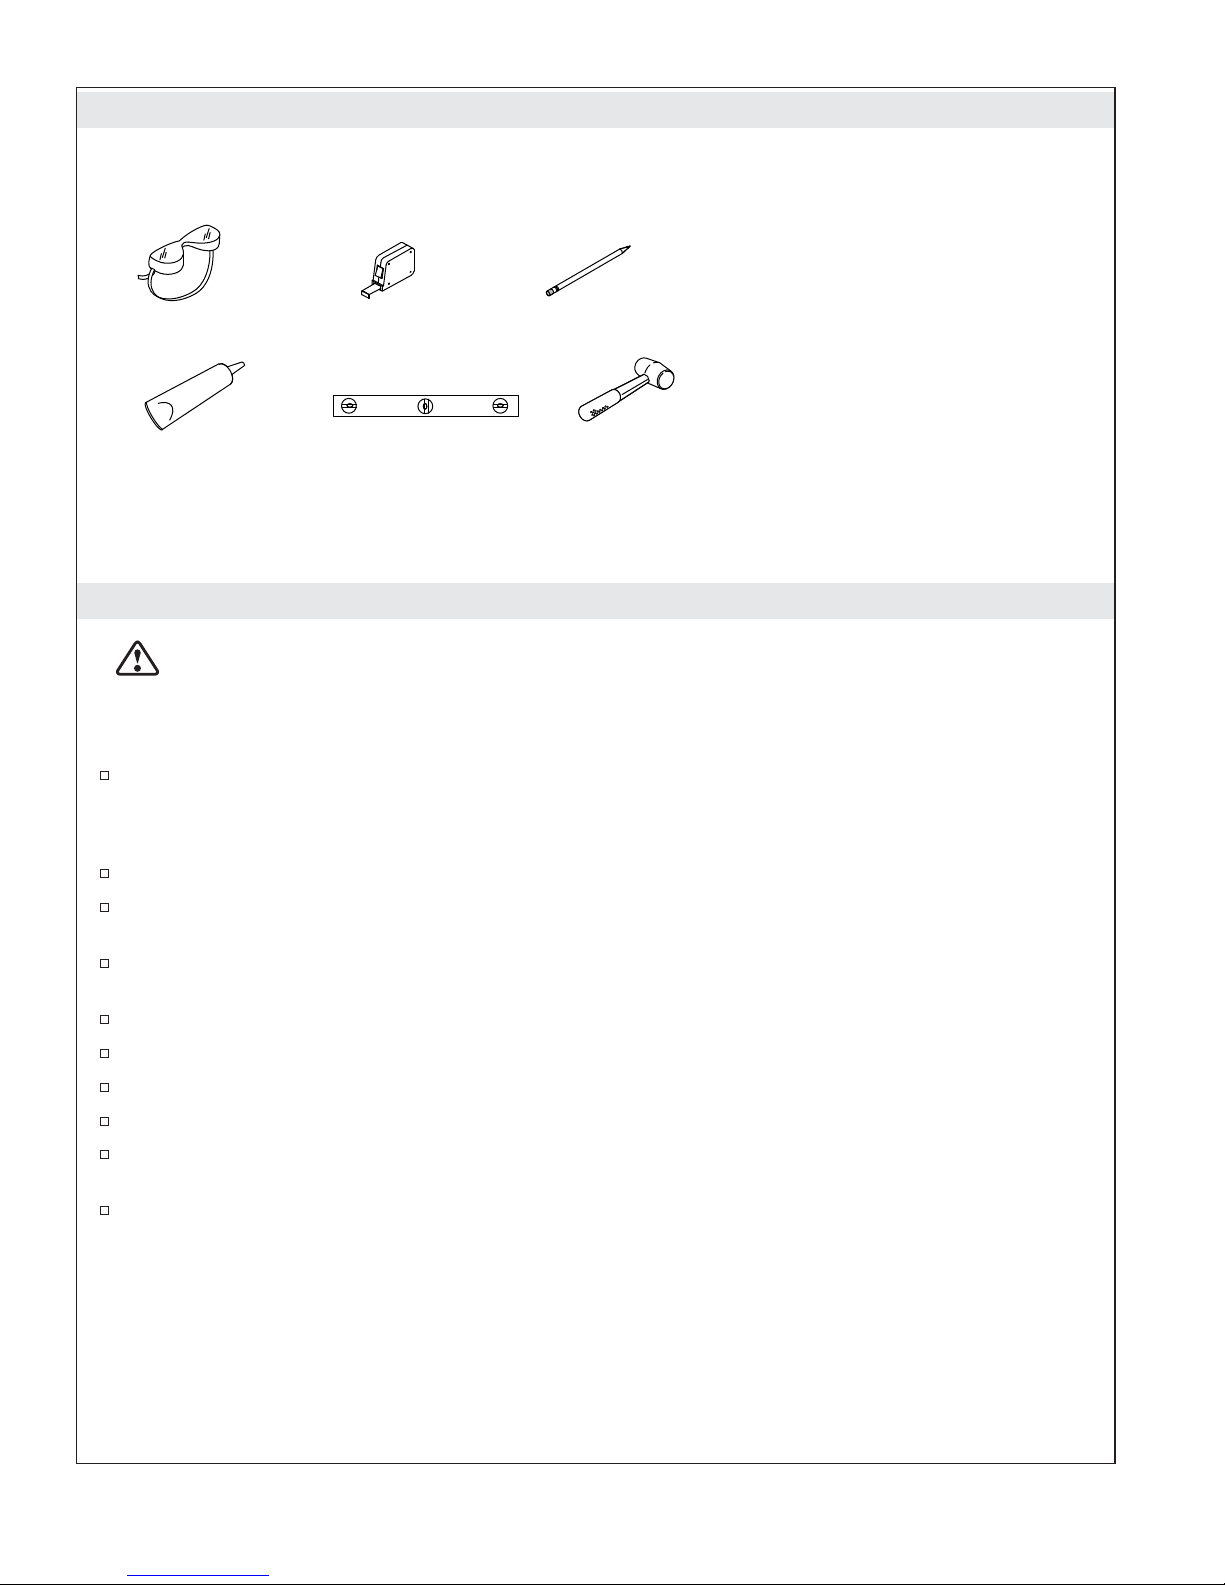
Tools and Materials
Safety Glasses
Tape Measure
Pencil
Plus:
• Drop Cloth
• Lifting Straps
• Shims
• 2x4's
• Common Woodworking Tools
• Short 1-1/2" D. PVC Pipe or Coupling
Silicone Sealant
Level
Rubber Mallet
Before You Begin
CAUTION: Risk of personal injury. This bath is extremely heavy. Obtain sufficient help and use
lifting straps to carefully lift or move the bath.
IMPORTANT! To ensure a successful installation it is important that you install the bath on a level
finished floor.
Observe all local plumbing and building codes.
IMPORTANT! The drain cover and gaskets are included in a small box within the carton. Make sure you
locate and retain the small box before discarding the carton and packing material.
Unpack and inspect the bath for damage. Return the bath to the carton until installation.
To simplify future maintenance, make sure all plumbing connections around the bath are easily
accessible.
Carefully plan moving the bath into the installation area. This bath is heavy and will not easily fit
through doorways.
Install the bath to an adequately supported, level finished floor.
This bath is designed for a freestanding installation only.
This bath features a factory-installed drain and an integral, cast overflow.
Install a floor- or ceiling-mounted bath filler with this freestanding bath.
Illustrations shown may not look like your actual product but they are still correct for this
installation.
This bath conforms to ANSI Standard Z124.1.2. All dimensions are nominal.
1207308-2-A 2 Kohler Co.
Drain
Pipe
2-1/8"
(54 mm)
Finished Floor
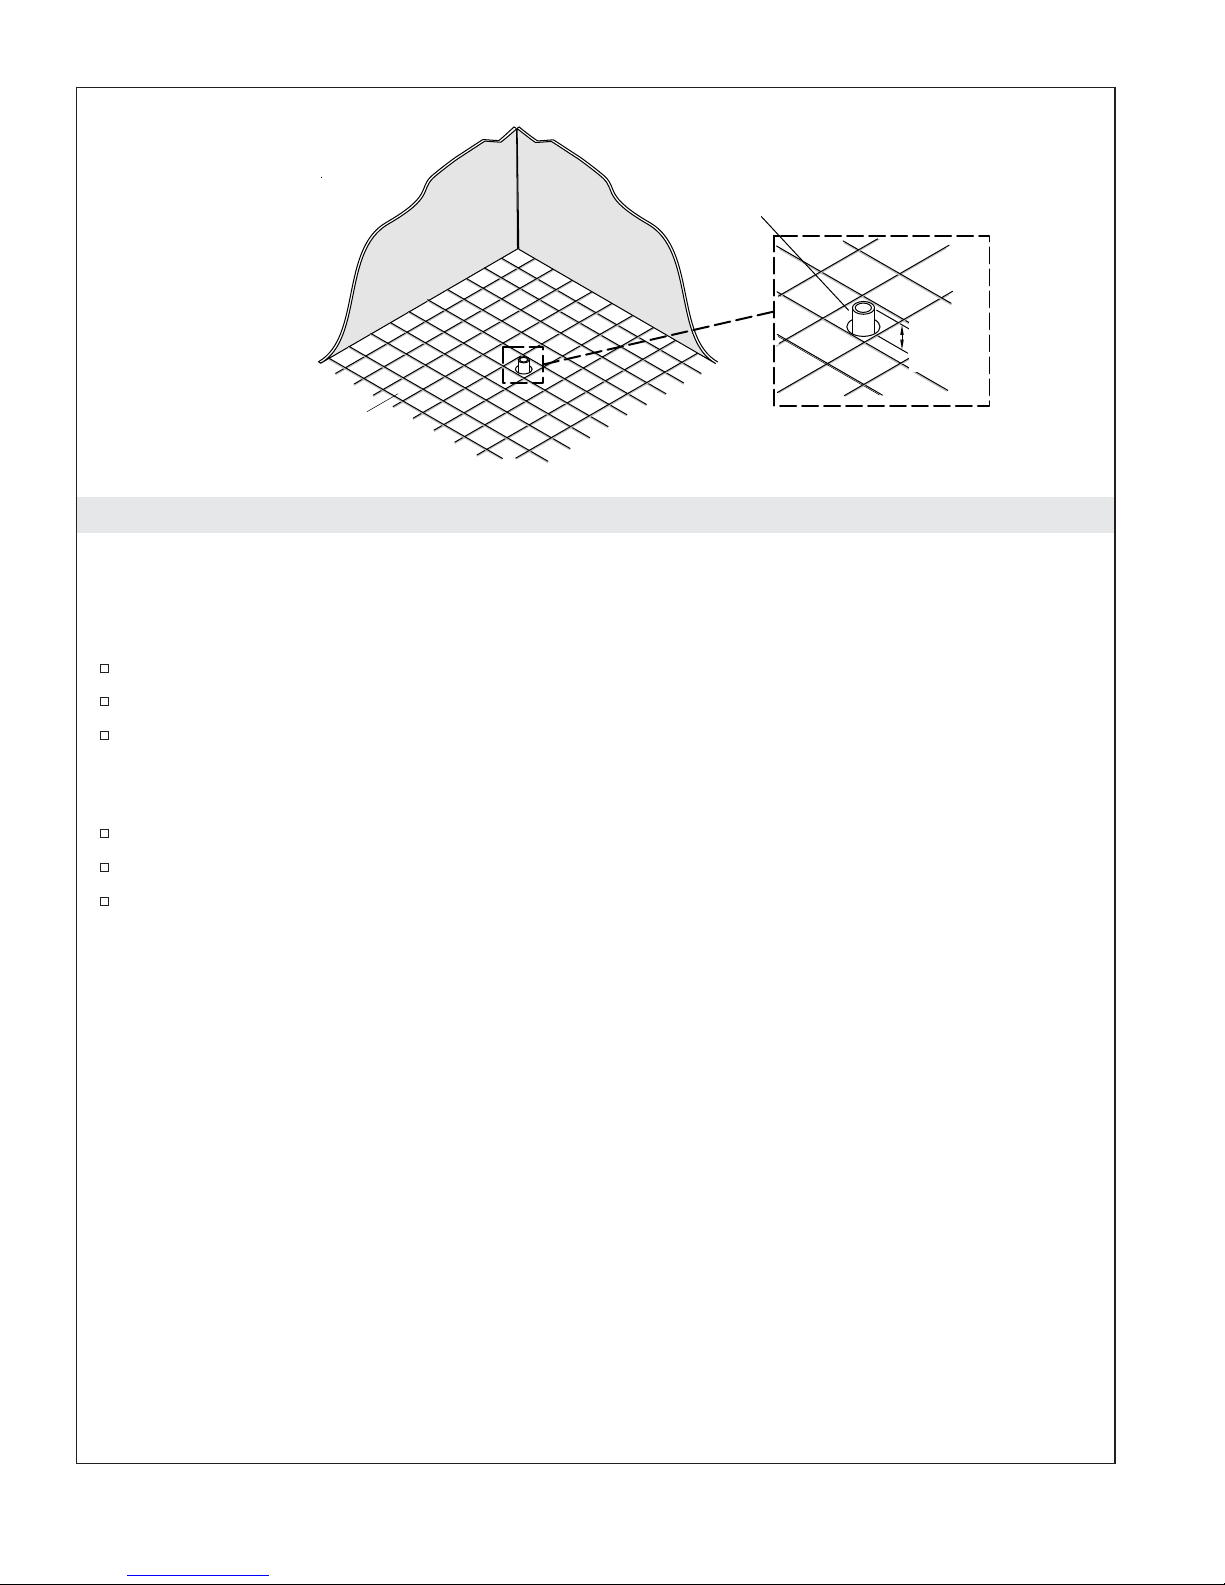
1. Prepare the Site
NOTICE: Provide adequate floor support.
NOTICE: Measure your product for site preparation. Visit the product page at www.kohler.com for more
information.
Determine the location of the bath.
Make sure the subfloor offers adequate support for your bath.
Ensure the subfloor is level.
IMPORTANT! To ensure a successful installation, it is critical that you install the bath on a level finished
floor.
Install the finished floor material.
Make sure the finished floor is level before proceeding.
Position and install a standard PVC or brass bath drain pipe. Install the drain pipe so it extends
2-1/8″ (54 mm) above the finished floor.
Kohler Co. 3 1207308-2-A
Level
Drain Pipe
Align.
Drain Pipe
2x4's
Bath Drain
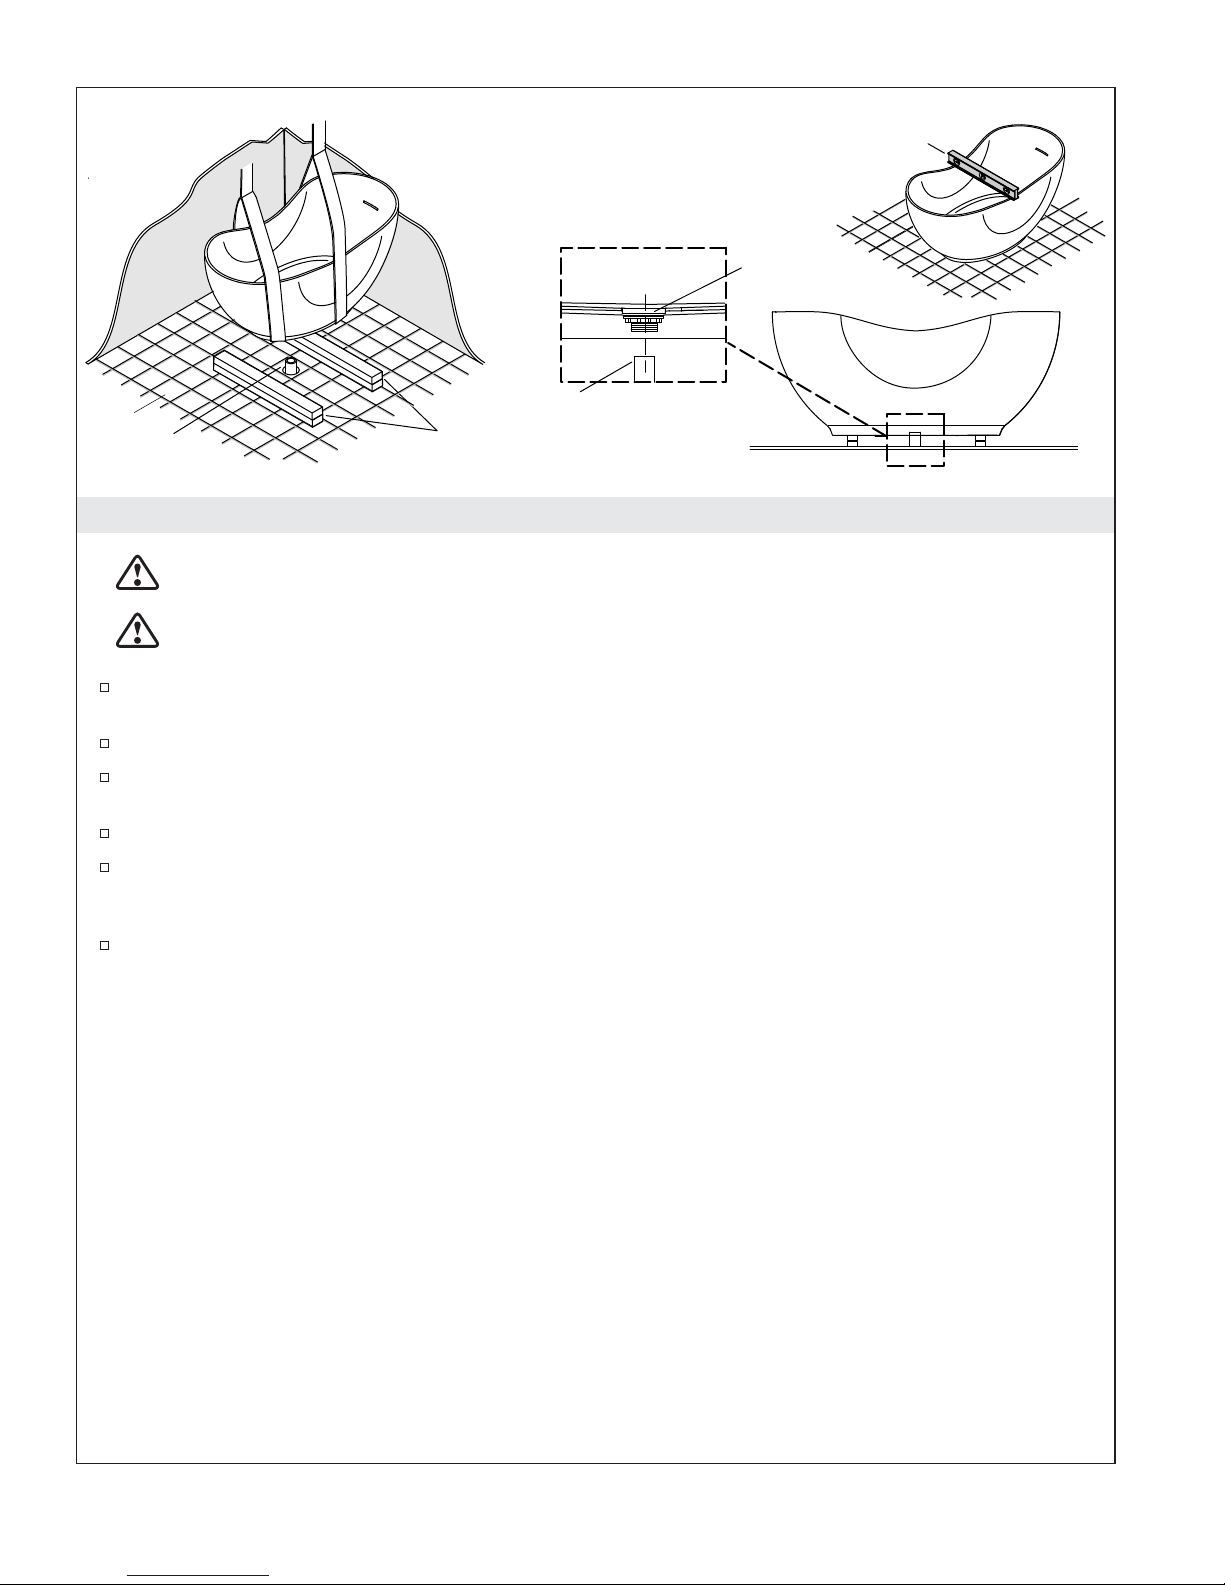
2. Install the Bath
CAUTION: Risk of property damage. Make sure the factory-installed drain connections have not
become loose during shipping. Tighten as needed to prevent leakage.
CAUTION: Risk of personal injury. This bath is extremely heavy. Obtain sufficient help and use
lifting straps to carefully lift or move the bath.
Stack together two 6’ (1.8 m) lengths of 2x4 lumber. Secure each set of stacked 2x4’s together with
nails or screws.
Position the stacked 2x4’s on each side of the drain pipe to temporarily support the bath.
With help, use lifting straps to carefully lift the bath into position on the 2x4’s so the bath drain is
over the drain pipe.
Carefully reposition the bath as needed so the bath drain is directly over the drain pipe.
Use lifting straps and get additional assistance to remove the 2x4 supports and carefully set the bath
on the floor. Adjust the bath position as needed to ensure that the drain pipe is in the center of the
bath drain hole.
Verify that the bath is level and that all support feet are in contact with the finished floor. Carefully
install shims under the support feet as needed.
1207308-2-A 4 Kohler Co.
Drain
Gasket
Apply silicone
sealant to
both sides.
Drain
Cover
Bath
Drain
Body
Drain Pipe
Tab
Drain
Body
Slot
Bath
Check for leaks.
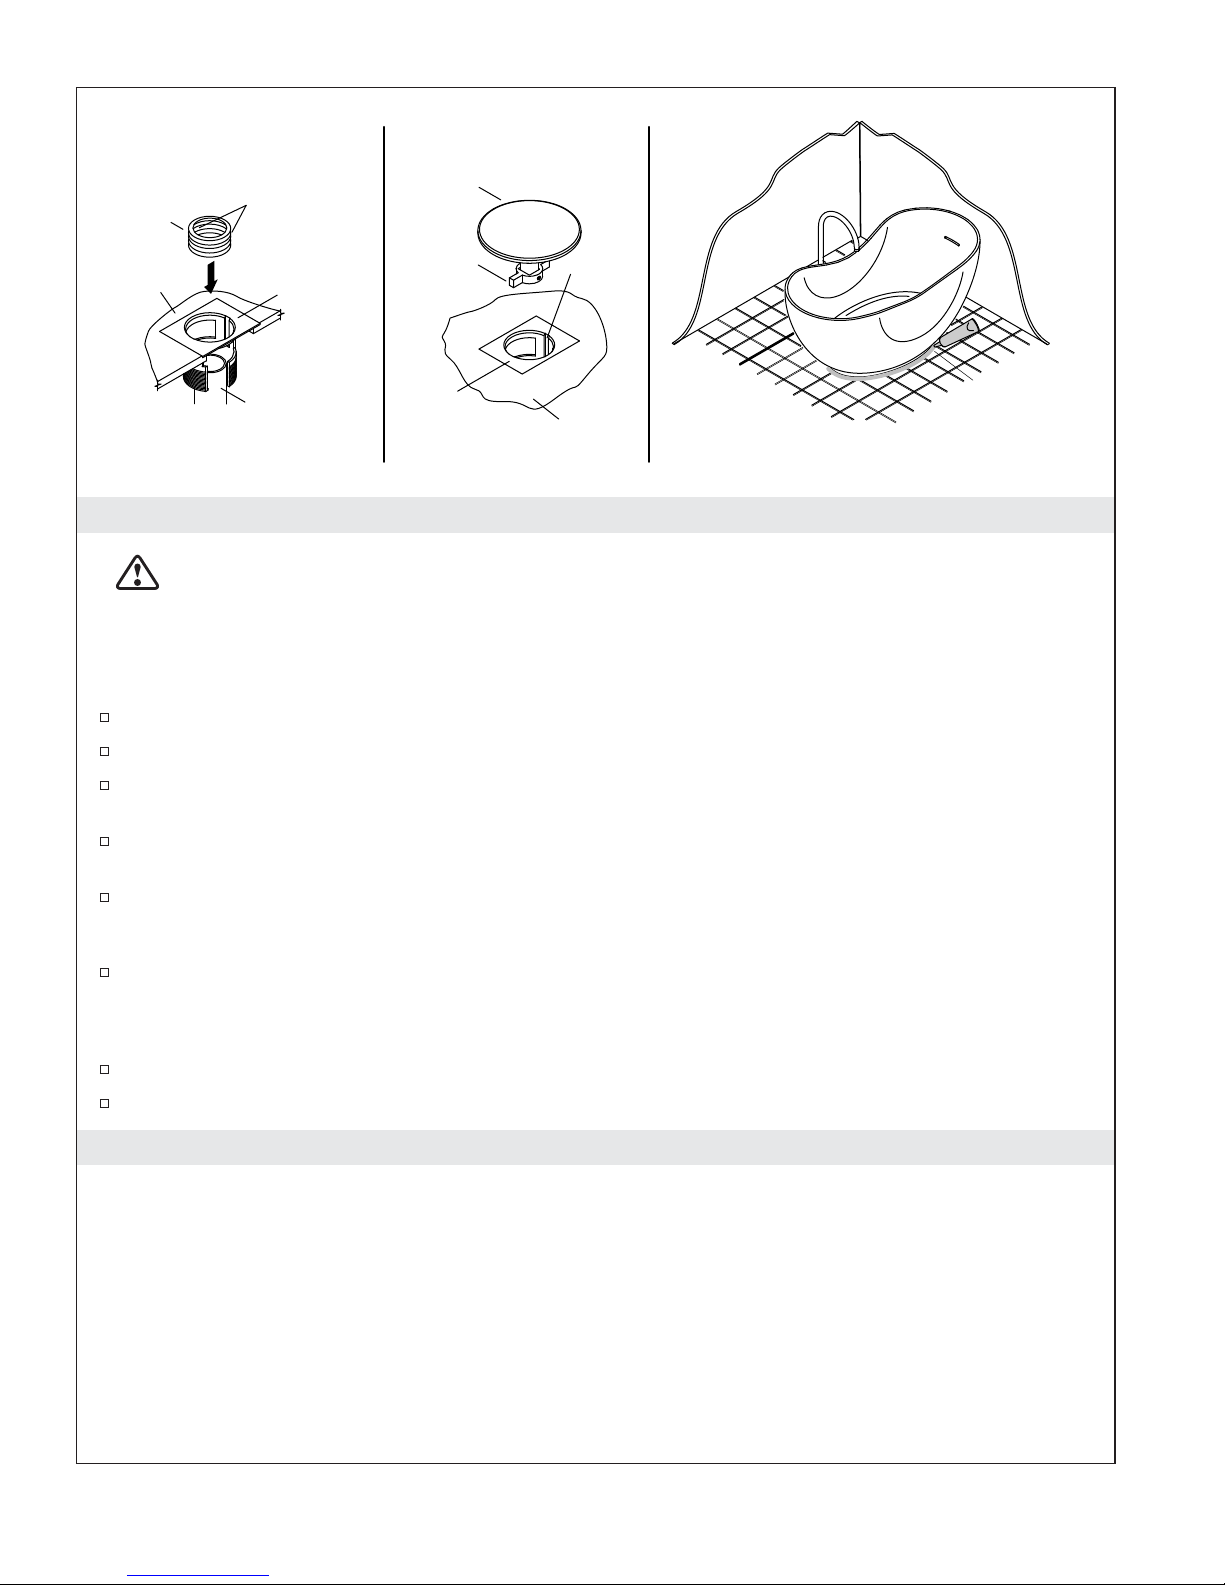
3. Install the Plumbing
CAUTION: Risk of property damage. Make sure a watertight seal exists on all bath drain
connections.
Make the Drain Connections
NOTE: The drain cover and gaskets are included in a small box located within the carton.
Choose the thin drain gasket for PVC drain pipes or the thick gasket for brass pipes.
Apply silicone sealant to the inside and outside surfaces of the drain gasket to act as a lubricant.
Use a rubber mallet and short section of 1-1/2″ PVC tubing to install the drain gasket onto the drain
pipe.
Line up the tabs on the drain cover with the slots in the drain body, and insert the drain cover
assembly into the flange.
Press the drain cover several times to make sure the drain opens and closes properly.
Apply sealant.
(optional)
Apply Sealant - Optional
If desired, apply a thin, continuous bead of clear or color-matched silicone sealant to the seam
between the bath and the finished floor.
Install the Bath Filler
Install the faucet valve and trim according to the faucet manufacturer’s instructions.
Close the bath drain. Fill the bath to the overflow, and check for leaks.
Care and Cleaning
For best results, keep the following in mind when caring for your KOHLER product:
•
Always test your cleaning solution on an inconspicuous area before applying to the entire surface.
•
Wipe surfaces clean and rinse completely with water immediately after applying cleaner. Rinse and
dry any overspray that lands on nearby surfaces.
•
Do not allow cleaners to soak on surfaces.
•
Use a soft, dampened sponge or cloth. Never use an abrasive material such as a brush or scouring
pad to clean surfaces.
For detailed cleaning information and products to consider, visit www.kohler.com/clean. To order Care &
Cleaning information, call 1-800-456-4537.
Kohler Co. 5 1207308-2-A

Removing Minor Surface Damage
Your solid surface acrylic bath is strong and durable, and will provide you with years of satisfaction. If you
observe stains or minor scratches in the acrylic surface, follow these steps to quickly repair your bath.
IMPORTANT! This repair procedure is not appropriate for deep scratches, gouges, or chips. For damage
of that nature please contact Kohler Co. or a local solid surface repair professional.
NOTE: We recommend wet sanding to extend the life of the sandpaper, although dry sanding will
produce the same quality repair.
NOTE: Use 400 grit sandpaper to remove scratches and stains.
Apply flat, even pressure with the sandpaper and move the paper in a circular pattern.
Inspect your progress frequently to ensure a quality repair.
Clean or replace the sandpaper as needed during the repair.
When the damage is repaired, polish the area with clean 600 grit sandpaper. Use a steady circular
motion to polish the repaired surface and surrounding area to restore the bath to its original finish.
When you are finished, rinse the bath surface with clean water to remove any sanding dust and
debris. Use a clean cloth to dry the bath surface.
Warranty
ONE-YEAR LIMITED WARRANTY
KOHLER plumbing products are warranted to be free of defects in material and workmanship for one year
from date of installation.
Kohler Co. will, at its election, repair, replace or make appropriate adjustment where Kohler Co. inspection
discloses any such defects occurring in normal usage within one (1) year after installation. Kohler Co. is not
responsible for removal or installation costs. Use of in-tank toilet cleaners will void the warranty.
To obtain warranty service contact Kohler Co. either through your Dealer, Plumbing Contractor, Home
Center or E-tailer, or by writing Kohler Co., Attn.: Customer Care Center, 444 Highland Drive, Kohler, WI
53044, USA, or by calling 1-800-4-KOHLER (1-800-456-4537) from within the USA and Canada, and
001-800-456-4537 from within Mexico, or visit www.kohler.com within the USA, www.ca.kohler.com from
within Canada, or www.mx.kohler.com in Mexico.
IMPLIED WARRANTIES INCLUDING THAT OF MERCHANTABILITY AND FITNESS FOR A
PARTICULAR PURPOSE ARE EXPRESSLY LIMITED IN DURATION TO THE DURATION OF THIS
WARRANTY. KOHLER CO. AND/OR SELLER DISCLAIM ANY LIABILITY FOR SPECIAL,
INCIDENTAL OR CONSEQUENTIAL DAMAGES. Some states/provinces do not allow limitations on how
long an implied warranty lasts, or the exclusion or limitation of special, incidental or consequential damages,
so these limitations and exclusions may not apply to you. This warranty gives you specific legal rights. You
may also have other rights which vary from state/province to state/province.
This is Kohler Co.’s exclusive written warranty.
1207308-2-A 6 Kohler Co.
 Loading...