


©PRINTED IN JAPAN B64-2432-10/00 (K)(+)
'03/12 11 10 9 8 7 6 5 4 3 2 1 '02/12 11 10 9 8 7 6
FM MODULATOR SYSTEM
INSTRUCTION MANUAL
SYSTEME A MODULATION DE FM
MODE D’EMPLOI
SISTEMA DE MODULADOR FM
MANUAL DE INSTRUCCIONES
KCA-R70FM
Take the time to read through this instruction manual.
Familiarity with installation and operation procedures will help you
obtain the best performance from your FM modulator system.
For your records
Record the serial number, found on the back of the unit, in the spaces designated on the warranty card, and in the space provided below. Refer to the
model and serial numbers whenever you call upon your KENWOOD dealer for
information or service on the product.
Model KCA-R70FM Serial number

— 2 —
English
Contents
Before use
Safety Precautions ........................................................................3
General features
Power............................................................................................5
Switching Modes ..........................................................................5
Sirius satellite radio tuner features
Selecting Sirius Mode...................................................................6
Switching Seek Mode...................................................................6
Selecting the Preset Band ............................................................6
Channel Preset Memory...............................................................7
Preset Tuning ................................................................................7
Channel Scan ................................................................................7
Channel Search............................................................................7
Direct Access Tuning ....................................................................8
Switching Display..........................................................................8
Disc control features
Playing Disc...................................................................................9
Fast Fowarding and Reversing .....................................................9
Track Search ..................................................................................9
Disc Search .................................................................................10
Direct Track Search .....................................................................10
Direct Disc Search ......................................................................10
Track/Disc Repeat .......................................................................10
Track Scan ...................................................................................10
Random Play ...............................................................................10
Magazine Random Play...............................................................11
Folder Search ..............................................................................11
Text/Title Scroll ............................................................................11
Switching Display........................................................................11
Menu system
Menu system..............................................................................12
Changing the Transmission Frequency .......................................13
Modulation level..........................................................................13
Dynamic control ..........................................................................13
Text Scroll....................................................................................13
Sirius ID (ESN).............................................................................14
Basic Operations of remote.............................................15
Installation
Accessories.................................................................................17
Installation Procedure .................................................................17
Connecting Wires to Terminals ...................................................18
Installation...................................................................................20
Troubleshooting guide........................................................21
Specifications .........................................................................25
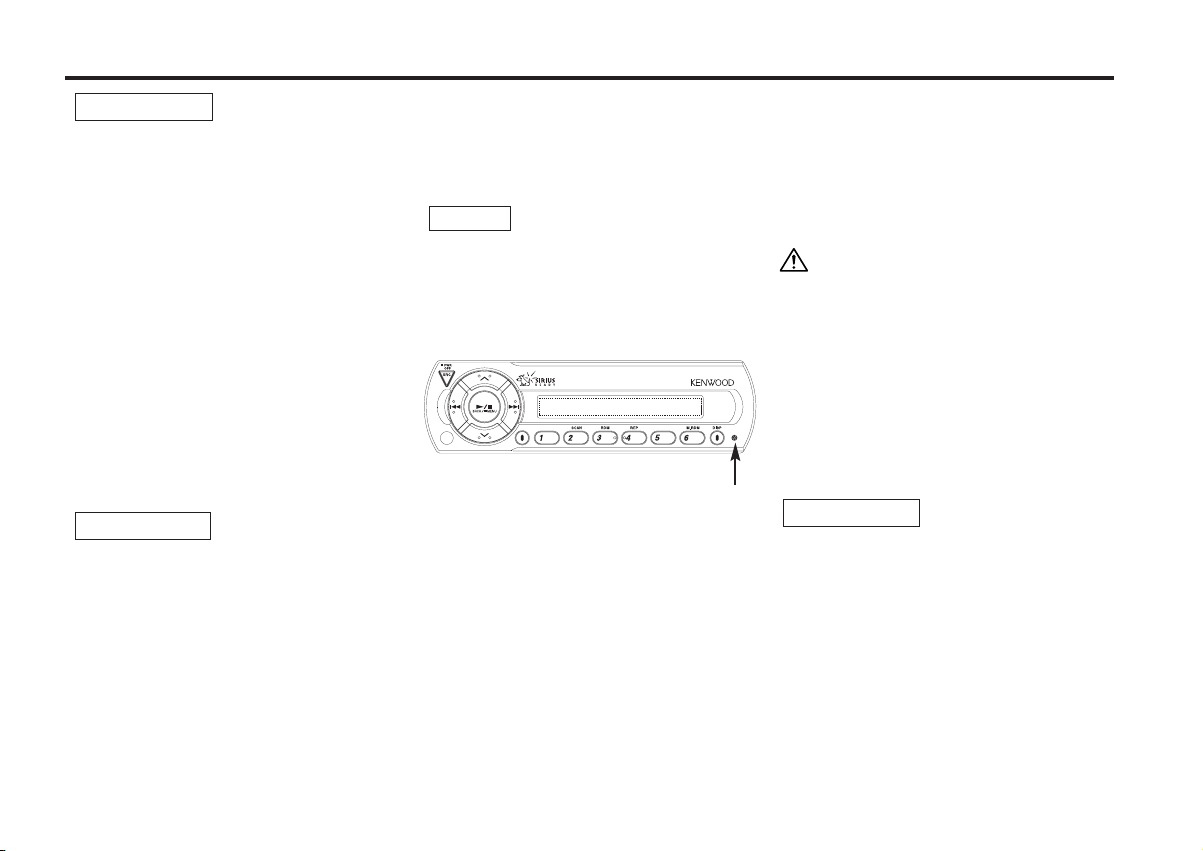
Reset button
— 3 —
Take the following precautions to
prevent fire and avoid personal injury:
• When extending the ignition wire, battery
wire, or ground wire, use 0.75mm2(AWG18)
or larger automotive grade wire to avoid wire
deterioration or damage to the covering.
• Check that no metal objects (coins, tools,
etc.) are left inside the unit to avoid short
circuits.
• If you smell or see smoke, turn the power
off immediately and consult your Kenwood
dealer.
• Do not touch the liquid crystal fluid if the
LCD is damaged or broken due to shock. The
liquid crystal fluid may be dangerous to your
health or even fatal.
If the liquid crystal fluid from the LCD
contacts your body or clothing, wash it off
with soap immediately.
Take the following precautions to
keep the unit in proper working order.
• Be sure the unit is connected to a 12V DC
power supply with a negative ground
connection.
• Do not open the top or bottom cover.
• Do not install the unit in places it is exposed
to direct sunlight, high heat or humidity,
water may splash over it, or dust exists.
2CAUTION
2WARNING
IMPORTANT INFORMATION
About the disc changer to be
connected:
To connect a disc changer having the "O-N"
switch to this unit, set the "O-N" switch to "N".
Note that none of the KDC-C100, KDC-C302,
C205, C705, and non-Kenwood CD changers
can be connected.
You can damage both your unit and the CD
changer if you connect them incorrectly.
Precautions when connecting disc changers
released in 1997 or earlier.
The optional switching adapter KCA-S210A is
necessary to connect a disc changer that is
not equipped with the "O-N" switch except
KDC-C100, KDC-C302, C205 and C705.
Cleaning the Unit
If the front panel gets dirty, turn off the
power and wipe the panel with a dry silicon
cloth or soft cloth.
Do not use hard cloths or paint thinner,
alcohol, or other volatile solvents. These may
damage external surfaces or remove
indicator characters.
2CAUTION
Safety Precautions
• When replacing a fuse, only use a new one
with the prescribed rating. Using a fuse with
the wrong rating may cause your unit to
malfunction.
•To prevent a short circuit when replacing a
fuse, first disconnect the wiring harness.
• If you have difficulty in installing this unit in
your vehicle, contact your Kenwood dealer.
• If it doesn’t seem to be working properly,
first press the Reset button. If the
malfunction persists, consult your Kenwood
dealer.
• Some car stereos cause the sound of the
tuner to make for a moment when an
engine is activated.
• The reception of the tuner may be reduced
a little if the KCA-R70FM is used.
• If the sound is lower than the tuner sound,
raise up the volume level of the CD/MD
with using the receiver.
• Do not use your own screws. Use only the
screws provided. If you use the wrong
screws, you could damage the unit.
NOTE

— 4 —
English
Safety Precautions
FCC WARNING
This equipment may generate or use radio
frequency energy. Changes or modifications
to this equipment may cause harmful
interference unless the modifications are
expressly approved in the instruction manual.
The user could lose the authority to operate
this equipment if an unauthorized change or
modification is made.
This Class B digital apparatus complies with
Canadian ICES-003.
NOTE
— 5 —
General features
Turning ON the Power
Press the [SRC] button.
Turning OFF the Power
Press the [SRC] button for at least 1 seconds.
The FM modulator is turned OFF and the radio can be heard.
• Be sure to turn down the volume whenever you listen to the
radio or a cassette tape after stopping the disc play.
• During the disc play is being conducted, you are not able to
receive ordinary Radio broadcasting because antenna output is
switched into compact disc player‘s side.
Power
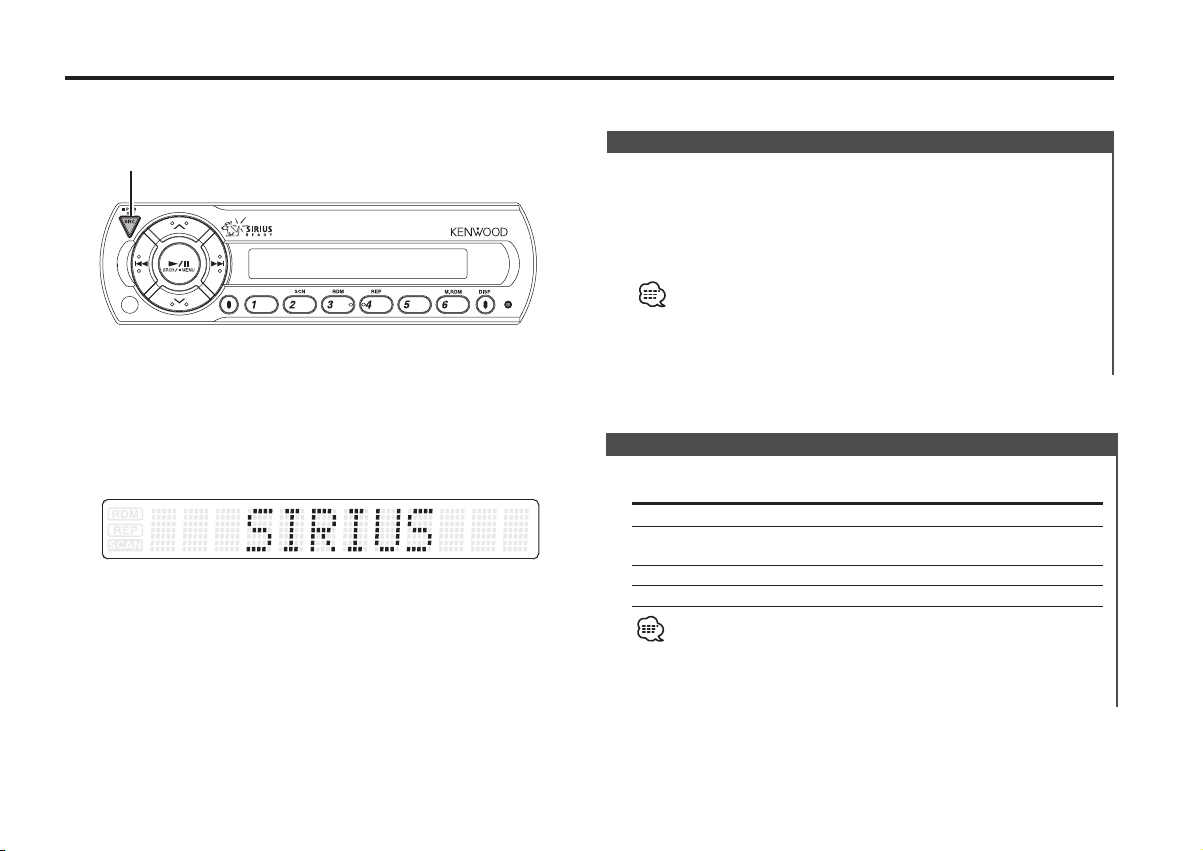
Set the car radio FM station to 88.3 MHz. See Page 13 for
more information on changing the transmission frequency.
Press the [SRC] button.
Source required Display
Sirius "SIRIUS"
CD/MD auto-changer "CHANGER"/"CHANGER-1"/
"CHANGER-2"
Auxiliary input "AUX"
Off
For Auxiliary input one of the below optional accessories is
necessary.
- KCA-S210A
- CA-C1AX
- CD changer with an Auxiliary input function installed.
Switching Modes
SRC
— 6 —
English
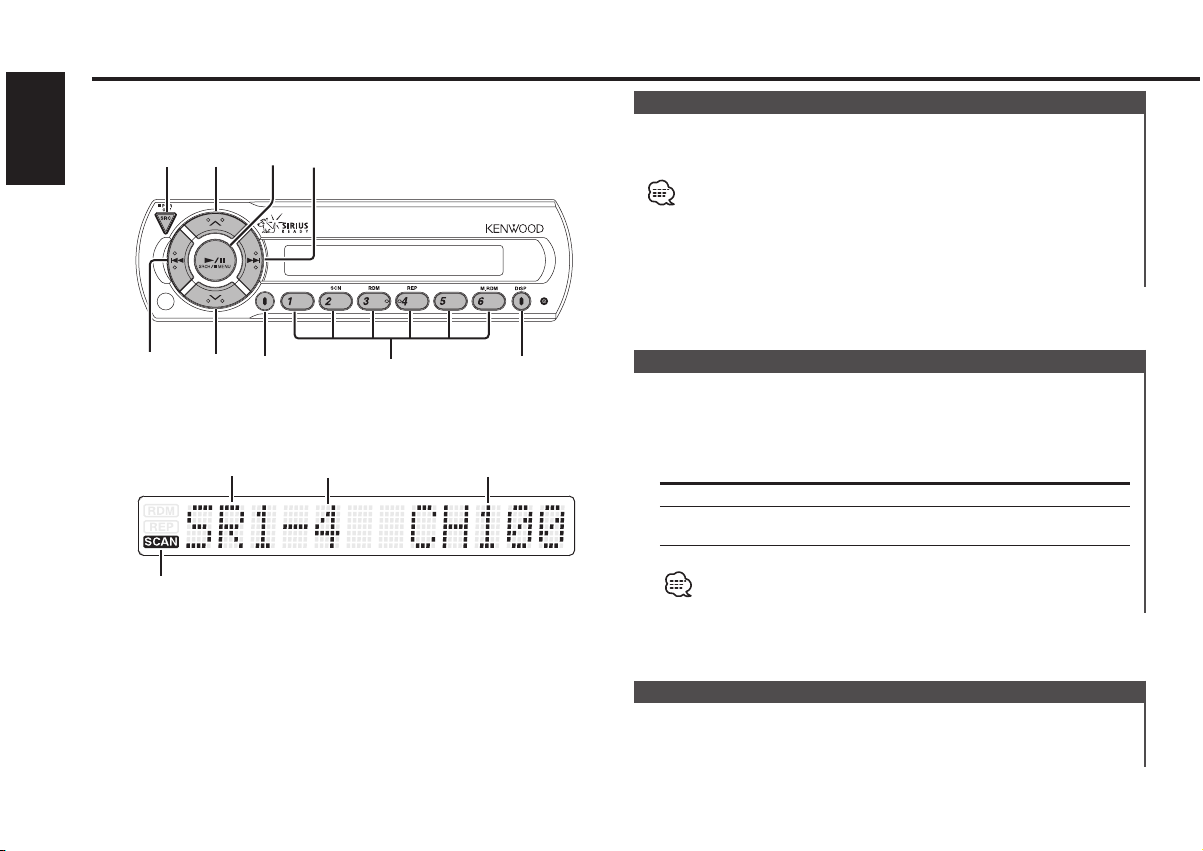
Sirius satellite radio tuner features
Band display Channel number
Preset station number
Press the [SRC] button.
Select the "SIRIUS" display.
•You need to subscribe to SIRIUS to receive the service by Sirius
Satellite Radio. Consult SIRIUS if "CALL 888-539 SIRIUS TO
SUBSCRIBE" appears.
• It may take a little time to start receiving after you selected the
SIRIUS source.
• If the signal receiving fails, "ACQUIRING SIGNAL" appears.
Selecting Sirius Mode
Press the [u] button.
Each time the button is pressed the preset band switches
between the SR1,SR2,SR3, and SR4.
Selecting the Preset Band
Sets the seeking mode.
Press the [SEEK] button.
Each time the button is pressed the Seek mode switches as
shown below.
Display Operation
"SEEK 1" Normal manual seeking control.
"SEEK 2" Search in order of the channels in the
Preset memory.
You cannot operate this unit during switching Channel or Category.
Switching Seek Mode
SCAN indicator
SRC
u
SRCH
¢
4
d
SEEK
# 1-6
DISP
— 7 —
Putting the channel in the memory.
1 Select the preset band
Press the [u] button.
2 Select the channel to put in the memory
Press the [4] or [¢] button.
3 Put the channel in the memory
Press the [#1] — [#6] button for at least 2 seconds.
The preset number display blinks 1 time.
On each band, 1 channel can be put in the memory on each [#1]
— [#6] button.
Only the channel number is stored. Category information is not
stored.
Channel Preset Memory
Calling up the channels in the memory.
1 Select the preset band
Press the [u] button.
2 Call up the channel
Press the [#1] — [#6] button.
Preset Tuning
You can switch from Up/Down of Channel in a category being
selected to Previous/Next of Category that includes Channel
being received and vice versa.
1 Enter Channel Search mode
Press the [SRCH] button.
2 Select the Category
Press the [u] or [d] button.
3 Select the Channel
Press the [4] or [¢] button.
Canceling Channel Search
Press the [SRCH] button.
You cannot operate this unit until all the Category information is
acquired.
Channel Search
Scanning for the channel you want to listen to.
1 Start Channel Scan
Press the [SEEK] button for at least 1 second.
"SCAN" indicator is ON.
Channel Scan
2 Release it when the channel you want to listen to is received
Press the [SEEK] button for at least 1 second.
— 8 —
English
— 8 —
You can display various kinds of text data transmitted from
broadcasting stations by switching as follows.
Press the [DISP] button.
Each time the button is pressed the display switches as shown
below.
Information Display
Channel Number
Channel Name "CHANNEL"
Song Title "SONG"
Artist Name "ARTIST"
Category Name "CATEGORY"
Album Title "ALBUM"
Switching Display
Entering the channel and tuning.
1 Enter Direct Access Tuning mode
Press the [DIRECT] button on the remote.
2 Enter the channel number
Press the number buttons.
3 Do Channel Search
Press the [4] or [¢] button.
Canceling Direct Access Tuning
Press the [DIRECT] button on the remote.
•If you make no button operation for 10 seconds, the Direct Access
Tuning mode is automatically canceled.
•You can set up to Channel number 223.
• If there is no signal in the input Channel, "NO CHANNEL" appears.
• If you cannot receive any signal in the input Channel due to a bad
condition on radio wave or another problem, "ACQUIRING SIGNAL"
appears.
Direct Access Tuning (Function of remote)
Sirius satellite radio tuner features
 Loading...