

Gutter Cleaning Robot
www.irobot.com

2
iRobot Looj Owner’s Manual
www.irobot.com 3
Version 1.070808
Important Safety Instructions
Looj is a gutter cleaning device, use only as intended.
For residential use only.
• READ ALL INSTRUCTIONS BEFORE USING LOOJ.
• This device has been tested and complies with FCC rules. Changes or
modifications not expressly approved by the manufacturer will void your
authority to operate this product.
• Prevent electric shock! During the course of Looj’s operation, the
product may get wet. Be certain it is dry before opening battery case to
prevent potential shock injuries or burns.
• Always wear safety goggles when operating.
• Looj will be throwing material clear of the gutter. Keep yourself and
others out of path of flying debris. Make sure debris path below the
gutter is clear of property or objects.
• Always use the belt clip when carrying Looj, and keep both hands on
the ladder while climbing and descending the ladder.
• Do not expose remote control handle to water.
• Robot is water proof up to one foot of water, do not submerge in
deeper water.
• Do not expose the robot to water if battery door is not secured to prevent
damage to Looj.
• Do not attempt to service Looj yourself. Refer all non-routine servicing
to qualified ser vice personnel. Visit www.irobot.com/support for
more information.
• Looj is expressly not intended for children. Looj is not a toy. Do not sit
or stand on this device. Small children and pets should be supervised
if Looj is in use.
• Keep loose clothing, hair and body parts away from Looj while
operating.
• Do not use this device near fire, or high heat.
• Always remove the battery before long-term storage.
• Use only iRobot Looj batteries and chargers to charge this device.
• Charge using standard US (120V AC) outlet only. Do not use with any
type of power conver ter –– any such use will immediately void the Warranty.
• Do not use the charger if the cord or plug is damaged.
• Charge indoors only.
4
iRobot Looj Owner’s Manual
www.irobot.com 5
IMPORTANT: Make sure you read and follow all safety instructions and
labels from your ladder manufacturer before attempting to use Looj. Failure to
do so may cause serious injury or death.
Ladder Safety
• iRobot Looj enables you to clean a single run of gutter with one ladder
position. Choose the safest ladder position possible along each run.
Safe ladder positions are away from power lines, tree limbs, or other
hazards, and provide a level sur face to rest the ladder.
• Always inspect the ladder before you use it. Never use the ladder if it is
damaged, broken or bent.
• Make sure the ladder is away from electrical wires, tree limbs, doors, or
any other hazards when it is extended.
• Do not lean over the side of the ladder when using Looj. Never over-reach.
Always keep yourself balanced and centered over the ladder at all times.
• Keep both feet and one hand firmly on the ladder while placing Looj in
the gutter and operating Looj.
• Keep the handle on Looj when placing it in and removing it from the gutter.
• Do not place Looj in the gutter while standing on a roof unless you
are secured to the roof with a safety harness in accordance with the
manufacturer’s instructions.
Welcome
Dear iRobot® LoojTM Owner,
Welcome to the world of iRobot. As an owner of the iRobot Looj Gutter
Cleaning Robot, you join a growing group of people around the globe who,
like you, are discovering an easier way to clean their gutters.
The use of practical robots that help you in and around your home is a new
reality. We encourage you to share your feedback as we continue to develop
new and ground-breaking robots. Here’s what you can do to par ticipate in
our efforts:
• Communicate with us if you have questions, comments or require
support. Contact us at www.irobot.com.
• Register online at www.irobot.com/register or by mail (see included
card). You’ll be among the first to hear about our newest robots, product
enhancements, and special offers.
Thank you for joining the robot revolution. We look forward to your valued
input as we continue to deliver groundbreaking products that will change and
improve your world.
On behalf of the entire iRobot team,
Colin Angle
Co-Founder and CEO
iRobot Corporation
6
iRobot Looj Owner’s Manual
www.irobot.com 7
Important Tips
Before you use Looj, please read
“Important Safety Instructions”
on pages 3 and 4.
For Best Performance
• Charge the batter y for 24 hours prior to using. Unplug after 24 hours
of charging.
• For long-term storage, keep Looj in a cool, dr y place and remove the
batteries from the robot and handle. Do not keep the batter y plugged
into the charger during storage.
• Clean Looj after each use.
• To avoid overspill and sludge accumulation, clean your gutters at least
once per season. Clean regularly in areas where heavy debris is collected.
• For the densest clogs, reverse Looj, allow it to eject debris over gutter,
and drive it forward. Repeat this process until the clog is cleared.
• Use fresh AAA batteries in the remote control handle for maximum range.
Table of Contents
Important Safety Instructions ....................................... 3
Important Tips ............................................................ 6
Anatomy ..................................................................... 8
Product Description ..................................................... 9
Charging and Installing the Batter y ............................... 10
Using the Remote Control Handle ................................. 12
Attaching the Auger ..................................................... 13
Using iRobot Looj ........................................................ 15
Troubleshooting .......................................................... 19
iRobot Customer Care ................................................. 20
Limited Warranty ......................................................... 22
If Looj’s auger stops spining and produces a loud clicking sound, the clutch is
slipping. Turn off the auger and reverse Looj to avoid damaging the clutch.
To see helpful operating and maintenance videos of Looj, please visit our
website: www.irobot.com

8
iRobot Looj Owner’s Manual
www.irobot.com 9
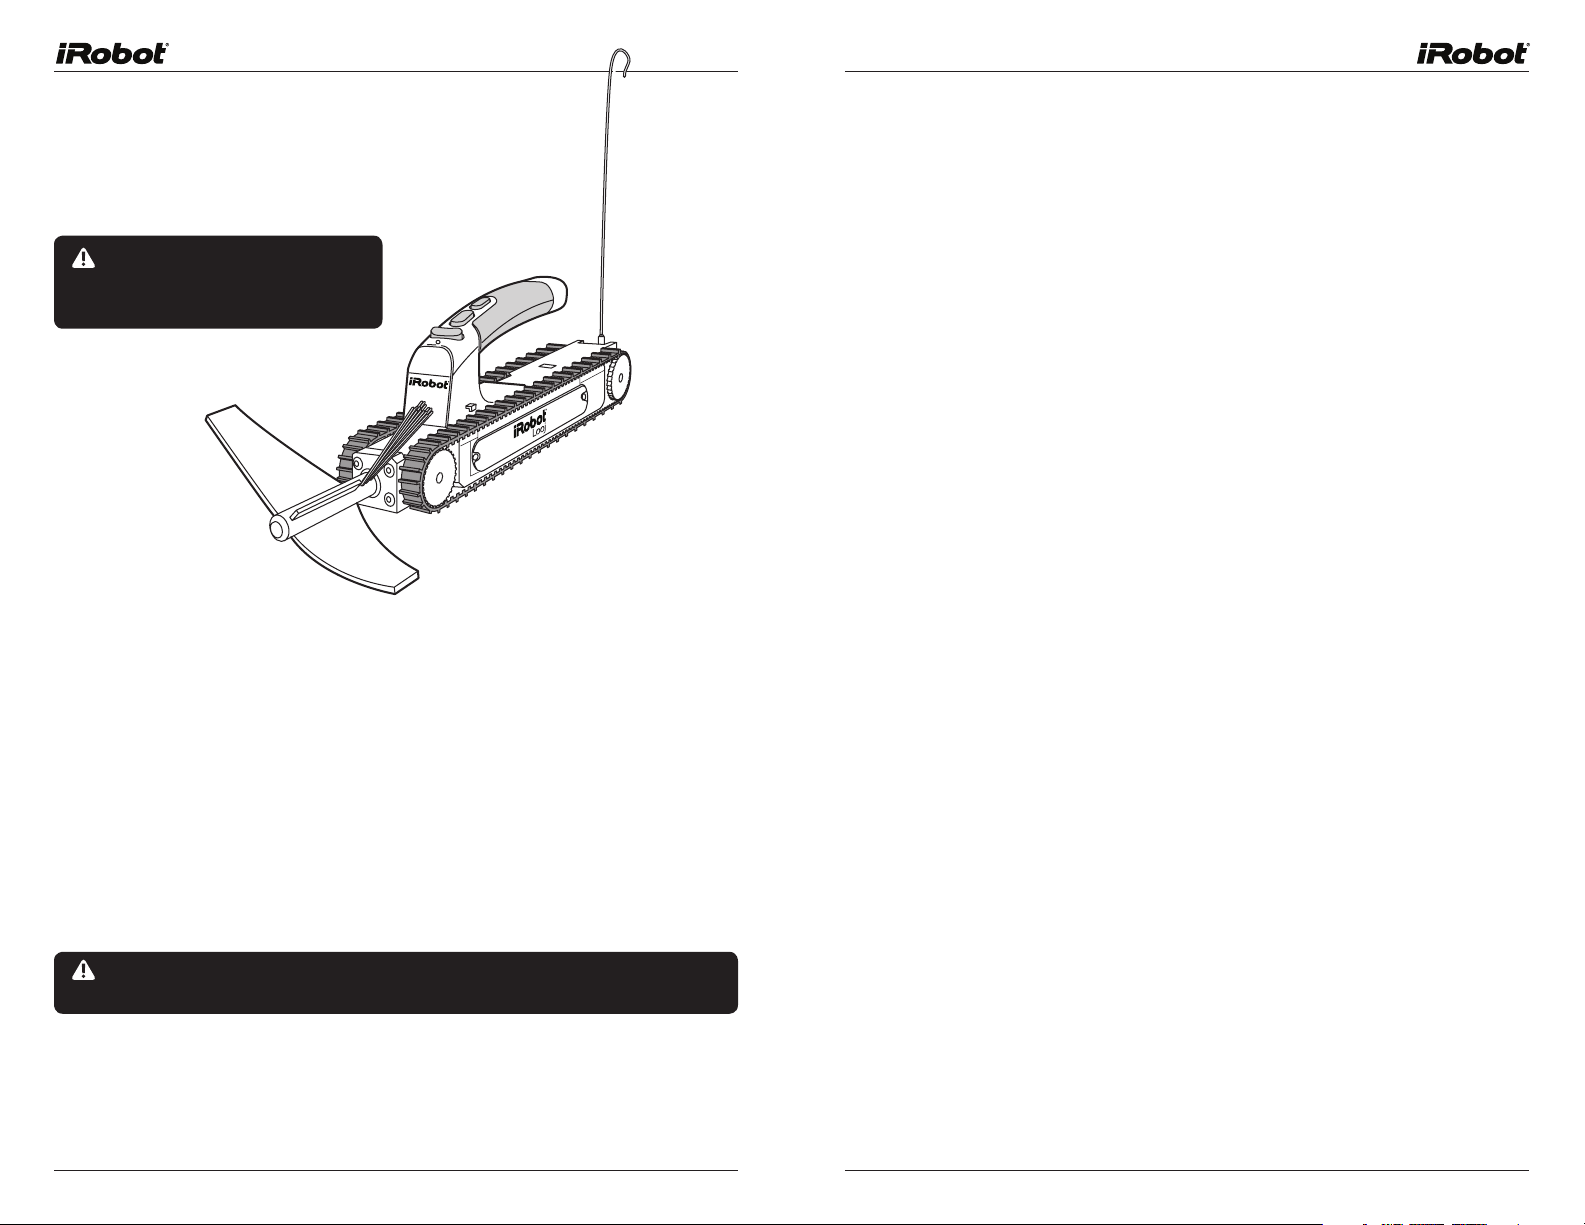
iRobot® Looj™ Anatomy
Robot
CAUTION: Never operate Looj
without first attaching the Auger
to the drive shaft.
Auger
Ejectors
Disrupters
Sweepers
Power Switch
Treads
Remote
Transmission
Light
Antenna
Power Light
Belt Clip Hook
Battery Door Screws
Wheel
Remote Control Handle
Auger Spin Direction
Robot Movement
Remote Power
Product Description
iRobot Looj is a powerful robot designed to clean gutters. Looj eliminates
multiple climbs up and down the ladder. No more moving the ladder every
six feet, or overreaching at dangerous heights. Looj has a number of features
designed to make gutter cleaning simple and easy. Looj’s ergonomic handle
detaches for wireless control of the robot. The included belt clip lets you keep
two hands on the ladder as you climb.
Cleaning Power: The robot uses a three-stage auger to remove clogs, lift
out the debris, and brush your gutters clean. Spinning at 500 RPM, the
high speed auger disrupts, lifts, and tosses debris out of your gutters.
Remote Control Convenience: The remote control gives you complete forward
and backward control of the robot. You can also control the spin direction of
the auger to make sure that gutter debris is tossed in the correct direction
away from the roof.
Battery Charger
End Caps
7.2V Rechargeable Battery
Antenna Clip
Release Trigger
Belt Clip
Belt Slots
Robot Hook
CAUTION: Never wear the Looj
belt clip and robot in the front of
your body. The belt clip must be worn
on your side or behind you to avoid
the robot being knocked off the clip
while walking or climbing.
iRobot Looj works in most standard gutters with straps or ties mounted at least
2¼” above the bottom trough. Looj is compatible with standard K-style and
half rounds mounted with lower supports.
Tip: Remove items such as balls, large rocks, and tree branches by hand.
Attempting to force Looj through solid debris could damage the robot.

10
iRobot Looj Owner’s Manual
www.irobot.com 11
Charging and Installing the Battery
Before you use Looj, charge the included
7.2V battery pack for 24 hours.
Looj batteries are designed to power
Looj through 150 linear feet of gutter
on a single charge, including the time to
drive Looj back and forth during cleaning.
Do not leave Looj’s battery plugged into
the charger for more than 24 hours, as it
may reduce the battery life.
For long term storage, iRobot recommends
that the battery be fully charged then
removed from the robot and stored in a
cool, dry place.
To install battery pack:
Battery Tips
• Remove all batteries and store in a cool dry place when not in use.
• Do not leave battery charging for more than 24 hours. Doing so may
decrease batter y life.
• The battery naturally looses charge while being stored. After storing
for a season without charging, you will need to recharge the battery
for 24 hours prior to using.
• Batter y life can be improved by only charging the batter y when it is
fully depleted. See www.irobot.com/support for more details on the
Looj batteries and charging.
1. Loosen screws and remove
battery door
2. Make sure the battery end caps are on
the battery. The end caps ensure a tight
fit of the battery into the compartment.
3. Connect the battery connector to the
connector inside the robot’s battery
compartment and insert the batter y
into the robot battery compartment

12
iRobot Looj Owner’s Manual
www.irobot.com 13
Using the Remote Control Handle
The remote control handle detaches from Looj and is used to command the
robot from a distance of up to 75 feet, depending upon interference and
environmental conditions. The remote control handle keeps your hands clean
and makes it easy to place the robot in and out of the gutter using only one
hand. Install two AAA alkaline batteries (not included) in the remote control
handle before operating.
Always use the same brand of batteries in the remote control handle.
Don’t mix battery types or brands. Use fresh batteries for maximum
performance and range.
Insert AAA batteries into
the remote control handle
as shown.
To attach the remote control handle to Looj:
1. Hold the remote control handle and align the front edge with the
mark on the robot.
2. Slide the remote control handle onto the robot.
To remove the remote control handle from Looj:
Press release trigger and slide remote
control handle away from auger.
Release Trigger
Attaching the Auger
Push the auger onto the robot shaft until you feel it snap into place or
hear a click.
3. Let go when you hear a snap indicating that handle is in place.
TIP: Make sure handle is securely attached to the robot before picking
up the robot.

14
iRobot Looj Owner’s Manual
www.irobot.com 15
Attaching the Looj Belt Clip
The Looj belt clip is designed to hold Looj while you climb up and down the
ladder. Always use the belt clip or the optional holster accessory (see below)
when using Looj on a ladder.
To use the belt clip, remove your belt and thread it through the belt slots.
The robot hook should be on the bottom of the clip when attached to your
belt. Attach the robot to the robot clip.
Belt Slots
Robot Hook
Belt Clip
CAUTION: Always keep the belt clip on the side of your body. Placing the
robot in the front may cause it to be kicked by your leg and fall off.
CAUTION: Never use Looj on a ladder without the belt clip or the holster to
hold the robot while you climb or descend.
Using iRobot® Looj
™
Always test Looj before using it.
Prior to using Looj, try driving forward and backwards. Try spinning the auger
in both directions. Note the lights on the remote control handle and on the
robot blink during transmission.
Also, practice attaching and detaching the handle as described on page 12.
Using Looj
1. Attach Looj to the belt clip or place Looj into holster.
2. The optimum spot for ladder placement is away from wires,
hazards, on flat ground, etc. Read and follow ladder instructions
provided by the ladder manufacturer before using a ladder.
See “Important Safety Instructions” section for more details.
3. Climb the ladder.
Looj Holster Accessory (optional, not included in all models)
Use the Looj Holster Accessory as a storage device and to keep your clothing
clean while carr ying Looj. The holster includes a belt and a pouch to hold the
fully assembled Looj and remote control handle. There is also a loop on the
back for hanging.
• Fold antenna underneath antenna hook on
the remote control handle before placing
in the holster.
• Place Looj in the holster with the auger facing up.
4. Place Looj into the gutter and clear debris
with the robot so that Looj rests on bottom
of gutter. Clear all debris in front of the ladder
before starting auger to avoid being sprayed
in the face.
CAUTION: Wear safety glasses when
using Looj to protect your eyes from debris.
5. Switch the power switch on the robot to turn it on. The power light
should be green to indicate that its battery is charged. A red
power light indicates that you should charge Looj’s batter y.
6. Detach the remote control handle.

16
iRobot Looj Owner’s Manual
www.irobot.com 17
7. Press the remote power button. The light on the remote control
handle blinks when it is transmitting signals to the robot.
8. Once Looj is clear of the ladder, choose the desired rotational
direction by pressing the auger spin direction button on the
remote control handle.
TIP: Note that one direction will spin the debris away from the house and the
other direction will spin the debris onto the roof. Test the spin direction
before driving the robot down the gutter.
9. Ensure that the auger is spinning and tossing debris out of the
gutter and away from your home.
10. Press and hold the robot movement button in the for ward
direction to begin cleaning the gutter. Drive the robot forward
and backward down the gutter to remove the debris.
Handling Dense Clogs
Looj can handle most debris found in your gutter. Occasionally, there may be
heavy debris that will not clear in a single pass. Should this situation arise,
it’s important not to force the robot into the debris.
TIP: If you hear a loud clicking sound and the auger stops spinning, the auger’s
clutch has slipped. Immediately turn off the auger and reverse Looj if this
occurs. Once you are clear of the debris, proceed with cleaning.
CAUTION: Excessive operation of the Auger while the clutch is slipping
(clicking) will cause permanent damage to the robot.
11. Once Looj reaches the end of the gutter, drive it back to you.
Keep the auger spinning to drive under the gutter straps
12. Switch the power switch off on the robot and turn the remote
power off.
13. Attach the remote control handle to remove Looj from the gutter
and clip Looj to the belt clip before descending.
14. Descend the ladder following safety instructions from ladder
manufacturer.
Cleaning Looj
Make sure the battery door is securely closed before cleaning. Looj is
designed to be easily cleaned with a hose or under a faucet. No chemicals
should be used to clean Looj. Prior to cleaning, remove the remote control
handle and treads from the robot. Clean any debris from Looj’s wheels.
Looj’s remote control handle should be cleaned with a damp cloth only.
The remote control handle is not waterproof. Damage may occur to the
electronics if it is sprayed with water or submerged.
To handle heavy clogs, leave the auger on and drive the robot slowly for ward
until the auger contacts the clogged debris. Allow the auger to eject a small
amount of debris. If Looj gets stuck or if the clutch slips, reverse direction
and allow the auger to clear away the debris it has loosened. Repeat this
process until the clogged debris is fully cleared.
For more detail, photos and videos please visit our website at:
www.irobot.com
CAUTION: If Looj begins to climb up over debris, STOP MOVING THE ROBOT
forward and back it up. If you drive the robot over debris and up the side of the
gutter, you risk it falling out of the gutter which may cause injury.
CAUTION: The remote control handle is not waterproof. Clean the handle
with a damp cloth only.
CAUTION: Always keep the battery door closed when cleaning to avoid
damage to the product or battery.

18
iRobot Looj Owner’s Manual
www.irobot.com 19
Storing Looj
Store iRobot Looj in a cool, dry place. After charging store Looj and its batter y
between 50˚ and 80˚ F (10˚-26˚ C). Excessive heat or cold may reduce battery
life and product performance. For best results, we recommend removing both
the battery pack from the robot and the batteries from the remote control
handle when the product is stored.
Troubleshooting
Refer to the chart below to resolve Looj’s problem. If the problem is not
resolved, visit www.irobot.com/support (page 20).
Observation Likely Cause What to do
Remote transmission
light does not light up
on the remote.
Robot is not
responding to the
remote control
handle.
Auger will not insert
into robot.
Auger stops spinning
and loud clicking
sound is heard.
Auger is spinning but
robot is not moving.
Clicking sound is
heard.
Batteries were inserted incorrectly
or have depleted. Power may not
be on.
Robot power is off or there is
radio interference between the
remote control handle and robot.
Insertion hole is clogged. Clean out hole with toothpick or forced air.
Clutch has slipped on Auger. Immediately turn off the auger and back up the
Robot movement has stopped to
protect the robot track motors.
The clutch has slipped on the
robot track wheels.
Check the battery orientation or replace with
fresh batteries. Switch the remote power
button to the “on” position.
Check to see that both power buttons are on
and both robot and remote control handle
lights are flashing when a remote button is
pressed. If not, try to improve reception by
raising the remote control handle above the
height of the gutter while operating.
robot away from any debris. Try spinning the
auger in a clear area to test it.
Retrieve robot, clean the wheels and test it
on the ground to make sure it is operating
properly before placing back into the gutter.
Indicator Lights
Robot Power Light
Solid Red Battery is low. Turn off auger immediately and recharge battery.
Blinking Red Batter y is low and robot is receiving data (commands) from the
Solid Green Power is on, battery level is ok.
Remote Transmission Light
Solid Green Power is on.
Blinking Green Remote control is sending data (commands) to the robot.
What it means
remote. Turn off auger immediately and rechar ge battery.
What it means

20
iRobot Looj Owner’s Manual
www.irobot.com 21
iRobot Customer Care
If you have questions or comments about this product please
contact iRobot before contacting a retailer.
Please visit www.irobot.com for support tips, frequently asked questions,
or information about accessories and other iRobot products. We would like
to hear from you.
Should you still need assistance:
• Visit the iRobot support site at www.irobot.com/support
• Call our customer care representatives at 877.855.8593
iRobot Customer Care Hours:
• Monday – Friday 9AM – 7PM Eastern Time
• Saturday 9AM – 6PM Eastern Time
FCC Notice: This equipment has been tested and found to comply with the
limits for a Class B digital device, pursuant to Part 15 of the FCC Rules.
These limits are designed to provide reasonable protection against harmful
interference in a residential installation. This equipment generates uses
and can radiate radio frequency energy and, if not installed and used in
accordance with the instructions, may cause harmful interference to radio
communications. However, there is no guarantee that interference will not
occur in a particular installation. If this equipment does cause harmful
interference to radio or television reception, which can be determined by
turning the equipment off and on, the user is encouraged to try to correct the
interference by one or more of the following measures:
• Reorient or relocate the receiving antenna.
• Increase the separation between the equipment and receiver.
• Connect the equipment into an outlet on a circuit different from that to
which the receiver is connected.
• Consult the manufacturer, dealer, or an experienced radio/TV technician
for help.
WARNING: Changes or modifications not expressly approved by iRobot could
void your authority to operate this product.

22
iRobot Looj Owner’s Manual
www.irobot.com 23
LIMITED WARRANTY
TO ORIGINAL PURCHASER
This IRobot brand product, as supplied and distributed by iRobot Corporation, and delivered as
manufactured, in the carton to the original customer purchaser, is warranted by iRobot Corporation
against manufacturing defects in materials and workmanship for the qualifying limited warranty
period as follows: One year LABOR AND PARTS: This limited warranty begins on the original
date of purchase, and is valid only on products purchased and used in North America, and does
not include installation, removal or reinstallation. Warranty repairs must be performed by iRobot
Corporation’s authorized service center. To receive warranty service, the original dated bill of sale
must be presented upon request as proof of purchase to iRobot Corporation’s authorized service
center. To obtain warranty ser vice, support or other information, please visit our website at
www.irobot.com or by calling 877-855-8593. iRobot Corporation will repair or replace this product,
at our option and at no charge with new or reconditioned parts, if found to be defective during
the limited warranty period specified above. To request service, the purchaser must contact
iRobot Corporation for problem determination and service procedures. iRobot Corporation does
not warrant uninterrupted or error-free operation of the product. All replaced parts and products
become the property of iRobot Corporation and must be returned to iRobot. Replacement parts
and products assume the remaining original warranty, or 60 days, whichever is longer. This limited
warranty covers manufacturing defects in materials and workmanship encountered in normal, and,
except to the extent otherwise expressly provided in this statement, non-commercial use of this
product and shall not apply to the following, including but not limited to: damage which occurs
in shipment; applications and uses for which this product was not intended; failures or problems
which are caused by products or equipment not supplied by iRobot Corporation; accidents, misuse,
abuse, neglect, misapplication, fire, water, lightning or other acts of nature; incorrect electrical
line voltage, fluctuations or surges; damage caused by improper installation; product alteration or
modification; improper or unauthorized repair; exterior finish or cosmetic damage; failure to follow
operation instructions, customer adjustments, maintenance and environmental instructions that are
covered and prescribed in the instruction book; use of non-iRobot or unauthorized parts, supplies,
accessories or equipment which damage this product or result in service problems; failures or
problems due to incompatibility with other equipment. THERE ARE NO EXPRESS WARRANTIES
OTHER THAN THOSE LISTED AND DESCRIBED ABOVE, AND NO WARRANTIES WHETHER EXPRESS
OR IMPLIED, INCLUDING, BUT NOT LIMITED TO, ANY IMPLIED WARRANTIES OF MERCHANTABILITY
OR FITNESS FOR A PARTICULAR PURPOSE, SHALL APPLY AFTER THE EXPRESS WARRANTY PERIOD
STATED ABOVE, AND NO OTHER EXPRESS WARRANTY OR GUARANTY GIVEN BY ANY PERSON, FIRM
OR CORPORATION WITH RESPECT TO THIS PRODUCT SHALL BE BINDING ON IROBOT CORPORATION.
IROBOT CORPORATION SHALL NOT BE LIABLE FOR LOSS OF REVENUE OR PROFITS, FAILURE TO
REALIZE SAVINGS OR OTHER BENEFITS, OR ANY OTHER SPECIAL, INCIDENTAL OR CONSEQUENTIAL
DAMAGES CAUSED BY THE USE, MISUSE OR INABILITY TO USE THIS PRODUCT, REGARDLESS OF
THE LEGAL THEORY ON WHICH THE CLAIM IS BASED, AND EVEN IF IROBOT HAS BEEN ADVISED
OF THE POSSIBILITY OF SUCH DAMAGES. NOR SHALL RECOVERY OF ANY KIND AGAINST IROBOT
CORPORATION BE GREATER IN AMOUNT THAN THE PURCHASE PRICE OF THE PRODUCT SOLD BY
IROBOT CORPORATION AND CAUSING THE ALLEGED DAMAGE. WITHOUT LIMITING THE FOREGOING,
PURCHASER ASSUMES ALL RISK AND LIABILITY FOR LOSS, DAMAGE OR INJURY TO PURCHASER
AND PURCHASER’S PROPERTY AND TO OTHERS AND THEIR PROPERTY ARISING OUT OF THE
USE, MISUSE OR INABILITY TO USE THIS PRODUCT SOLD BY IROBOT CORPORATION NOT CAUSED
DIRECTLY BY THE GROSS NEGLIGENCE OF IROBOT CORPORATION. THIS LIMITED WARRANTY
SHALL NOT EXTEND TO ANYONE OTHER THAN THE ORIGINAL PURCHASER OF THIS PRODUCT, IS
NONTRANSFERABLE AND STATES YOUR EXCLUSIVE REMEDY. Some states do not allow limitations
on how long an implied warranty lasts, or the exclusion or limitation of incidental or consequential
damages, so the above limitations or exclusions may not apply to you. This warranty gives you
specific legal rights and you may also have other rights which vary from state to state.

Get iRobot accessories at:
800.727.9077
© 2007 iRobot Corporation, 63 South Avenue, Burlington, MA 01803. All rights reserved.
iRobot is a registered trademark of iRobot Corporation. Looj is a trademark of iRobot Corporation.
Patents Pending
or visit store.irobot.com
 Loading...