


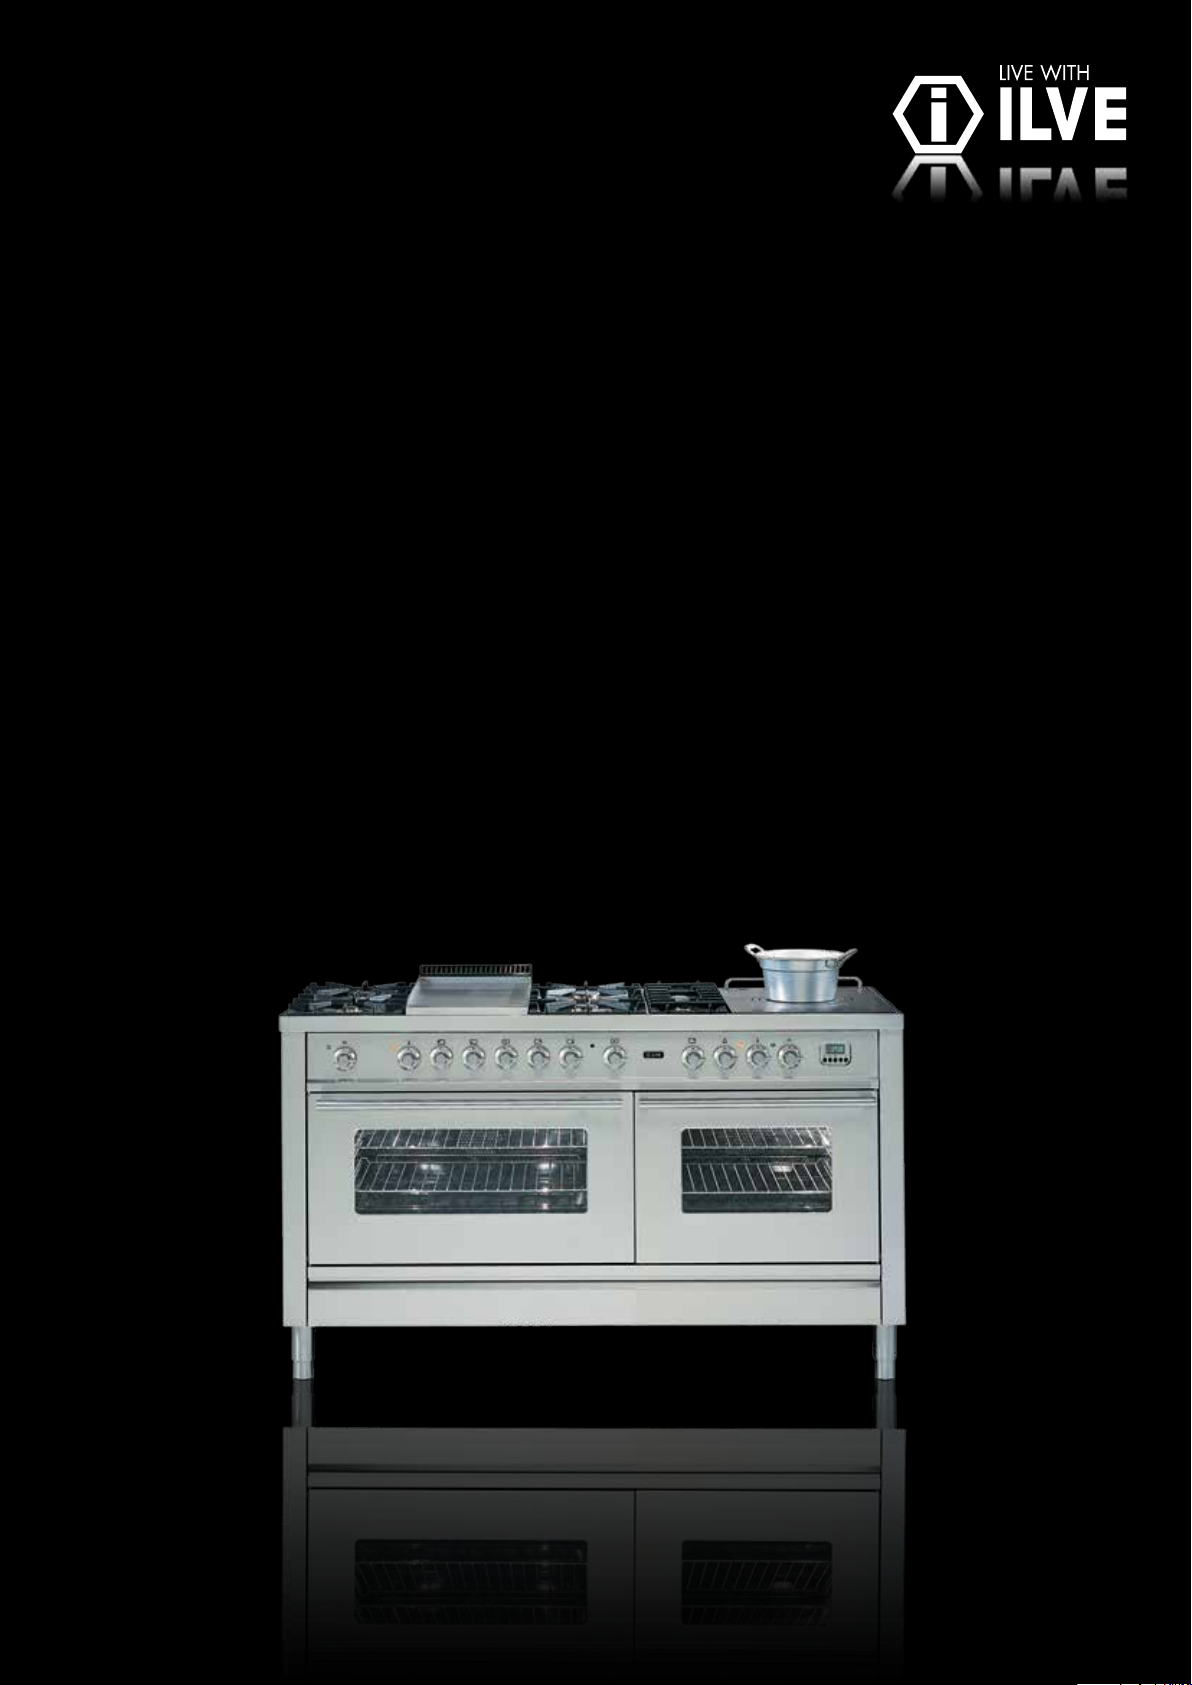
Freestanding Cookers

Freestanding Cookers Operating
& Installation Manual

YOUR FREE MASTERCLASS
Although we encourage you to dive right in, as the owner of a brand new ILVE oven we’d also
like to invite you to attend a complimentary 2 hour masterclass. As part of the class you’ll
learn how to prepare and cook a number of delicious signature ILVE dishes, not to mention
our top tips for getting the most out of your ILVE oven. From improving cooking results to
general maintenance information, we know you’ll enjoy this comprehensive, fun masterclass.
Simply go to ilve.com.au/bookings or Phone 1300 MY ILVE (694 583)
ilve.com.au
OPEN 24
ILVE ACCESSORIES ONLINE SHOP
/
7
For a wide range of coffee machines, pods, and other ILVE
accessories at the click of a button shop.ilve.com.au

As a part of our continued customer service
offering, you can now register your ILVE products
online at
warranty.ilve.com.au/registration
Just follow our simple online registration process.
Please ensure that you always keep your proof
of purchase in order for your warranty to remain
valid should you ever need to use it.
As always, you can contact us on
1300 MY ILVE (694 583)
iWarranty
REGISTER YOUR WARRANTY ONLINE NOW
GO TO: warranty.ilve.com.au/registration
Congratulations,
you are now the proud owner of an ILVE cooking appliance.
Thank you for purchasing ILVE and welcome to the exciting
world of cooking the ILVE way.
This instruction manual has been specially created to inform
you of the full range of features your ILVE appliance has to offer
and serves as an introduction to the wonderful benefits of ILVE’s
dynamic cooking systems.
We present detailed information on each of the advanced
cooking systems built into ILVE appliances. Once you have read
this section you will be able to choose the most appropriate
settings for your appliance when cooking different types of
food.
We ask you to read the instructions in this booklet very carefully
as this will allow you to get the best results from using your
appliance. KEEP THE DOCUMENTATION OF THIS PRODUCT
FOR FUTURE REFERENCE.

Safety Precautions 10
contents
freestanding cookers
Cleaning, Care and Maintenance 32
Operating Instructions 11
Oven Systems 12
Clock and Timer Controls 13
Electric Oven Cooking Modes 14
Grill Systems 16
Using the Rotisserie 18
Operating - Gas Cooktop 20
Tepanyaki plate 22
Installation Instructions 36
Electrical Connection 41
Adaptation to Different Types of Gas 42
Injector & Capacity Table 43
Air Adjustment 44
Low Flame Adjustment of Burners 45
Low Flame Adjustment of Burners 46
Ancillary Service Information 47
Simmer plate 24
Electric BBQ 25
Ceramic Electric Hot Plate 26
Induction and Induction Tepanyaki cooktop 28
Gas Ovens 30
Recipes 48
Guarantee 60
Warranty Information 58
Trouble Shooting Guide 64
safety precautions
Before installing and operating the cooking range, read these instructions completely and carefully.
freestanding cookers
IMPORTANT:
- To be installed only by an authorised person
- Save these instructions for the local inspector’s use.
- Remove all packaging material and literature from the appliance before connecting the gas and electrical
supplies. Additionally note that the correct wok trivet must be placed over the wok burner. The wok
burner trivet has a greater gap between the fingers.
- Observe all governing codes e.g. ASNZS 5601, council ordinances and local authority rules. - The range
must be electrically grounded
TO THE INSTALLER – after connecting the gas supply, turn on the gas and check for leaks at all joints
with soapy water or other approved methods UNDER NO CIRCUMSTANCES USE A NAKED FLAME IN
CHECKING FOR LEAKS. NOT FOR USE IN MARINE CRAFT, CARAVANS OR MOBILE HOME
UNLESS EACH BURNERS IS FITTED WITH A FLAME SAFE GUARD
WARNINGS
Before using the cooker, read the instructions booklet carefully. This contains very important information
concerning safety during installation, use and maintenance. The instructions booklet must be kept with
care for later consultation.
Do not use or store flammable materials in the appliance storage drawer or near this appliance.
Do not spray aerosols in the vicinity of this appliance when it is in operation.
Where this appliance is installed in a marine craft or in caravans, it shall not be used as a space heater.
Do not modify this appliance.
If the hotplate fails to operate correctly, contact Eurolinx Pty ltd or their appointed agent for service.
DO NOT ATTEMPT REPAIRS YOURSELF; repairs and servicing shall only be carried out by
Authorised Personnel.
This appliance is not intended for use by persons (including children) with reduced physical, sensory or
mental capabilities, or lack of experience and knowledge, unless they have been given supervision or
instruction concerning use of the appliance by a person responsible for their safety.
Children should be supervised to ensure that they do not play with the appliance.
Never place unsteady or deformed pans on the burners or on the electric hotplates as they could overturn
accidentally. When placing pans on the hob, always ensure that the handles are facing inward so that
there is no risk of knocking against them.
When the cooker is not in use, ensure that all knobs are exactly in position “ο / ο”
Never leave the hotplate switched on without a pan on it, otherwise it will reach a very high temperature
quickly and the cooker or furniture in the vicinity could be damaged.
10 ILVE Freestanding Operating Manual

Operating instructiOns
freestanding cookers
ILVE stoves, wall ovens and cooktops feature many advanced
cooking components and safety refinements. However before
using your oven for the first time the following installation
check must be carefully carried out and oven elements must
be burnt in.
• Check that your ILVE installer has screwed the oven into its
cavity and that all packaging is removed from inside oven.
Preparing your electric
oven for use:
Setting the clock
To enable use of your ILVE oven you
must first set the clock to the correct
time. If the clock is not set correctly the
oven will not operate.
• Check that all oven racks are in place.
Rack positions
ILVE ovens are equipped with
various racks depending on the
model and size; all ILVE wire
racks are reversible. They have
angled offset ends to allow
Reversed Position
for height variation between
shelves; this is a particularly useful feature when cooking with
deep dishes, for large roasts or when batch cooking.
Normal Position
Burning in elements
It is necessary to burn the protective oils that are used in
manufacturing and shipping from the elements.
1 Set the clock to the correct time.
2 Set oven temperature control knob to 200º C and select
cooking function mode 2 by turning function control knob.
Using the oven
When using your ILVE oven you must
select, using separate knobs, both a
mode of cooking and a temperature
at which to cook. The only exception
to this rule is when using the defrost
mode, where no temperature setting
is required.
Temperature is indicated by an
ORANGE light. This light will turn
on and off during cooking as the
thermostat readjusts itself.
Cooking mode selection is indicated by
a GREEN light. This light should stay
on throughout the cooking process.
All ILVE ovens are fitted with a cavity
cooling fan. This fan is thermostatically
controlled and automatically switches
on when the oven cavity reaches 60ºC.
This gently blows air out through the
front louvre just above the oven door
handle, reducing outside heat.
Temperature
3 Allow to burn in for 10 to 15 minutes.
4 Repeat process for functions 5 and 8 in sequence and
allow to burn in each mode for 10 to 15 minutes.
5 Clean the oven thoroughly when you have completed the
burn in process so that the oven and grill/rotisserie will be
ready for use.
• There may be a slight unpleasant odour during the initial
burn off procedure. As a result we advise you open doors
and windows in the kitchen during this procedure.
ILVE ovens are well insulated and
therefore highly efficient; as a result we
recommend you may have to adjust
cooking temperatures. In an ILVE
oven a moderate to hot temperature is
175ºC. You will find this temperature
will not need to be exceeded, except
for specific cooking requirements
which call for high heat over a short
period of time. Exceeding 175ºC when
cooking may result in food cooking too
quickly on the outside while remaining
undercooked inside. Remember to
reduce the temperature by 20ºC when
using the fan forced function.
11ILVE Freestanding Operating Manual
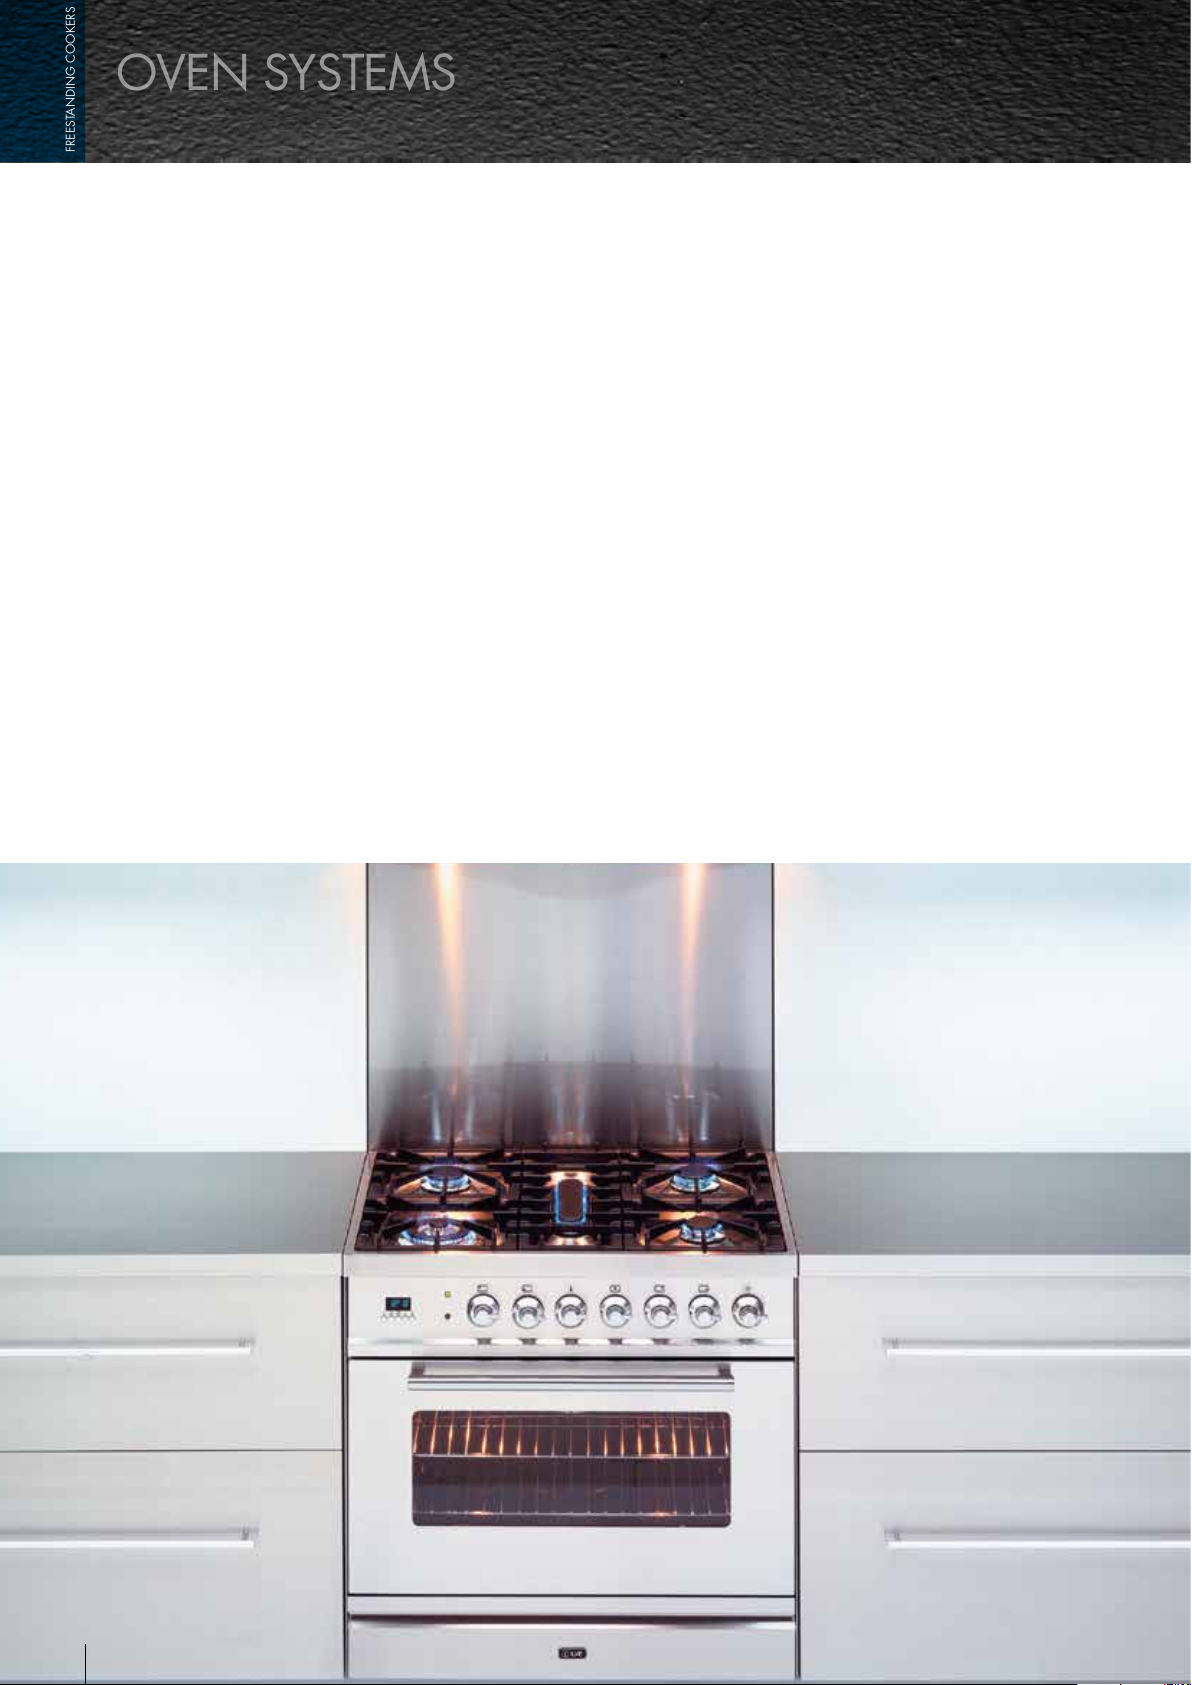
Most ILVE electric ovens are multifunctional and feature 10 or 11 cooking modes (secondary ovens
oven systems
freestanding cookers
excempt. This enables you to choose from a variety of functions depending on your cooking needs.
Selection of the correct mode and oven temperature are important to obtain the best possible cooking
results. All modes are pictured on your control knob and are numbered clockwise.
ILVE electric ovens are equipped with rear, top and bottom elements, which can be used individually or
together; radiating heat from above and below simultaneously or individually for specialist tasks such
as au gratin style cooking, crisping pork crackling or to brown off a roast.
The ILVE electric oven also has a quick start or preheat mode which allows the oven to heat from 0
–175oC in just 6 to 8 minutes.
Cavity cooling fan
ILVE ovens are equipped with a cavity cooling fan. The fan is thermostatically controlled and will switch
on automatically when the oven cavity reaches a temperature of 60o C. Air will gently be blown out
through the front louvre, just above the oven door handle. This keeps the interior of the cavity housing
cool.
The cavity cooling fan will continue to run after the oven has been turned off. The fan will automatically
shut off once the oven cavity has reached a suitable temperature.
12 ILVE Freestanding Operating Manual
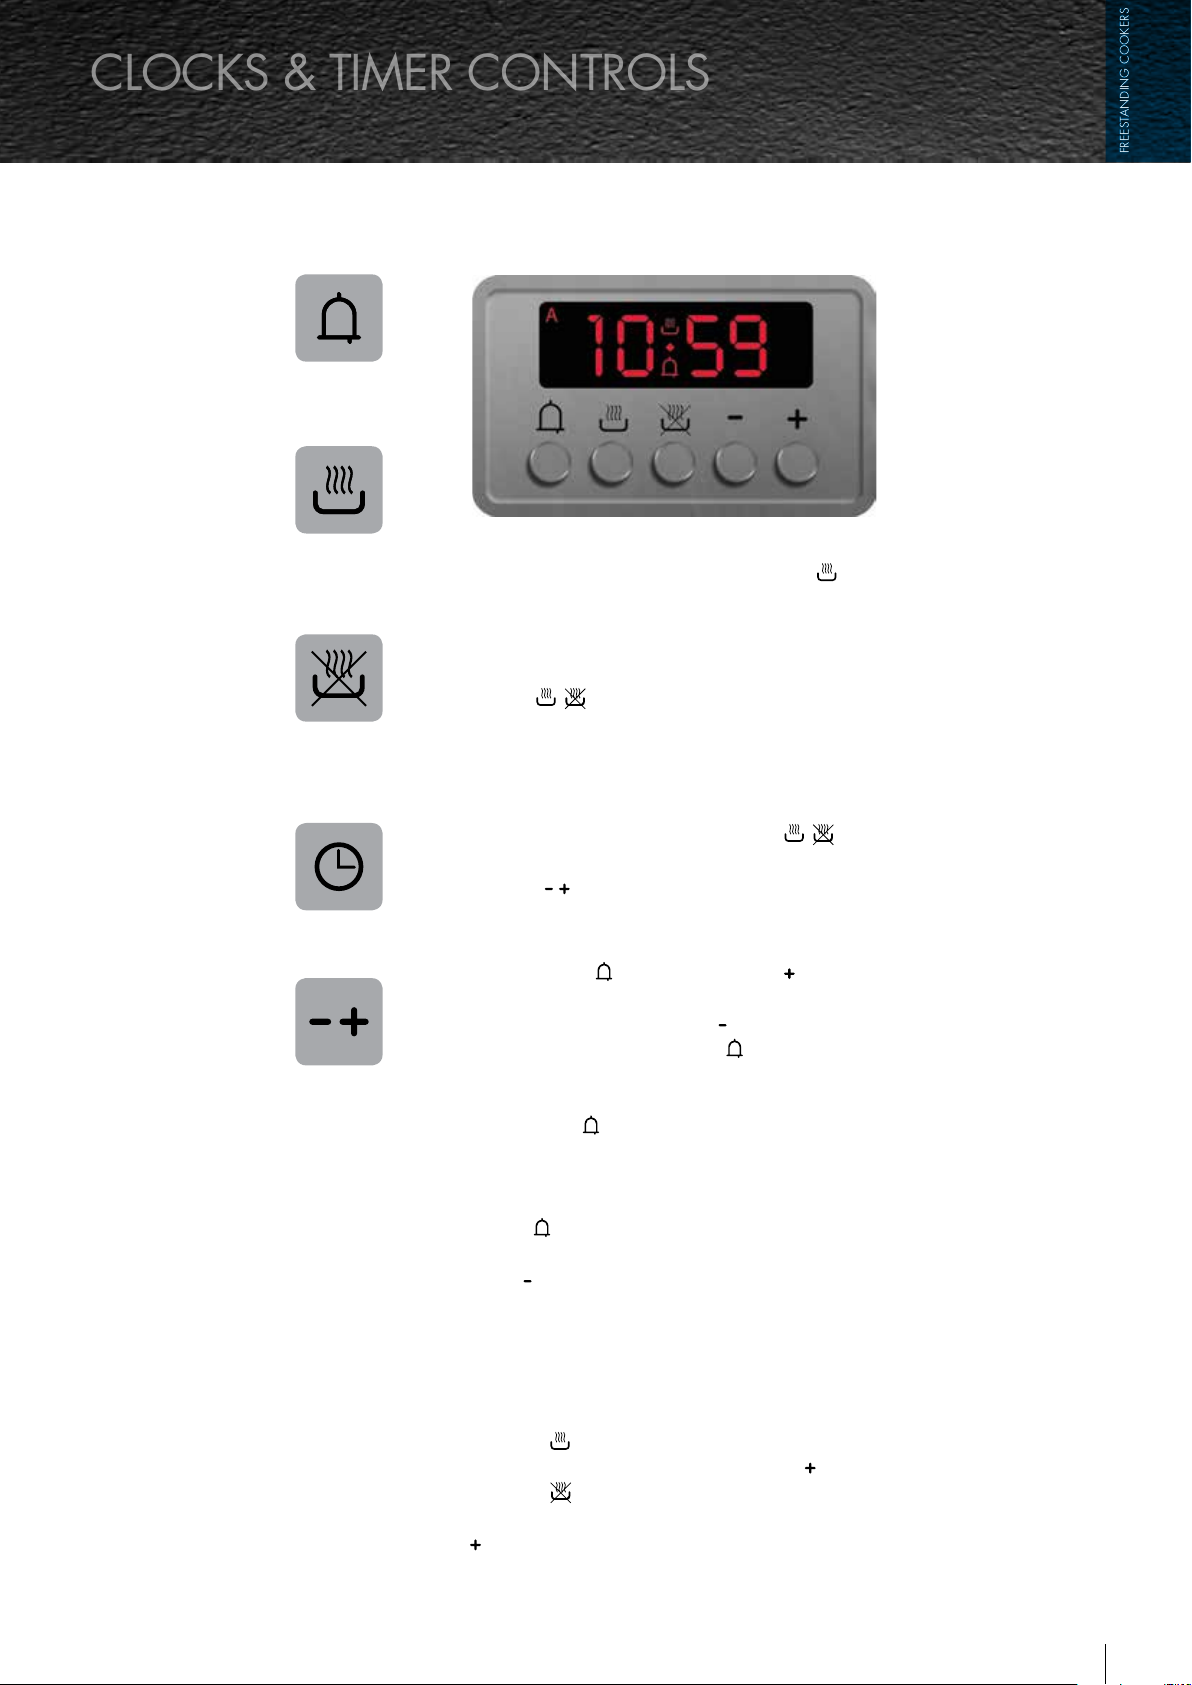
Key
clocks & timer controls
freestanding cookers
Minute
minder
Automatic
cooking
time
End of
cooking
time
Digital clock (24 hour clock)
Always ensure the oven is in manual mode .
The pot symbol with the steam coming from
it should be displayed. If there is an [A] on the
display it means that the oven is in auto mode,
to cancel this you must press both pot symbol
buttons
not operate if it is pre-programmed; it has to
be brought back to manual mode.
1. To set or adjust the time:
Press both pot buttons simultaneously
and then to adjust the timer press either the plus
or minus
simultaneously. The oven will
button accordingly.
Clock
Clock
Timer
settings
2. To set the alarm:
Hold in the bell
button then the plus
button
until you reach the required time. If you go over the
required time, press the minus
back. You will now notice a bell
button to bring it
symbol on the
display, this highlights that the alarm is on. If you
need to check how much time is left on the alarm,
press the bell
button again as this will return
to the time display. When the alarm goes off the
oven will remain on and will ring for seven minutes
unless turned off, which can be done by pressing
the bell
button. You can adjust the tone of the
alarm-only when the alarm is ringing press the
minus
button and it will scroll through three
available tones. Select the tone that you require,
this tone will then sound the next time
you set the alarm.
3. Pre-programming the oven:
Press the
want to cook the item for by pressing the
Press the
button. Put in the duration that you
button. Select the time that you
button.
want the item to nish cooking (by pressing the
button). You then need to select the mode
and temperature.
13ILVE Freestanding Operating Manual
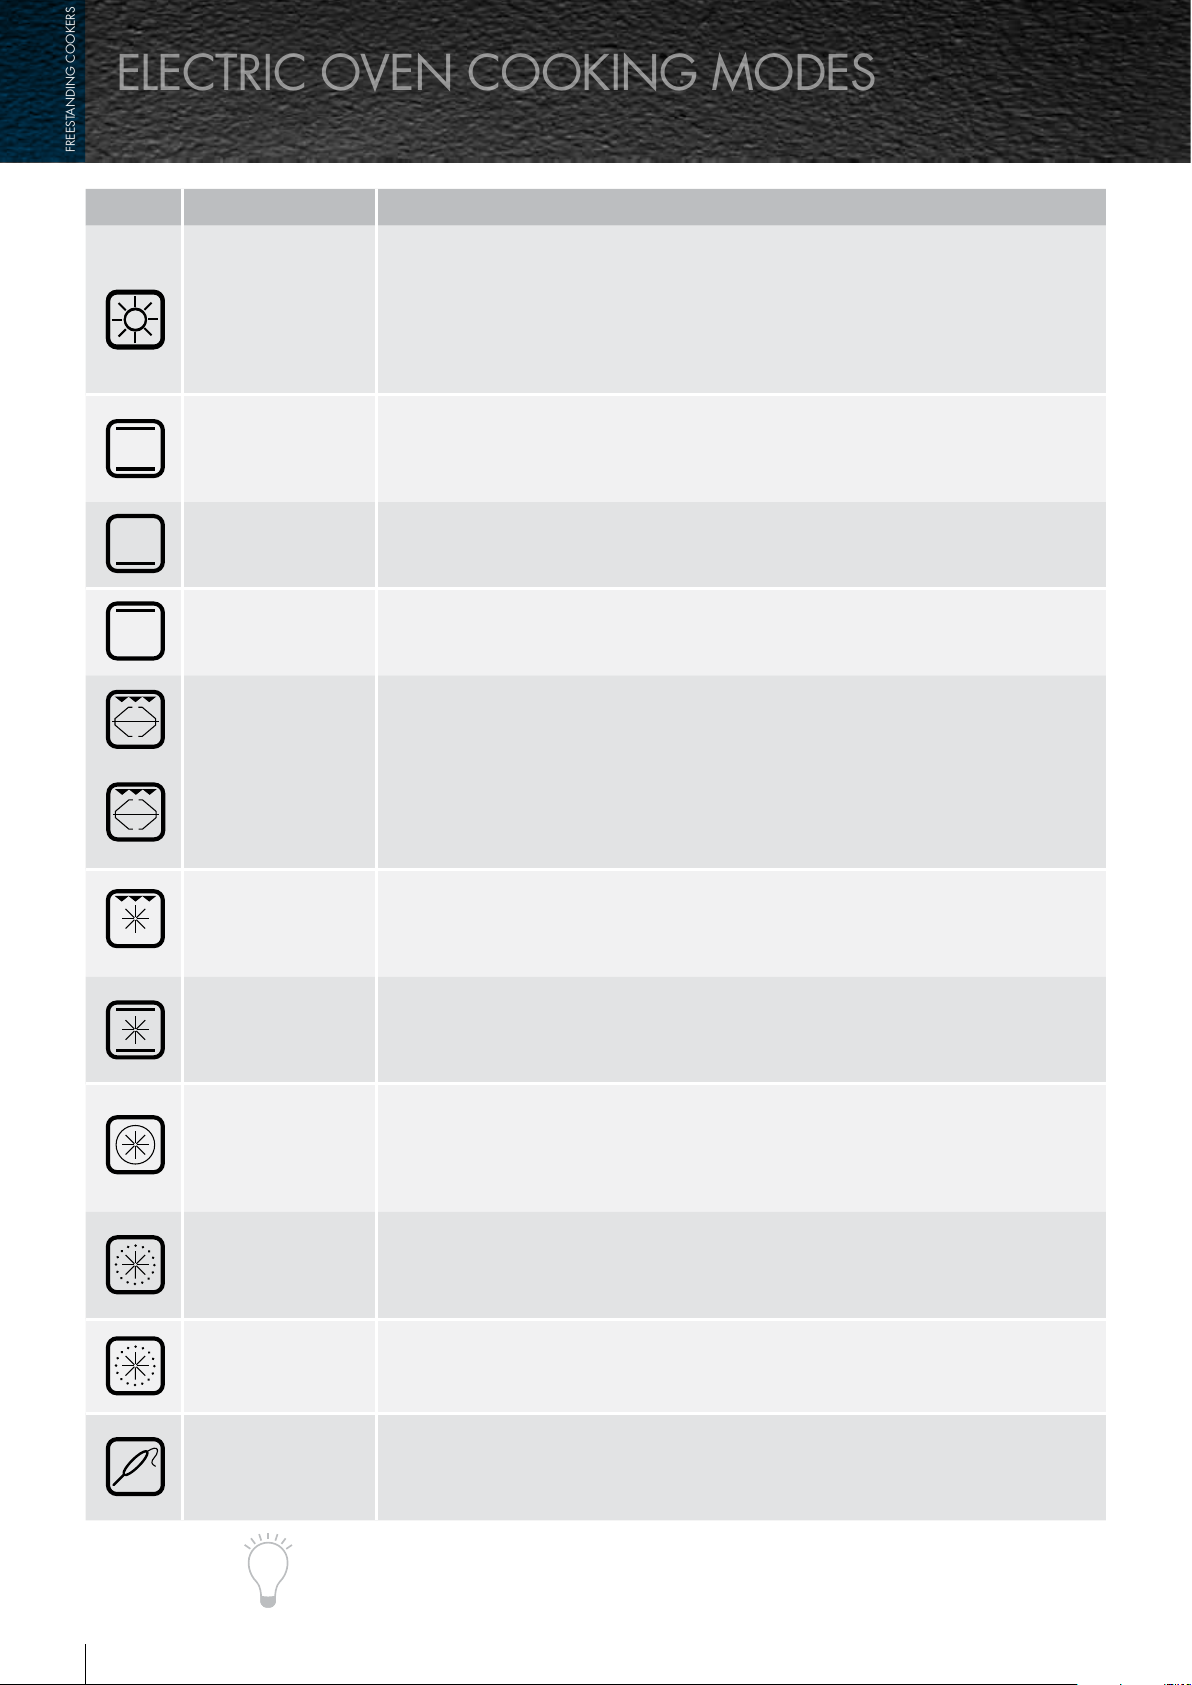
ICON MODE FUNCTION
electric oven cooking modes
freestanding cookers
ILVE’s unique Pizza mode has been specifically designed for you to cook the perfect Pizza
To achieve perfect results; turn the oven thermostat up to 250 degrees (best temperature
MODE 1
Pizza mode
for pizza cooking) ILVE’s pizza mode will do the rest by turning on all elements in the oven
at 30% and the bottom element on at 100% of their capacity. This ensures you get a
nice crispy base with the assistance of the other elements at lower heat to cook the top
of your pizza. For best results it is recommended that ILVE’s pizza stone be used on the
middle shelf when using this function.
MODE 2
Conventional oven
mode
MODE 3
Lower floor heating
mode
MODE 4
Upper element
mode
MODE 5
Conventional Grilling
mode
Rotisserie mode
(All models except
600mm and P70
Series ovens)
MODE 6
Fan Grill
This is the traditional static oven mode with no fan allowing heat from both above and
below to convect simultaneously. This is the ideal function for cooking heavy cakes such
as mud cakes or banana cakes, Christmas cakes, breads and large roasts. Such items
need to be placed in a central position in the oven.
This mode allows heat from the base of the oven. It is suitable for long, slow
cooking such as stews and casseroles or for blind baking and finishing pastries.
In this mode the upper outer element is in use. The permits ‘Au Gratin’ style cooking for a
firm crust.
In this mode the complete inner roof element heats up creating direct infra-red heat from
above. With this mode you should grill with the door closed.
The rotisserie mode works in a similar way as traditional grilling and is one of the best
ways to cook meat and poultry. With a right hand side motor drive in the oven, or in the
rear of the 300mm & 400mm ovens. The ILVE rotisserie can accommodate up to two
joints of meat or portions of poultry at once.
This mode utilises the fan combined with the infra-red grill to ensure hot air is circulated
evenly around the oven. This is the ideal mode to use when multitasking, grilling chops
and sausages on the top level whilst baking a potato bake on the lower level. For best
results the door should be closed during this grilling mode.
MODE 7
Fan Assist
MODE 8
Fan Forced
MODE 9
Quick Start
or Pre-heat mode
MODE 10
Defrost mode
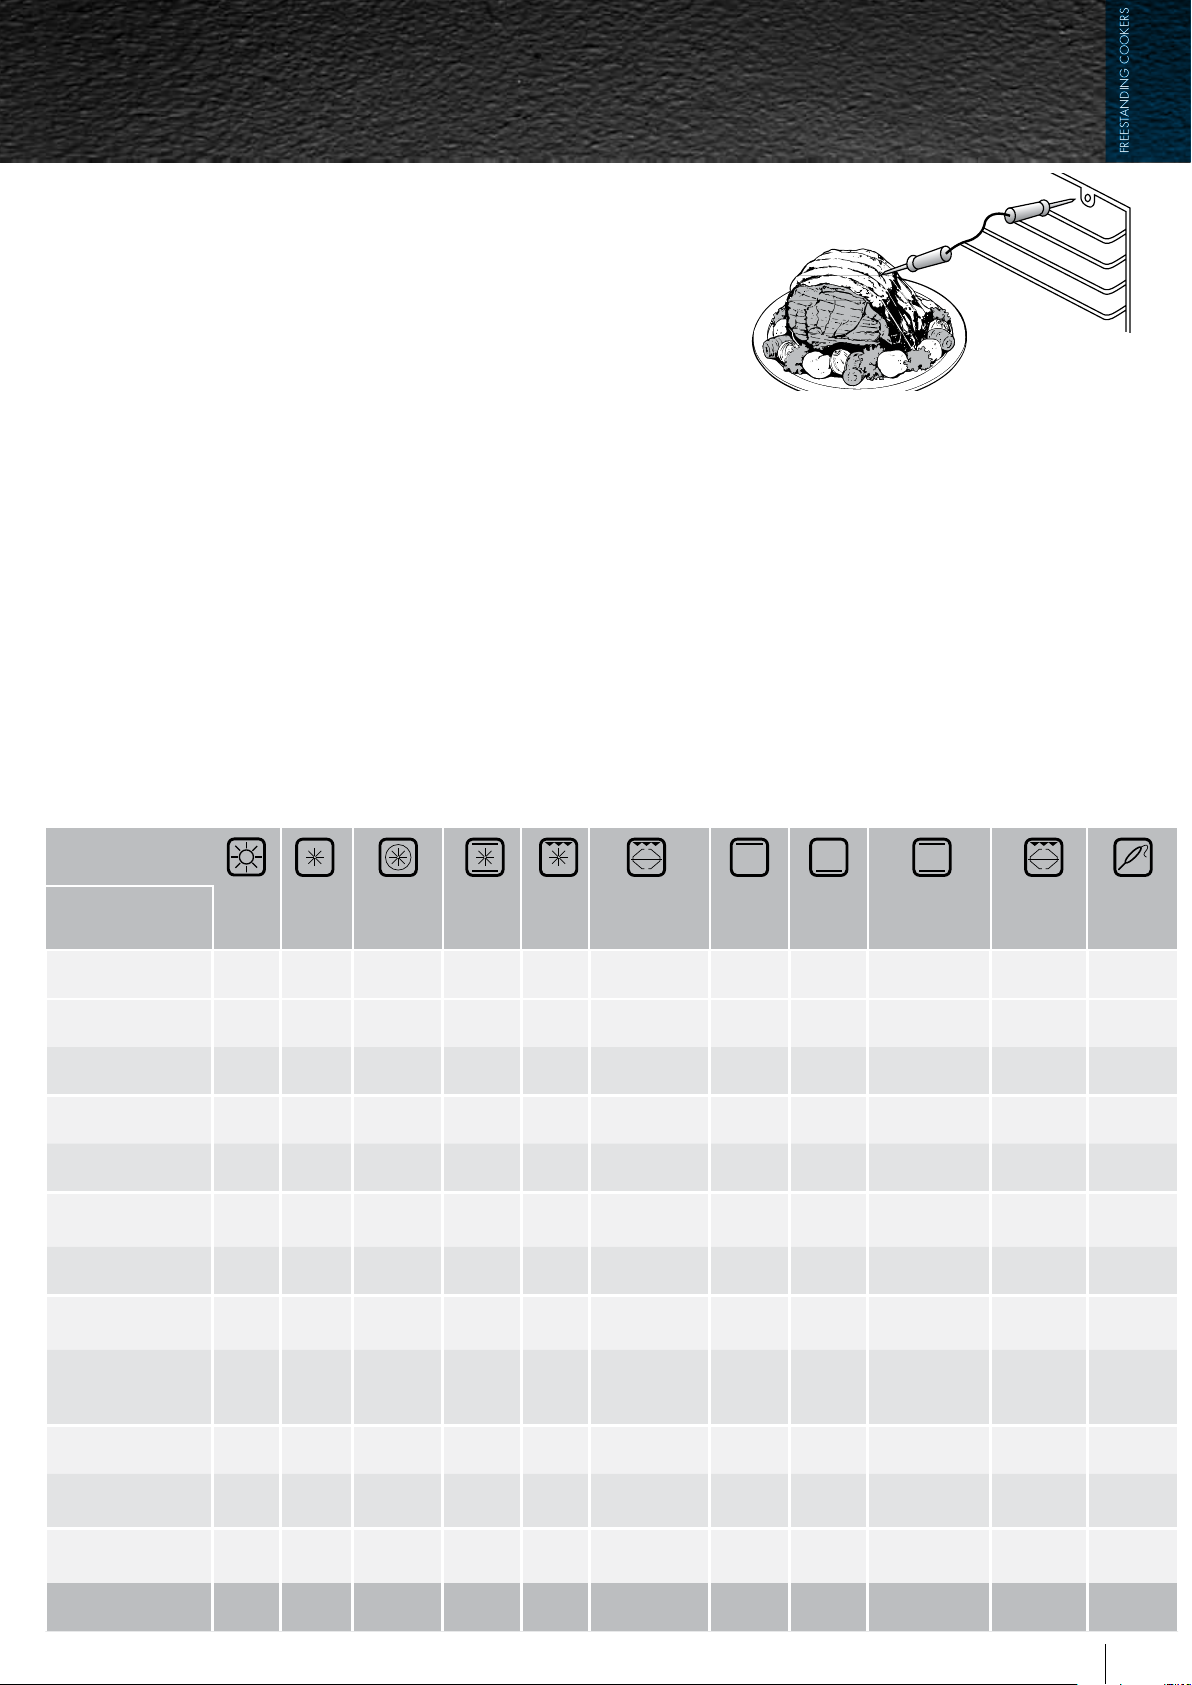
Roasting probe
(For models 948
Series, 600SSXMP &
Majestic Series only)
PLEASE NOTE: To turn the oven light on or off during cooking,
With both the top and bottom elements in use and the fan circulating hot air,
this cooking mode is best suited for bread, cakes and sponges, where very even
temperatures are required, even in the corners of the oven.
This mode also creates less splatter when roasting.
The fan in all ILVE ovens is surrounded by a triple ring heating element that
evenly distributes heated air throughout the oven. This mode is perfect for batch baking
biscuits or muffins and most general cooking tasks. IMPORTANT – Ensure you reduce the
temperature by 20°C. Mode 8 is also the self-cleaning mode in models, which have self
cleaning liners.
To obtain the best result from your oven it is recommended that you preheat it prior to
use. Combining an advanced hot air function and conventional heating mode ILVE ovens
can reach a temperature of 175°C in just 6 – 8 minutes. Once preheated the required
cooking mode should be selected before proceeding with cooking.
This function allows you to fan defrost at an ambient temperature.
Unlike defrosting using your microwave this mode does not dry or par-cook food.
Some ILVE models are equipped with a microprocessor controlled roasting probe which
can be used to cook roasts to a precise finish either rare, medium or well-done, taking the
guess work out of cooking.
simply push in the oven control knob.
14 ILVE Freestanding Operating Manual
Preheating
freestanding cookers
Always preheat your ILVE oven to at
least 175oC before placing food in it.
To do this use the Quick Start mode
(Mode 9) on your control knob.
Set your oven to 175oC, after the oven
has reached temperature, indicated
by the temperature light turning off,
you may then switch the oven to your
required mode.
Roasting Probe
ILVE’s premium models are equipped
with a microprocessor controlled
roasting probe which can be used to
cook roasts to a precise finish. The
probe is thermostatic and is inserted
into the thickest part of the roast
away fromt he bone. When the probe
is fitted to the connection point, the
thermometer activates. By pressing the
+ or – buttons you can program the
probe to the desired temperature for
the roast (to reset remove the
probe from oven).
How To Use The
Roasting Probe
Before putting the meat into
the oven, insert the sharp end
of the probe into the centre of
your cut of meat being sure to
keep away from any bones as this will
give a false reading to the temperature
detector. Then insert the other end of
the probe into the connection point at
the top right hand corner of your over,
you will notice your display now shows
two sets of numbers – the numbers on
the left represent the meat at that time,
the numbers on the right represent the
desired temperature you would like the
meat to be at the end of cooking. To
alter this, press the + or – buttons until
you get the desired temperature.
Roasting guide:
• Rare 60°C
• Medium 70°C
• Well-Done 80°C
If the meat is left in the oven an alarm
will sound and the oven will turn
off when the desired temperature
is reached. Set the function and
thermostst knobs to your desired
settings and your oven will do the rest.
If you like you can also use the minute
minder whilst using this feature for
multi-tasking.
Electric oven function selection
FUNCTION
TYPE OF FOOD
PIZZA DEFROST ADVANCED
HOT AIR
Pizza •
Meat Roasts • • • • • • •
Small Cuts • • • • •
Steak/Sausages • •
Whole Fish Fillets • • • • • •
Poultry Whole
Pieces
• • • • • •
Combined Meats • • •
Pastry Dishes –
Pies, Quiche etc.
• • •
Egg Dishes –
Souffle, Pavlova,
• •
etc.
FAN
ASSIST
FAN
GRILL
CONVENTIONAL
GRILL SYSTEM
UPPER
ROOF
ELEMENT
LOWER
FLOOR
ELEMENT
CONVENTIONAL
HEATING
ROTISSERIE ROASTING
PROBE
Bread • • •
AuGratin/Crumb
Cheese
Toasted
Sandwiches
SHELF POSITION
2-3 ANY ANY 2-3 3-4 3-4 3-4 1-2 2-3 1 1-3
• •
•
15ILVE Freestanding Operating Manual
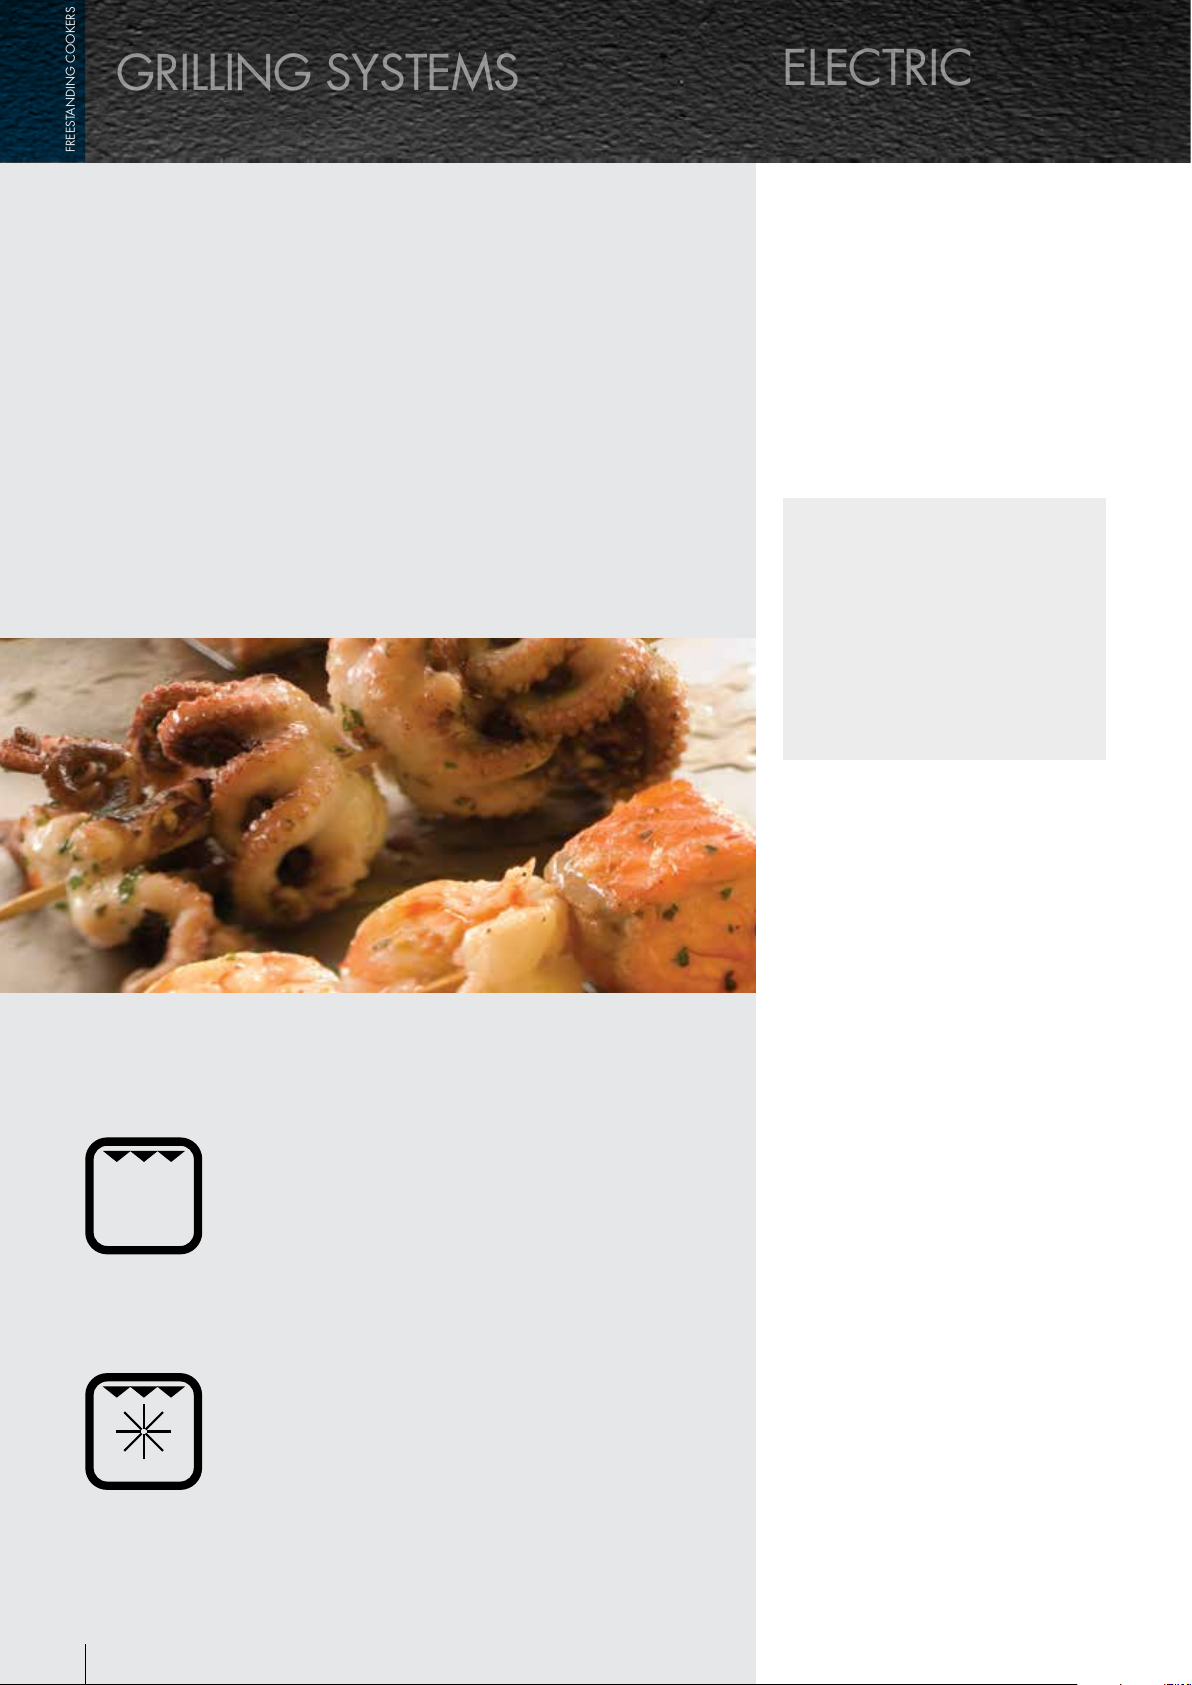
There are two ways to grill food in an ILVE electric oven;
grilling systems
electric
freestanding cookers
by using radiant heat to cook the food or by using thermal
grilling, a combination of radiant heat with thermal air flow.
The full roof area conventional grill system uses
automatically controlled direct infra-red heat radiated
from above for traditional grilling applications. ILVE ovens
combine the advantages of infra-red heat with fan forced
air assistance, allowing grilling and baking on two different
levels at the same time.
Traditional grill
1. Select the grill mode (Mode 5) on the
function control knob.
2. Turn the temperature control knob to
200º C.
The oven heating indicator light (orange
light) at the front control panel comes
on when the thermostat is activated
and turns off once it has reached the
selected temperature setting.
Both cooking techniques give exceptional results for a
wide range of meat cuts such as chicken breasts, beef
steaks, lamb and pork. It is also ideal for grilling fish and
fish fillets.
MODE 5 Full roof area conventional
grilling mode
ILVE TIP
• When conventional grilling
the oven door should always
be closed
• The best settings for conventional
grilling is between 175 – 190º C.
• For best results, we recommend
grilling on level 4.
Fan grilling
1. Position racks at heights according
to food types and thickness (See hot
air grill cooking guide)
2. Select the fan grill mode (Mode 6) on
the function control knob.
3. Turn the temperature control knob to
175º C.
4. Allow oven to preheat for a minimum
of four minutes depending on food
types.
In this mode the inner roof element
heats up creating direct infra-red heat.
This mode allows you to grill with the door
closed. Grilling with the door open ajar may
lead to the control knob heating up slightly.
MODE 6 Hot air grilling system
This mode utilises the fan combined with the
infra-red grill to ensure hot air is circulated
evenly around the oven. This is the ideal
mode to use when multitasking, grilling chops
and sausages on the top level whilst baking
a potato bake on the lower level. The door
must be closed during this grilling mode.
16 ILVE Freestanding Operating Manual
When fan grilling on multiple shelves
the oven door must be closed. The
grill element at the top of the oven
produces intense heat to sear the
surface of the food while the fan moves
this heat around the oven. Fan grilling
eliminates the need to turn food over
during the grilling process; however,
turning is optional depending on the
degree of browning desired. When using
this function make sure that food is
elevated to allow the hot air to circulate
around the food. Food can be placed on
the grill rack that sits inside the baking
tray alternatively; food can be placed on
a grill rack positioned over an oven pan
to make sure any drips are caught.
ILVE TIP
freestanding cookers
• The oven door should always be
closed during hot air grilling.
• The temperature should be set
from 175 – 180º, this range in
temperature helps prevent food
from burning and avoids splatter,
minimising the need for cleaning.
• The shelves are numbered 5 to
1 from top to bottom
(See diagram above right).
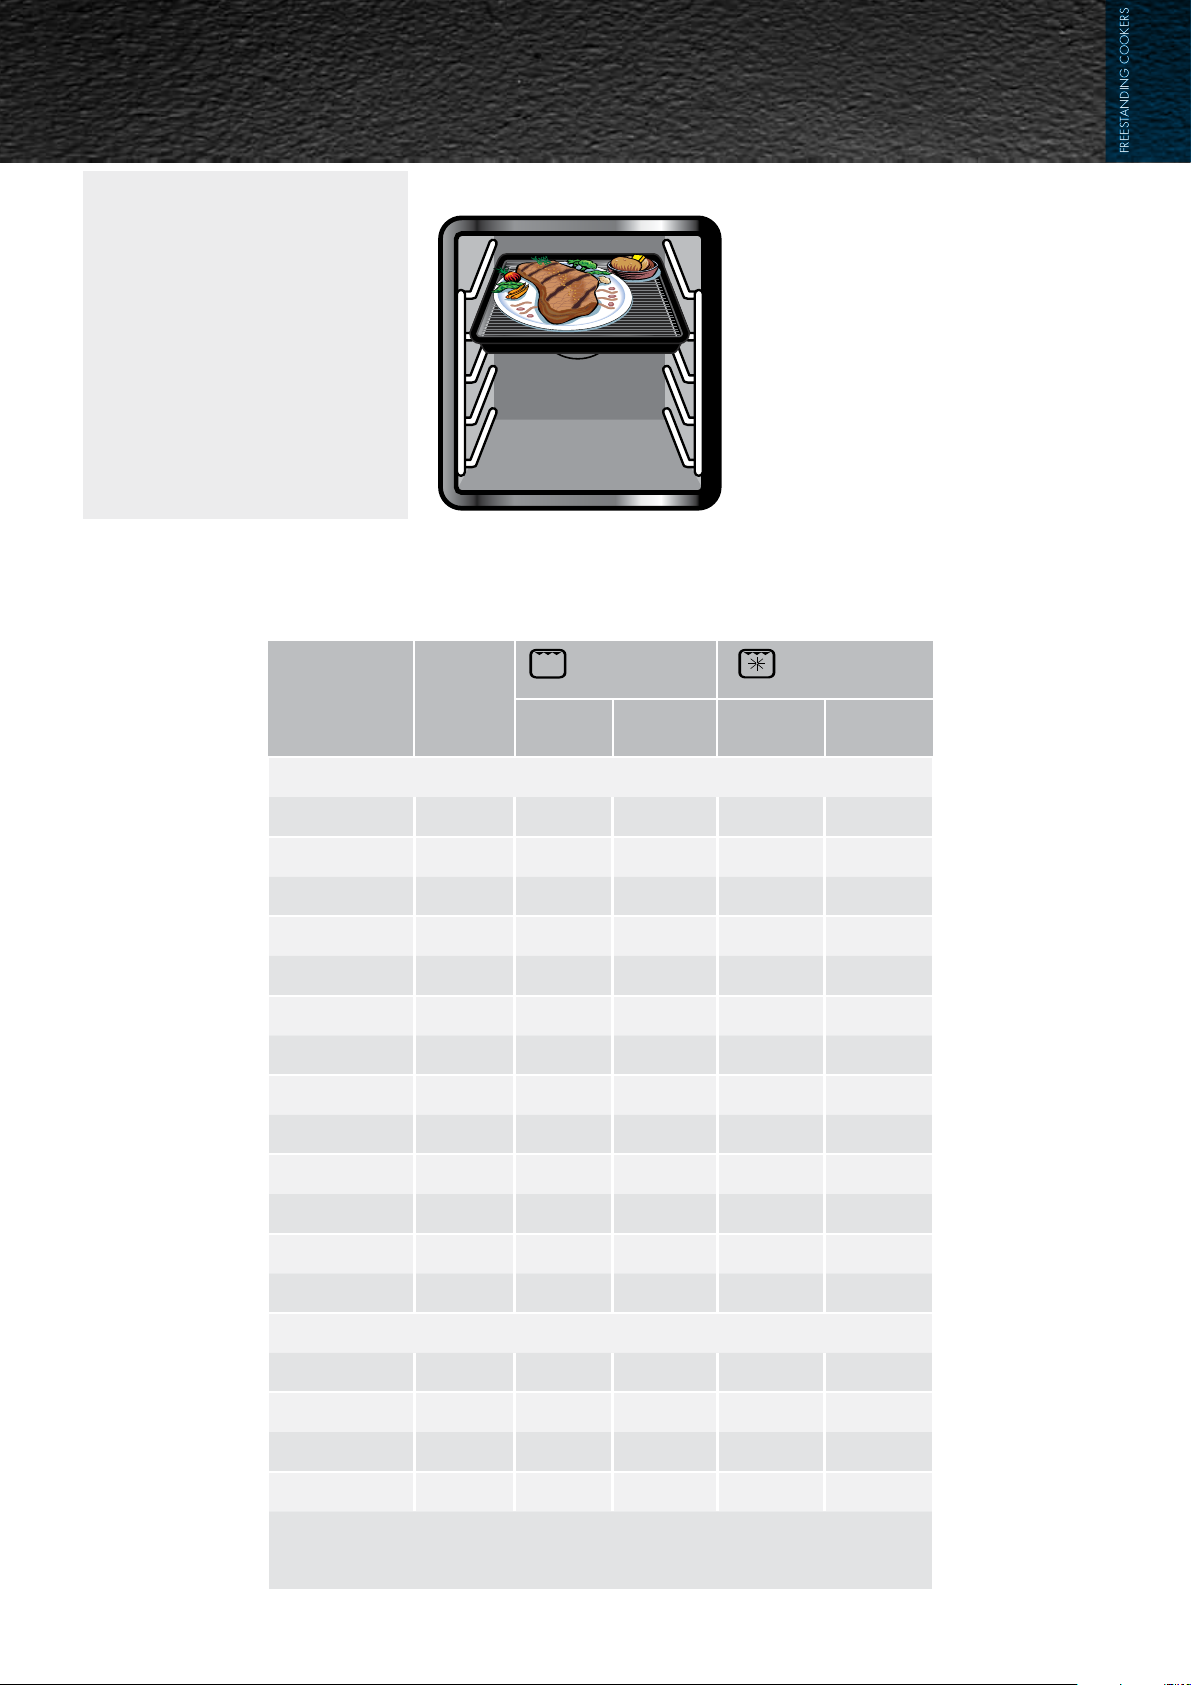
Grilling guide
Shelf positions
– 5
– 4
– 3
– 2
– 1
IMPORTANT!
Do not place anything on or cover the
base of oven as this impedes the transfer
of heat from the bottom element to the
oven cavity and can cause irreparable
damage to the oven base.
OVEN
TEMP
TRADITIONAL
GRILLING
GRILLING
TIME 2
OVEN
TEMP
FAN GRILLING
GRILLING
TIME 2
RECOMFOOD TO BE
GRILLED
THIN CUTS
Steaks 3 - 4 200ºC 10 - 16 mins 175ºC 10 - 16 mins
Vegetable Kebabs 3 200ºC 15 - 20 mins 175ºC 15 - 20 mins
Meat Kebabs 3 200ºC 15 - 20 mins 175ºC 15 - 20 mins
Cutlets / Schnitzel 3 - 4 200ºC 12 - 18 mins 175ºC 18 - 20 mins
Liver 3 - 4 200ºC 8 - 12 mins 175ºC 10 - 14 mins
Burgers 3 - 4 200ºC 14 - 20 mins 175ºC 16 - 20 mins
Sausages 3 - 4 200ºC 10 - 15 mins 175ºC 8 - 12 mins
Fish Fillets 3 - 4 200ºC 12 - 16 mins 175ºC 12 - 16 mins
Trout 3 - 4 200ºC 16 - 20 mins 175ºC 20 - 25 mins
Toast 3 - 4 200ºC 2 - 4 mins 175ºC 3 - 5 mins
Cheese Toast 3 - 4 200ºC 7 - 9 mins 175ºC 4 - 6 mins
MENDED
SHELF
POSITION
Tomatoes 3 - 4 200ºC 6 - 8 mins 175ºC 6 - 8 mins
Peaches 3 200ºC 6 - 8 mins 175ºC 7 - 10 mins
THICKER CUTS
Chicken (1kg) 2 – – 175ºC 50 - 60 mins
Rolled Meat (1kg) 1 – – 175ºC 75 - 85 mins
Pork (1kg) 1 – – 175ºC 100
Sirloin (1kg) 1 – – 200ºC 25 - 35 mins
1) Select the appropriate shelf level for the thickness of the food.
2) Turn food over half way through the grilling time.
Note: The information given in this chart is intended as a guide only.
-
120 mins
17ILVE Freestanding Operating Manual

ILVE’s Rotisserie mode is represented by one of these symbols:
using the rotisserie
freestanding cookers
How to use your Rotisserie
• Remove all oven shelves and the wire grid from the grill tray and pre-heat the oven to 175°C.
• Sit the rotisserie cradle on to the grill tray.
• Slide one fork onto the rotisserie rod and secure with the wing nut.
• Slide your cut of meat onto the rod being sure to pierce the centre of the cut. If cooking a whole
chicken remember to truss the legs rst. Then slide on the other fork and secure the wing nut.
• Place the rod onto the cradle.
• Slide the grill tray onto shelf number 1 and insert the right hand end of the rod into the round motor
casing. The indentation on the left end of the rod should be sitting on top of the cradle so it turns easily.
• Turn the function knob to Grill mode 5. The rotisserie will start turning.
• When the meat is cooked remove from the cradle by using the rotisserie hook and plastic handle. Using the
hook, lift the left hand end of the rod and remove it from the motor socket. Slide the grill tray out and using
the black plastic handle on the left hand end, wind onto the rod. Then with the hook on the right hand end of
the rod, lift the rod off the cradle and onto your serving plate.
• You can also use the black plastic handle to loosen the wing nuts of the forks.
PLEASE NOTE: IF YOU HAVE A GAS OVEN, PLEASE REFER TO PAGE 26
18 ILVE Freestanding Operating Manual
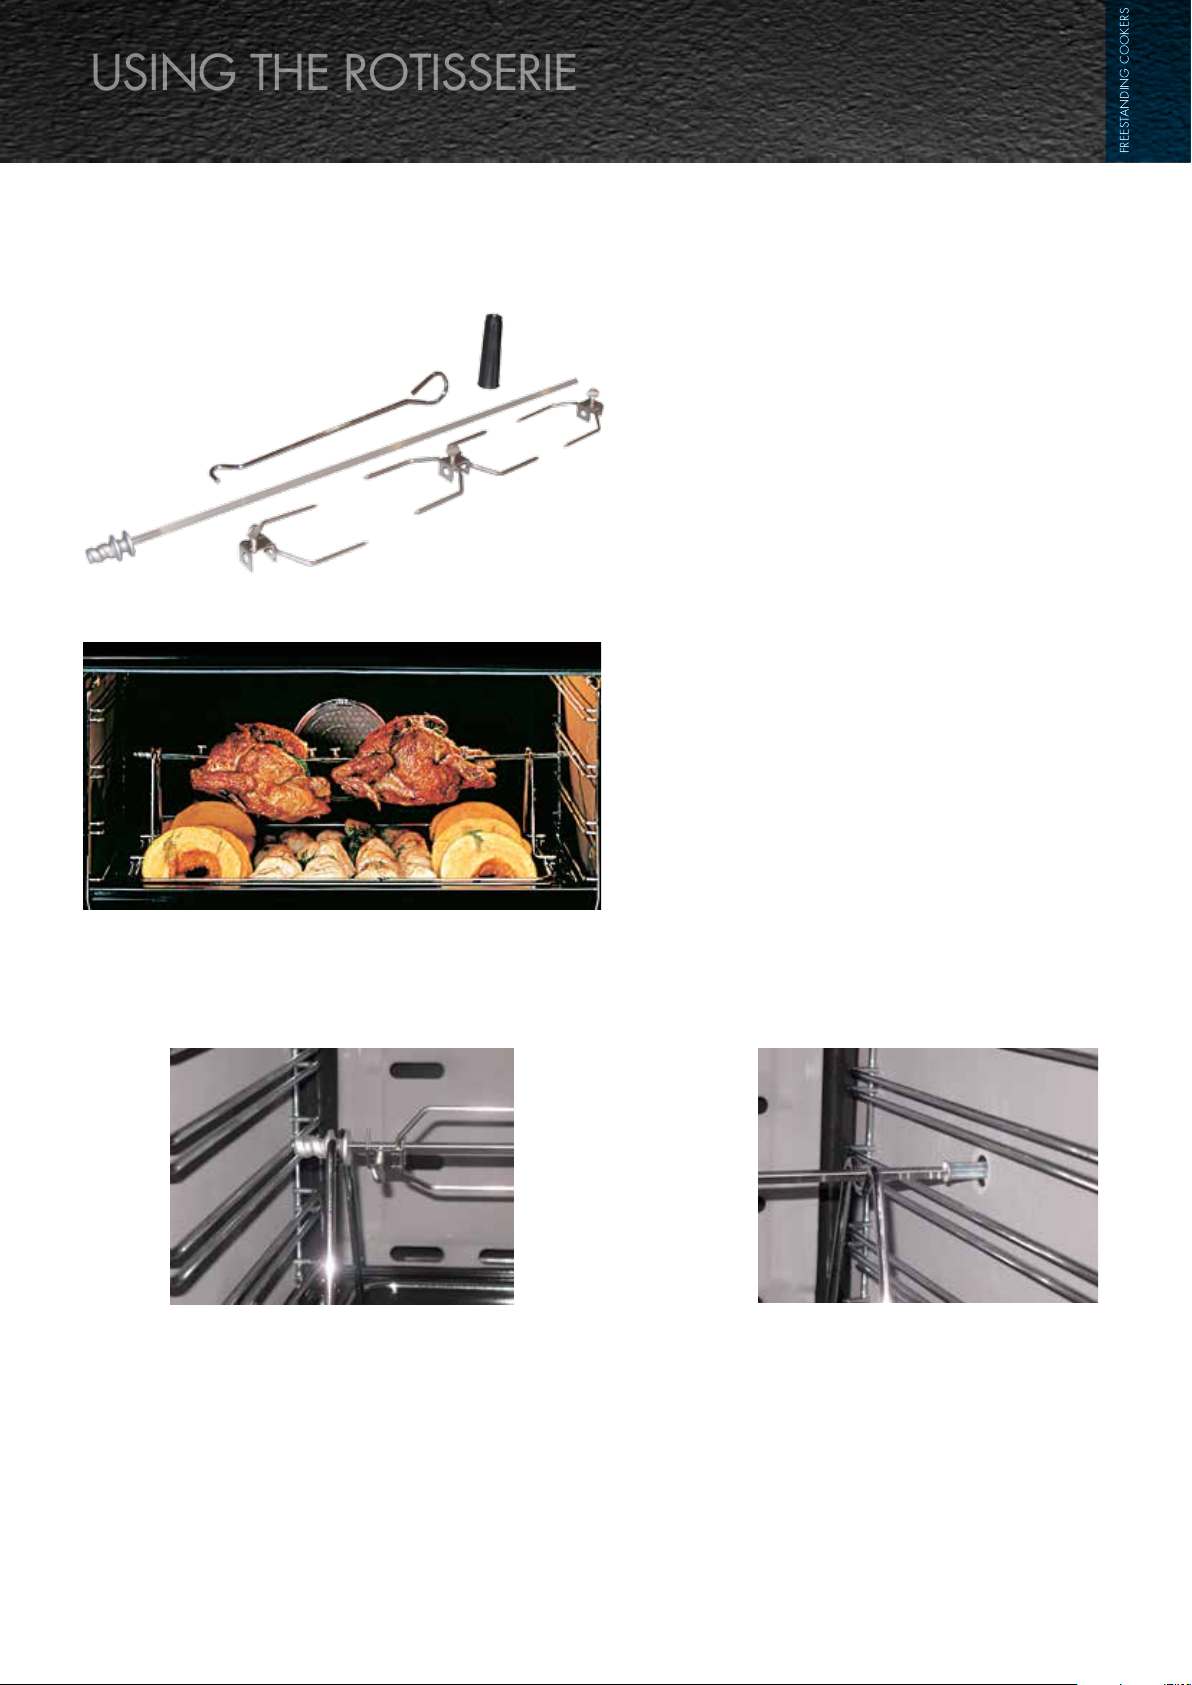
Tips on how to use the Rotisserie
using the rotisserie
freestanding cookers
1.
2.
3.
4.
With your rotisserie kit you will get:
1. Black plastic spit handle
2. Spit hook
3. Spit rod
4. Spit forks
Slide meat onto the rotisserie rod and press
meat onto the fork and secure in place by
tightening the wing nuts.
The left end of the rod rests
on the cradle allowing the rod
to rotate
The right end of the rod is
inserted into the rotisserie
motor socket
19ILVE Freestanding Operating Manual
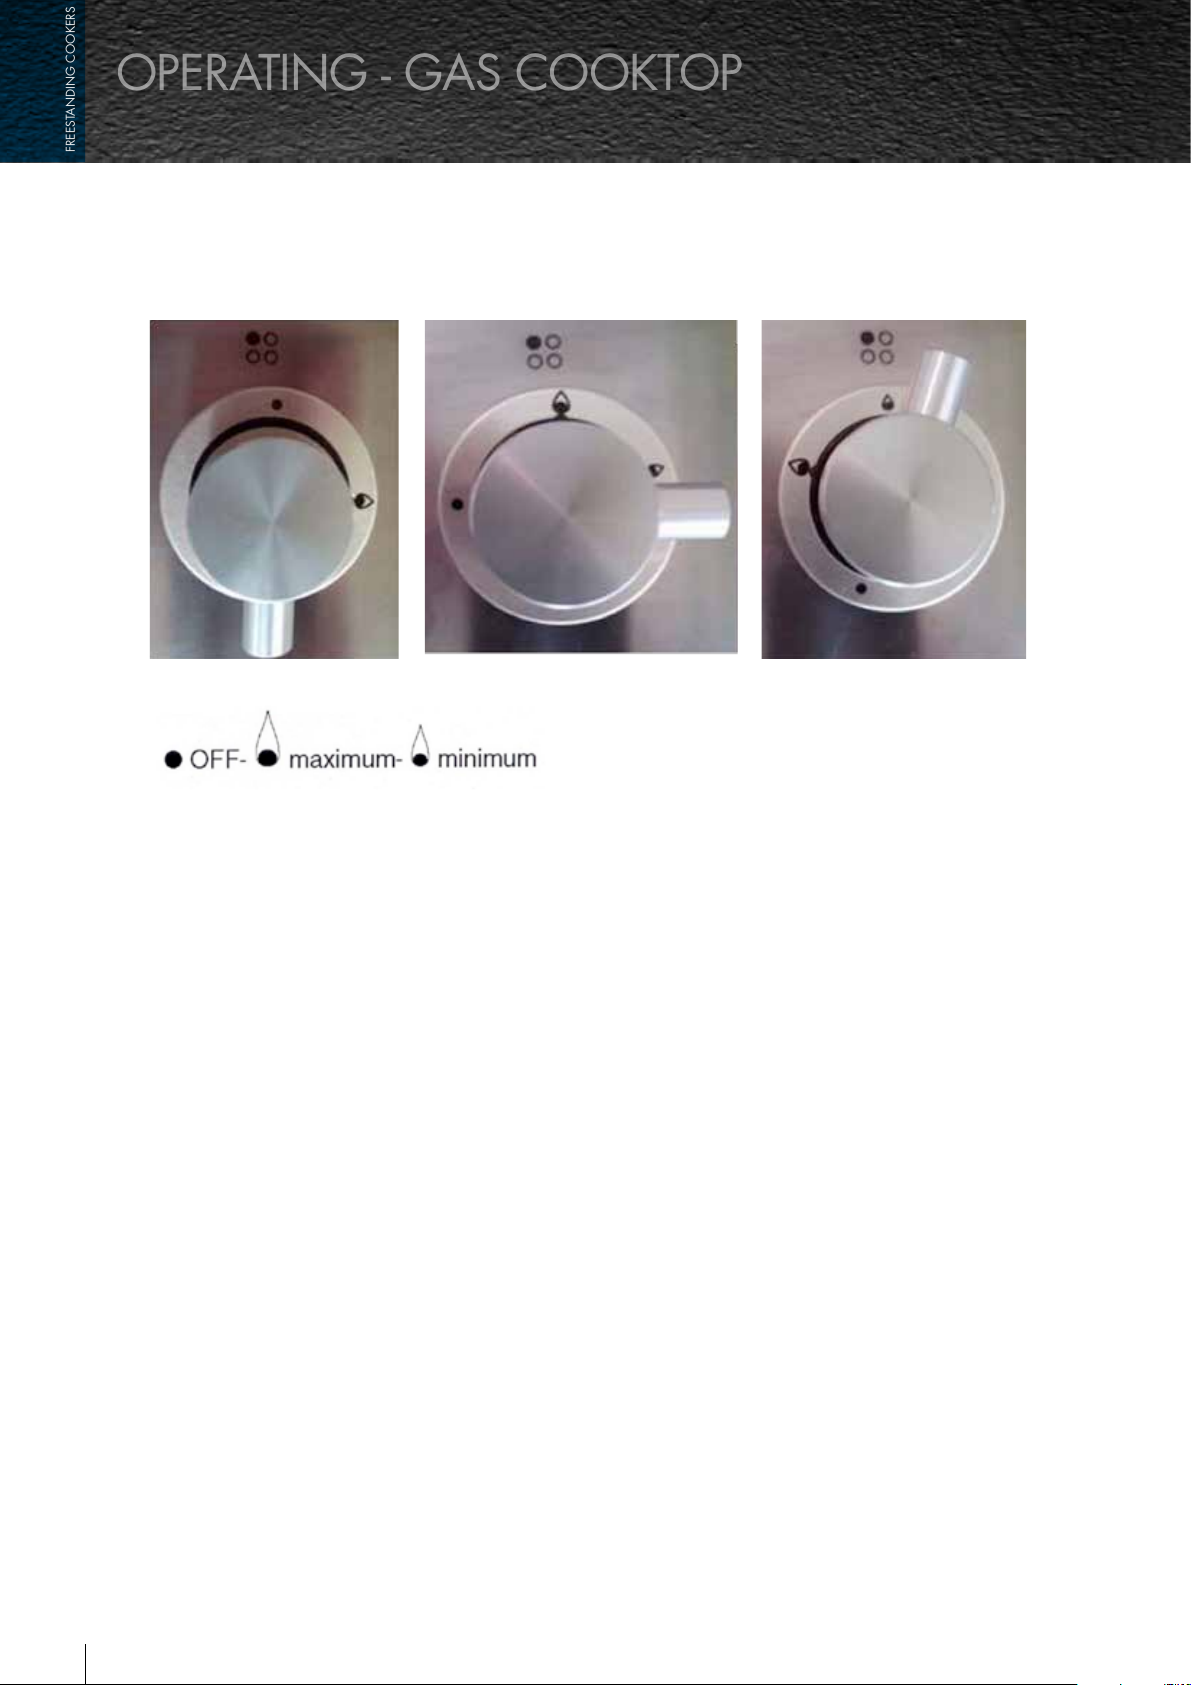
LIGHTING BURNERS – simply press the knob in, turn anti-clockwise to maximum, the electronic
operating - gas cooktop
freestanding cookers
igniter will spark and ignite the burner. Check that the gas has been lit; if the burner fails to
ignite repeat the above process.
For models with Flame Failure follow the above procedure but keep the knob fully depressed for up to
10 seconds after ignition to allow the safety to lock in. Check that the gas has been lit; if the burner fails
to ignite repeat the above process. If the burner still fails to ignite, a match or lighting device can be used,
but care must be taken. Keep igniters dry. If the problem persists, contact Eurolinx Pty Ltd or their
appointed agent for service.
DO NOT TOUCH HOT SURFACES, ALLOW HOB TO COOL BEFORE WIPING SPILLAGE.
20 ILVE Freestanding Operating Manual
 Loading...