

Grundig RRCD 1350 MP3 User Manual

RADIO RECORDER
WITH CD
RRCD 1350 MP3

CONTENTS
------------------------------------------------------------------------------------------------
2
3 SET-UP AND SAFETY
4 OVERVIEW
4 Controls
7 Display for the CD-DA and MP3/WMA mode
8 CONNECTION AND PREPARATION
8 Power supply
9 GENERAL FUNCTIONS
9 Switching on and off
9 Selecting the input source
9 Adjusting the volume
9 Switching the Ultra Bass System on and off
9 Listening with headphones or earphones
9 RADIO MODE
9 Antennas
9 Selecting the radio input source
10 Selecting radio stations
10 Stereo/mono reception
10 CD MODE
11 Selecting the CD input source
11 CD playback
11 Repeating the current track
11 Selecting another track
11 Searching for a passage within a track
12 Selecting albums and tracks (MP3/WMA only)
12 Repeating a track (Repeat One)
12 Repeating all the tracks on an album (MP3/WMA only)
12 Repeating all tracks of a CD (Repeat All)
13 Playing back tracks in random order
13 Creating a playlist
15 TAPE MODE
15 Selecting the TAPE input source
15 Tape playback
15 Fast forward and reverse search
15 Recording onto tape
16 Recording from the radio
16 Recording from the CD input source
16 Synchro recording
17 INFORMATION
17 Technical data
17 General information on laser devices
18 Cleaning the CD and CD unit
18 Cleaning the tape drive
18 Environmental note
2
ENGLISH
3
Please note the following instructions when setting up the system:
This device is designed for the playback of audio signals. Any other
use is expressly prohibited.
If you want to set up the device on wall shelves or in cupboards,
please ensure that the device is adequately ventilated. There must
be at least 10 cm space at the side, above and at the back of the
device.
Do not cover the device with newspapers, table cloths, curtains, etc.
When setting up the device, remember that furniture is often coated
with various types of varnish and plastic, which often contain
chemical additives. These additives may cause corrosion to the feet
of the unit. This may leave stains on the surface of the furniture which
can be difficult or impossible to remove.
If the device is exposed to sudden changes in temperature, for
example when taken from the cold into a warm room, wait at least
two hours before using the device.
The device is designed for use in dry rooms. Protect the device and
the CDs from rain, moisture (dripping or splashing water), sand and
heat (heaters or direct sunlight, etc).
Only use the device in a moderate climate.
Do not place any vessels containing liquids (for example, vases) on
the device. Do not insert any foreign objects in the CD compartment.
Do not place any naked flames such as candles on the device.
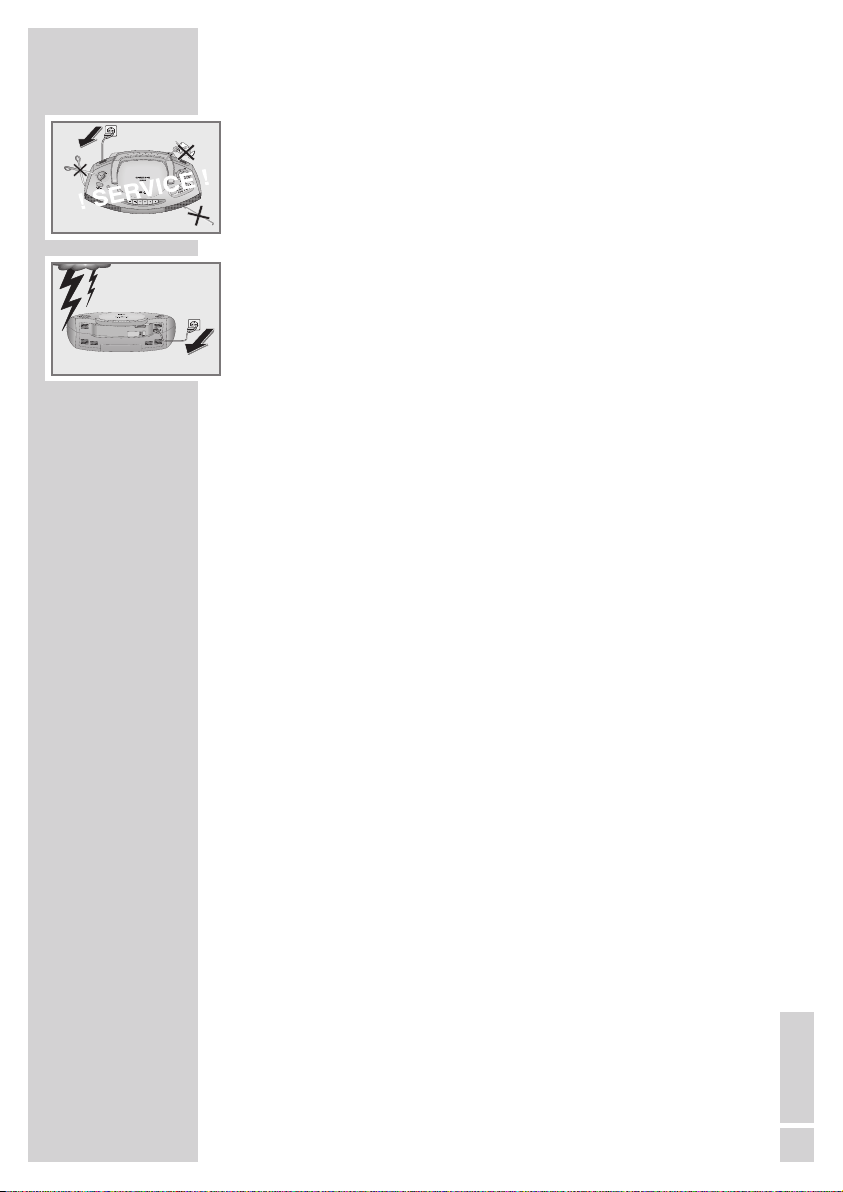
Never open the device under any circumstances. Warranty claims
are excluded for damage resulting from improper handling.
Do not use any cleaning agents as they may damage the housing.
Clean the device with a clean dry cloth.
Thunderstorms are a danger to all electrical devices. Even if the
device is switched off, it can be damaged by a lightning strike to the
mains or the antenna cable. Always remove the power plug during
a thunder storm.
If malfunctions occur due to static electricity charges or brief mains
voltage surges, reset the device. To do this, pull out the power supply
unit and connect it again after a few seconds.
Make sure the power plug is freely accessible.
SET-UP AND SAFETY
------------------------------------------------------------
4
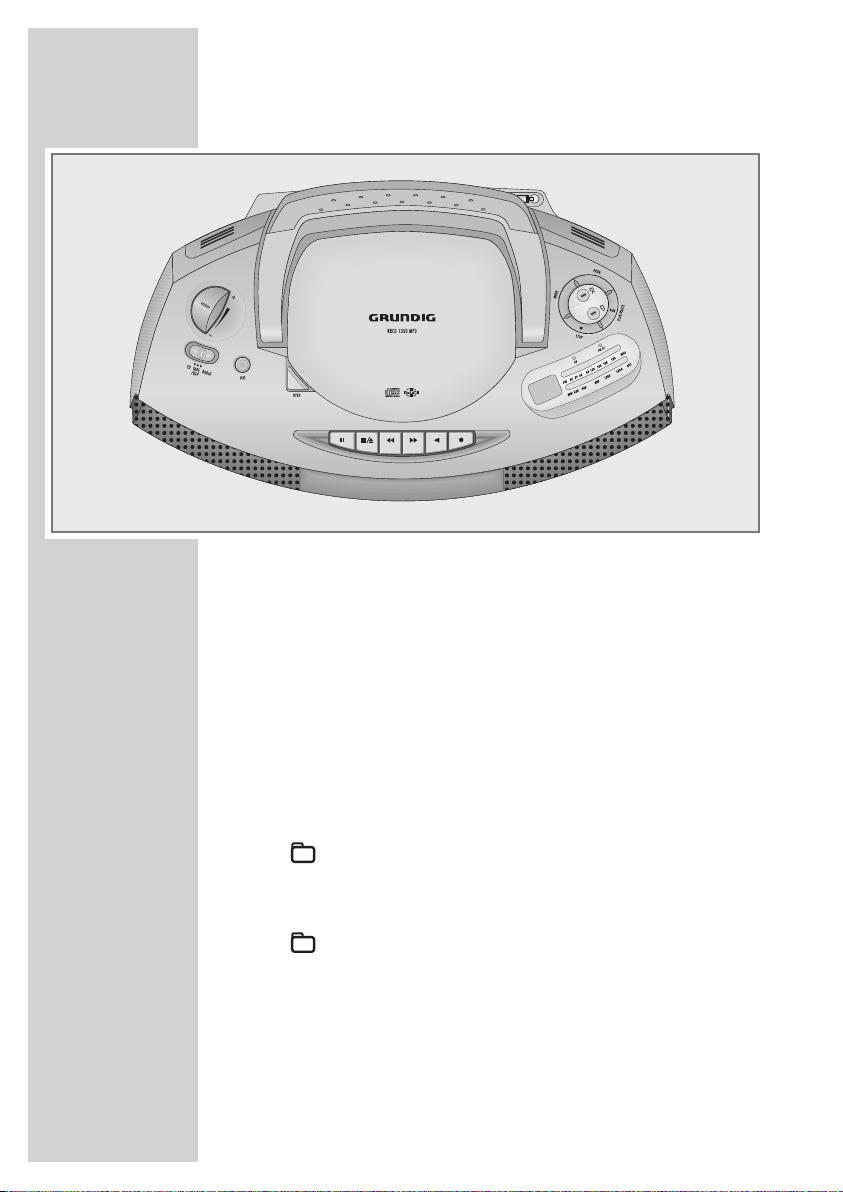
Controls
CD TAPE/OFF Selects the CD, TAPE and RADIO input sources.
RADIO Switches the device on and off.
–
ß
+
Adjust the volume.
USB Switches the Ultra Bass System on and off.
OPEN Opens the CD compartment.
PLAY/PAUSE Starts and pauses CD playback.
e
II
STOP
7
Ends CD playback, deletes a playlist.
MODE Selects the repeat track, repeat album (MP3/WMA only),
repeat all and random (to playback track in random
order) CD playback functions.
9
&
During CD playback: press briefly to select the next track.
Press and hold down to start fast forward search.
In MP3/WMA mode: when stopped, switches forwards
through albums.
8
%
During CD playback: press briefly to select the previous
track. Press and hold down to start a reverse search.
In MP3/WMA mode: when stopped, switches backwards through albums.
OVERVIEW
----------------------------------------------------------------------------------------------
ENGLISH
5
OVERVIEW
----------------------------------------------------------------------------------------------
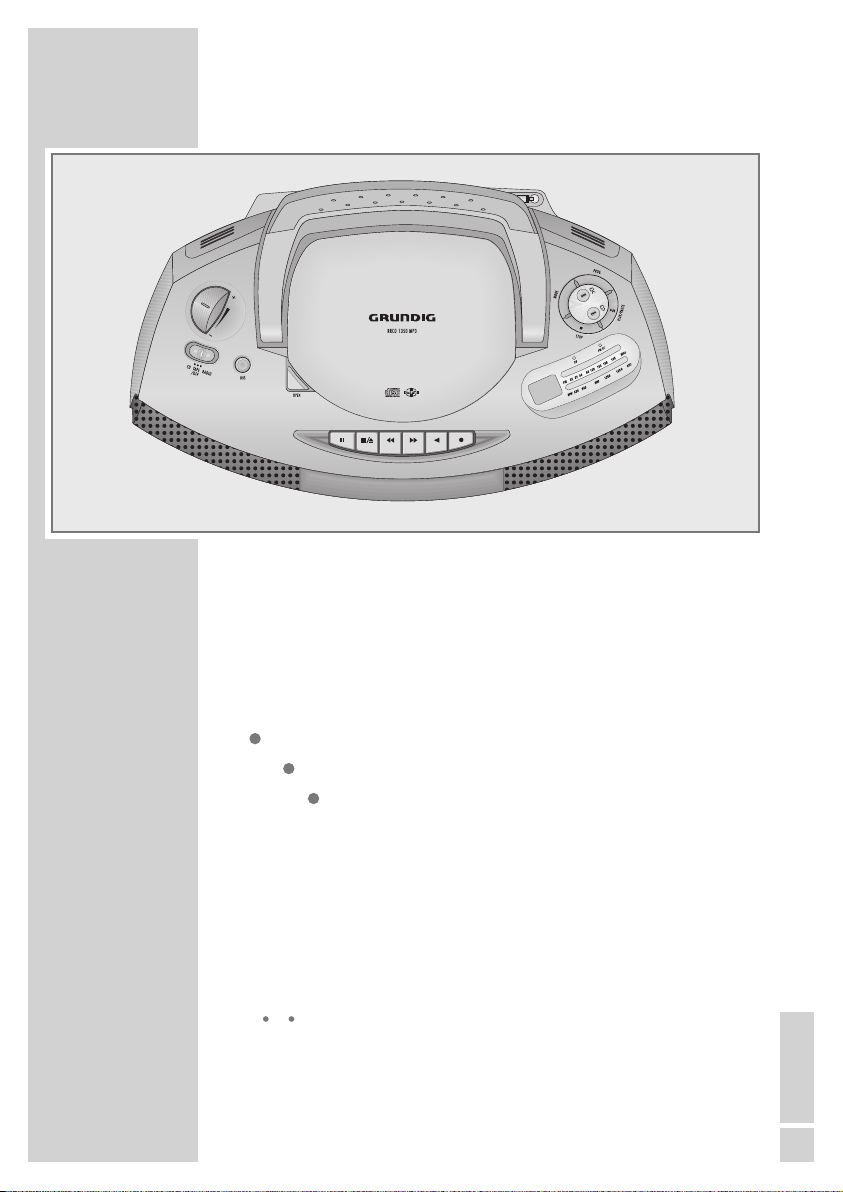
II In tape mode: pauses playback and recording.
7
/w In tape mode: ends playback/recording of the tape and
opens the tape compartment.
§ In tape mode: fast forwards the tape to the end.
$ In tape mode: rewinds the tape to the beginning.
z
In tape mode: starts playback.
In tape mode: starts recording.
ON Mode indicator. Lights up red during operation.
FM. ST In radio mode: stereo indicator. Lights up green, if a
FM stereo station is being received.
FM 88 ... In radio mode: FM frequency display.
108 MHz
MW 530 ...
In radio mode: MW (medium wave) frequency display.
1600 kHz
TUNING
In radio mode: tunes to radio stations (on the right side
of the device).
FM MW In radio mode: switches between the FM (VHF) and
MW (medium wave) frequency bands on the right side
of the device.
6
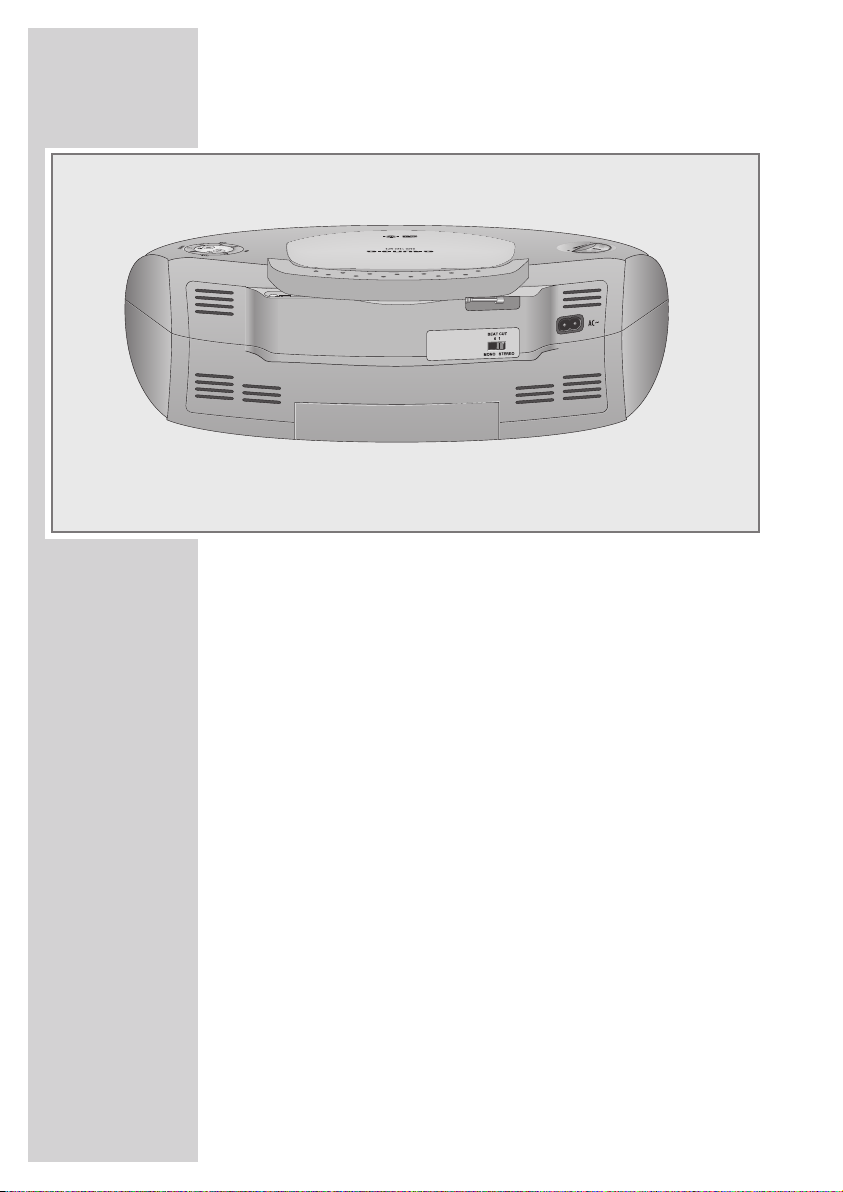
U Headphone jack for connecting a stereo headphone
set with a jack plug (ø 3.5 mm) on the left side of the
device.
This automatically switches off the loudspeakers.
Antenne Telescopic antenna for FM (VHF) reception on the
back of the device.
BEAT CUT In MW radio mode: suppresses interference when
0 1 recording onto tape.
MONO In FM radio mode: switches between mono and stereo
STEREO reception on the back of the device.
AC ∼ Socket for connecting the power supply unit on the
back of the device.
The only way to fully disconnect the device from the
mains is to pull out the plug.
OVERVIEW
----------------------------------------------------------------------------------------------
 Loading...