

Page 1
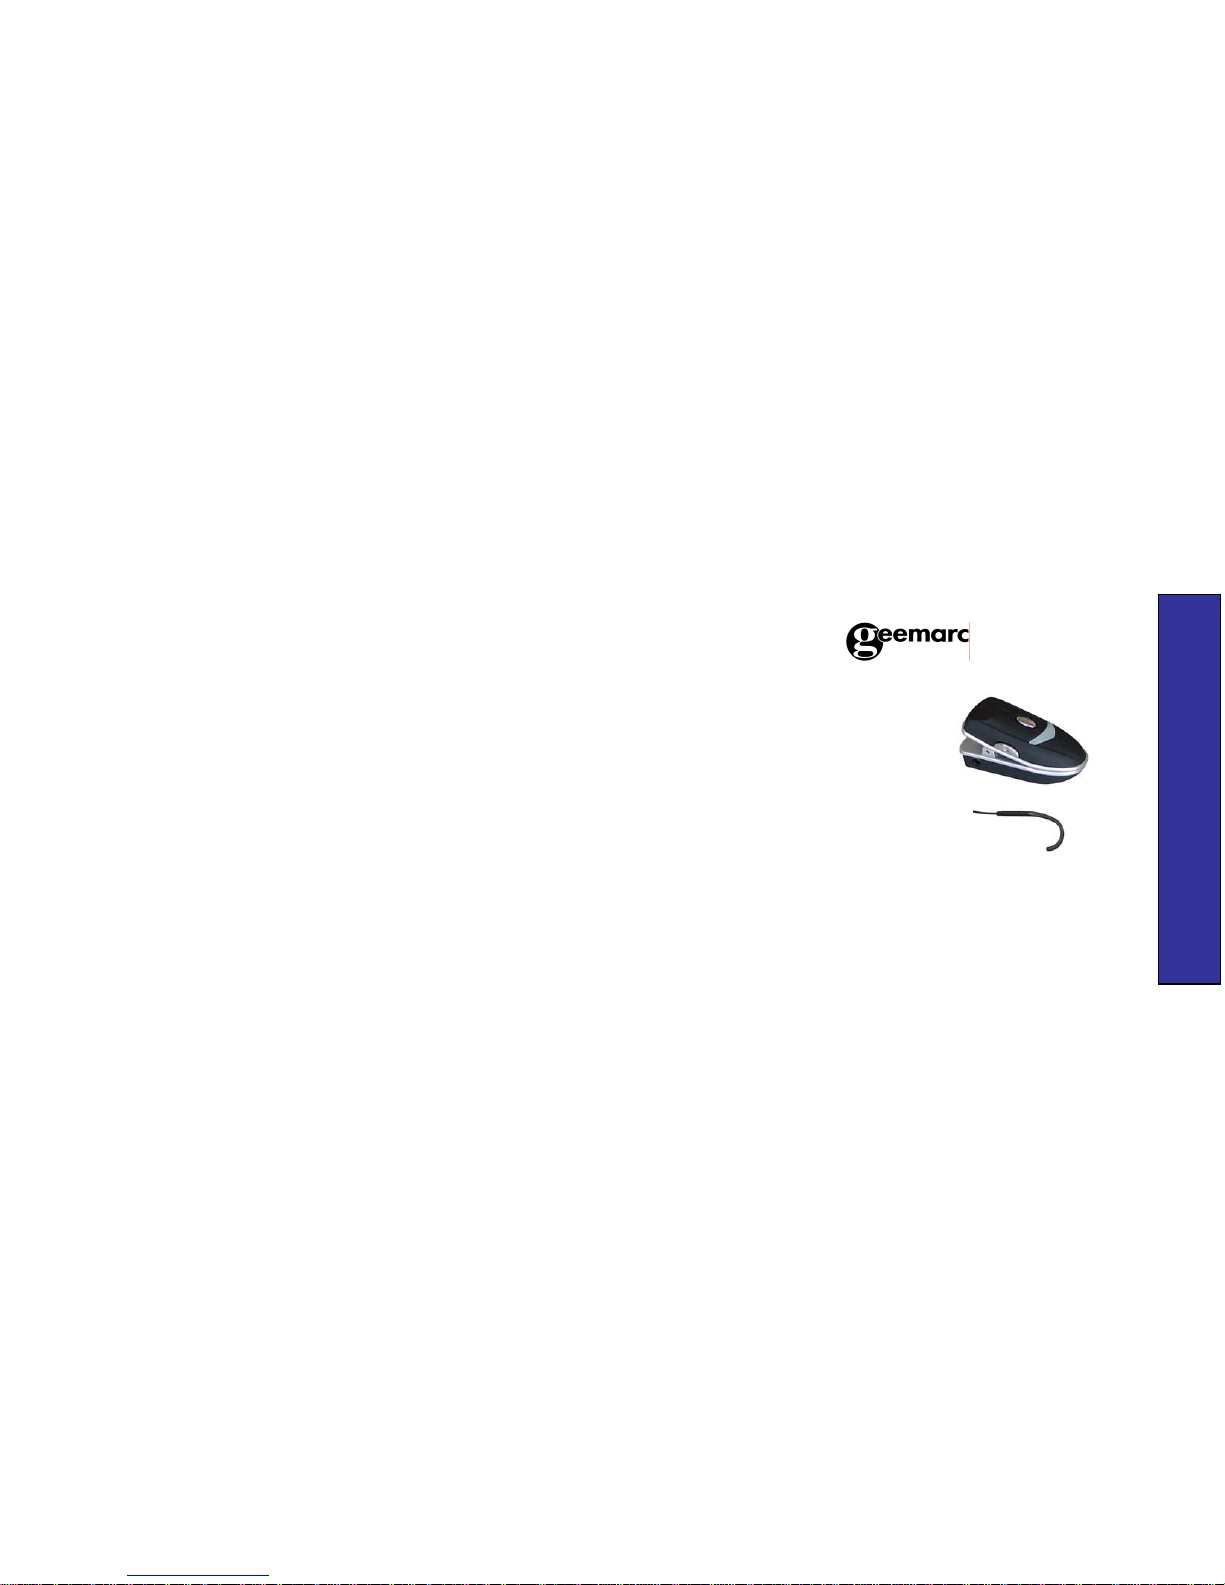
CL Bluehook
User Guide p.1
CL BLUEHOOK
Page 2

CONTENTS 1
INTRODUCTION 3
Unpacking 4
DESCRIPTION 5
General Description 5
LED Description 6
INSTALLATION 7
Setting Up 7
USING THE CL BLUEHOOK 11
Wearing the CL Bluehook 11
Turn the CL Bluehook On 11
Turn the CL Bluehook Off 12
Volume Adjustment 12
Receiving a Call 12
Ending a Call 13
Reject an Incoming Call 13
Making a Call 14
Last Number Redial 14
Voice Transfer 15
SPECIFICATIONS 16
TROUBLESHOUTING 17
SAFETY INFORMATION 19
GUARANTEE 20
RECYCLING DIRECTIVES 23
CONTENTS CONTENTS
1 2
Page 3
Congratulations on purchasing your Geemarc CL Bluehook.
The CL Bluehook uses Bluetooth technology. Bluetooth is an
industrial specification for wireless personal area networks
(PANs). Bluetooth uses short-range radio links (up to 10
metres) in the 2.4gHz Instrumentation Scientific and Medical
(ISM) "free band". Hence, this short-range radio technology
allows the wireless networking of devices such as a mobile
phone and the CL Bluehook.
The CL Bluehook is a standard headset in accordance with
Bluetooth 2.0+EDR.
It is important that you read the instructions below in order to
use your Geemarc CL BLuehook its full potential. Keep this
user guide in a safe place for future reference.
Unpacking
When unpacking the CL Bluehook, you should find the following
in the box:
• 1 CL Bluehook
• 1 set of Charging Units
For product support and help visit our website at
www.geemarc.com
Telephone 01707 384438
Or fax 01707 372529
INTRODUCTION INTRODUCTION
3
4
Note: users of digital hearing aids must make sure their
aids have been programmed for use with the ‘T’ setting.
This product is ONLY suitable for use when using a
hearing aid with a T-coil.
Page 4
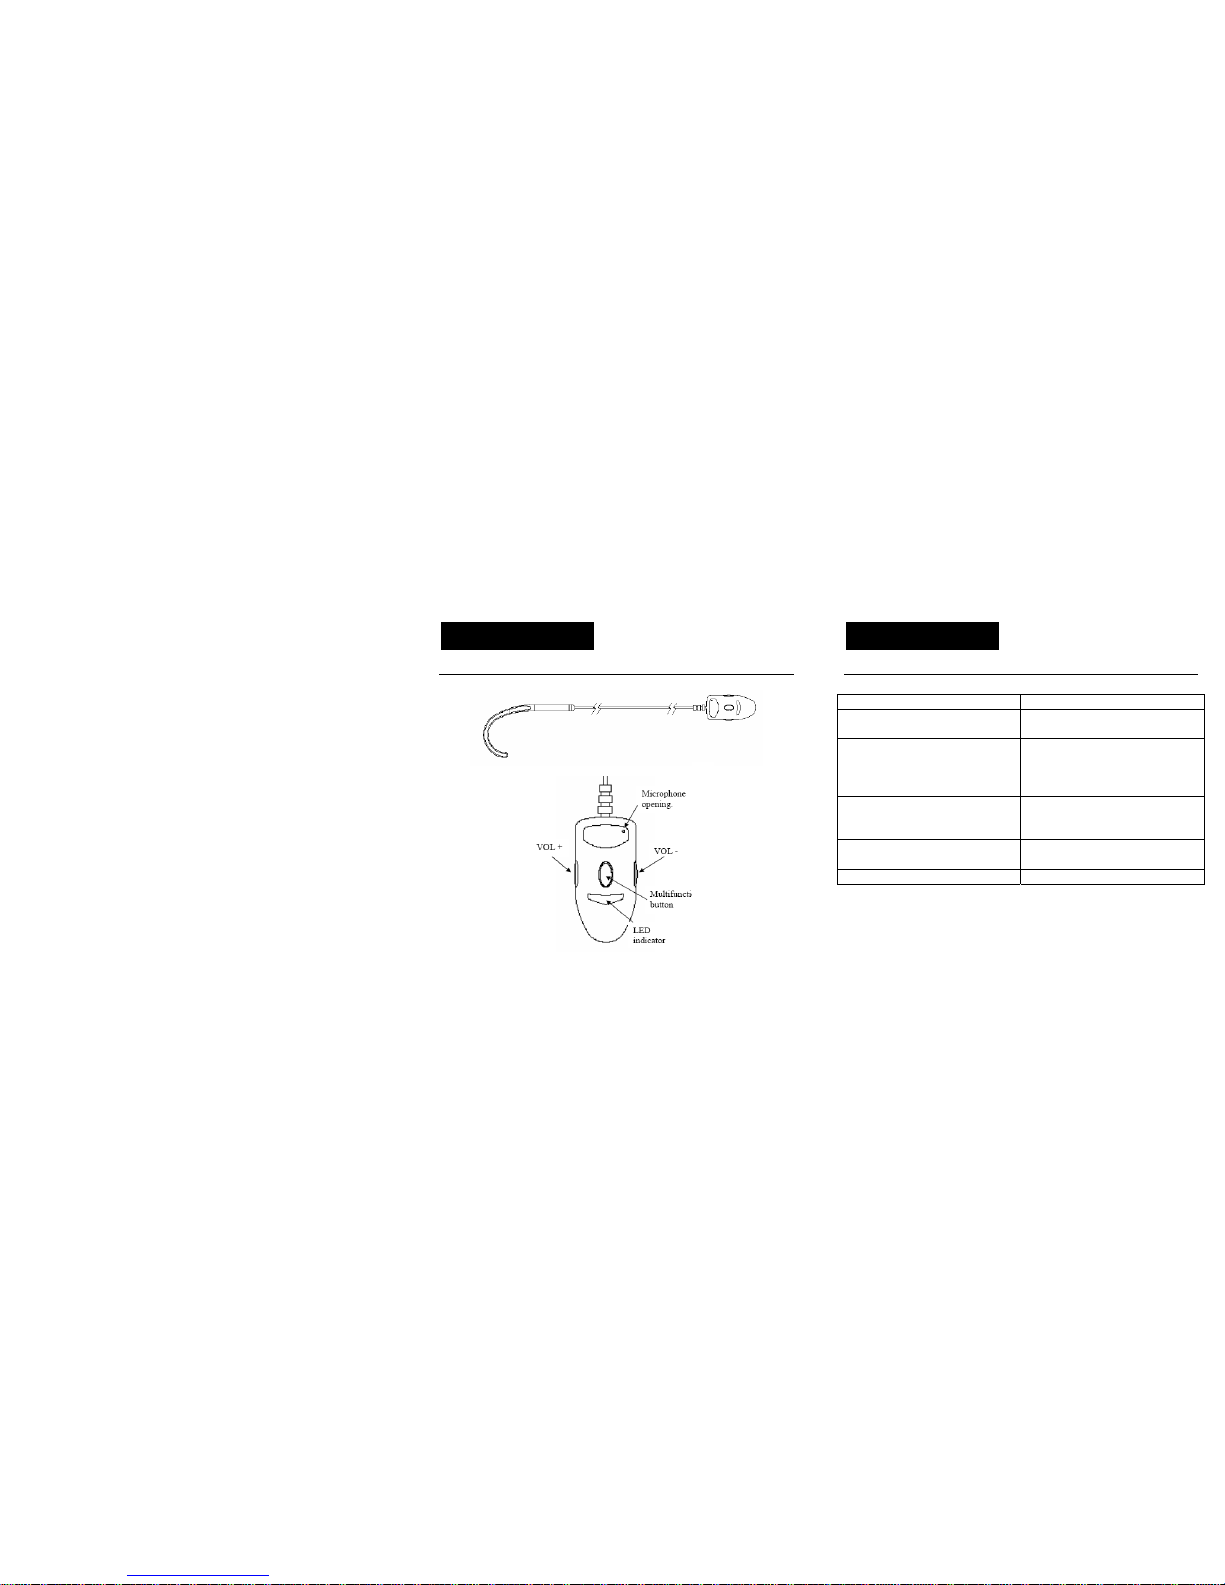
General Description
LED Description
LED CL Bluehook Mode
LED flashes blue once every
3 seconds
CL Bluehook is on but ready
for use
LED flashes blue and red
alternately
CL Bluehook in waiting mode.
Ready to be paired with
another Bluetooth device
(mobile phone)
After LED flashes blue and
red alternately, it flashes blue
8 times
Connection between CL
Bluehook and mobile phone is
being established
LED flashes blue once every
2 seconds
CL Bluehook is paired and
ready to be used
LED flashes red CL Bluehook battery is low
DESCRIPTION DESCRIPTION
5 6
Page 5

Setting Up
Before you use the CL Bluehook, please take the following two
steps:
1.Charge the battery
2. Pair the CL Bluehook with your mobile phone
(Bluetooth connectivity feature turned on)
Battery Charging
Plug the battery charger into the mains supply and switch the
supply on. Connect the other end of the battery charger into the
charging port on the right hand side of the clip.
During charging a RED LED will be displayed. When charging
is complete, the LED will be turned off.
When using the CL Bluehook for the first time,
charging could take up to three hours. Please wait
until the RED LED is turned off.
If the RED LED flashes whilst in standby, the CL Bluehook
needs recharging.
Note :
Do not overcharge the CL Bluehook. Once the RED LED is no
longer displayed, remove the charging unit.
Do not use the CL Bluehook whilst it is being charged.
CL Bluehook Pairing
In order to use the CL Bluehook, it must be paired with a mobile
phone.
Pairing is the process of associating Bluetooth devices with
each other. When two devices are paired, they establish a
permanent, secure link with each other. Paired devices remain
paired even when one of the devices is off or the service
connection is stopped/interrupted. Therefore, pairing only
needs to take place once.
INSTALLATION INSTALLATION
7 8
Page 6

Set the CL Bluehook to power-on mode (press
Multifunction Speaking Button for 5 seconds until the
BLUE LED flashes every 3 seconds)
Ensure there are no other Bluetooth devices in pairing
mode within a 10 metre range of the CL Bluehook
Press and hold VOL+ and VOL-simultaneously for about
3 seconds until the BLUE and RED LED flash alternately.
You are now in waiting mode.
Select Bluetooth for the connectivity type on your mobile
phone
Set the mobile phone to search and add a new paired
device (see mobile phone user guide).
N.B. When the mobile phone finds the CL Bluehook, it
may appear as BT019 in the list of paired devices – this
is ok.
On finding the the CL Bluehook, the mobile phone will
ask for an input ID code. Enter the PIN code of “0000”
The BLUE LED should now flash slowly to indicate
successful pairing.
The CL Bluehook is now in standby and can be used as
required.
INSTALLATION
INSTALLATION
9
10
Page 7

Wearing the CL Bluehook
You can clip the CL Bluehook onto your clothes and place the
hook over your left or right ear.
Turn the CL Bluehook On
Press Multifunction Speaking Button for 5 seconds until the
BLUE LED flashes. If there is a successful connection, the
BLUE LED will start to flash once every 3 seconds.
If you have already paired the CL Bluehook with a mobile
phone, the CL Bluehook and the mobile phone will connect
automatically when the CL Bluehook is turned on.
Turn the CL Bluehook Off
Press Multifunction Speaking Button for 3 seconds until the
RED LED flashes. A voice or a beep will be heard from the CL
Bluehook. Release the Multifunction Speaking Button and the
CL Bluehhok will now turn off.
Volume Adjustment
To increase the volume during a call, press VOL+ gently. To
decrease the volume during a call, press VOL- gently.
Receiving a Call
Press Multifunction Speaking Button to receive the call. The
microphone on the clip will pick up your voice and you will hear
everything via the ear hook.
USING THE CL BLUEHOOK USING THE CL BLUEHOOK
11 12
Note: users of digital hearing aids must make sure their
aids have been programmed for use with the ‘T’ setting.
Page 8

Ending a Call
When your conversation has ended, press Multifunction
Speaking Button to end the call.
Reject an Incoming Call
Press VOL-for 3 seconds until you hear a beep, then release
the button. This will reject an incoming call.
Making a Call
Dial the telephone number on the mobile phone as normal.
Once the call is placed, the CL
Bluehook will carry the
conversation.
You can make a call via voice command if your mobile phone
supports this function. The mobile phone must be set to hands
free mode. Press and hold VOL+ until you hear a prompt. Say
the required name or telephone number loudly and clearly
towards the microphone on the CL Bluehook. The required
telephone number will be dialed automatically.
Last Number Redial
Press VOL-for 3 seconds until you hear a beep, then release
the button to perform last telephone number redial.
Note: This can only take place when in standby mode.
This function only works correctly if the mobile phone has been
set to hands free mode.
USING THE CL BLUEHOOK USING THE CL BLUEHOOK
13
14
Page 9

Voice Transfer
If you need to make a call using the mobile phone without the
CL Bluehook, press VOL+ for 3 seconds.
Working Frequency 2.4-2.4835 gHz ISM Band
Bluetooth Criterion V2.0+EDR
RF Output Power -6 - +4dBm (class2)
RF Sensitivity Superior -75dBm
Effective Distance maximum without obstacle 10m
Working Indication 2 LED (blue and red)
Battery Rechargeable Lithium Polymer
Battery
Speaking Time Approx 12 hours
Standby time Approx 250 hours
Charging Time Approx 2-3 hours
Audio Output Power (RL=32ohm) 2.5mw
Working temperature -10C - +45C
Storage Temperature -20C - +65C
Size 54 x 25.5 x 24 mm
Weight 22.5g
USING THE CL BLUEHOOK SPECIFICATION
15 16
Page 10

The RED LED is flashing
• Charge the battery
The CL Bluehook keeps on switching off
• Make sure that the batteries are fully charged
• Make sure you are within a 10 meter range of the
mobile phone
Experiencing interference when using the CL
Bluehook
• Wireless telephones and wireless networks may
cause interference. Keep as far away as possible
from these devices whilst using the CL Bluehook.
Mobile phone has shown connection with the
CL Bluehook, however, the CL Bluehook
appears not to work
• Ensure the mobile phone is switched to Bluetooth
setting
• Switch the CL Bluehook off and then on again
• Delete the existing Bluetooth connection, then pair
the devices together again
• Make sure you are within 10 meter range of the
mobile phone
• Make sure that the batteries are fully charged
TROUBLESHOOTING TROUBLESHOOTING
17 18
Page 11

General
Do not open the unit. Contact the helpline for all repairs.
Cleaning
Clean the CL Bluehook with a soft cloth. Never use polishes or
cleaning agents - they could damage the finish or the electrics
inside.
Environmental
Do not expose to direct sunlight.
Always ensure there is a free flow of air over the surfaces of the
CL Bluehook.
Do not place any part of your product in water and do not use it
in damp or humid conditions e.g. bathrooms.
Do not expose your product to fire or other hazardous
conditions.
From the moment your Geemarc product is purchased,
Geemarc guarantee it for the period of one year. During this
time, all repairs or replacements (at our discretion) are free of
charge. Should you experience a problem then contact our help
line or visit our website at www.geemarc.com
. The guarantee
does not cover accidents, negligence or breakages to any
parts. The product must not be tampered with or taken apart by
anyone who is not an authorized Geemarc representative. The
Geemarc guarantee in no way limits your legal rights.
IMPORTANT: YOUR RECEIPT IS PART OF YOUR
GUARANTEE AND MUST BE RETAINED AND PRODUCED
IN THE EVENT OF A WARRANTY CLAIM.
SAFETY INFORMATION GUARANTEE
Please note: The guarantee applies to
the United Kingdom only
19 20
Page 12

DECLARATION: Geemarc Telecom SA hereby declares
that this product is in compliance with the essential
requirements and other relevant provisions of the Radio
and Telecommunications Terminal Equipment Directive
1999/5/EEC and in particular article 3 section 1a, 1b and
section 3.
Electrical connection: The apparatus is designed to operate
from a 230V 50Hz supply only. (Classified as ‘hazardous
voltage’ according to EN60950 standard). The apparatus does
not incorporate an integral power on/off switch. To disconnect
the power, either switch off supply at the mains power socket or
unplug the AC adaptor. When installing the apparatus, ensure
that the mains power socket is readily accessible.
Telephone connection: Voltages present on the
telecommunication network are classified TNV-3
(Telecommunication Network Voltage) according to the
EN60950 standard.
GUARANTEE GUARANTEE
21 22
Page 13

The WEEE (Waste Electrical and Electronic Equipment) has
been put in place for the products at the end of their useful life
are recycled in the best way.
When this product is finished with, please do not put it in your
domestic waste bin.
Please use one of the following disposal options:
- Remove the batteries and deposit them in an appropriate
WEEE skip. Deposit the product in an appropriate WEEE skip.
- Or, hand the old product to the retailer. If you purchase a new
one, they should accept it.
Thus if you respect these instructions you ensure human health
and environmental protection.
For product support and help visit our website at
www.geemarc.com
Telephone 01707 384438
Or fax 01707 372529
RECYCLING DIRECTIVES
23
24
 Loading...