

Page 1
FEATURES
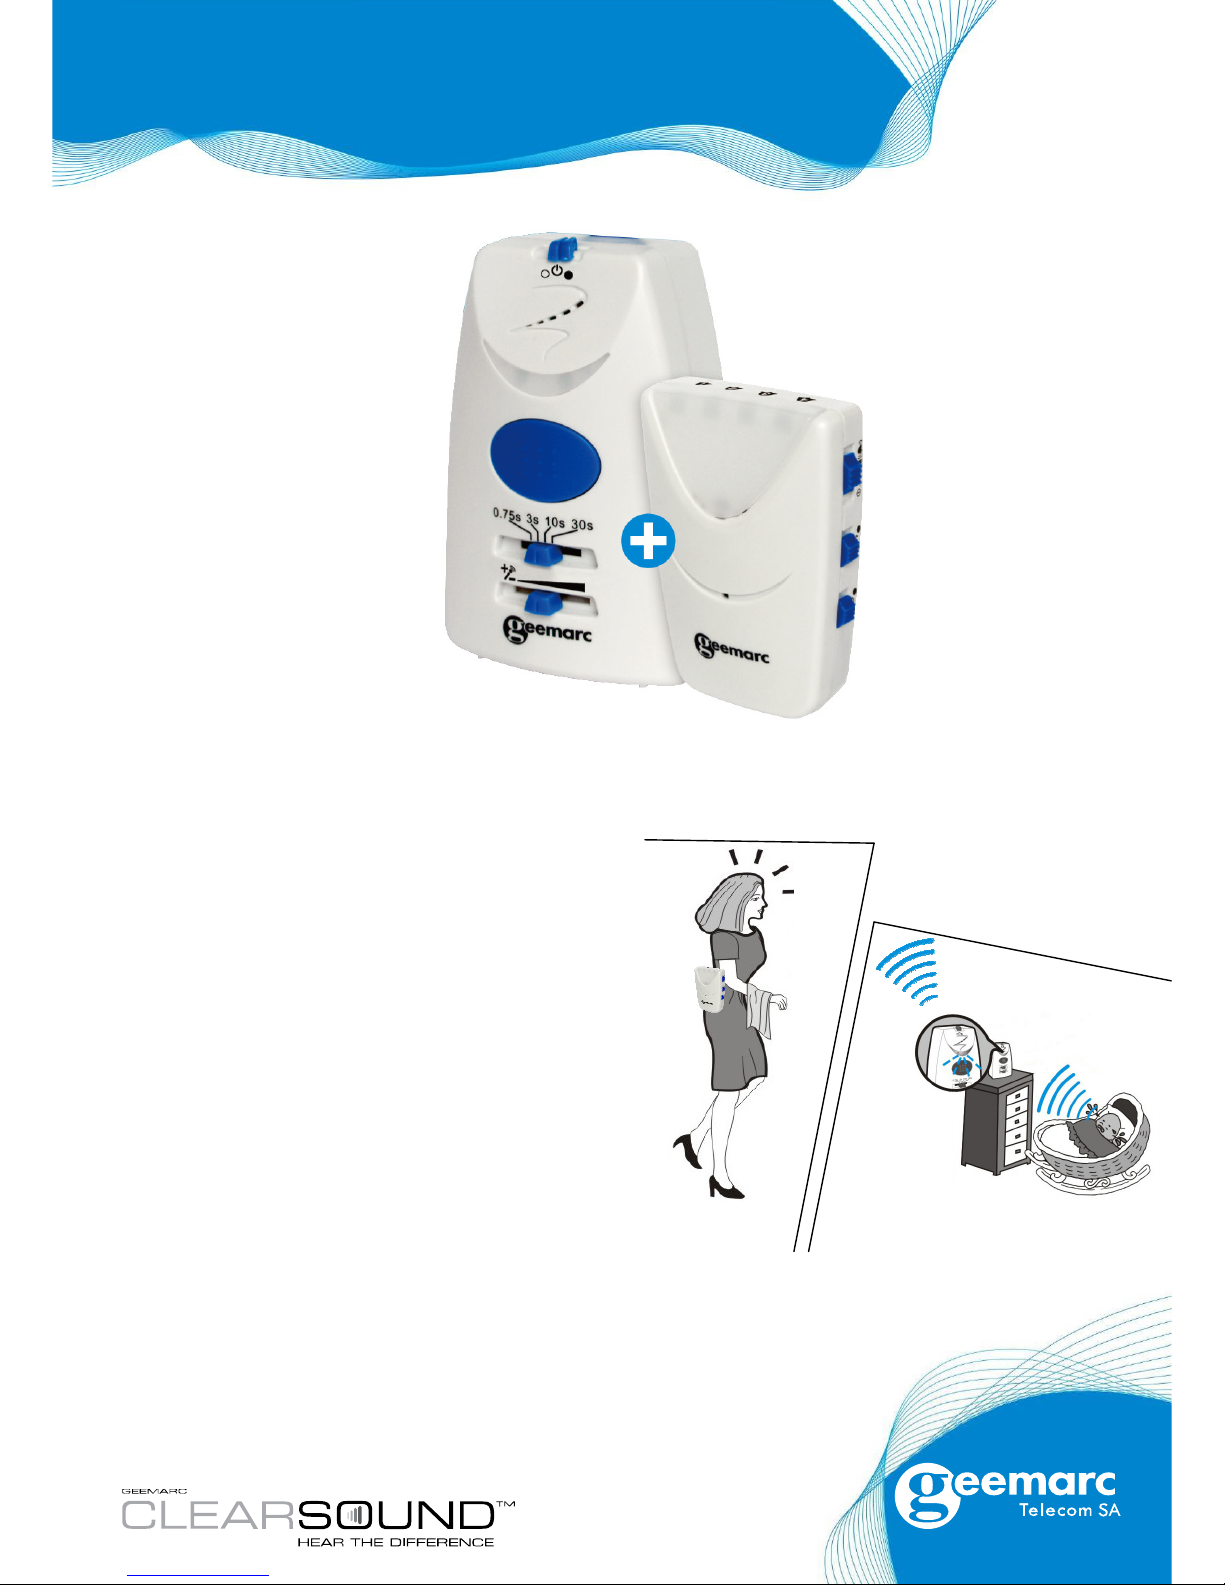
AMPLICALL50: Vibrating Signal Indicator
Wireless Amplicall Range Compatible Receiver
Pair with up to 4 different devices
4 visual indicators options
Volume control (off, low, high) up to 80dB
Vibrating switch on/off
Operates on batteries 3xAAA included
AMPLICALL30: Baby monitor
Wireless Transmitter for the Amplicall Range
Emergency call push button
Dectection Time Adjustment
Sensivity Adjustement
Jack socket for connection to an external alarm system
Operates on batteries 3xAAA included
OPTIONAL EXTRAS
AMPLICALL20
AMPLICALL40
AAM
M
PPLLIICCAALLLL55003300
BBaabbyy mmoonniittoorr
www.geemarc.com
LL
AMPLICALL5030UK
AMPLICALL30
AMPLICALL50
Items pictured and details are subject to
change at the manufacturer’s discretion.
Bedroom
Kitchen
APPLICATION
Page 2
0
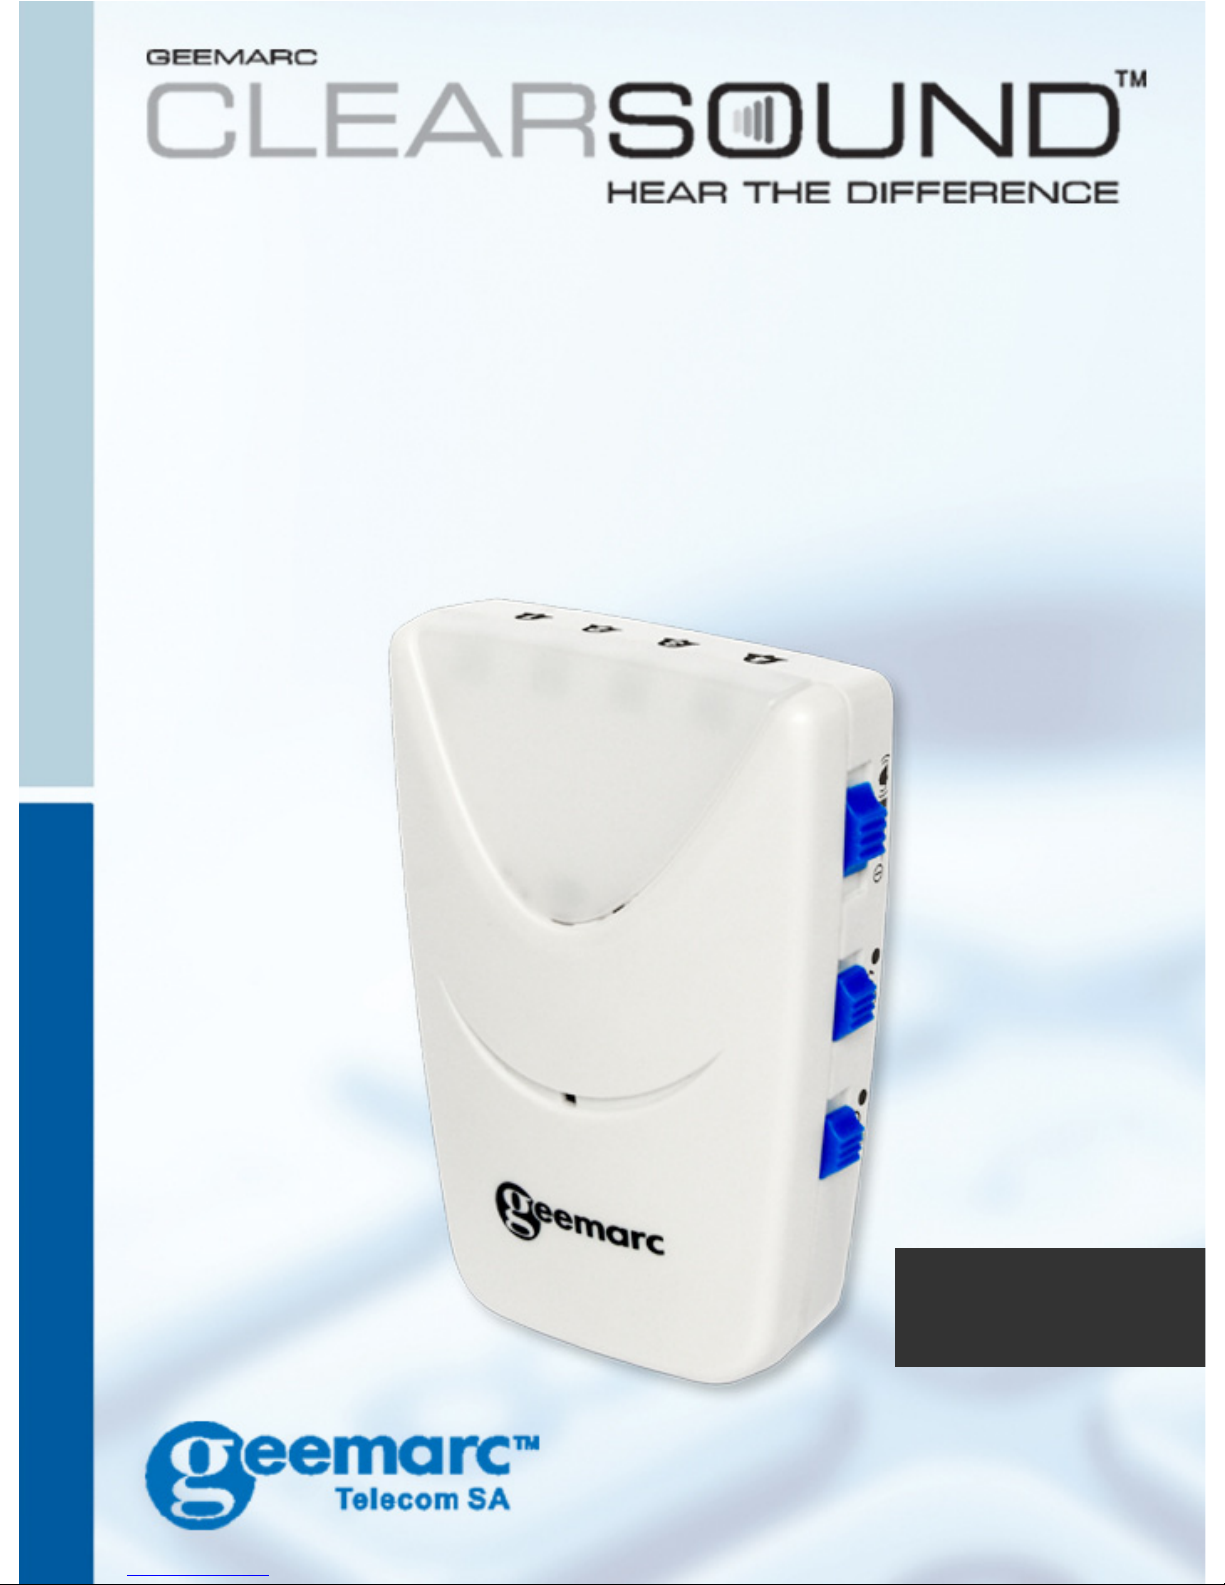
AMPLICALL50
Portable Alert Unit
English
Page 3

1
CONTENTS 1
INTRODUCTION 3
Unpacking the AMPLICALL
TM
50
5
DESCRIPTION 6
General Description 6
INSTALLATION 8
Setting Up 8
Mounting 9
Range 10
PAIRING 11
Pairing Procedure 11
CONTENTS
Page 4

2
Deregister the Pairing 13
AMPLICALL
TM
50 16
Power On/Off Setting 16
Vibrate On/Off Setting 16
Volume Setting 16
AMPLICALL
TM
50 Use 17
TROUBLESHOOTING 18
SAFETY INFORMATION 21
GUARANTEE 26
RECYCLING DIRECTIVES 29
CONTENTS
Page 5

3
Congratulations on purchasing
your Geemarc AMPLICALL
TM
50.
This is the portable unit that
receives a transmitted signal from
any number of transmitters e.g.
AMPLICALL
TM
30/40. The
AMPLICALL
TM
50 will flash and can
emit an alarm sound and/or vibrate
in order to alert you to help the
person/baby in need.
The AMPLICALL
TM
50 is a fantastic
receiver able to link to many
different types of transmitter within
the range together with the
obvious requirements of good,
INTRODUCTION
Page 6

4
clear reception and easy setup and
use.
Its is important that you read the
instructions below in order to use
your Geemarc AMPLICALL
TM
50
its full potential. Keep this user
guide in a safe place for future
reference.
INTRODUCTION
Page 7

5
Unpacking the
AMPLICALL
TM
50
When unpacking the
AMPLICALL
TM
50, you should find
the following in the box:
• 1 AMPLICALL
TM
50 Unit
• 3 AAA batteries (supplied)
For product support and help visit
our website at www.geemarc.com
Telephone 01707 384438
Or fax 01707 832529
INTRODUCTION
Page 8
6
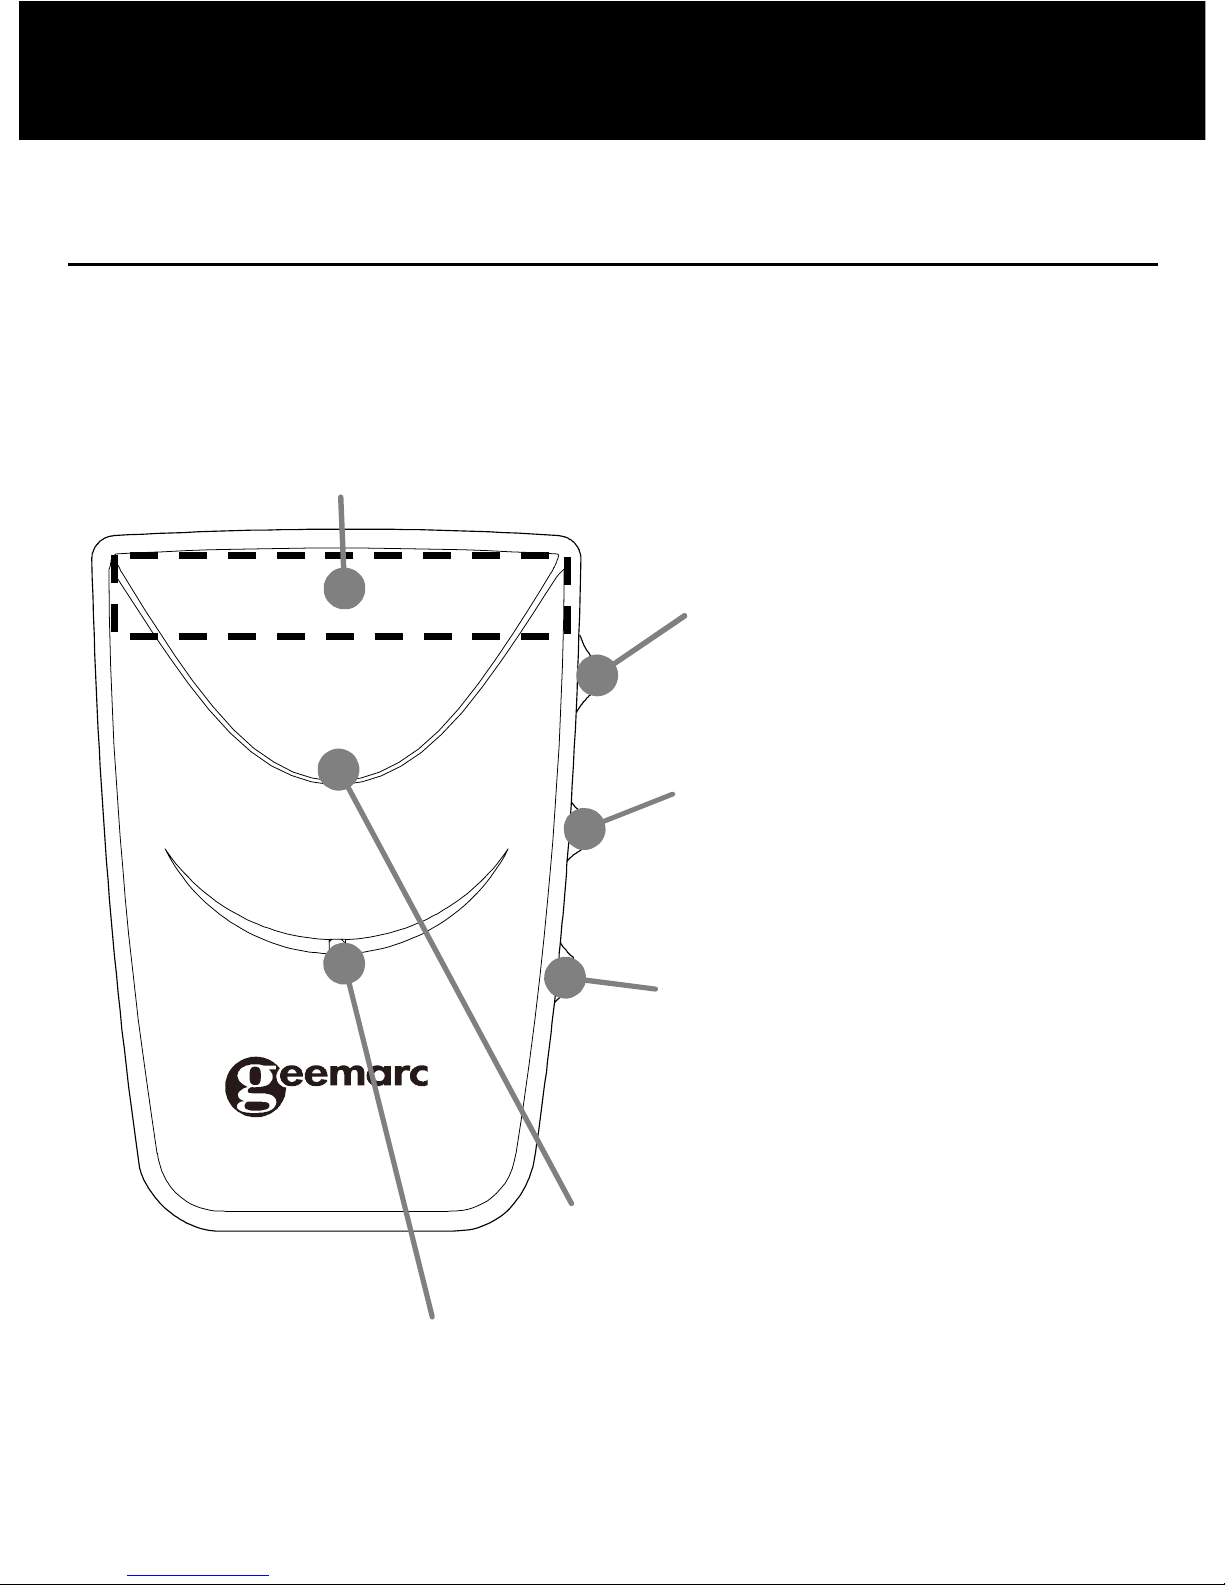
General Description
Front Description
Built in microphone
Four red LED
Volume
Off/Low/High
switch
Vibrate
On/Off switch
Power
On/Off switch
Power on LED
indicator
INTRODUCTION
Page 9
7
Rear Description
Pairing button
Battery
Compartment
INTRODUCTION
Page 10

8
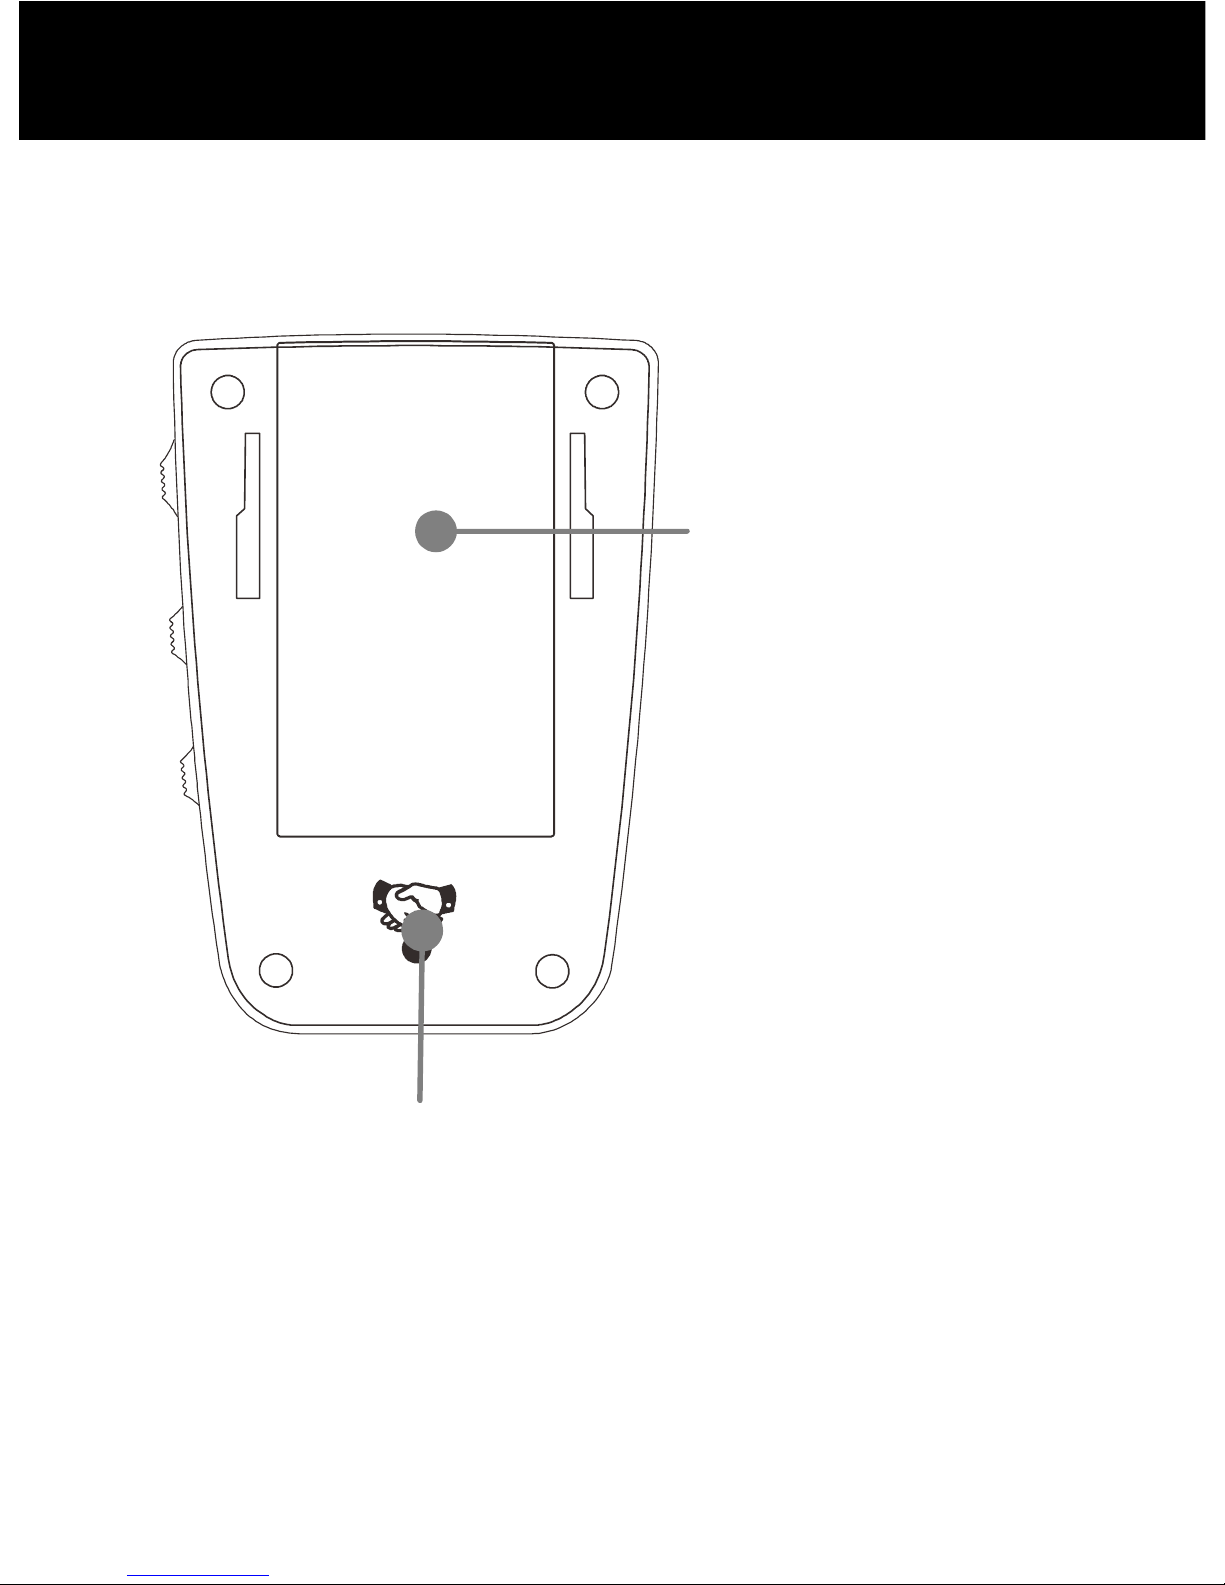
Setting Up
For portable monitoring, remove
the battery compartment cover
found on the rear of the unit.
Insert 3 alkaline batteries (AAA
size, 1.5V type, these are supplied)
into the battery compartment.
Check the battery polarity
diagrams in the battery
compartment when inserting the
batteries. Replace the battery
cover – it will snap back into place.
Slide the Power On/Off switch to
On to activate.
INTRODUCTION
Page 11

9
When the LED indicator flashes
y Slowly-Normal
y Quickly-Low battery(replace
battery)
Mounting
The AMPLICALL
TM
50 can be
carried around with you either by
hand or using the supplied belt
clip.
INTRODUCTION
Page 12

10
Range
Your monitor has been carefully
designed to operate at its best
within a 30 metre range. This is
suitable for the majority of
household environments. The
range and general quality of
reception may vary depending on
battery power and number of
obstructions such as walls etc.
INTRODUCTION
Page 13

11
The Pairing Procedure
Press and hold the Pairing/Test
button of the AMPLICALL
TM
50 until
the unit makes a beep sound. The
1st LED lights. This indicates you
have entered pairing mode.
You can now pair the 1
st
outdoor
unit/transmitter e.g. the
AMPLICALL
TM
30/40 to the 1st LED.
Press and hold the Pairing/Test
button of AC50 and the ALARM
button of the outdoor
unit/transmitter e.g. the
AMPLICALL
TM
30/40 at the same
time until the middle LED lights up
PAIRING
Page 14

12
and the unit makes a long beep
tone to confirm pairing
successfully.
If you would like to continue and
pair the 2
nd
, 3
rd
or 4th outdoor
unit/transmitter, when the 1
st
LED
lights, press the Pairing/Test
button again. The 1st LED
will switch off and the 2
nd
LED will
light up. You can now pair the 2
nd
outdoor unit by pressing and
holding the Pairing/Test button of
AC50 and the ALARM button of
the outdoor unit/transmitter at the
same time until the middle LED
lights up and the unit makes a long
PAIRING
Page 15

13
beep tone to confirm pairing
successfully.
You can repeat the same
procedure for the 3
rd
or 4th outdoor
unit/transmitter.
Deregister the Pairing
Press and hold the Pairing/Test
button for 5 seconds until all the
LEDs light up. You have entered
the deregister mode.
In order to deregister the 1
st
unit,
press the pairing/testing button
once, the 1
st
LED will flash (the
other 2 LED will be lit), then press
PAIRING
Page 16

14
and hold the pairing/testing button.
The 1
st
LED turns off and beeps to
confirm that 1
st
remote is now
deregistered
If you would like to deregister the
2
nd
and 3
rd
unit but keep the 1st unit
paired:, when the 1
st
LED flashes,
press the pairing/testing button
once to select which call/remote
unit is to be deregistered, then
press and hold the pairing/testing
button until the 2
nd
or 3
rd
LED turns
off and beeps to confirm that it is
now deregistered.
To keep the 1
st
, 2
nd
& 3
rd
units
paired, but deregister the 4th :
PAIRING
Page 17

15
when the 1st LED flashes, press
the pairing/testing button four
times, all 3 LEDs will flash together,
then press and hold the
pairing/testing button until all 3
LEDs turn off together and beep to
confirm that 4
th
unit is now
deregistered.
PAIRING
Page 18

16
Power On/Off Setting
You can switch the power off or on
using the Power Off/On switch.
Vibrate On/Off Setting
You can switch the vibrate setting
off or on using the Shaking Off/On
switch. When this setting is on
the AMPLICALL
TM
50 will vibrate as
a means of alarm.
Volume Setting
The beep alarm can be set to off,
low volume or high volume using
the Volume off/low/high setting.
USING THE AMPLICALL50
Page 19

17
AMPLICALL
TM
50 Use
When a paired transmitter detects
a cry/voice/noise or the ALARM
button is pressed, this receiver unit
will flash and/or sound a beep
and/or vibrate to notify you of the
noise made and perhaps the need
for assistance
.
USING THE AMPLICALL50
Page 20

18
The Monitor will not switch on
• Make sure the batteries are
inserted correctly and they have
adequate power
• Ensure mains power is
connected properly
The Receiver (AMPLICALL
TM
50) is
making a high pitched (feedback)
noise
• Ensure the AMPLICALL
TM
30/40
and the AMPLICALL
TM
50 are
about 10ft apart
• Switch the volume setting to low
TROUBLESHOOTING
Page 21

19
The Receiver (AMPLICALL
TM
50) is
only alerting me intermittantly or
not alerting me at all
• Ensure the units are paired
correctly. Run through the
pairing process again
• Ensure the AMPLICALL
TM
30/40
and the AMPLICALL
TM
50
power is switched on
• Ensure the AMPLICALL
TM
50
volume is not switched off
• Make sure the batteries are
inserted correctly and they have
adequate power
• Ensure mains power is
connected properly
TROUBLESHOOTING
Page 22

20
• The units maybe too far apart,
therefore out of range
• Set time delay to low and sound
sensitivity to high
Sound quality has decreased
• Make sure the batteries are
inserted correctly and they have
adequate power
Power LED flashing quickly
• Replace the old batteries or use
mains power
TROUBLESHOOTING
Page 23

21
General
Do not open the unit (except to
replace the batteries). Contact the
helpline for all repairs.
One of the uses of the
AMPLICALL
TM
50 is to help
monitor your child and is not a
substitute for adult supervision.
This product is not a toy.
Your monitor transmits over public
airwaves. Your conversation
maybe heard by another product
that operates on the same
frequency.
SAFETY INFORMATION
Page 24

22
Always keep electrically operated
items and their cables out of reach
of babies and younger children.
Ensure children cannot become
tangled or trip over any wires.
Cleaning
Clean the unit with a soft cloth.
Never use polishes or cleaning
agents - they could damage the
finish or the electrics inside. If
connected, please disconnect
from power supply before
cleaning.
SAFETY INFORMATION
Page 25

23
Environmental
Do not expose to direct sunlight.
Always ensure there is a free flow
of air over the surfaces of the unit.
Do not place any part of your
product in water and do not use it
in damp or humid conditions e.g.
bathrooms.
Do not expose your product to fire
or other hazardous conditions.
SAFETY INFORMATION
Page 26

24
Batteries
Removal and replacement of
batteries should be carried out by
an adult or under adult supervision.
Take special care to ensure
batteries are inserted correctly,
observing (+) and (-) polarity
marks on battery and product.
Remove used batteries from the
unit.
Do not use rechargeable batteries.
SAFETY INFORMATION
Page 27

25
Do not mix old (used) and new
batteries or batteries of different
types
Do not put batteries into the
household rubbish, pay attention
to battery regulations regarding
battery disposal.
Remove batteries if you will not be
using the product for long periods.
Only use batteries of the same or
equivalent type to those
recommended.
SAFETY INFORMATION
Page 28

26
From the moment your Geemarc
product is purchased, Geemarc
guarantee it for the period of one
year. During this time, all repairs or
replacements (at our discretion)
are free of charge. Should you
experience a problem then contact
our help line or visit our website at
www.geemarc.com
.
The guarantee does not cover
accidents, negligence or
breakages to any parts.
The product must not be tampered
with or taken apart by anyone who
is not an authorised Geemarc
representative. The Geemarc
GUARANTEE
Page 29

27
guarantee in no way limits your
legal rights.
IMPORTANT: YOUR RECEIPT IS
PART OF YOUR GUARANTEE
AND MUST BE RETAINED AND
PRODUCED IN THE EVENT OF A
WARRANTY CLAIM.
DECLARATION: Geemarc
Telecom SA hereby declares that
this product is in compliance with
the essential requirements and
Please note: The guarantee
applies to the United
Kingdom only
GUARANTEE
Page 30

28
other relevant provisions of the
Radio and Telecommunications
Terminal Equipment Directive
1999/5/EEC and in particular
article 3 section 1a, 1b and section
3.
The declaration of conformity may
be consulted at
www.geemarc.com
GUARANTEE
Page 31

29
The WEEE (Waste Electrical and
Electronic Equipment) has been
put in place for the products at the
end of their useful life are recycled
in the best way.
When this product is finished with,
please do not put it in your
domestic waste bin.
Please use one of the following
disposal options:
- Remove the batteries and deposit
them in an appropriate WEEE skip.
Deposit the product in an
appropriate WEEE skip.
RECYCLING DIRECTIVES
Page 32

30
- Or, hand the old product to the
retailer. If you purchase a new one,
they should accept it.
Thus if you respect these
instructions you ensure human
health and environmental
protection.
For product support and help visit
our website at www.geemarc.com
Telephone 01707 384438
Or fax 01707 832529
RECYCLING DIRECTIVES
Page 33

31
UGAmplicall50_En_v1.3
 Loading...