How it Works
Log In / Sign Up
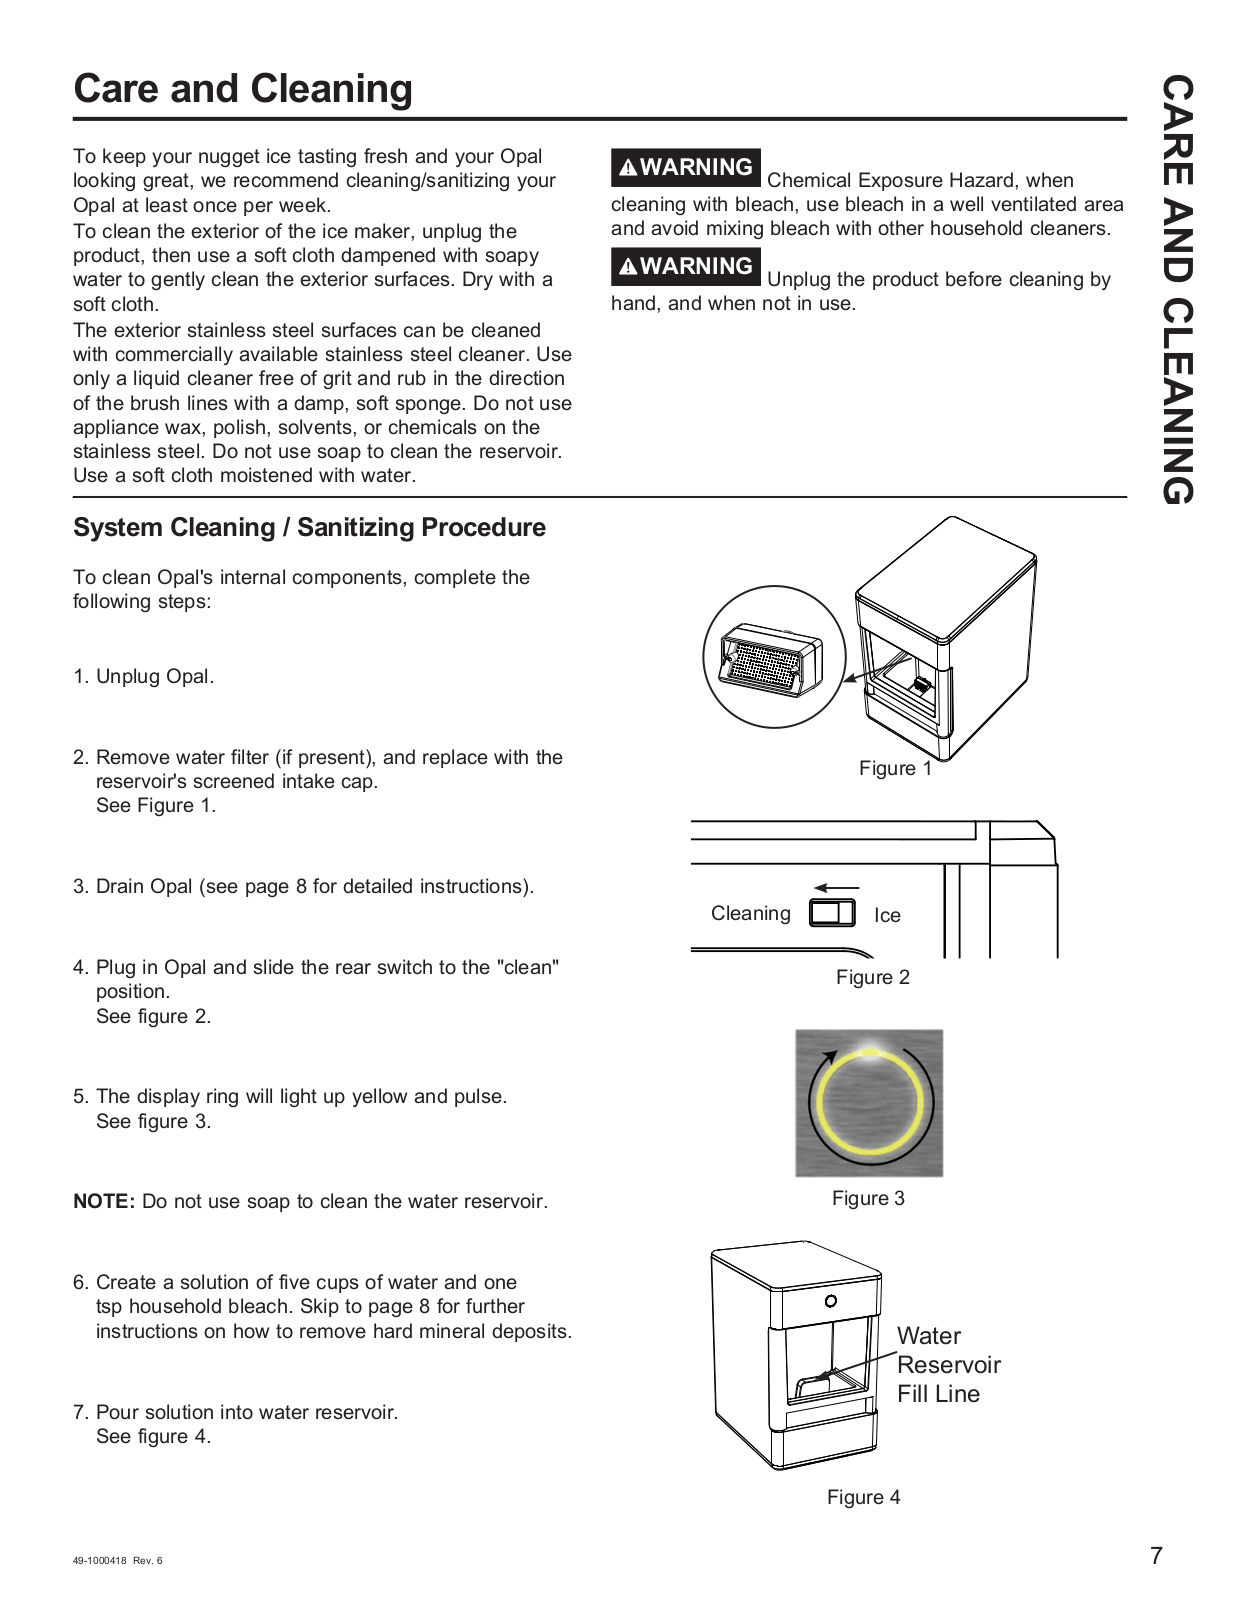
Buy Points
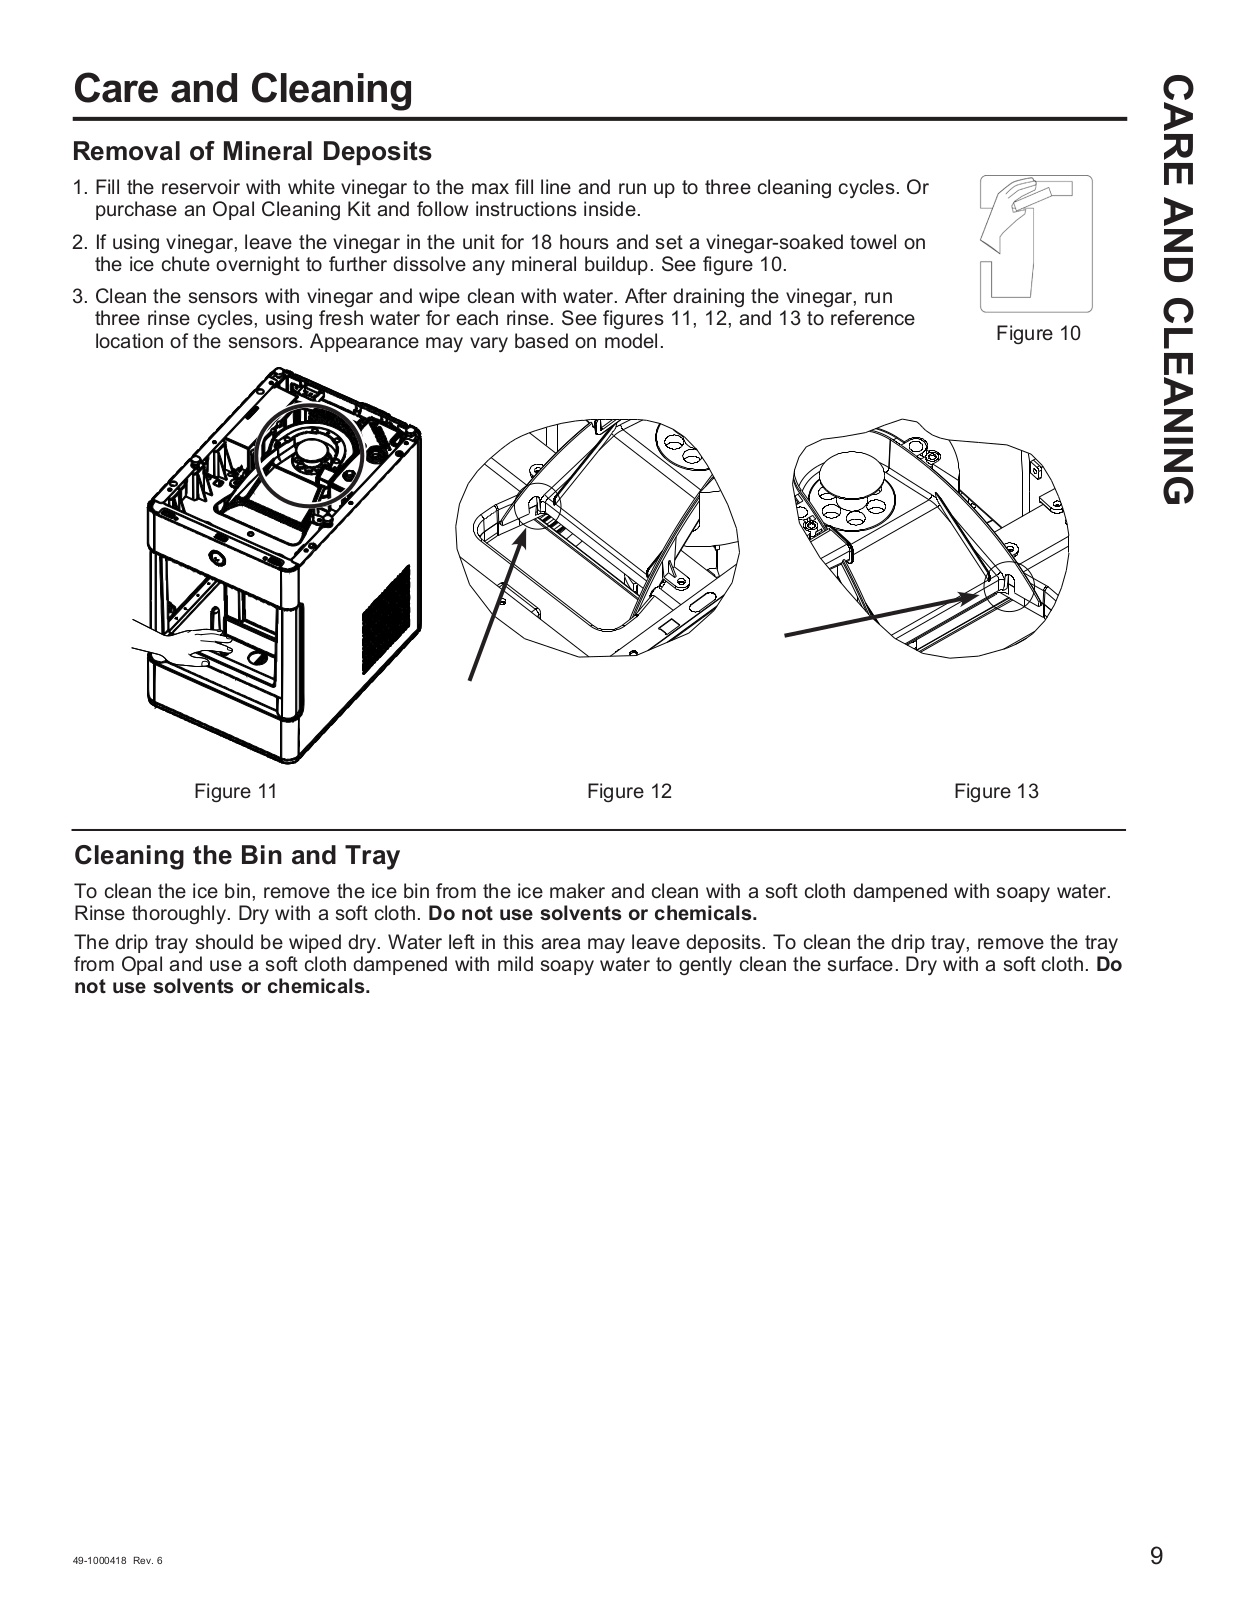
How it Works
FAQ
Contact Us
Questions and Suggestions
Users
GE
Loading...
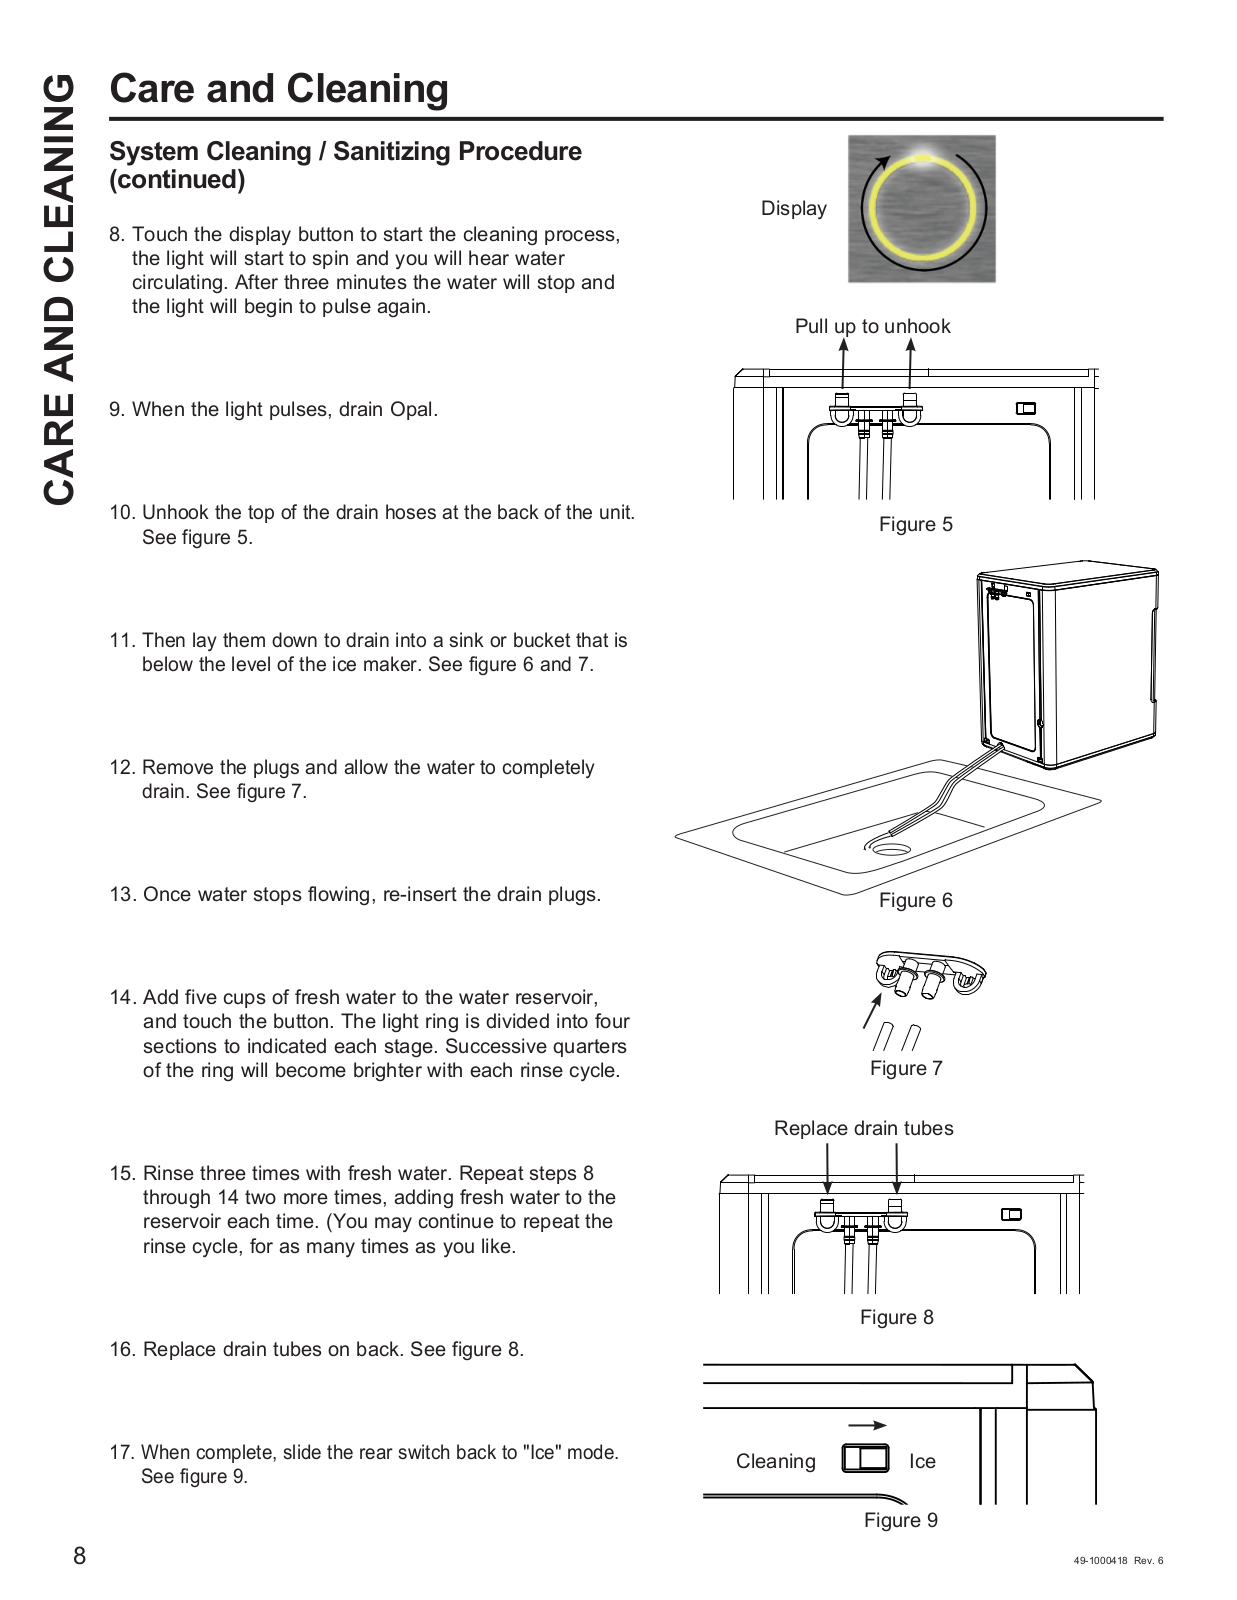
N
NWXR473ET
NWXR473EVAA
NWXR473GT
NX-108
NX-108E
NX-116
NX-116E
NX-124E
2
NX-1500E
NX-548E
NX58M9420SS
NX-7002
NX-8V2
NZ 29878
O
OASIS
OB5
5
OB6
4
OBC
3
OBE
4
OC6000e
2
OEC 2800
2
OEC 6800
2
OEC 8800
3
OEC 8800 C-arm System
OEC 8800 Flexiview
OEC 9800
10
OEC 9800 ESP-15 C-Arm
2
OEC 9800MD
6
OEC 9800 Plus
7
OEC 9800 Plus Digital
2
OEC 9900
OEC 9900 Elite
7
OEC 9900 EliteMD
4
OEC 9900 EliteNAV
3
OEC 9900 ESP-15 Elite C-arm
2
OEC DICOM
OEC Elite
OEC FlexiView 8800 Mobile C-Arm
2
OEC FluoroTrak 9800 C-arms
OEC FluoroTrak 9800 Plus
6
OEC InstaTrak 3500 Plus FluoroTrak
OEC MiniView 6800
4
OEC One
OEC UroView 2800
9
OEC Workstation
OG5
5
OG6
5
OGE
4
Ohmeda Serv O2
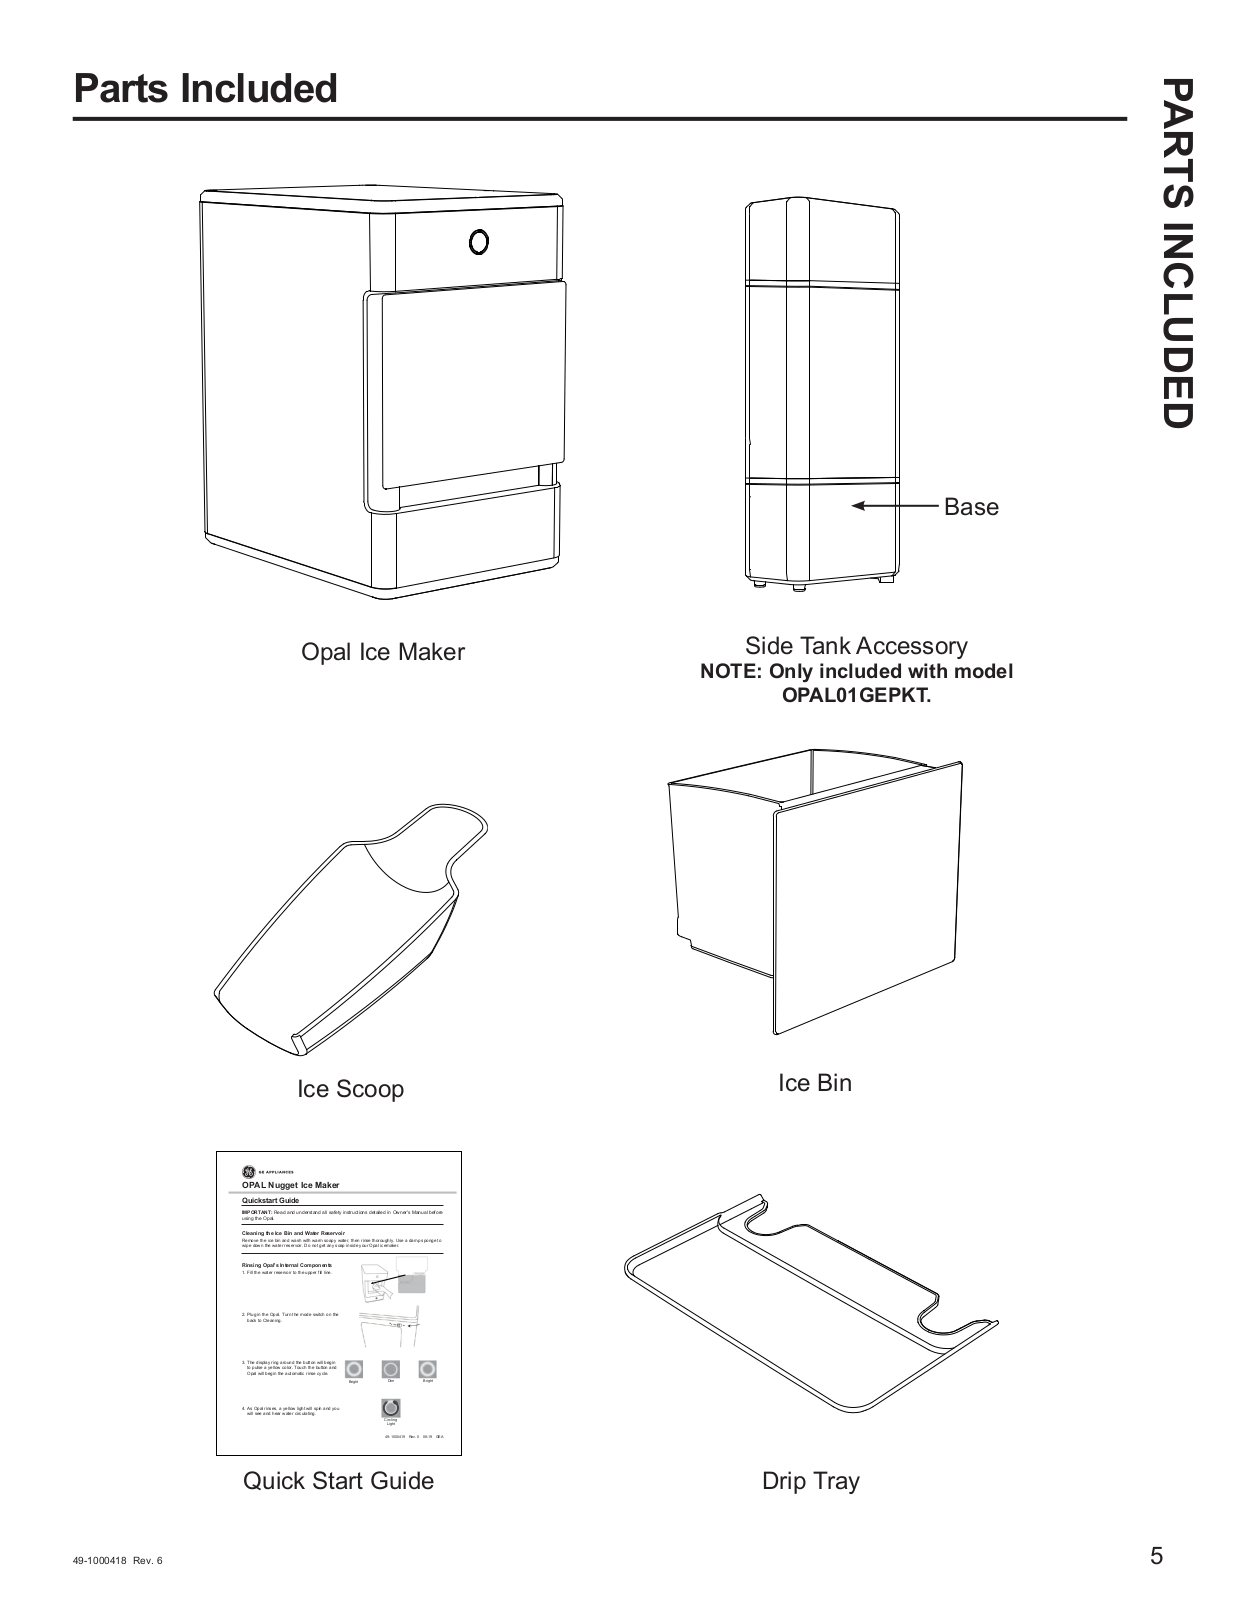
OPAL01GEPKT
2
OPAL01GEPSS
OPL01GESDTK
ORegen
Outdoor 15254
Outdoor 15256
Outdoor 15257
Outdoor 15258
Outdoor Digital Countdown Timer 15113
Outdoor Digital Countdown Timer 15255
Oven
5
Oven Microwaves
Ovens with Trivection Technology
3
Over the Range Microwave Oven
5
over-the-range microwave ovens
OxyTip+
P
P16M
6
P17M
6
P2B912
P2B912DEM
P2B912DEM1BB
P2B912DEM1WW
P2B912DEM2BB
P2B912DEM2WW
P2B912DEM3BB
P2B912DEM3WW
P2B912SEM1SS
P2B912SEM2SS
P2B912SEM3SS
P2B912SEMSS
P2B918DEM
P2B918DEM1BB
P2B918DEM1CC
P2B918DEM1WW
P2B918DEM2BB
P2B918DEM2CC
P2B918DEM2WW
P2B918DEM3BB
P2B918DEM3CC
P2B918DEM3WW
P2B918DEM4BB
P2B918DEM4WW
P2B918DEMWW
P2B918SEM
P2B918SEM1SS
P2B918SEM2SS
P2B918SEM3SS
P2B918SEM4SS
P2B918SEMSS
P2B930DET
P-708
2
Loading...
Loading...
Nothing found
OPAL01GEPSS
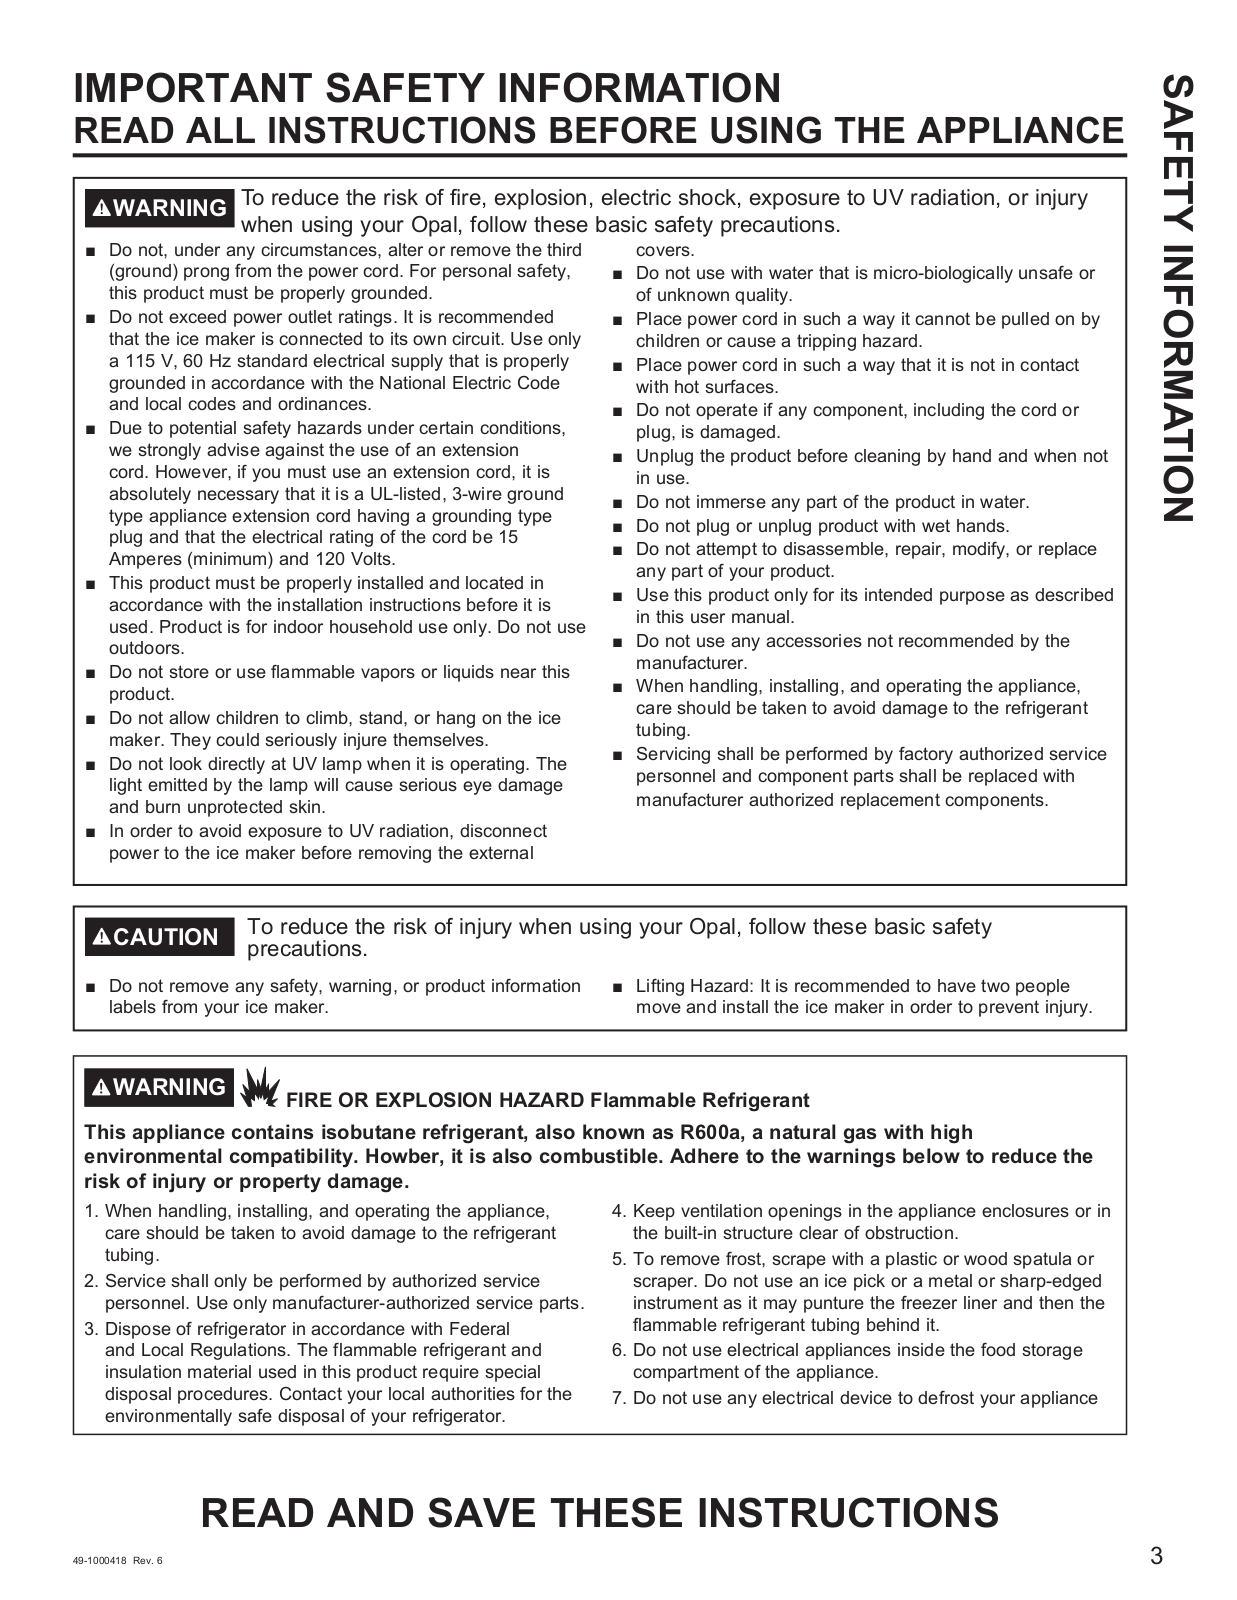
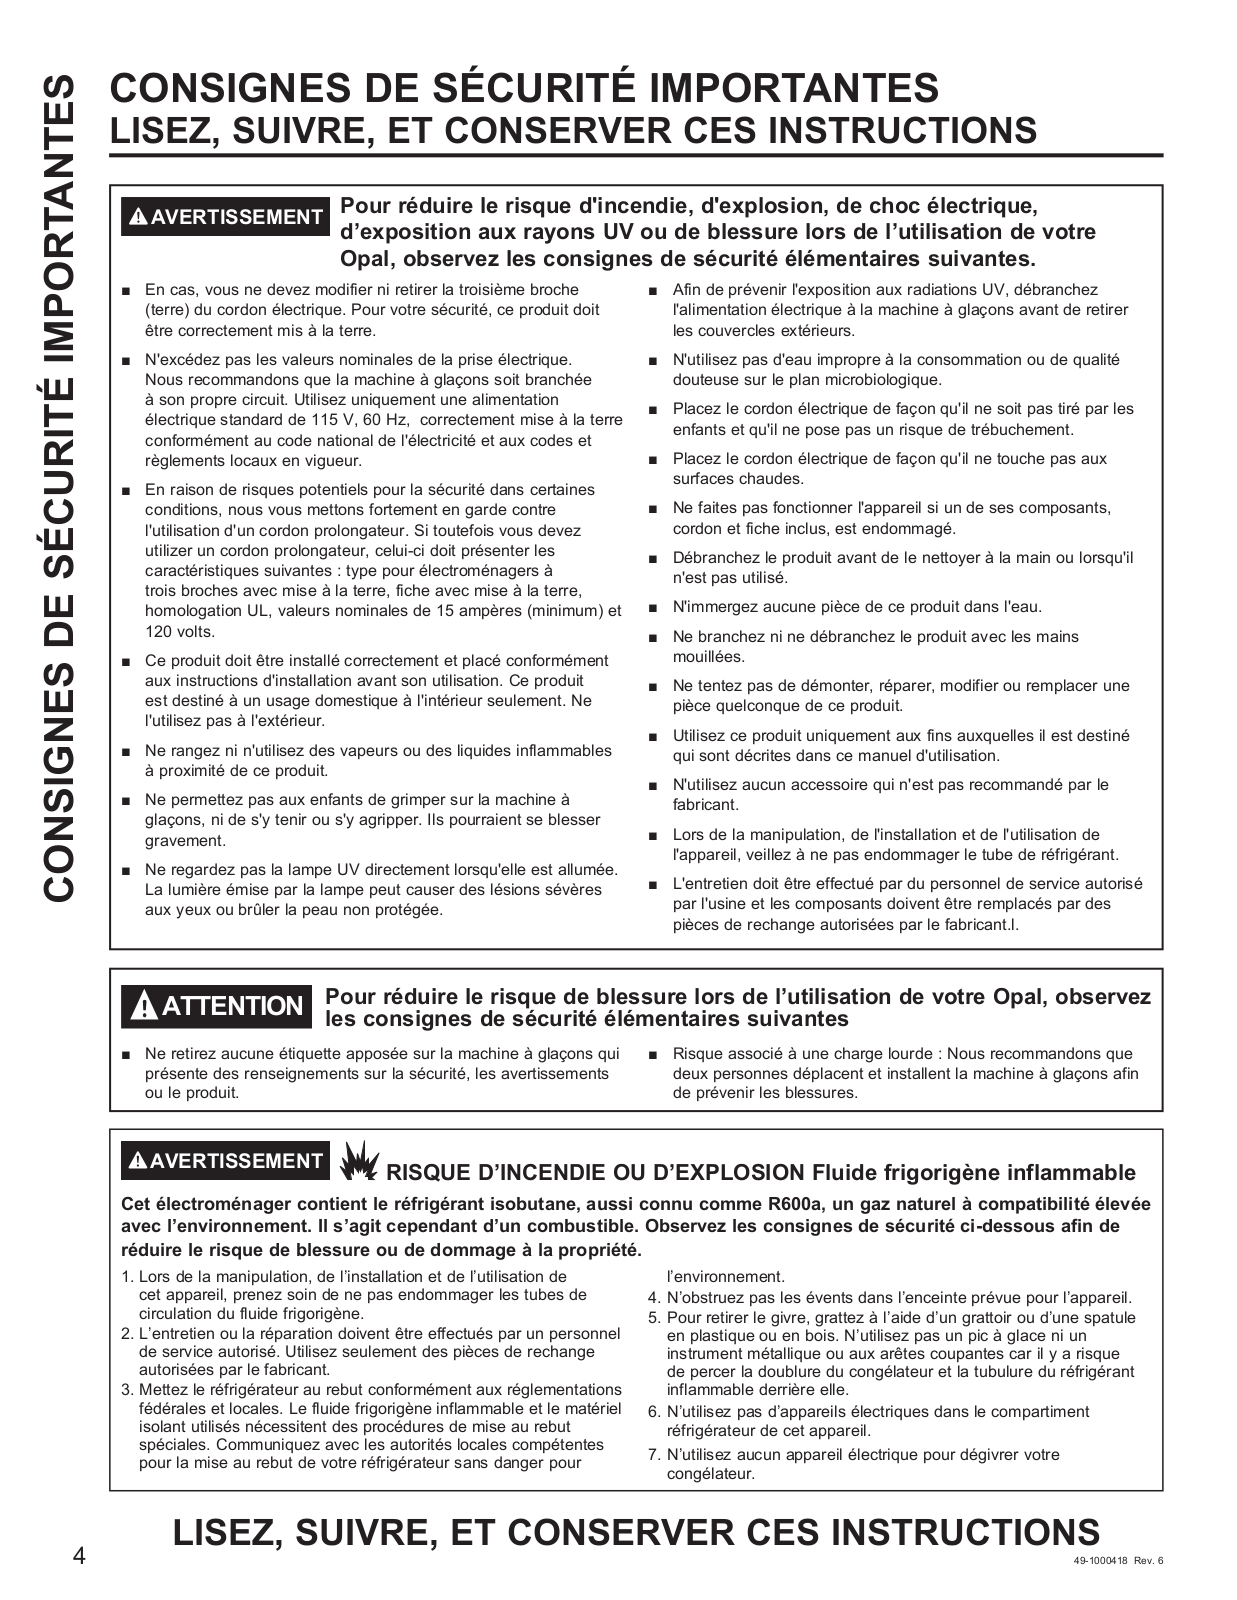
Owner’s Manual
38 pgs
4.27 Mb
0
Table of contents
Loading...
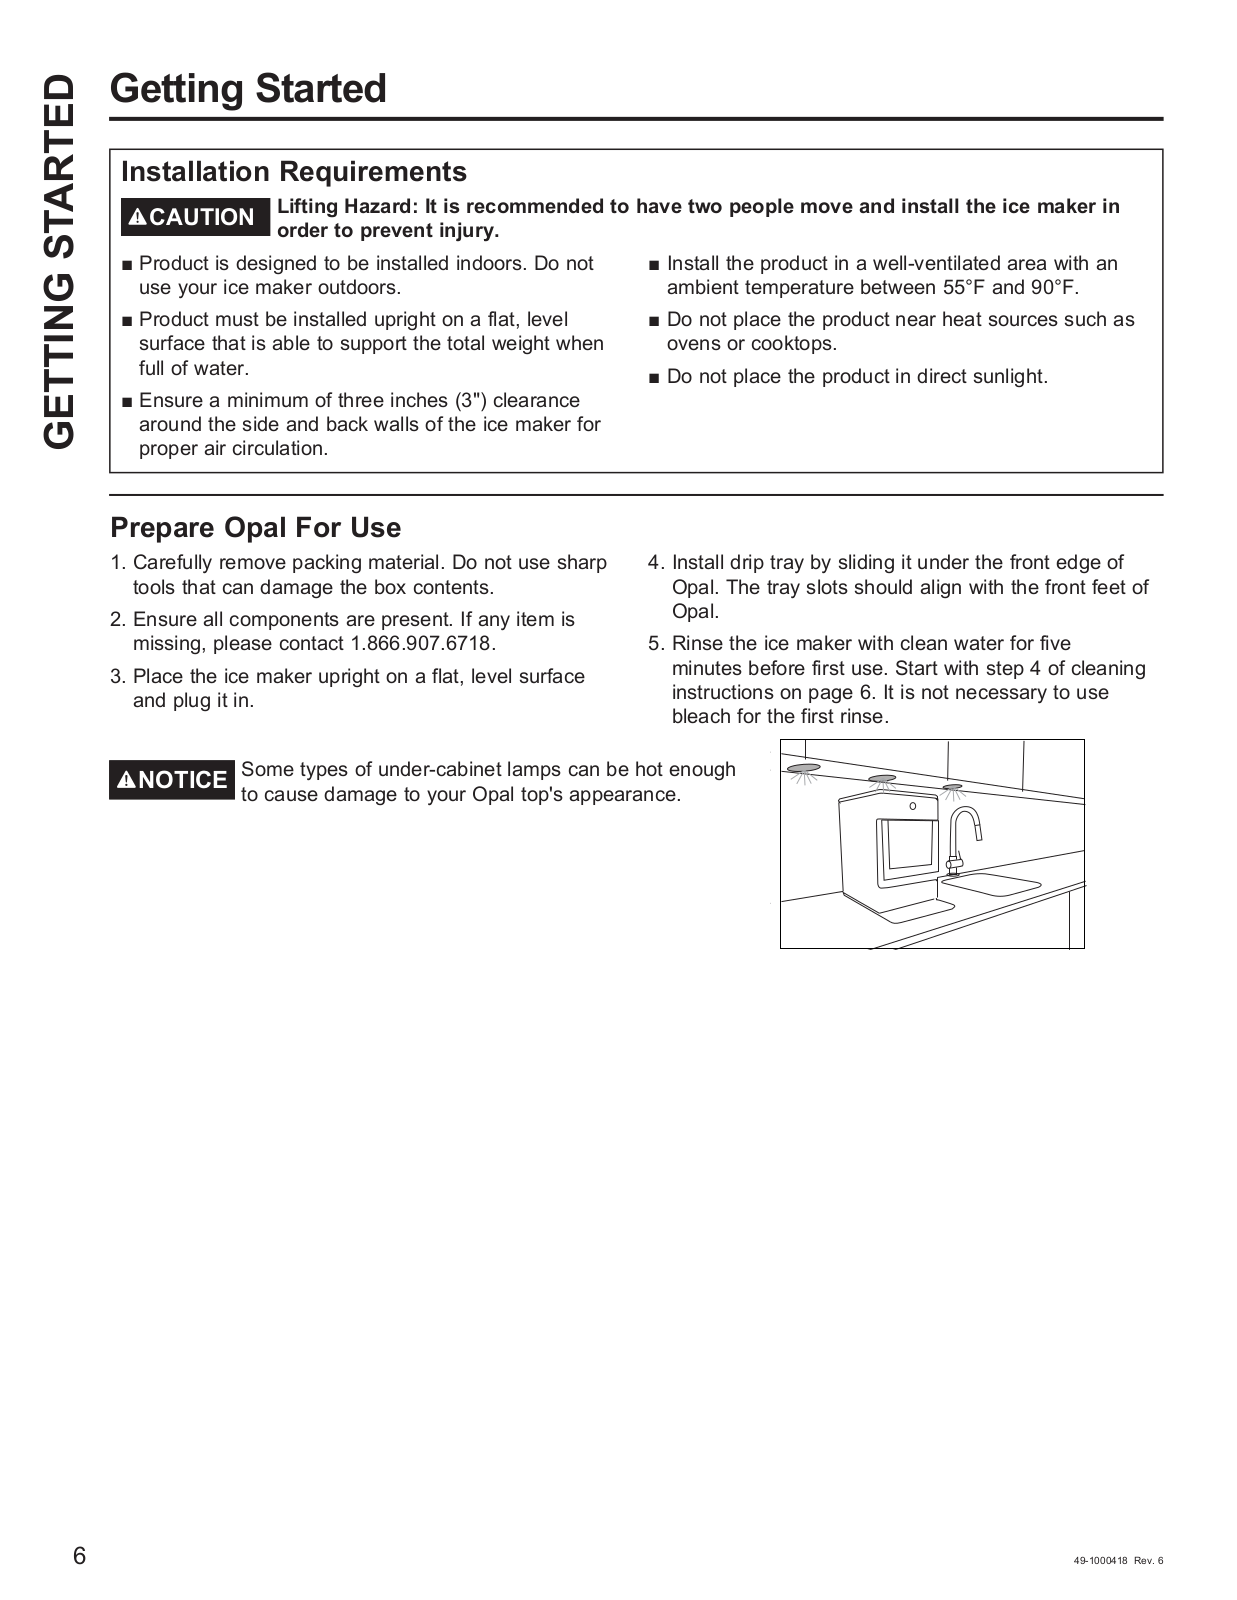
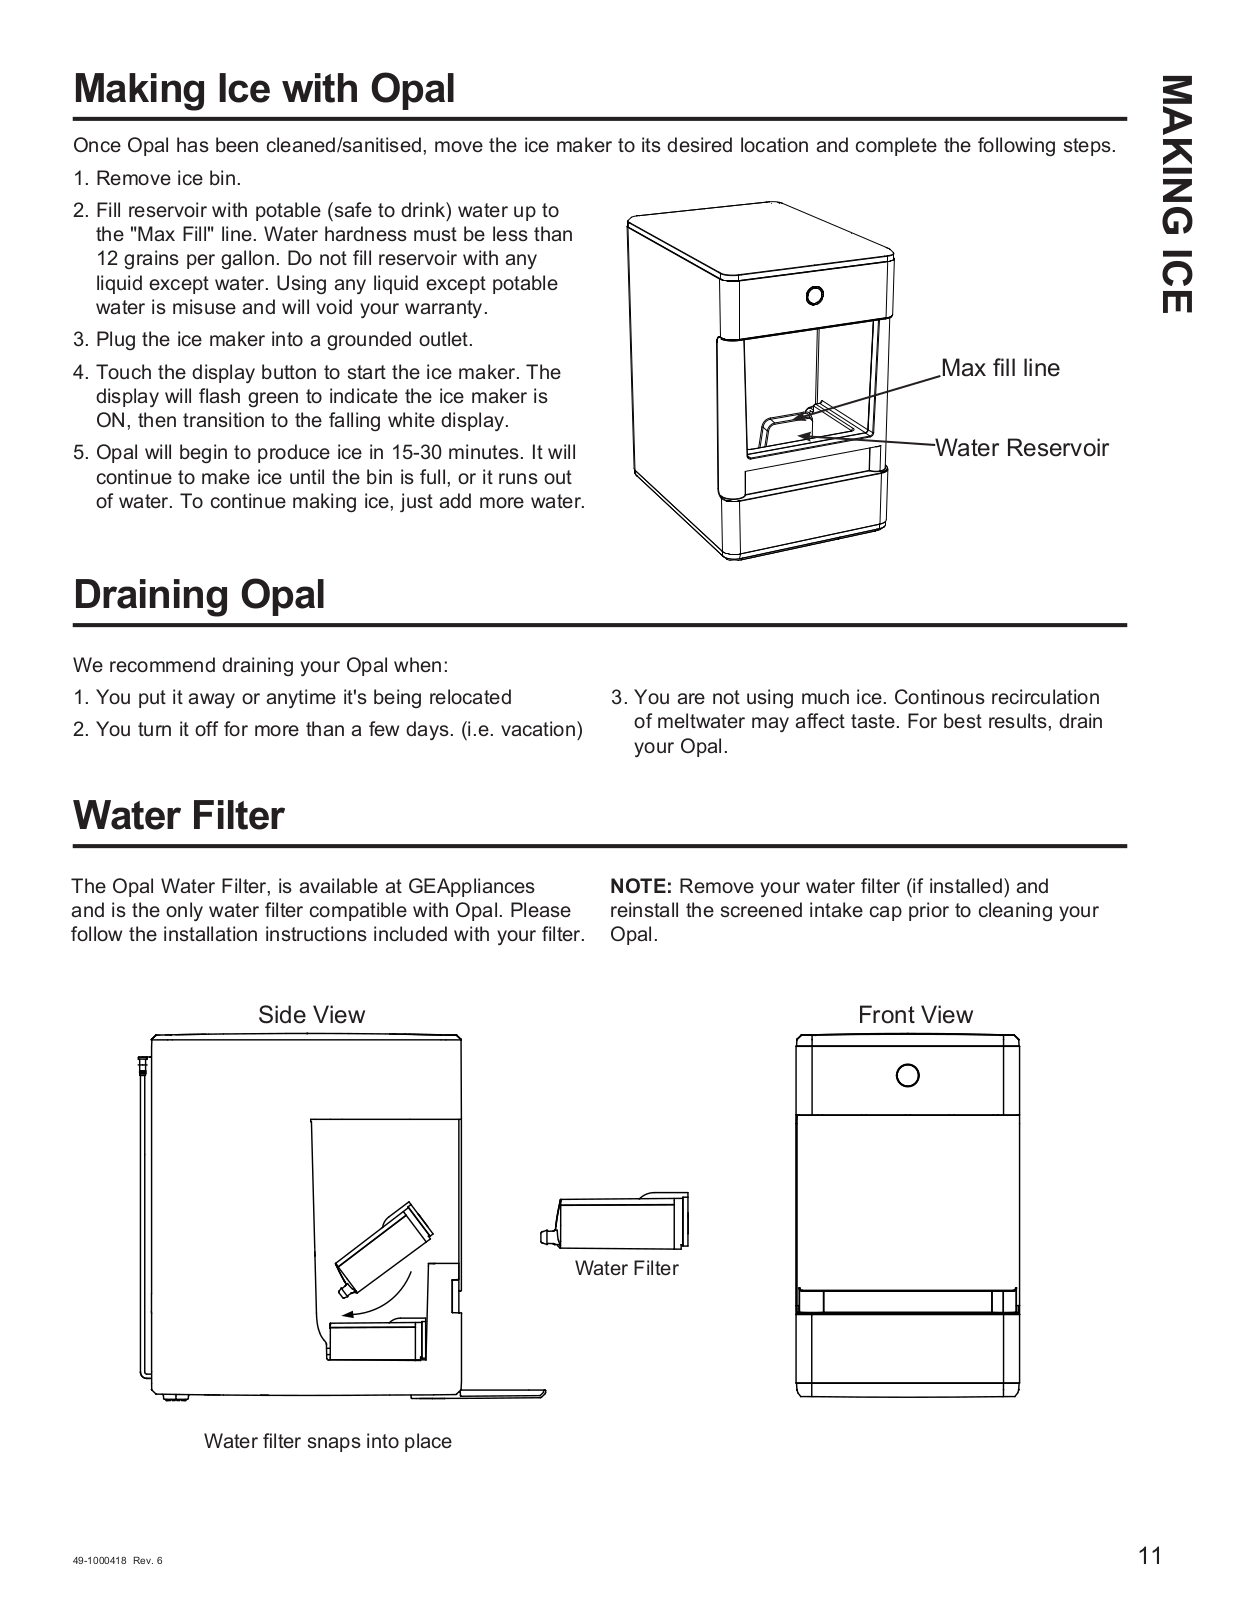
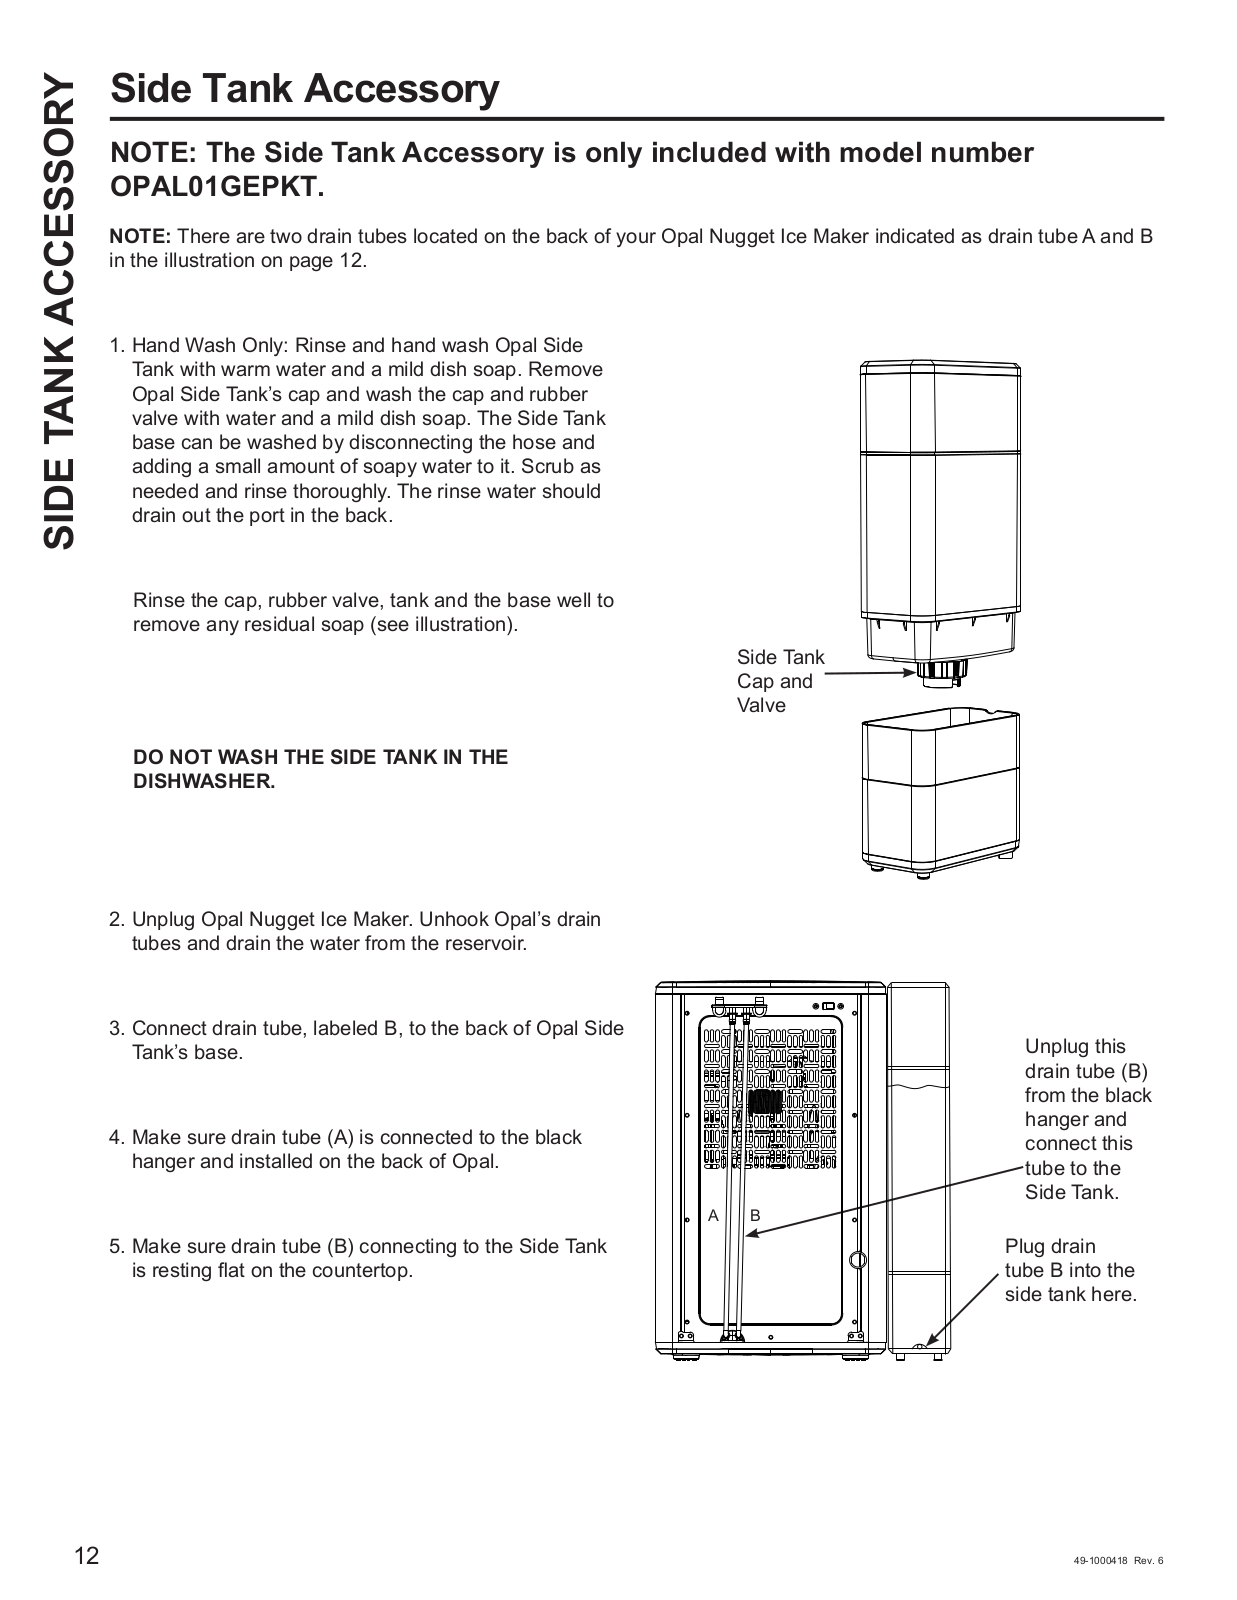
GE OPAL01GEPKT, OPAL01GEPSS Owner’s Manual
...
GE Owner’s Manual
Download
Specifications and Main Features
Frequently Asked Questions
User Manual
Download
Loading...
+
26
hidden pages
Unhide
You need points to download manuals.
1 point = 1 manual.
You can buy points or you can get point for every manual you upload.
Buy points
Upload your manuals
 Loading...