

Gast 1534 User Manual

www.gastmfg.com
ISO 9001 & 14001 CERTIFIED
PART NO . 70 - 205 G335PL (REV-G)
31, 32, 33 & 34 SERIES OIL-LESS
VACUUM PUMPS & COMPRESSORS
OPERATION & MAINTENANCE MANUAL
Model 1031-102A Shown
Thank you for purchasing this Gast product. It is manufactured to the highest standards
using quality materials. Please follow all recommended maintenance, operational
and safety instructions and you will receive years of trouble free service.
PLEASE READ THIS MANUAL COMPLETELY BEFORE INSTALLING AND USING
THIS PRODUCT. SAVE THIS MANUAL FOR FUTURE REFERENCE AND
General information
• Model numbers ending in “X” have automatic thermal
protectors which protect the motor by shutting the motor
off if it overheats. The motor will automatically restart
once the motor has cooled.
Product Use Criteria:
• Pump only clean, dry air.
• Operate at 32ºF - 104ºF (0ºC - 40ºC).
• Protect unit from dirt & moisture.
• Do not pump flammable or explosive gases or
use in an atmosphere that contains such gases.
• Protect all surrounding items from exhaust air. This
exhaust air can become very hot.
• Corrosive gases and particulate material will
damage unit. Water vapor, oil-based contaminants
or other liquids must be filtered out.
• Consult your Gast Distributor/Representative
before using at high altitudes.
Model 1531-107B Shown
KEEP IN THE VICINITY OF THE PRODUCT.
Model 1532-101 Shown
• Oil-Less rotary-vanes require NO lubrication.
• Sealed bearings are grease packed.
• Use of petroleum or hydrocarbon products will reduce
carbon vane service life.
Your safety and the safety of others
is extremely important.
We have provided many important safety messages
in this manual and on your product. Always read
and obey all safety messages.
This is the safety alert symbol. This symbol
alerts you to hazards that can kill or hurt you and
others. The safety alert symbol and the words
“ DANGER” and “ WARNING” will precede all safety
messages. These words mean:
DANGER
You will
follow instructions.
be killed or seriously injured if you don’t
WARNING
You can
follow instructions.
All safety messages will identify the hazard, tell you
how to reduce the chance of injury, and tell you
what can happen if the safety instructions are not
followed.
INSTALLATION
be killed or seriously injured if you don’t
Plumbing
Remove plugs from the IN and OUT ports. Connect
with pipe and fittings that are the same size or larger
than the product’s threaded ports.
Accessories
The product’s internal intake and exhaust filters will
provide adequate filtration in most applications. Check
filters periodically and replace when necessary. The 32
and 34 Series models have internal intake and exhaust
filters. Some models in the 31 and 33 Series have
external intake and exhaust filters. All
have an intake and exhaust filter to prevent
contaminants from entering the pump or the pneumatic
system. Please consult your Gast
Distributor/Representative for additional filter
recommendations.
Install relief valves and gauges at inlet or outlet, or
both, to monitor performance. Check valves may be
required to prevent back streaming through the pump.
Motor Control
It is your responsibility to contact a qualified
electrician and assure that the electrical installation is
adequate and in conformance with all national and
local codes and ordinances.
Determine the correct overload setting required to
protect the motor (see motor starter manufacturer’s
recommendations). Select fuses, motor protective
switches or thermal protective switches to provide
protection. Fuses act as short circuit protection for the
motor, not as protection against overload. Incoming
line fuses help to withstand the motor’s starting current.
Motor starters with thermal magnetic overload or circuit
breakers protect motor from overload or reduced
voltage conditions.
units should
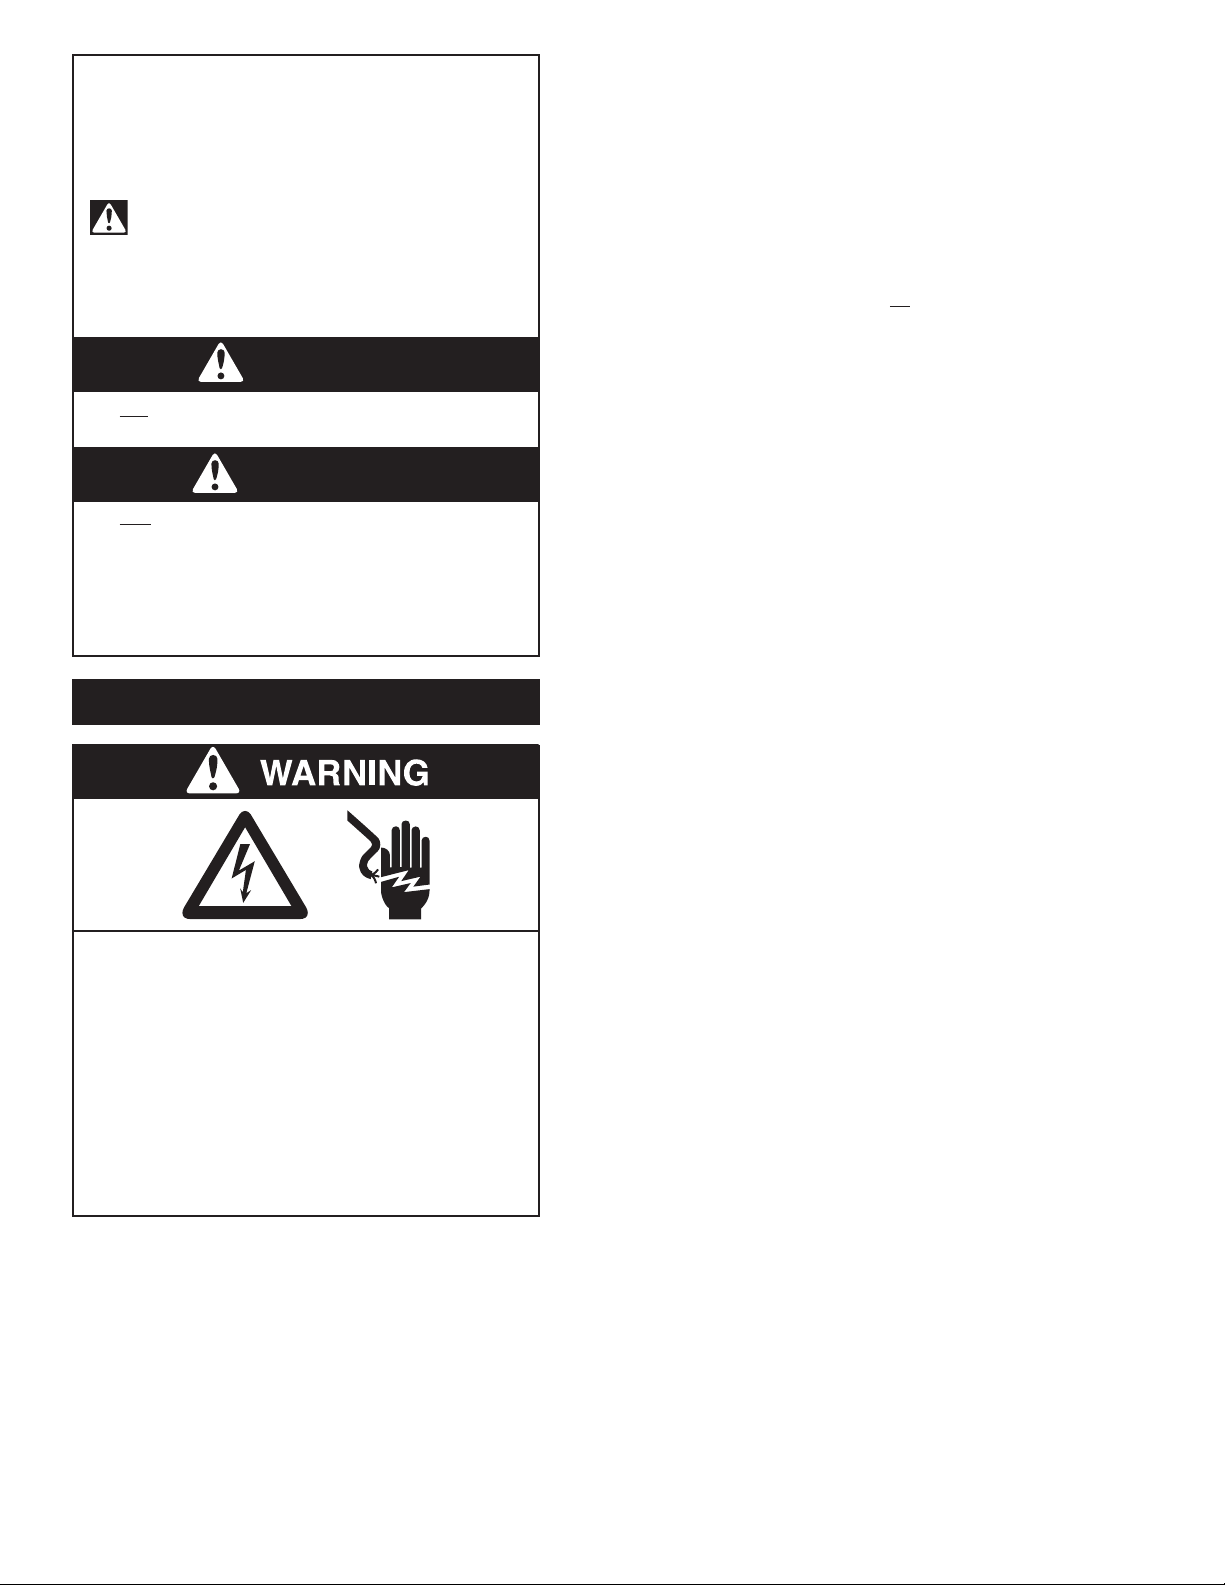
Electrical Shock Hazard
Disconnect electrical power at the circuit
breaker or fuse box before installing this
product.
Install this product where it will not come into
contact with water or other liquids.
Install this product where it will be weather
protected.
Electrically ground this product.
Failure to follow these instructions can result
in death, fire or electrical shock.
Correct installation is your responsibility. Make sure
you have the proper installation conditions and that
installation clearances do not block air flow.
Blocking air flow over the product in any way can
cause the product to overheat.
Mounting
This product can be installed in any orientation.
Mounting the product to a stable, rigid operating
surface and using shock mounts will reduce noise and
vibration.
The wiring diagram supplied with the product provides
required electrical information. Check that power
source is correct to properly operate the dual-voltage
motors.
Electrical Connection
Brush type DC motors will need replacement brushes
after 500 hours to 1500 hours of operation. Contact
your Gast Distributor/Representative for replacement
brushes. Positive leads are red (+) and negative leads
are black (–).
Brushless DC motors with controls are preset from the
factory for single direction, uni-speed operation.
Positive leads are red (+) and negative leads are black
(–).
MFD and voltage ratings required for capacitors vary
with motor. If you are unsure of what capacitor is
required for your motor, contact your Gast
Distributor/Representative.
2
OPERATION
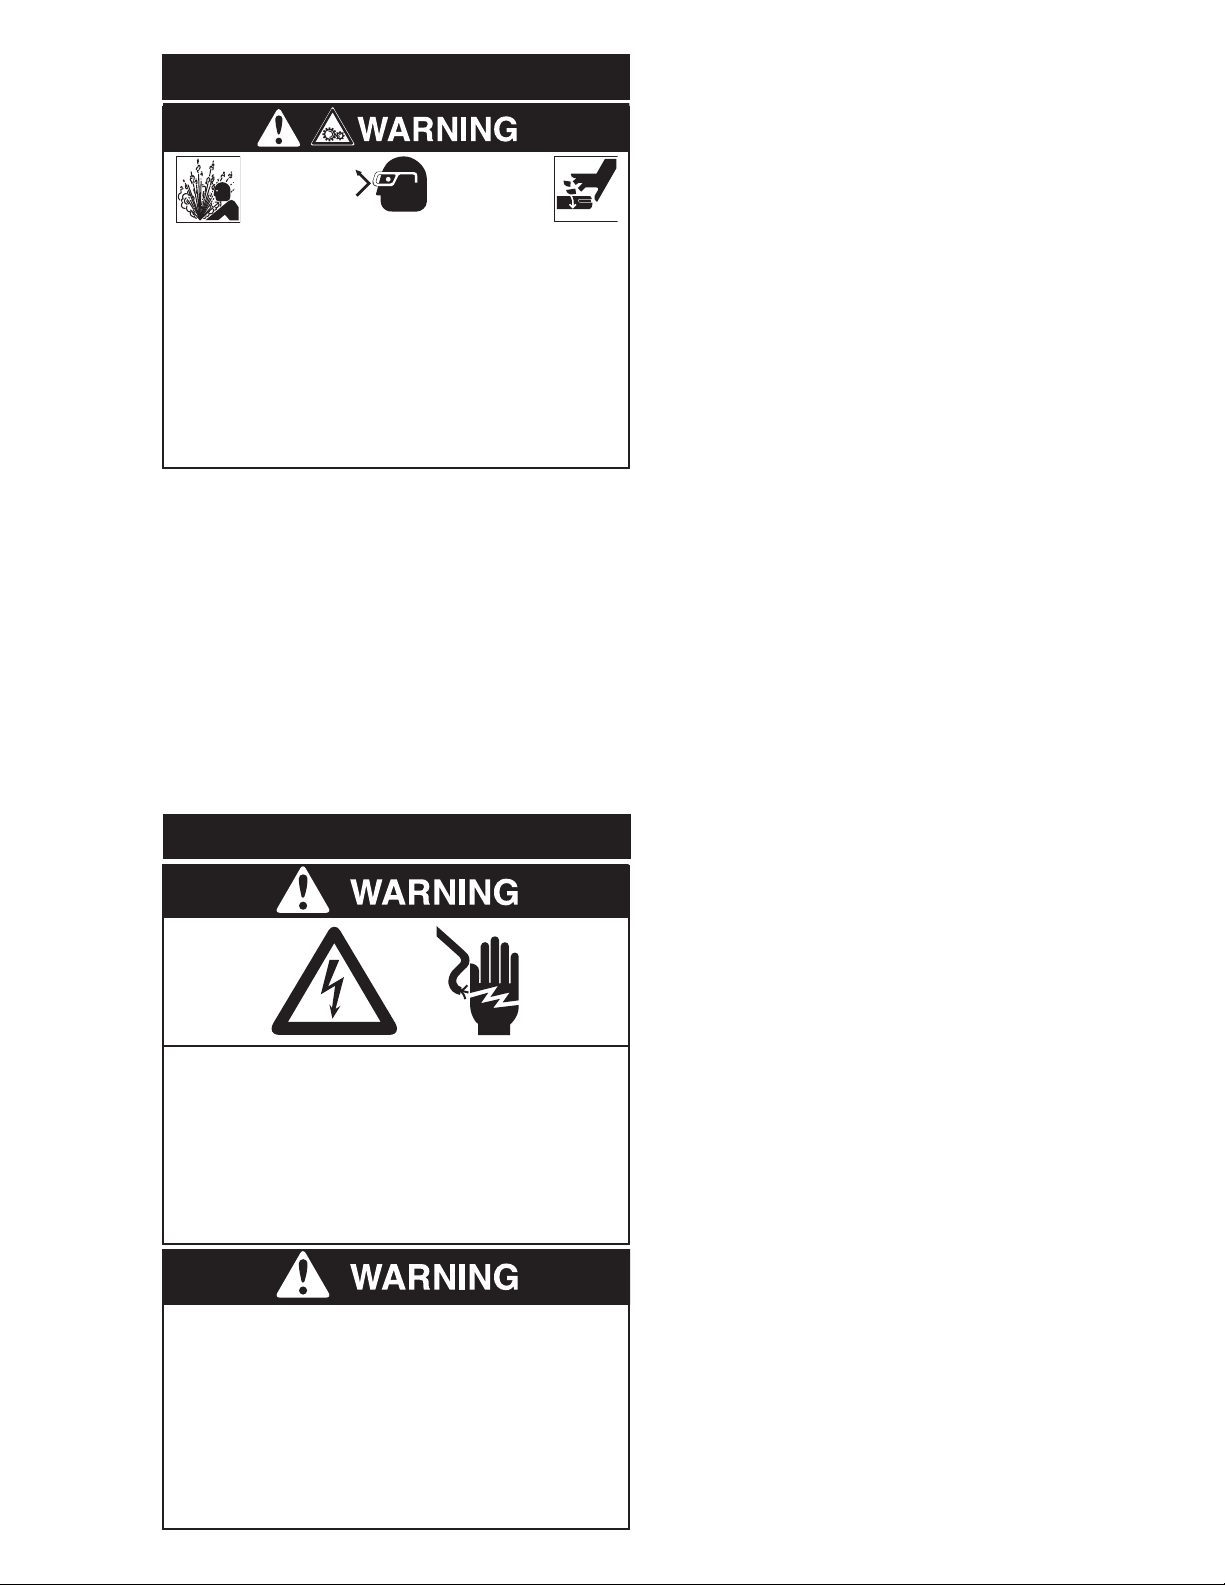
Injury Hazard
Product surfaces become very hot during operation,
allow product surfaces to cool before handling.
Air stream from product may contain solid or liquid
material that can result in eye or skin damage,
wear proper eye protection.
Do not pump flammable or explosive gases or
use in atmospheres that contain such gases.
Failure to follow these instructions can result in
fire, burns, eye injury or other serious injury.
It is your responsibility to operate this product at
recommended pressures or vacuum duties and
room ambient temperatures.
Model numbers ending in “X” have automatic
thermal protectors which protect the motor by
shutting the motor off if it overheats. The motor will
automatically restart once the motor has cooled.
Start Up
If motor fails to start or slows down significantly under
load, shut off and disconnect from power supply.
Check that the voltage is correct for motor and that
motor is turning in the proper direction. Vane life will
be drastically reduced if motor is not operating
properly. Vanes can break or be damaged if
motor/pump runs in the wrong direction.
MAINTENANCE
It is your responsibility to:
• Regularly inspect and make necessary repairs to
product in order to maintain proper operation.
• Make sure that pressure and vacuum is released
from product before starting maintenance.
Check intake and exhaust filters after first 500 hours of
operation. Clean filters and determine how frequently
filters should be checked during future operation. This
one procedure will help to assure the product’s
performance and service life.
Clean filters when necessary by removing and washing
in a solvent or soap and water. In the 32 Series
models, filters are inside the pump. After cleaning, dry
with compressed air to make sure all moisture is
removed before replacing filters.
Flushing
Flushing this product to remove excessive dirt, foreign
particles, moisture or oil that occurs in the operating
environment will help to maintain proper vane
performance.
Use only Gast recommended Flushing Solvent or
other non-petroleum based flushing solvent. Do
Not use kerosene or ANY other combustible solvent
to flush product.
31 and 33 Series Models
1. Remove the inlet filter.
2. Start the unit up and cover the exhaust port with a
cloth (this is to protect you from contact with the
solvent).
3. Spray Gast recommended flushing solvent or any
other non-petroleum based solvent directly into inlet
port for 5-10 seconds.
4. Plug the inlet port for 20-30 seconds to let the unit
pull a vacuum on itself.
5. Release the vacuum and repeat steps 3 and 4
several times or until you hear a change in the sound
of the unit. If no change is noticed, a Service Kit may
need to be installed. (See Service Kit Installation)
Electrical Shock Hazard
Disconnect electrical power supply cord before
performing maintenance on this product.
If product is hard wired into system, disconnect
electrical power at the circuit breaker or fuse box
before performing maintenance on this product.
Failure to follow these instructions can result in
death, fire or electrical shock.
Injury Hazard
Product surfaces become very hot during operation,
allow product surfaces to cool before handling.
Air stream from product may contain solid or liquid
material that can result in eye or skin damage,
wear proper eye protection.
Clean this product in a well ventilated area.
Failure to follow these instructions can result in
burns, eye injury or other serious injury.
32 and 34 Series Models
1. Remove six end plate bolts. (See exploded view)
2. Use a small hammer to carefully tap on end plate to
remove. Use caution when using hammer.
3. Check that vanes are moving freely in and out of
vane slots. Replace vanes if more than 50% of the
vane extends past the vane slot.
4. Remove vanes and clean both sides with a fine
emery cloth. Clean endplate with a fine emery cloth.
5. Flush vanes by spraying with Gast recommended
flushing solvent. Remove all solvent from vanes.
6. Flush body, rotor and endplate by spraying with Gast
recommended flushing solvent. Remove all solvent
from each part.
7. Check body, rotor and end plate for scoring. If each
part is clean and shows no signs of scoring, reinstall
part. If scoring appears, send unit to factory or
replace with new part(s).
Check that all external accessories such as relief
valves and gauges are attached to cover and are not
damaged before re-operating product.
3

SHUTDOWN PROCEDURES
It is your responsibility to follow proper shutdown
procedures to prevent product damage.
NEVER ADD OIL TO THIS OIL-LESS PUMP.
Proper shutdown procedures must be followed to
prevent pump damage. Failure to do so may result in
premature pump failure. The Gast Manufacturing
Rotary Vane Oil-Less Vacuum Pumps and Compressors
are constructed of ferrous metals or aluminum which
are subject to rust and corrosion when pumping
condensable vapors such as water. Follow the steps
below to assure correct storage and shutdown between
operating periods.
1. Disconnect plumbing.
2. Operate product for at least five minutes without
plumbing.
3. Run at maximum vacuum for 10 to 15 minutes.
4. Repeat step 2.
5. Disconnect power supply.
6. Plug open ports to prevent dirt or other
contaminants from entering product.
SERVICE KIT IN STALLATION
1. Remove the retainer plate screws (3 screws on the 31
and 33 Series and 8 on the 32 and 34 Series).
2. Remove the retainer plate and insert plate located
behind the retainer plate by lightly tapping on them
with a small hammer. Do Not use a screwdriver to
remove these plates to avoid damage to the plates.
3. Before removing the old vanes, check the direction of
the bevel edge so the new vanes are installed in the
same manner.
4. Spray body bore and rotor with recommended
flushing solvent or any other non-petroleum based
flushing solvent.
5. Use a clean dry cloth to remove flushing solvent
from parts.
6. Place new vanes in rotor slots in the proper
beveled edge direction.
7. Place a sheet of emery cloth on a smooth flat surface
and rub both sides of the insert plate located
behind the retainer plate to remove any burrs. Use a
clean dry cloth to remove any dust from the insert
plate. Reinstall the insert plate placing the unused
side facing the pump.
8. Repeat step 7 with the face of the metal retainer
plate. Use a clean dry cloth to remove any dust
from the metal retainer plate and reinstall.
9. Replace the retainer plate screws and tighten to
28 - 36 in. lbs.
Check that all external accessories such as relief
valves and gauges are attached to cover and are not
damaged before re-operating product.
Electrical Shock Hazard
Disconnect electrical power supply cord before
installing service kit.
If product is hard wired into system, disconnect
electrical power at the circuit breaker or fuse
box
before installing service kit.
Vent all air lines to release pressure or vacuum.
Failure to follow these instructions can result in
death, fire or electrical shock.
Gast will NOT guarantee field-rebuilt product
performance. For performance guarantee, the
product must be returned to a Gast Authorized
Service Facility.
Service Kit contents vary. Most contain vanes, gaskets
and filter parts.
If pump still does not produce proper vacuum or
pressure, send unit to a Gast Authorized Service
Facility for repair.
Do Not attempt to remove the rotor. It is held in
place by Loctite and can only be serviced by a Gast
Authorized Service Facility.
Do Not loosen or adjust motor thru-bolts to prevent
misalignment and damage to the pump.
4
 Loading...