


FCCS181QWA
Frigidaire FCCS181QWA, FCCS161QWA, FCCS071QWA, KCNF180QWA, KCNF160QWA Owner’s Manual
...
COMMERCIAL CHEST FREEZER
TABLE OF CONTENTS
Product Registration .............................................................. 2
Important Safety Instructions ................................................ 2
First Steps .................................................................................. 3
Appliance Start=up ................................................................. 5
Features ................................................................................ 6
Care and Cleaning ..................................................... 6
Energy=Saving Tips ........................................................ 8
Power Failure ..................................................................... 8
Before You Call .............................................................. 9
Wiring Diagram ..................................................................... 11
Warranty ........................................................................... 12
READ AND SAVE THESE INSTRUCTIONS A01063901(August2014)
Product Registration
Read and Save These Instructions
These instructions include information
which is intended to assure the operator of
correct installation, operation and service.
Before attempting installation, adjustment or
maintenance, be certain of the following:
• That you have read and fully understand
the instructions.
That you have all the tools required and are
trained to use them.
That you have met all installation and
usage restrictions and are familiar with the
functions and operations of the unit.
That you follow all instructions exactly
as given.
All the fittings, measurements, recommendations
and procedures are significant. Substitutions
and approximations must be avoided. Improper
handling, maintenance, installation and
adjustment, or service attempted by anyone
other than a qualified technician, may void the
future warranty claims and cause damage to the
unit and/or result in injury to the operator and/
or bystanders.
Record your Model and
Serial Numbers
Record the model number and serial number of
this appliance in the space provided below (the
serial plate is located inside the
cabinet compartment).
Model Number:
Serial Number:
Purchase Date:
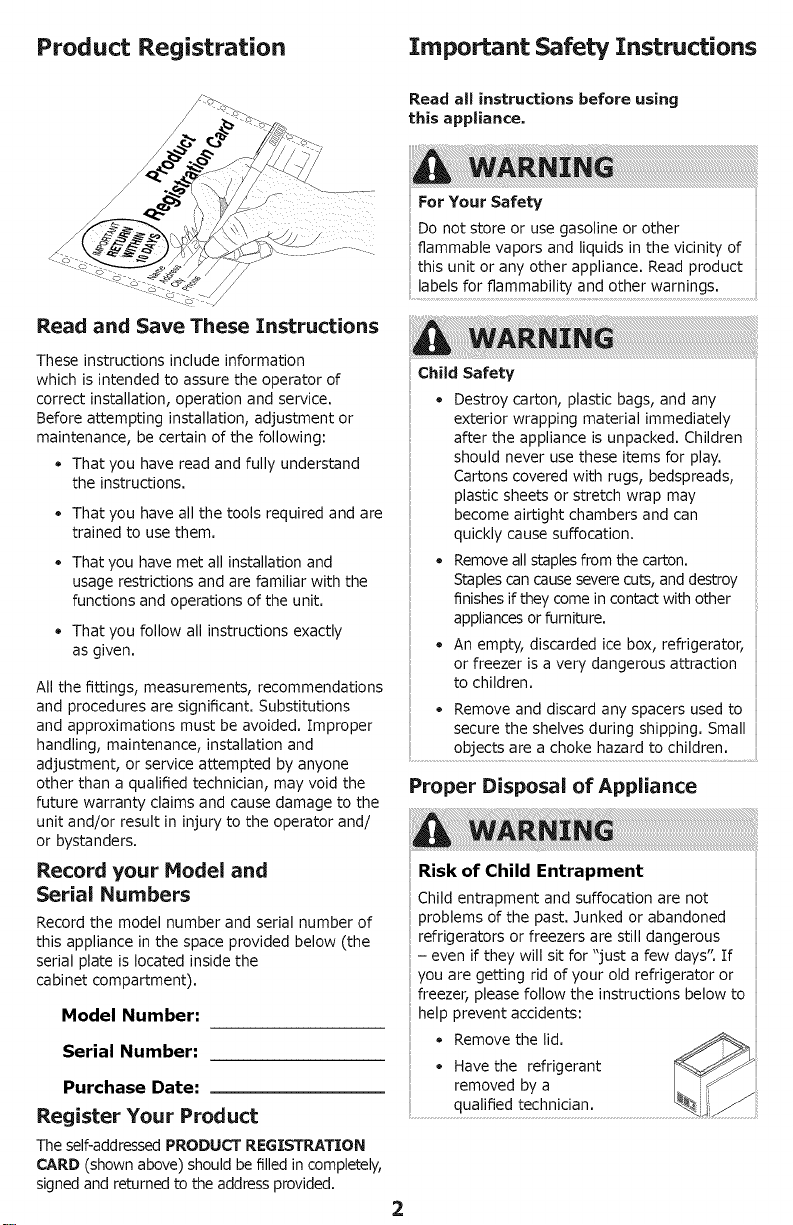
Register Your Product
Theself-addressedPRODUCTREGISTRATION
CARD(shownabove)should be filledincompletely,
signedandreturnedto theaddressprovided.
Important Safety Instructions
Read all instructions before using
this appliance,
For Your Safety
Do not store or use gasoline or other
flammable vapors and liquids in the vicinity of
this unit or any other appliance. Read product
Child Safety
• Destroy carton, plastic bags, and any
exterior wrapping material immediately
after the appliance is unpacked. Children
should never use these items for play.
Cartons covered with rugs, bedspreads,
plastic sheets or stretch wrap may
become airtight chambers and can
quickly cause suffocation.
• Remove all staples from the carton.
Staples can cause severe cuts, and destroy
finishes if they come in contact with other
appliances or furniture.
• An empty, discarded ice box, refrigerator,
or freezer is a very dangerous attraction
to children.
• Remove and discard any spacers used to
secure the shelves during shipping. Small
.............................objects are a choke hazard to ch!!dren ..........................
Proper Disposal of Appliance
Risk of Child Entrapment
Child entrapment and suffocation are not
problems of the past. 3unked or abandoned
refrigerators or freezers are still dangerous
- even if they will sit for "just a few days" If
you are getting rid of your old refrigerator or
freezer, please follow the instructions below to
p prevent accidents:
Remove the lid.
Have the refrigerant
removed by a
qualified technician.

Important Safety Instructions
Electrical Information Other Precautions
These guidelines must be followed to ensure • NEVER unplug the appliance by
that safety mechanisms in the design of this pulling on the power cord. Always grip
app!iance will operate proper! y............................................... the plug firmly and pull straight out from
not
Avoid fire hazard or electric shock. Do
an extension cord or an adapter plug. Do not
remove any prong from the power cord.... ...............
_rounaln_ type Turning the control to "OFF" turns off the
wall receptacle compressor but does not disconnect power to
Do not, under "_
any circumstances,]
grounQlng prong. /
use
Power supply
cord w!.th3-prong
grounamg p_ug
the receptacle.
• To avoid electrical shock, unplug the
appliance before cleaning.
First Steps
Refer to the serial plate for correct electrical
rating. The power cord of the appliance
is equipped with a three-prong grounding
plug for protection against shock hazards.
It must be plugged directly into its own
properly grounded three-prong receptacle,
protected with a 15-amp time delay fuse
or circuit breaker. The receptacle must
be installed in accordance with the local
codes and ordinances. Consult a qualified
electrician. Receptacles with Ground
Fault Circuit Interrupters (GFCI) are
NOT RECOMMENDED. DO NOT USE AN
EXTENSION CORD OR AN ADAPTER PLUG.
* If the voltage varies by 10 percent or more,
appliance performance may be affected.
Operating the appliance with insufficient
power can damage the compressor. Such
damage is not covered under the warranty.
If you suspect your voltage is high or low,
consult your power company for testing.
* To prevent the appliance from being turned
off accidentally, do not plug the unit into an
outlet controlled by a wall switch or pull cord.
* DO NOT pinch, knot, or bend the power cord
in any manner.
Inspection for Damage
Inspect the underside of the cabinet and
packaging for damage, similar to what can
be caused with a forklift. If hidden damage
is found after uncrating, immediately call the
delivery carrier and request an inspection. Retain
all packaging and crating materials until the
inspection is complete.
Parts and Accessories
* Using a utility knife with a sharp, short
blade, cut along the perimeter of the carton
as indicated.
* Lift the carton off the product.
* Remove the package containing the casters
from the unit.
3
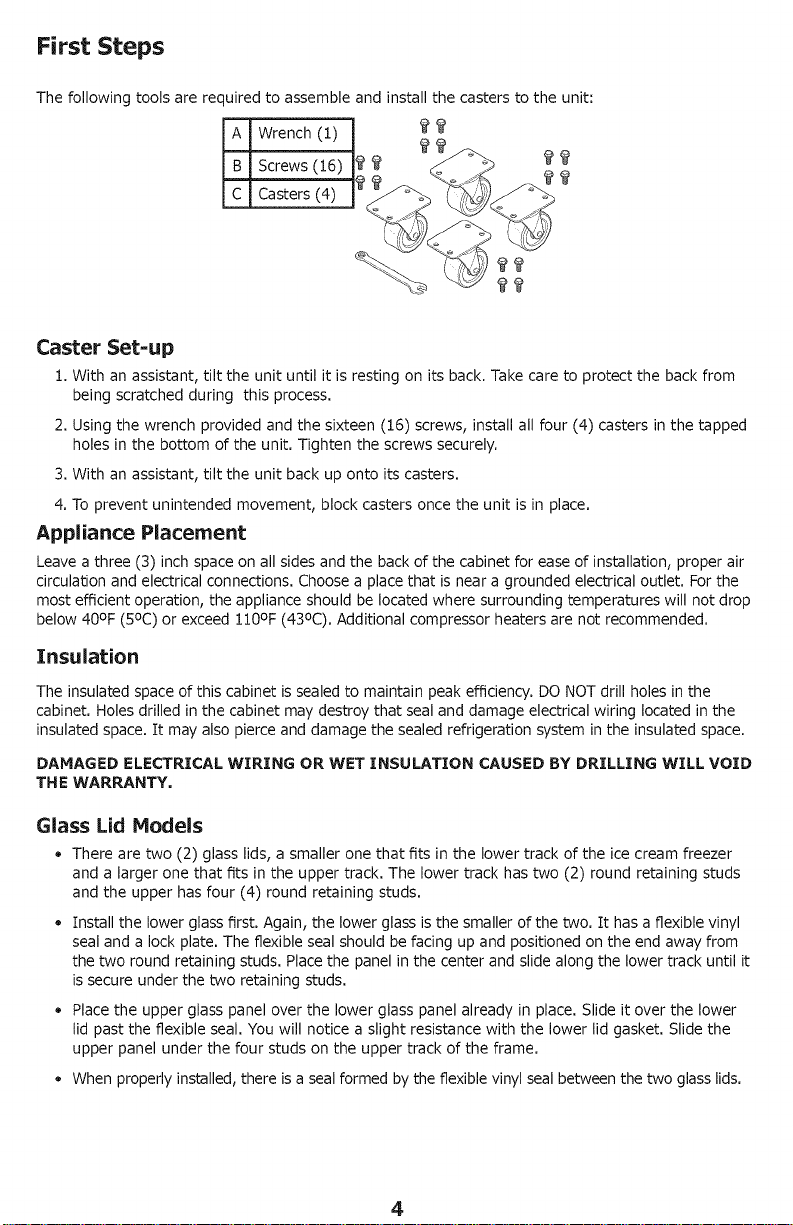
First Steps
The following tools are required to assemble and install the casters to the unit:
A Wrench (1) _ _
B Screws (16) _ _ _
C Casters (4)
Caster Set-up
1. With an assistant, tilt the unit until it is resting on its back. Take care to protect the back from
being scratched during this process.
2. Using the wrench provided and the sixteen (16) screws, install all four (4) casters in the tapped
holes in the bottom of the unit. Tighten the screws securely.
3. With an assistant, tilt the unit back up onto its casters.
4. To prevent unintended movement, block casters once the unit is in place.
Appliance Placement
Leave a three (3) inch space on all sides and the back of the cabinet for ease of installation, proper air
circulation and electrical connections. Choose a place that is near a grounded electrical outlet. For the
most efficient operation, the appliance should be located where surrounding temperatures will not drop
below 40OF (5oc) or exceed 110OF(43oc). Additional compressor heaters are not recommended.
Insulation
The insulated space of this cabinet is sealed to maintain peak efficiency. DO NOT drill holes in the
cabinet. Holes drilled in the cabinet may destroy that seal and damage electrical wiring located in the
insulated space. It may also pierce and damage the sealed refrigeration system in the insulated space.
DAHAGED ELECTRICAL WIRING OR WET INSULATION CAUSED BY DRILLING WILL VOID
THE WARRANTY,
Glass Lid Hodels
• There are two (2) glass lids, a smaller one that fits in the lower track of the ice cream freezer
and a larger one that fits in the upper track. The lower track has two (2) round retaining studs
and the upper has four (4) round retaining studs.
Install the lower glass first. Again, the lower glass is the smaller of the two. It has a flexible vinyl
seal and a lock plate. The flexible seal should be facing up and positioned on the end away from
the two round retaining studs. Place the panel in the center and slide along the lower track until it
is secure under the two retaining studs.
Place the upper glass panel over the lower glass panel already in place. Slide it over the lower
lid past the flexible seal. You will notice a slight resistance with the lower lid gasket. Slide the
upper panel under the four studs on the upper track of the frame.
When properly installed, there is a seal formed by the flexible vinyl seal between the two glass lids.
4
 Loading...