

Energy TV3110 User Manual
User manual
29

1. INTRODUCTION
Thank you for purchasing this Portable Multimedia TV Energy ™ LED TV3110 HDTV.
First of all, welcome to the Energy portable multimedia TVs world. The following
sections provide an overview of your new device and its basics features. Please
read everything carefully before start using the product.
2. IMPORTANT SAFETY INSTRUCTIONS
To ensure your safety and the safety of others, please ensure that you read all the
safety information before operating this product.
Keep this information in a safe place for future reference.
This symbol indicates that this product incorporates double insulation
between hazardous mains voltage and user accessible parts.
WARNING: To reduce the risk of fire or electric shock, do not expose your TV3110
HDTV to rain or moisture.
Safety Considerations
≥ Do not remove the cover or back. There are no user-serviceable parts inside. Refer
servicing to qualified personnel.
≥ Do not expose your TV3110 HDTV to water (dripping or splashing).
≥ No objects filled with liquids, should be placed on the unit.
≥ Keep the product away from direct sunlight and heat source such as radiators or
stoves.
≥ Do not place the product on unstable cart, stand, tripod, bracket or table. The unit
may fall, resulting in possible damage or injury.
≥ Do not let the device drop or shock.
≥ Only use the AC adapter included with product. Using any other adapter will void
your warranty.
ENGLISH
31
Ventilation
The slots and openings on the portable TV are for ventilation. Do not cover or block
them as it may cause overheating. NEVER let children push anything into the holes
or slots on the case.
Servicing
There are no user serviceable parts in this portable TV.
Battery Disposal
Please ensure batteries are disposed of safely.
Never dispose of batteries in a fire or with other household waste.
Check with your local authority for disposal regulations.
Cleaning
ALWAYS turn off your TV3110 HDTV before cleaning it.
Do not use liquid or aerosol cleaners.
Clean your TV3110 HDTV with a soft, damp (not wet) cloth.
3. GENERAL VIEW
1 13
2
3
4
5
6
7
32
12
11
10
9
8

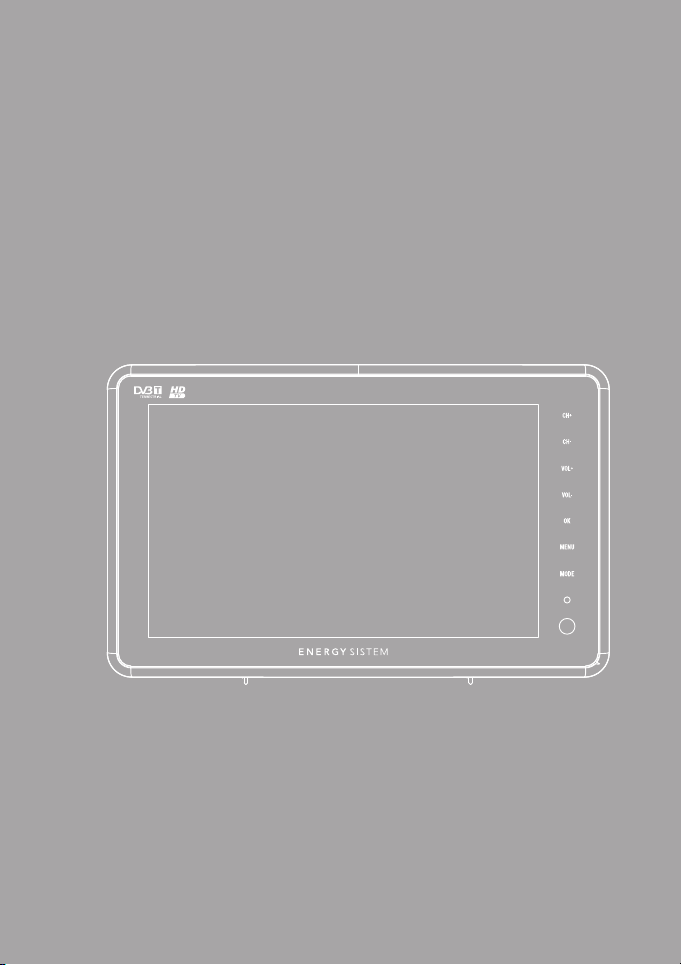
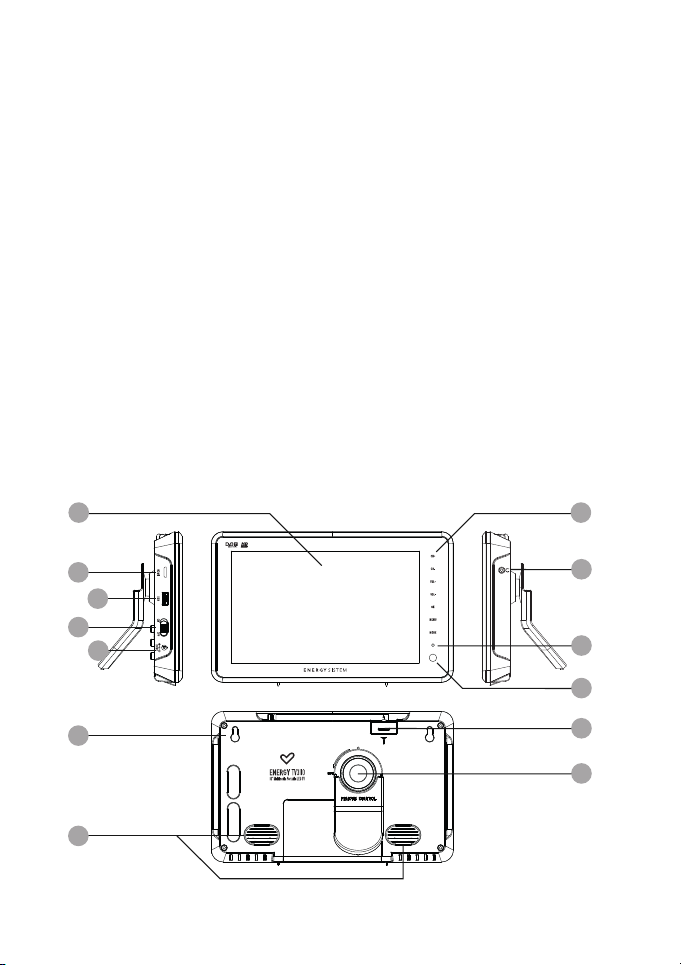
1. 10’’LED SCREEN.
2. HDMI OUTPUT JACK: This output connects to a HDMI in device.
3. USB JACK: Used to connect an external device, play files or make DVB-T broad-
casting recordings.
4. POWER SWITCH (ON/OFF).
5. DC IN 9V: Used to connect the 9V DC adapter.
6. ANCHOR POINTS FOR WALL MOUNTING.
7. SPEAKERS.
8. REMOTE CONTROL STAND.
9. ANT IN: This socket connects to your external aerial.
10. REMOTE CONTROL SENSOR: Used to receive the signal from the remote control.
11. LED INDICATOR*.
12. EARPHONE JACK.
13. FRONT PANNEL TOUCH KEYS:
CH+: Move up in the menus and change to the next channel in viewing mode.
CH-: Move down in the menus and change to the previous channel in viewing mode.
VOL+: Move right/change settings in menus. Increase the volume level in viewing mode.
VOL-: Move left/change settings in menus. Decrease the volume level in viewing mode.
OK: To confirm a selection.
MENU: Press to open the menus /exit to go back to the topper menus.
MODE: Press this button to switch display mode: 4:3LB, 4:3PS, 16:9.
(*) The LED states are shown as:
Blue – The battery has finished charging and is full.
Red – Device on and battery charging / Device off and battery charging
Null – Device on / Machine off
Flashing - The device is in STAND BY mode.
ENGLISH
33
4. REMOTE CONTROL
2 3 4 5
1
20
19
18
17 16 15 14
6
7
8
9
10
11
12
13
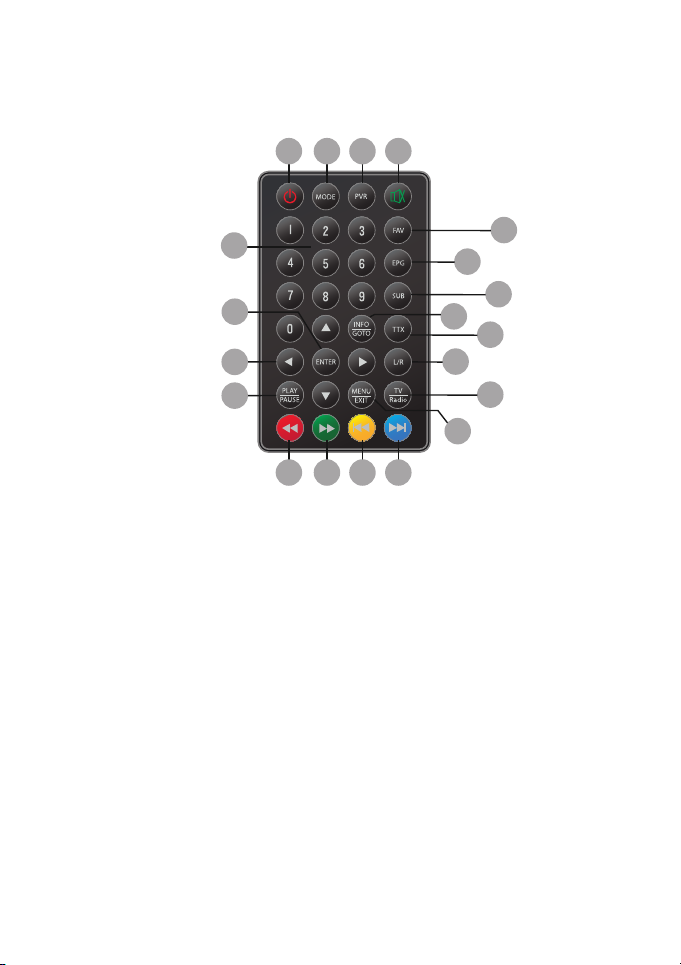
4.1. Button descriptions
1.
0-9: To change the channel and to select individual menu options.
2.
ON/STANDBY: Press to turn on the device or to change to Standby mode.
3.
MODE: Press this button to sw itch display mode: 4:3LB, 4:3PS,16:9
4.
PVR: R ecord progr ams of TV or Radio
5.
Mute: Press once to tur n the sound off/on (mu te control).
6.
FAV: To operate the favourite channels.
7.
EPG: Press this button to display Electronic Program Guide.
8.
SUB: Subtitle.
9.
INFO/GOTO: Pr ess to display the infor mation of the cur rent programs, or to go to a specific
instant of the v ideo playback .
10.
TTX: Press to enter Teletext (if available).
11.
L/R: Press to change the sound of channel.
12.
TV/Radio: TV/Radio switch.
13.
Menu/Exit: Press to open the menus and press again to exit.
34
14. ►►
|: Play nex t file/chapter.
15.
|◄◄: Play previous file/chapt er.
16.
►►: Fast forwar d the video playing.
17.
◄◄: Fast rewind the video playing.
18.
PLAY/PAUSE: Starts, resumes or paus es the current media playback .
19.
▲: Move up in the menus and change to the next channel in viewing mode.
▼: Move down in the menus and change to the pre vious channel in viewing mode.
►: Move right/change se ttings in menus. Increase the volume level in viewing mode.
◄: Move left/change settings in menus. Decr ease the volume level in viewing mode
20.
ENTER: To confirm a selec tion. Or to open the channel list Menu.
Note:
SUB/TTX/EPG may no t be available for all channels.
◄◄/►►/|◄◄/►►| will act a s RED/GREEN/YELLOW/BLUE key depending on context.
Note: The TTX, SUB, L/R and EPG availability depends on the broadcasting channels
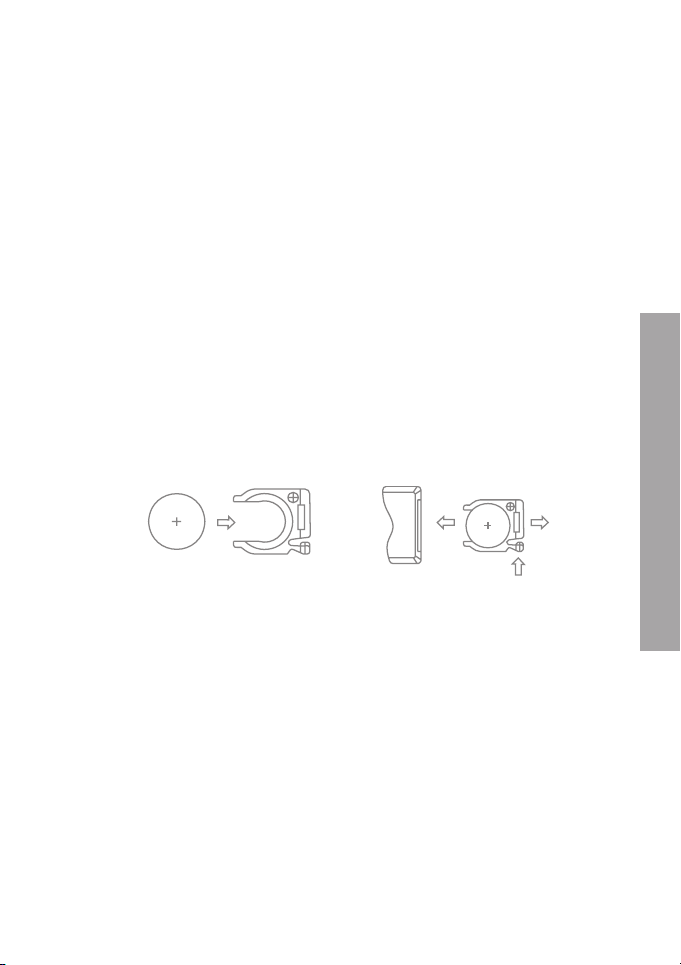
4.2. Installing the Batteries
Pull the battery loader out and insert a CR2025 battery.
≥ Make sure to place the battery in the correct direction.
≥ When operating range reduces replace the battery.
≥ Do not recharge, disassemble, or heat the battery. Misuse of the batter y may
result in leakage that will damage the remote control.
≥ Keep batteries out of reach of children. If someone swallows a coin cell or battery
must receive immediate medical attention.
≥ Do not attempt to reactivate the batteries using heat, loading, or by other means.
Never dispose of batteries in fire, or disassemble or short circuit. Replace batteries at least once a year to avoid spillage.
≥ Replace both batteries at the same time and replace them with the same type.
≥ When not using the remote control for a long time, remove the batteries.
ENGLISH
35
4.3. Using the remote control
To use the remote control, point it towards to the IR receiver.
The remote control range is 4 metres or less within a
sensor. If the remote’s battery is low, the remote may not function properly, so
replacing the battery immediately is recommended.
The remote control will not work if the way to the receiver is blocked.
Sunlight or other ver y strong light will decrease the sensitivity of the remote control.
±30° angle from the remote
5. BUILT-IN RECHARGEABLE BATTERY
This portable TV comes with a built-in rechargeable Lithium-Ion battery.
≥ Charge the battery fully before initial use for at least 8 hours. Charging time is
normally about 4 hours. A fully charged battery delivers about 2 hours of use.
≥ When the battery is weak, an indication symbol will appear on the screen and the
unit will power off automatically after a few minutes.
6. CONNECTIONS
Caution: Make sure to check the voltage specification of the wall outlet is the same
rating with the receiver. To prevent the risk of electric shock, do not open the cover
or the back of the TV.
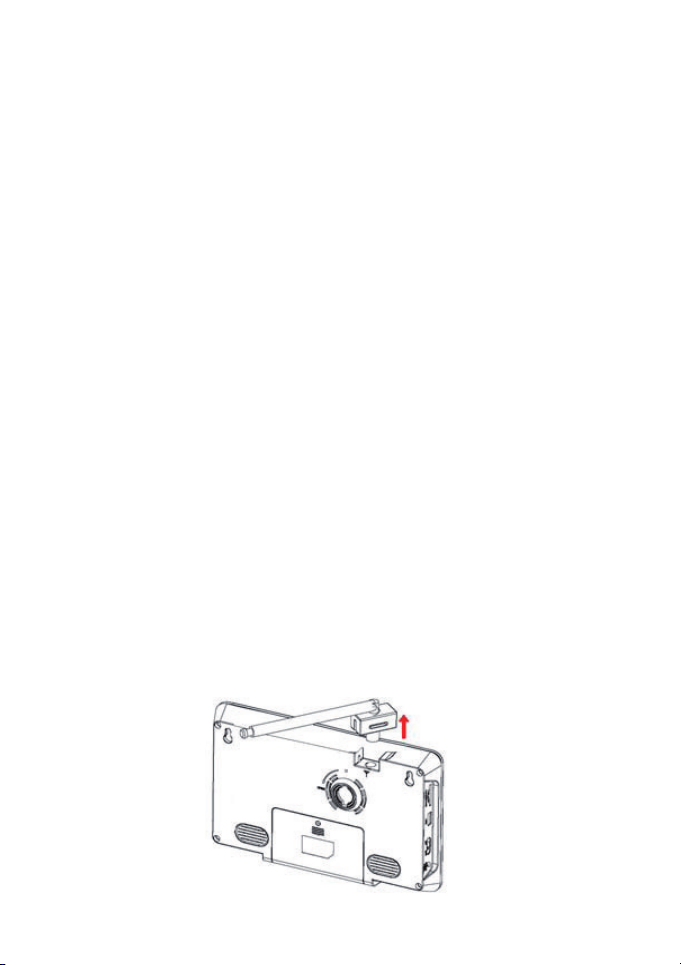
6.1. Antenna
36
 Loading...