


Onyx 230 Advanced
®
™
It is strongly recommended to completely read this manual before use! Damage resulting from misuse
or modifi cation will void your warranty.
WARNING!! Charging lithium-based rechargeable batteries poses a risk of FIRE! NEVER treat
lithium-based batteries in the same manner as other battery types. NEVER leave lithium batteries
unattended while being charged! ALWAYS charge lithium-based batteries in a fi reproof location!
Failure to follow all care and handling instructions contained in this manual could result in quick,
severe, permanent damage to the batteries and all surroundings!! Follow all safety precautions
when using such batteries, as listed on page 9 of this manual!
INDEX
SPECIFICATIONS
AC input: 110V AC 60Hz
DC input: 11-15V DC, built-in lead with alligator clips
Battery types: 1 to 8 NiCd or NiMH (1.2 to 9.6V), 1 to 3 LiPo, Li-Ion, or LiFe (3.7 to 11.1V)
Battery capacity range: 50 to 9900mAh
Fast charge current: 0.1 to 7.0A linear, adjustable (50W maximum, 2C limit for lithiums)
Fast charge termination: peak detection for NiCd/ MH, cc/cv for lithiums
Fast charge safety timer: off - 300 minutes
Peak sensitivity: 3-20mV adjustable
Trickle charge current: auto (1/20 fast charge setting), or manual adjust (0 to 250mA)
Controls: 4 push buttons
Battery memories: 10
Display type: 2 x 8 reversed LCD with backlight
Setup tones: on / off
Audible melodies: 5
Output connections: banana jacks (includes standard adapter)
Protective devices: solid-state reverse polarity and current overload
Case size: 6.0" x 5.28" x 1.69" [153 x 134 x 43mm]
Weight: 23.5 oz. [666g]
* Charge lead – Banana plugs to Deans
®
Ultra
®
male available separately (GPMM3148)
* Adapter – Standard to Vendetta, MiniQuake, RS4 Battery available separately (DTXC2210)
SPECIFICATIONS .......................................................... 1
SPECIAL FEATURES ..................................................... 2
IMPORTANT PRECAUTIONS ........................................ 2
GLOSSARY OF TERMS................................................. 2
INPUT POWER .............................................................. 3
CONTROLS & CONNECTIONS ..................................... 3
DETERMING BATTERY TYPE & SPECIFICATIONS ..... 4
GETTING STARTED ......................................................4
ADJUSTABLE SETTINGS .............................................. 5
USER SETUP SCREENS .............................................. 6
VIEW DATA SCREENS .................................................. 7
STARTING CHARGE...................................................... 7
CHARGE COMPLETE ................................................... 8
CARE & HANDLING OF NiMH BATTERIES .................. 8
CARE & HANDLING OF LiPo, Li-Ion &
LiFe BATTERIES ............................................................ 9
BATTERY STORAGE ..................................................... 9
COOLING FAN ............................................................... 9
ERROR MESSAGES & TROUBLESHOOTING GUIDE ....10
5-YEAR LIMITED WARRANTY – U.S.A. & CANADA ONLY .... 11
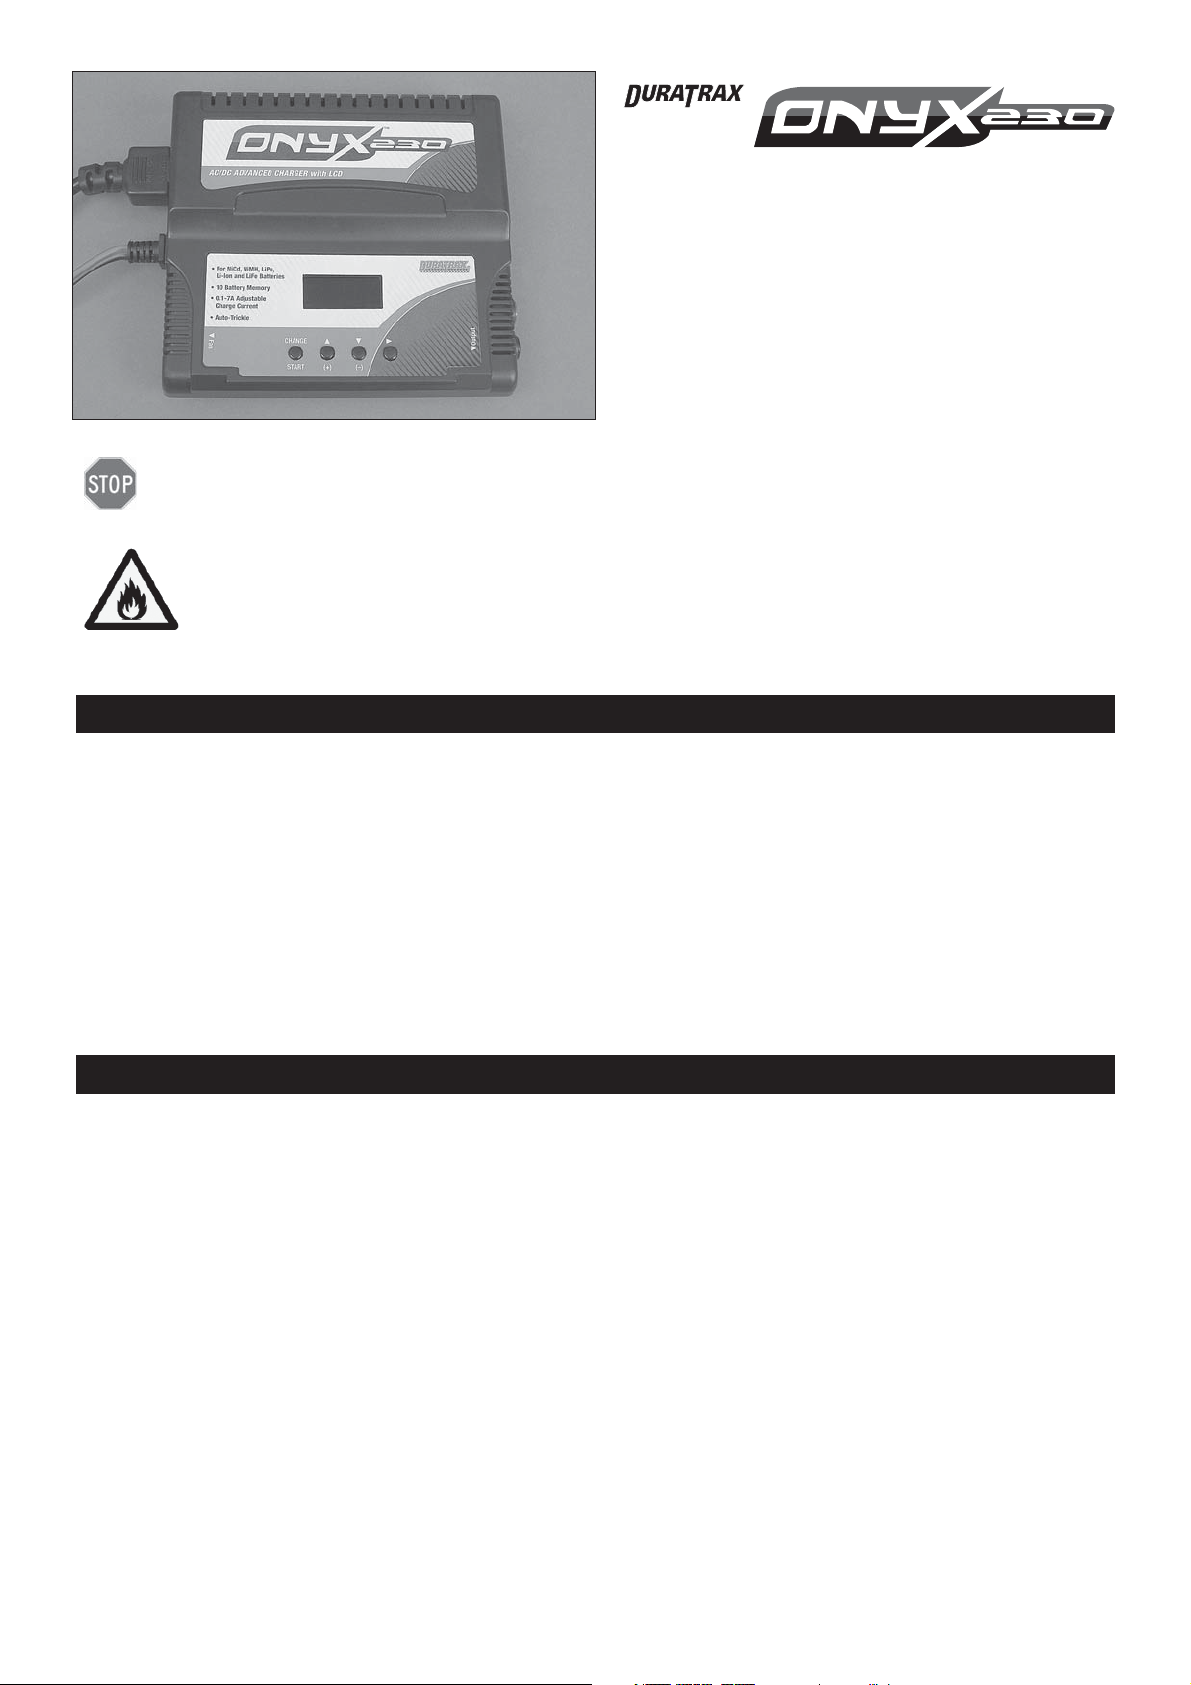
The DuraTrax
®
Onyx
™
230 charger is great for a wide
variety of applications! With charge currents up to 7 amps
and wide output voltage range makes it equally useful for
1/32 scale micros as for large 1/8 scale electrics, plus nitro
receiver packs and transmitter packs. The ability to also
handle LiPo and LiFe cells is great for upgrading to the
latest in battery technologies. AC/DC fl exibility, plus the
advanced reversed LCD with backlight, and simple menus
and controls make it super-easy to use anytime. A quick
reference fl owchart is included for easy understanding of
all menus.

2
SPECIAL FEATURES
• A tiny built-in switching AC power supply is great for portability and cramped pit areas, yet can still deliver up to 7 amps
charge current!
• Fully adjustable charge currents and multi-chemistry adaptability for a wide range of applications.
• A custom cc/cv charge algorithm carefully charges lithium-polymer, lithium-ion, or lithium ferrite-phosphate (A123)
batteries fully and safely!
• A peak detection system with automatic trickle charge fi lls NiCd and NiMH packs completely, for optimum battery
voltage and run-time. 3-20mV adjustable peak detection helps to customize charger-to-battery performance.
• A custom reversed LCD with backlight – previously only available in expensive racing chargers – is great for easy
viewing in any condition. Shows input and output voltages, peak voltage, charge current, charge capacity and time,
and more!
• Push button controls and audible tones make for easy setup and control.
• A built-in fan helps to keep all electronics cool, for long-lasting performance.
• Built-in banana jacks allow for connection with many commonly found charge adapters. An adapter with standard plug
is included.
• A DC power lead with alligator clips easily connects to many 12V DC power sources.
• Solid-state reverse polarity and current overload safety devices ensure trouble-free operation and long duration.
IMPORTANT PRECAUTIONS
Disconnect the battery and remove input power from the charger immediately if the charger or battery
become hot!!
• Do not attempt to charge incompatible types of rechargeable batteries as permanent damage to the battery and charger
could result.
• Do not use automotive type battery chargers to power the charger.
• Do not allow water, moisture or foreign objects into the charger.
• Do not block the fan or air intake holes, which could cause the charger to overheat.
• Do not attempt to use batteries with more cells or total voltage than listed in the specifi cations.
• Do not overcharge batteries as permanent damage could result. Do not use a charge current rate which exceeds the safe
level of the battery.
• Do not leave the charger unattended while in use.
• Do not place the charger or battery on fl ammable surfaces or near combustible materials while in use, such as a carpet,
cluttered workbench, paper, plastic, vinyl, leather, and wood, inside an R/C model or full sized automobile!
• Do not connect the charger to AC and DC inputs at the same time.
• Allow the charger or battery to cool down between charges.
• Always disconnect the charger from the power source when not in use.
GLOSSARY OF TERMS
Amps (A): The unit of measure for charge current.
Milli-amps (mA): A unit of measure for current, being amps (A) multiplied by 1000 and listed as “mA”. So 2.5A is the
same as 2500mA (2.5 x 1000). Or, to convert mA to amps, divide the mA number by 1000. So 25mA is the same as
0.025A (25 divided by 1000).
Capacity and milli-amp hours (mAh): The amount of energy a battery can store is called its capacity, which is defi ned
as how much current a battery can supply constantly over one hour of time. Most hobby batteries are rated for capacity
in “mAh” or milli-amp hours. A 650mAh battery can deliver 650mA of current for one hour (650mA x 1hr = 650mAh).
A 3200mAh battery can deliver 3200mA (3.2A) of current for one hour (3200mA x 1hr = 3200mAh), etc.
“C” rating: Capacity is also referred to as the “C” rating. Some battery suppliers recommend charge currents based on
the battery’s “C” rating. A battery’s “1C” current is the same number as the battery’s rated capacity number, but noted
in mA or amps. A 600mAh battery has a 1C current value of 600mA, and a 3C current value of (3 x 600mA) 1800mA or
1.8A. The 1C current value for a 3200mAh battery would be 3200mA (3.2A), etc.

3
INPUT POWER
AC Input: For indoor use, this charger includes a built-in switching AC power supply that delivers power by connecting
the AC power cord to a common 110V AC outlet.
DC Input: This charger can be powered by a portable 12V DC power source for use at the track. On the left side of the
charger, connect the DC power cord’s alligator clips directly to the output terminals on the 12V DC power source. Always
match polarities (red lead to red “+” terminal, black lead to black “-” terminal). To utilize the charger’s absolute maximum
power capabilities the DC power source must be capable of delivering at least 7.5 amps while maintaining 12 volts DC.
WARNING! Never accidentally short together the positive (+) and negative (-) input connections when
connected to 12V DC power. Failure to do so could result in permanent damage to the power source and
the charger.
The charger is rated for a maximum output power of 50 watts. Depending on certain conditions (if charge current is set
to maximum, the maximum number of cells are connected to the output, and input voltage is low), the actual current
delivered to the battery might be slightly less than the setting. This is normal.
The charger will be on at all times when connected to input power. Disconnect the charger from input power when not
in use.
CONTROLS & CONNECTIONS
CHANGE / START: For starting a charge,
or to change settings.
S (+): For moving up through menus, or
increasing the values of settings on-screen.
T (-): For moving down through menus,
or decreasing the values of settings
on-screen.
X : For moving to the right in the menus.
OUTPUT BANANA JACKS: For
connection of any of a wide variety
of battery charge leads/adapters. An
adapter with standard connector is
included. For transmitter, receiver, and
small electric vehicle batteries, fi nd a
charge lead that best matches the type
of radio that you are charging. Look for
these and other charge adapters at your
local retailer:
Item Number Charge Lead Description
DTXC2210 Adapter – Standard to Vendetta, MiniQuake, RS4 Battery
GPMM3105 Charge lead – banana plugs to BEC connector
GPMM3148 Charge lead – banana plugs to Deans
®
Ultra
®
male
GPMM3149 Charge lead – banana plugs to micro connector
HCAP0101 Futaba
®
J Tx and Rx charge leads
HCAP0104 Airtronics
®
/ Sanwa
®
Tx and Rx charge leads
HCAP0105 JR
®
/ Spektrum
®
Tx and Rx charge leads
HCAP0106 Hitec
®
Tx and Rx charge leads
HCAP0108 Charge leads – banana plugs to alligator clips
HCAP0110 9V-style Tx connector, Futaba-J Rx charge lead
Always connect the charge lead to the charger fi rst. Then connect the battery to the charge lead. Always match polarities
on the battery wires, charge leads and banana jacks - black connections to black (-), red connections to red (+).

4
DETERMINING BATTERY TYPE & SPECIFICATIONS
IMPORTANT: What is your battery’s CHEMISTRY TYPE, RATED CAPACITY, AND RATED VOLTAGE? To avoid
causing permanent damage to your battery, carefully read your battery’s label and/or instruction sheet or consult your
battery supplier and determine:
1. TYPE: Is the battery a nickel-metal hydride (NiMH), nickel-cadmium
(NiCd), lithium-polymer (LiPo) lithium-ion (Li-Ion), or lithium-ferrite
phosphate (LiFe, such as A123 brand)?
2. RATED CAPACITY: The amount of charge energy the battery can store
should be listed on the battery’s label in “mAh” (“milli-amp hours”).
3. VOLTAGE: If not printed on the battery’s label, consult your battery
supplier or determine the proper pack voltage as follows (refer to
the charts at right):
a. NiMH and NiCd: number of cells x 1.20.
b. LiPo batteries: number of cells x 3.70.
c. Li-Ion batteries: number of cells x 3.60.
d. LiFe batteries (A123): number of cells x 3.30.
GETTING STARTED
1. Connect the charger to input power.
2. The “START” screen will show after power is applied. The top line of this screen will show which of the ten memories
is active (0-9). All settings for this memory will scroll across the bottom line of this screen. If these settings match your
battery and needs, skip to the STARTING CHARGE section.
3. If the settings in the displayed memory do not match your battery or needs, refer to the chart below for the factory
default settings for all memories. To select one of these memories, while in the START screen press the CHANGE
button. The memory number will fl ash. Press + or – to select a different memory number. Press CHANGE to activate
this memory. Skip to the STARTING CHARGE section.
4. If none of the memories have settings which meet your needs, proceed to the ADJUSTABLE SETTINGS section
below to change settings manually.
Battery type
Cell count
Capacity (mAh)
Current
Safety time (minutes)
Δ Peak (mV/C)
Trickle current (mA)
NiMH
6
2500
4.0A
45
8
200
NiCd
6
1800
4.0A
32
10
200
NiMH
6
4200
6.0A
50
8
auto
NiCd
6
1500
3.5A
31
10
175
NiMH
4
1400
1.4A
72
8
70
NiMH
4
2000
2A
72
8
100
LiPo
2
650
0.6A
130
x
x
LiPo
2
1500
1.5A
120
x
x
LiPo
2
3200
3.2A
120
x
x
LiPo
2
1500
1.5A
120
x
x
MEMORY NUMBER 0 1 2 3 4 5 6 7 8 9
MEMORY CHART – FACTORY DEFAULTS
Number of cells
1 cell
2 cells
3 cells
LiPo, Li-Ion and LiFe Pack Voltages
Nominal voltage
LiFe 3.3V
Li-Ion 3.6V
LiPo 3.7V
LiFe 6.6V
Li-Ion 7.2V
LiPo 7.4V
LiFe 9.9V
Li-Ion 10.8V
LiPo 11.1V
 Loading...