

D-Link DES-1024DG Quick Installation Manual
This Quick Installation Guide gives step-by-step instructions for setting up the D-Link
DES-1024DG Gigabit Switch. The model you have purchased may appear slightly
different from those shown in the illustrations. For more detailed information about the
switch, its components, making network connections and technical specifications,
please refer to the User’s Manual included with your switch.
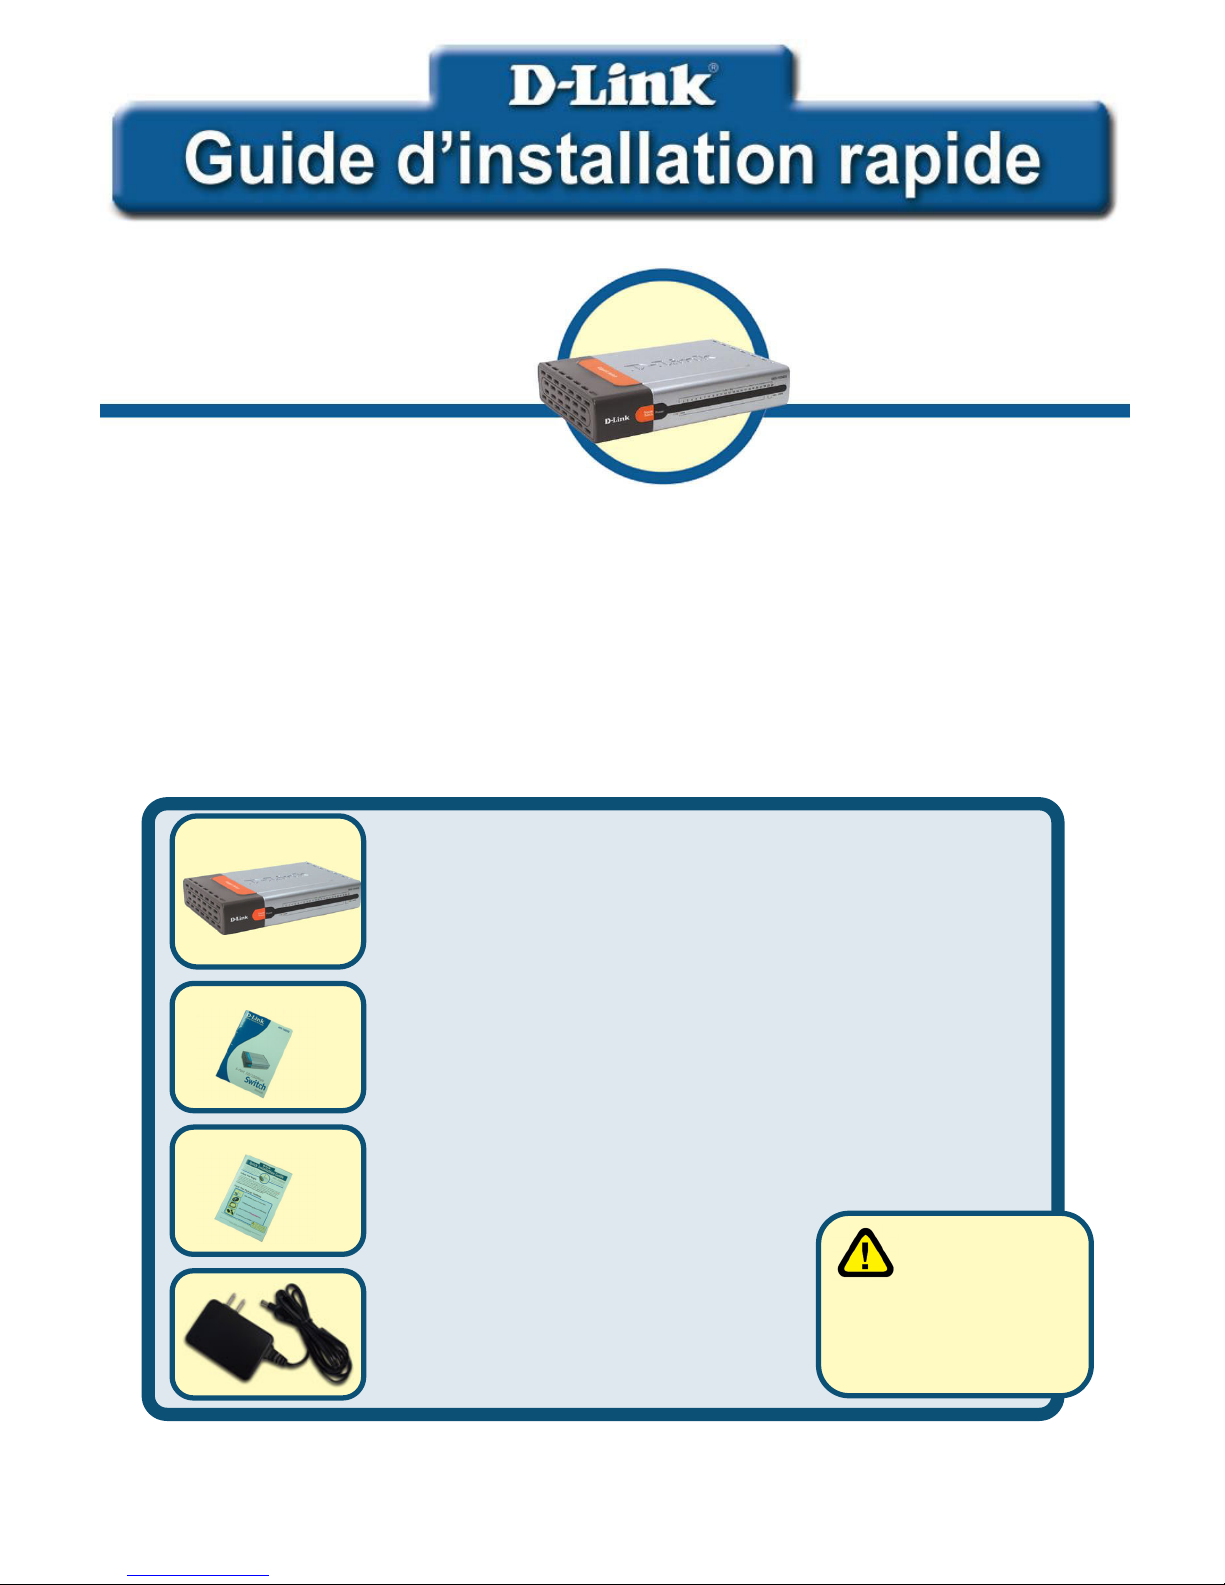
Check Your Package Contents
These are the items included with your DES-1024DG purchase:
If any of the above items are missing, please contact your reseller.
©2004 D-Link Systems, Inc. All rights reserved. Trademarks or registered trademarks are the property of their respective holders.
Software and specifications subject to change without notice.
• DES-1024DG 22-Port 10/100Mbps + 2Port 10/100/1000Mbps Gigabit Switch
• User Manual
• Quick Installation Guide
• 5V DC, 3A Power Adapter
Using a powe
r
supply with a
different voltage rating
will damage and void
the warranty for this
product.
Before You Begin
DES-1024DG
22-Port 10/100Mbps +
2-Port 10/100/1000Mbps
Gigabit Ethernet Switch
2
Setup The DES-1024DG Gigabit Switch
The setup of the Switch can be performed using the following steps:
A. Install the DES-1024DG in a fairly cool and dry place. See Technical
Specification for the acceptable operation temperature and humidity
ranges.
B. Install the Switch in a site free from strong electromagnetic source,
vibration, dust, and direct sunlight.
C. Leave at least 10cm of space at the left and right hand side of the Switch
for ventilation.
D. Visually inspect the DC power jack and make sure that it is fully secured
to the power adapter.
Connect The DES-1024DG Gigabit Switch
To Your Network
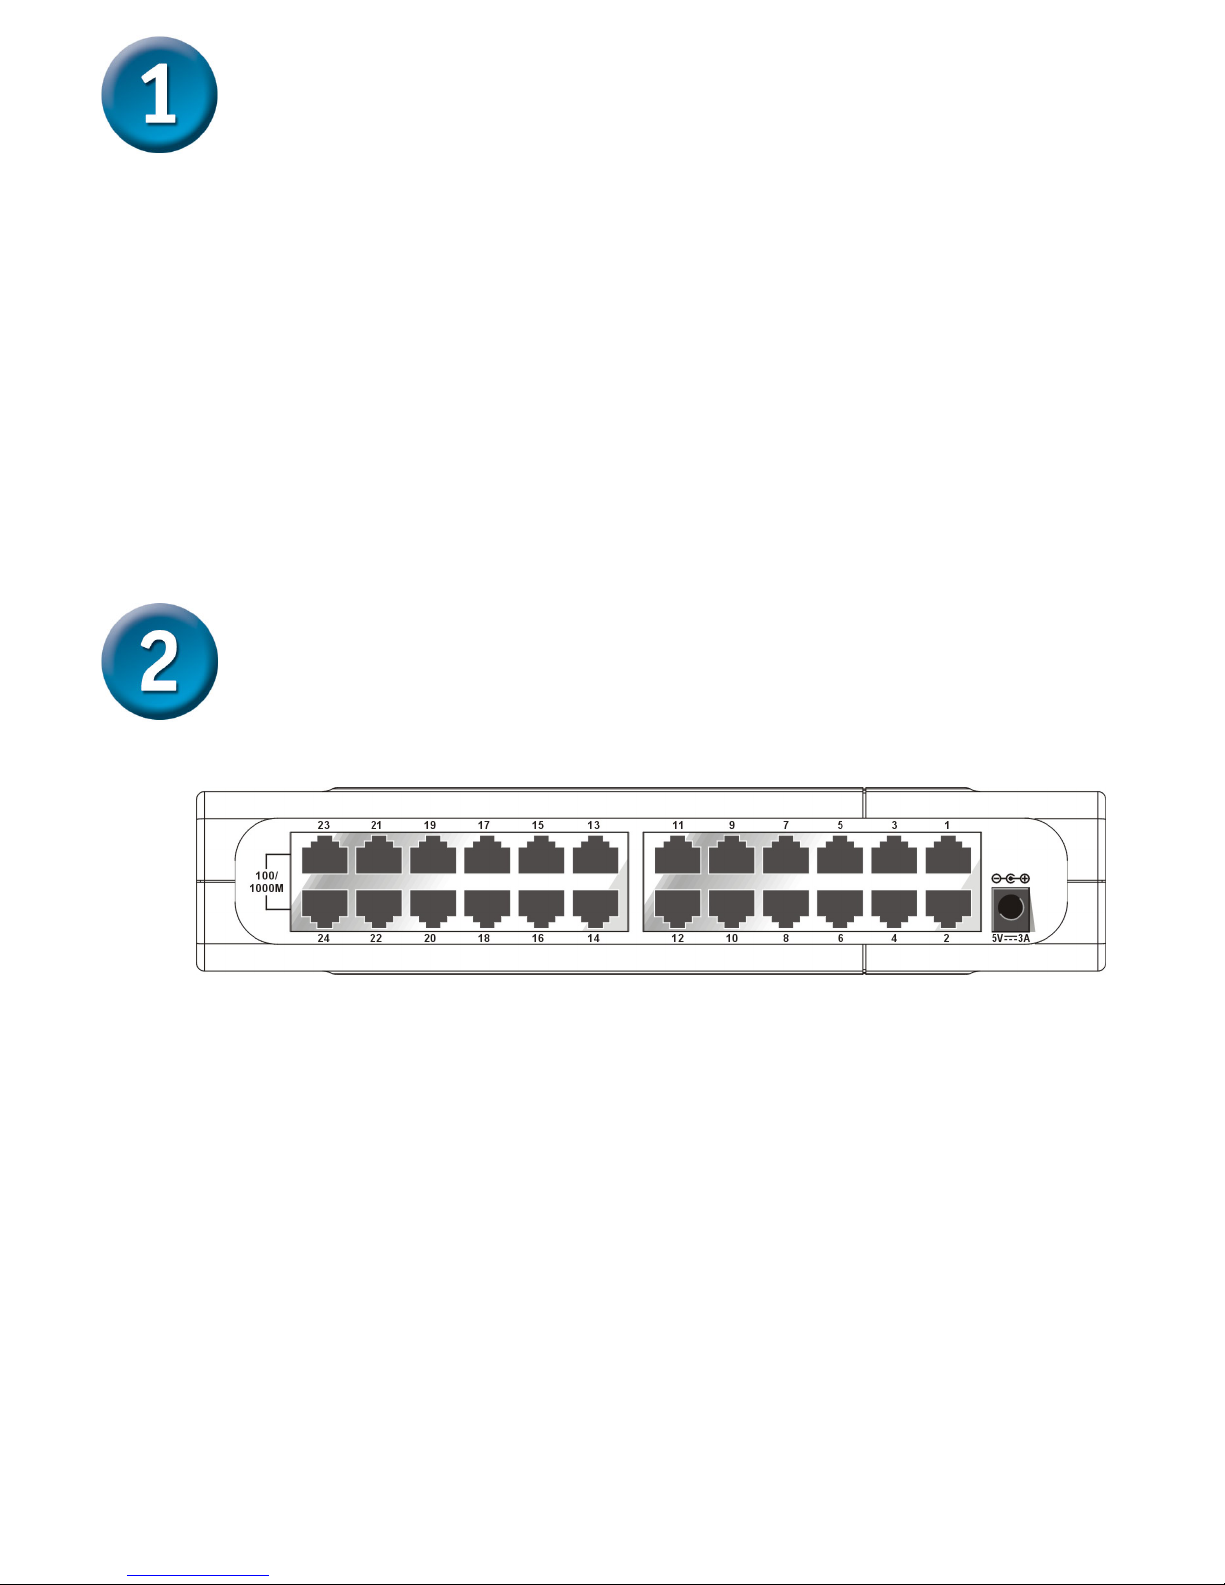
A. DC Power Jack:
Power is supplied through an external AC power adapter. Check the
technical specification section for information about the AC power
input voltage.
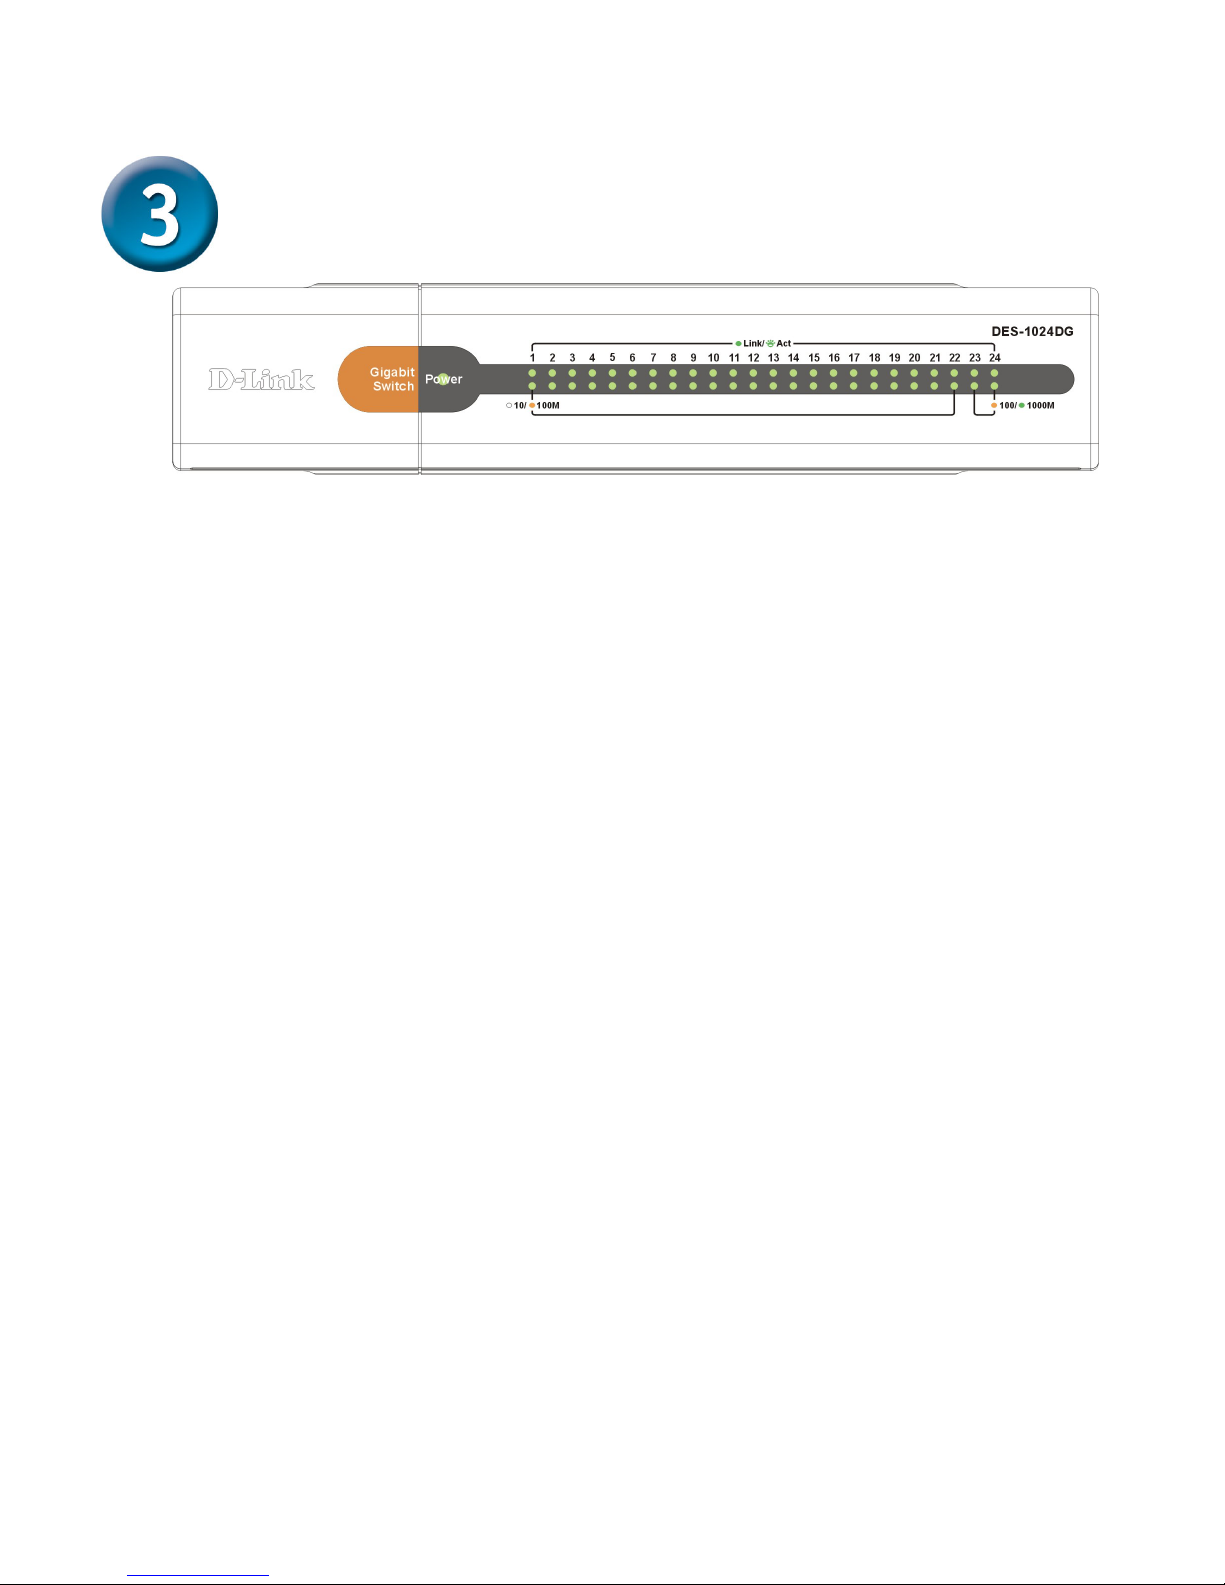
B. Fast Ethernet Ports (Port 1~22)
Twenty-two Fast Ethernet ports of 10/100Mbps Auto-Negotiation
interface. Comprehensive LED indicators display the conditions of the
Switch and status of the network.
C. Gigabit Ethernet Port (Port 23~24)
Two Gigabit Ethernet ports of 10/100/1000Mbps Auto-Negotiation
interface. Comprehensive LED indicators display the conditions of the
Switch and status of the network. A description of these LED
indicators follows (see LED Indicators).

3
LED Indicators
A. Power Indicator :
This indicator lights green when the Switch is receiving power.
Otherwise, it is off.
B. Link / Act
This indicator lights green when a port is connected to a station
successfully and has a good link. A blinking green indicator means
that a port is transmitting or receiving data on the network.
C. Fast Ethernet Port (Port 1~22)
This LED indicator lights amber when the port is connected to a
100Mbps Fast Ethernet station. Otherwise, the indicator remains off
when the port is connected to a 10Mbps Ethernet station.
D. Gigabit Ethernet Port (Port 23~24)
This LED indicator lights amber when the port is connected to a
100Mbps Fast Ethernet station. The indicator lights green when the
port is connected to a 1000Mbps Ethernet station.

4
Technical Support
You can find software updates and user documentation on the D-Link website.
D-Link provides free technical support for customers within the United States
and within Canada for the duration of the warranty period on this product.
U.S. and Canadian customers can contact D-Link technical support through our
website, or by phone.
Tech Support for customers within the United States:
D-Link Technical Support over the Telephone:
(877) 453-5465
24 hours a day, seven days a week.
D-Link Technical Support over the Internet:
http://support.dlink.com
email:support@dlink.com
Tech Support for customers within Canada:
D-Link Technical Support over the Telephone:
(800) 361-5265
Monday to Friday 8:30am to 9:00pm EST
D-Link Technical Support over the Internet:
http://support.dlink.ca
email:support@dlink.ca
Tech Support for customers within
the United Kingdom & Ireland:
D-Link UK & Ireland Technical Support over the Telephone:
+44 (0)20 7365 8440 (United kingdom)
+353 (0)12 421 061 (Ireland)
Monday to Friday 8:00 am to 10:00 pm
D-Link Technical Support over the Internet:
http://www.dlink.co.uk
5
Diese Kurzanleitung für die Installation enthält Anweisungen zur Inbetriebnahme des
Gigabit Switch DES-1024DG von D-Link. Das von Ihnen erworbene Modell kann im
äußeren Erscheinungsbild leicht von den in den Illustrationen abgebildeten Modellen
abweichen. Einzelheiten über das Gerät, seine Komponenten, die Herstellung von
Netzwerkverbindungen sowie die technischen Daten können Sie dem mitgelieferten
Benutzerhandbuch entnehmen.
Lieferumfang überprüfen
Die folgenden Artikel gehören zum Lieferumfang des DES-1024DG:
Sollte eines dieser Teile fehlen, wenden Sie sich bitte an Ihren Fachhändler.
© 2004 D-Link Systems, Inc. Alle Rechte vorbehalten. Marken und eingetragene Marken sind Eigentum ihrer jeweiligen Inhaber.
Änderungen vorbehalten.
DES-1024DG
22-Port 10/100 Mbit/s +
2-Port 10/100/1000 Mbit/s
Gigabit Ethernet Switch
• DES-1024DG 22-Port 10/100 Mbit/s + 2-
Port 10/100/1000 Mbit/s Gigabit Switch
• Benutzerhandbuch
• Kurzanleitung für die Installation
• Netzteil 5 V, 3 A (Gleichstrom)
Vor dem Start
Die Verwendung
eines Netzteils
mit abweichender
Spannung führt zur
Beschädigung des Geräts
und zum Erlöschen der
Garantie.
6
Gigabit Switch DES-1024DG einrichten
Beachten Sie bei der Auswahl des Standorts bitte Folgendes:
A. Stellen Sie den DES-1024DG an einem kühlen und trockenen Ort auf.
Zulässige Werte für Temperatur und Luftfeuchtigkeit finden Sie in den
technischen Daten.
B. Das Gerät darf keinen starken elektromagnetischen Feldern, Vibrationen,
Staub und direktem Sonnenlicht ausgesetzt werden.
C. Lassen Sie für eine ausreichende Luftzufuhr mindestens 10 cm Freiraum
um das Gerät herum.
D. Vergewissern Sie sich, dass der Netzstecker unbeschädigt ist und sicher
in der Steckdose sitzt.
Gigabit Switch DES-1024DG mit dem
Netzwerk verbinden
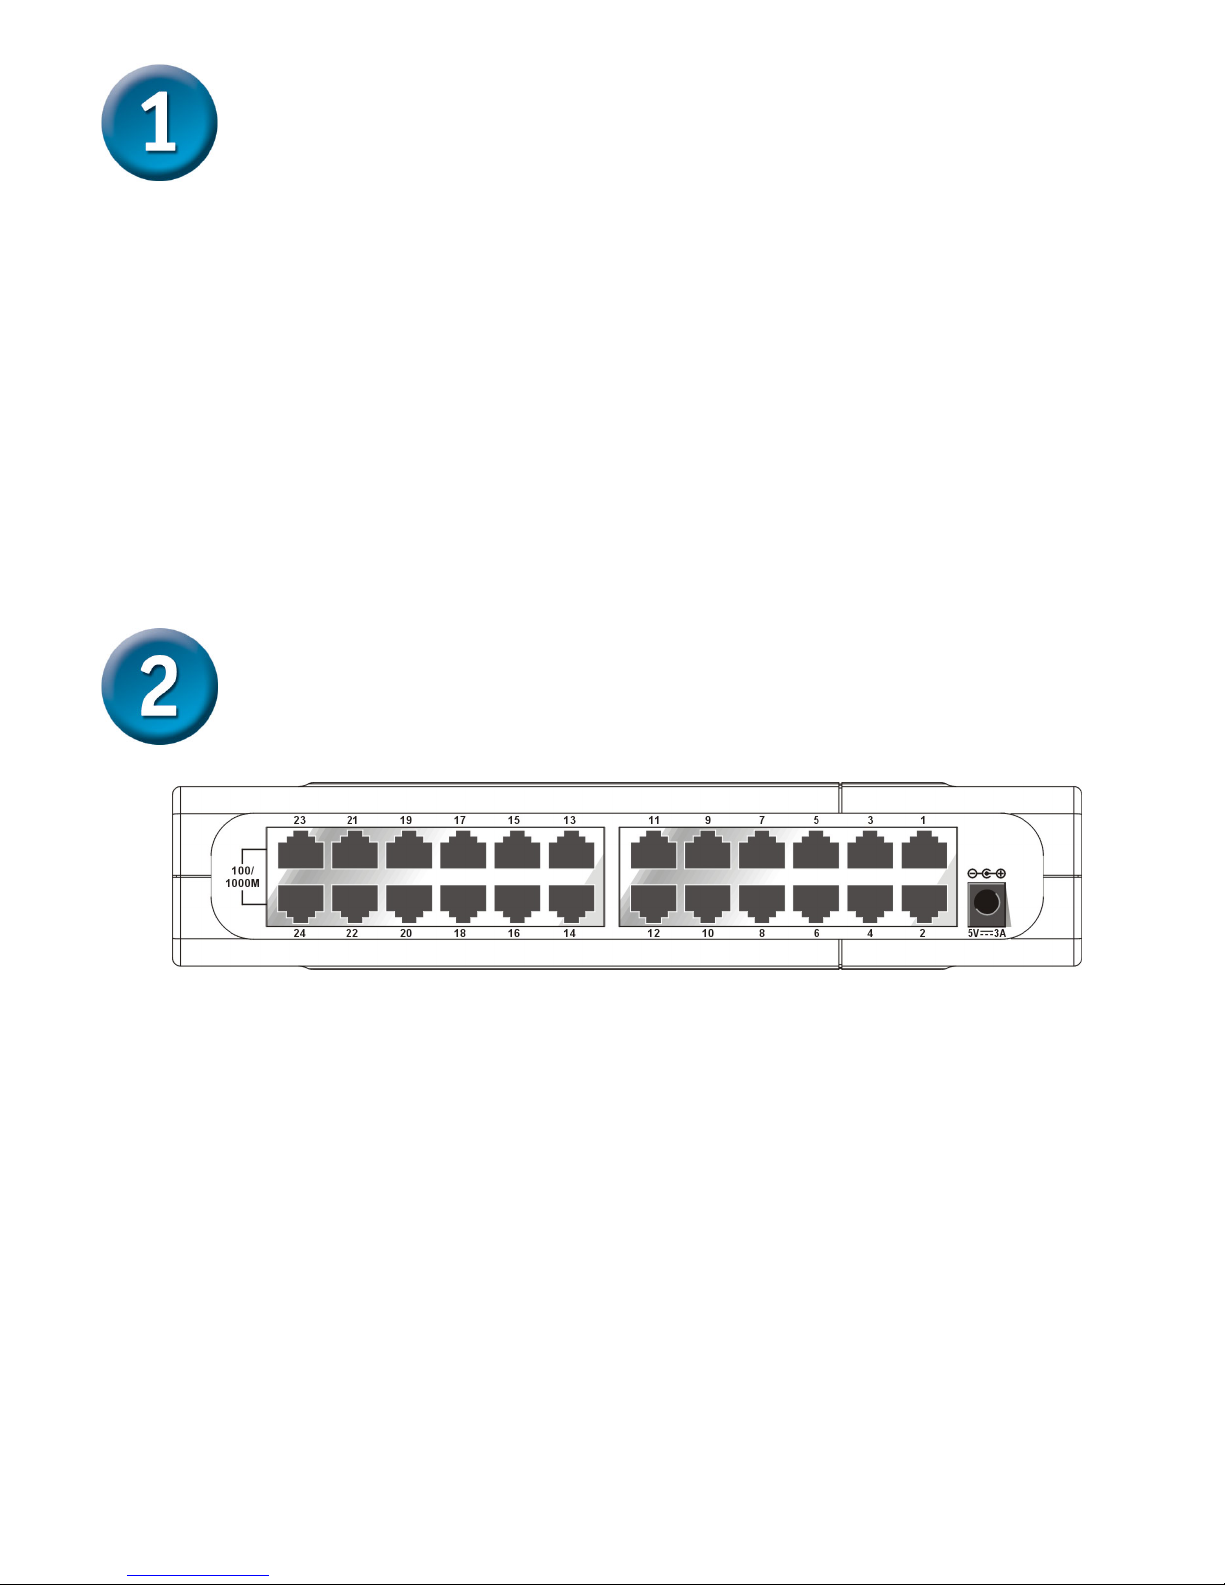
A. Gleichstromanschluss:
Die Stromversorgung des Geräts erfolgt über ein externes Netzteil.
Informationen über die erforderliche Eingangsspannung entnehmen
Sie den technischen Daten.
B. Fast Ethernet-Ports (Ports 1-22)
Zweiundzwanzig 10/100 Mbit/s Fast Ethernet-Ports mit automatischer
Aushandlung der Übertragungsgeschwindigkeit. Umfangreiche LEDAnzeigen für Switch- und Netzwerkstatus.
C. Gigabit Ethernet-Ports (Ports 23-24)
Zwei 10/100/1000 Mbit/s Gigabit Ethernet-Ports mit automatischer
Aushandlung der Übertragungsgeschwindigkeit. Umfangreiche LEDAnzeigen für Switch- und Netzwerkstatus. Eine Beschreibung der
LED-Anzeigen folgt im Abschnitt „LED-Anzeigen“.
7
LED-Anzeigen
A. Power (Betriebsanzeige) :
Diese Anzeige leuchtet grün, wenn der Switch an das Stromnetz
angeschlossen ist. Andernfalls ist sie aus.
B. Link/Act
Diese Anzeige leuchtet grün, wenn ein Port stabil mit einer Station
verbunden ist. Die Anzeige blinkt grün, wenn über einen Port Daten in
das Netzwerk gesendet oder aus dem Netzwerk empfangen werden.
C. Fast Ethernet-Anschlüsse (Ports 1-22)
Die Anzeigen leuchten gelb, wenn der entsprechende Port mit einer
100 Mbit/s Fast Ethernet-Station verbunden ist. Bei Verbindung mit
einer 10 Mbit/s Ethernet-Station leuchten die Anzeigen nicht.
D. Gigabit Ethernet-Ports (Ports 23-24)
Die Anzeigen leuchten gelb, wenn der entsprechende Port mit einer
100 Mbit/s Fast Ethernet-Station verbunden ist. Die Anzeigen leuchten
grün, wenn der entsprechende Port mit einer 1000 Mbit/s EthernetStation verbunden ist.

8
Technische Unterstützung
Aktualisierte Versionen von Software und Benutzerhandbuch finden
Sie auf der Website von D-Link.
D-Link bietet kostenfreie technische Unterstützung für Kunden
innerhalb Deutschlands, Österreichs, der Schweiz und Osteuropas.
Unsere Kunden können technische Unterstützung über unsere
Website, per E-Mail oder telefonisch anfordern.
Web: http://www.dlink.de
E-Mail: support@dlink.de
Telefon: +49 (1805)-2787
Telefonische technische Unterstützung erhalten Sie montags bis
donnerstags von 08.00 bis 19.00 Uhr, freitags von 08.00 bis 17.00 Uhr.
Wenn Sie Kunde von D-Link außerhalb Deutschlands, Österreichs, der
Schweiz und Osteuropas sind, wenden Sie sich bitte an die zuständige
Niederlassung aus der Liste im Benutzerhandbuch.
9
Ce guide d’installation rapide vous donne la procédure détaillée d’installation du switch
Gigabit DES-1024DG de D-Link. Le modèle que vous avez acheté peut sembler
légèrement différent de ceux qui apparaissent sur les illustrations. Pour de plus
amples informations sur le switch, ses composants, la manière de se connecter au
réseau et les spécifications techniques, veuillez vous reporter au Manuel Utilisateur
livré avec le switch.
Vérifiez le contenu de votre coffret
Le coffret de votre DES-1024DG doit contenir les éléments suivants :
Si l’un des éléments ci-dessus est manquant, veuillez contacter votre revendeur.
©2004 D-Link Systems, Inc. Tous droits réservés. Les marques et marques déposées sont la propriété de leurs titulaires respectifs.
Logiciels et spécifications pouvant faire l’objet de modifications sans préavis.
DES-1024DG
22 Ports 10/100Mbps +
2 Ports 10/100/1000Mbps
Switch Gigabit Etherne
t
• Switch Gigabit DES-1024DG 22 Ports
10/100Mbps + 2 Ports 10/100/1000Mbps
• Manuel Utilisateur
• Guide d’installation rapide
• Adaptateur d’alimentation
5V DC, 3A
Le fait d’utiliser
une alimentation
de tension différente
risque d’endommager le
produit et d’annuler la
garantie.
Avant de commencer
 Loading...