

Page 1
FAN HEATER
INSTRUCTION MANUAL
5714004300 18-12-2000 14:46 Pagina 1
Page 2
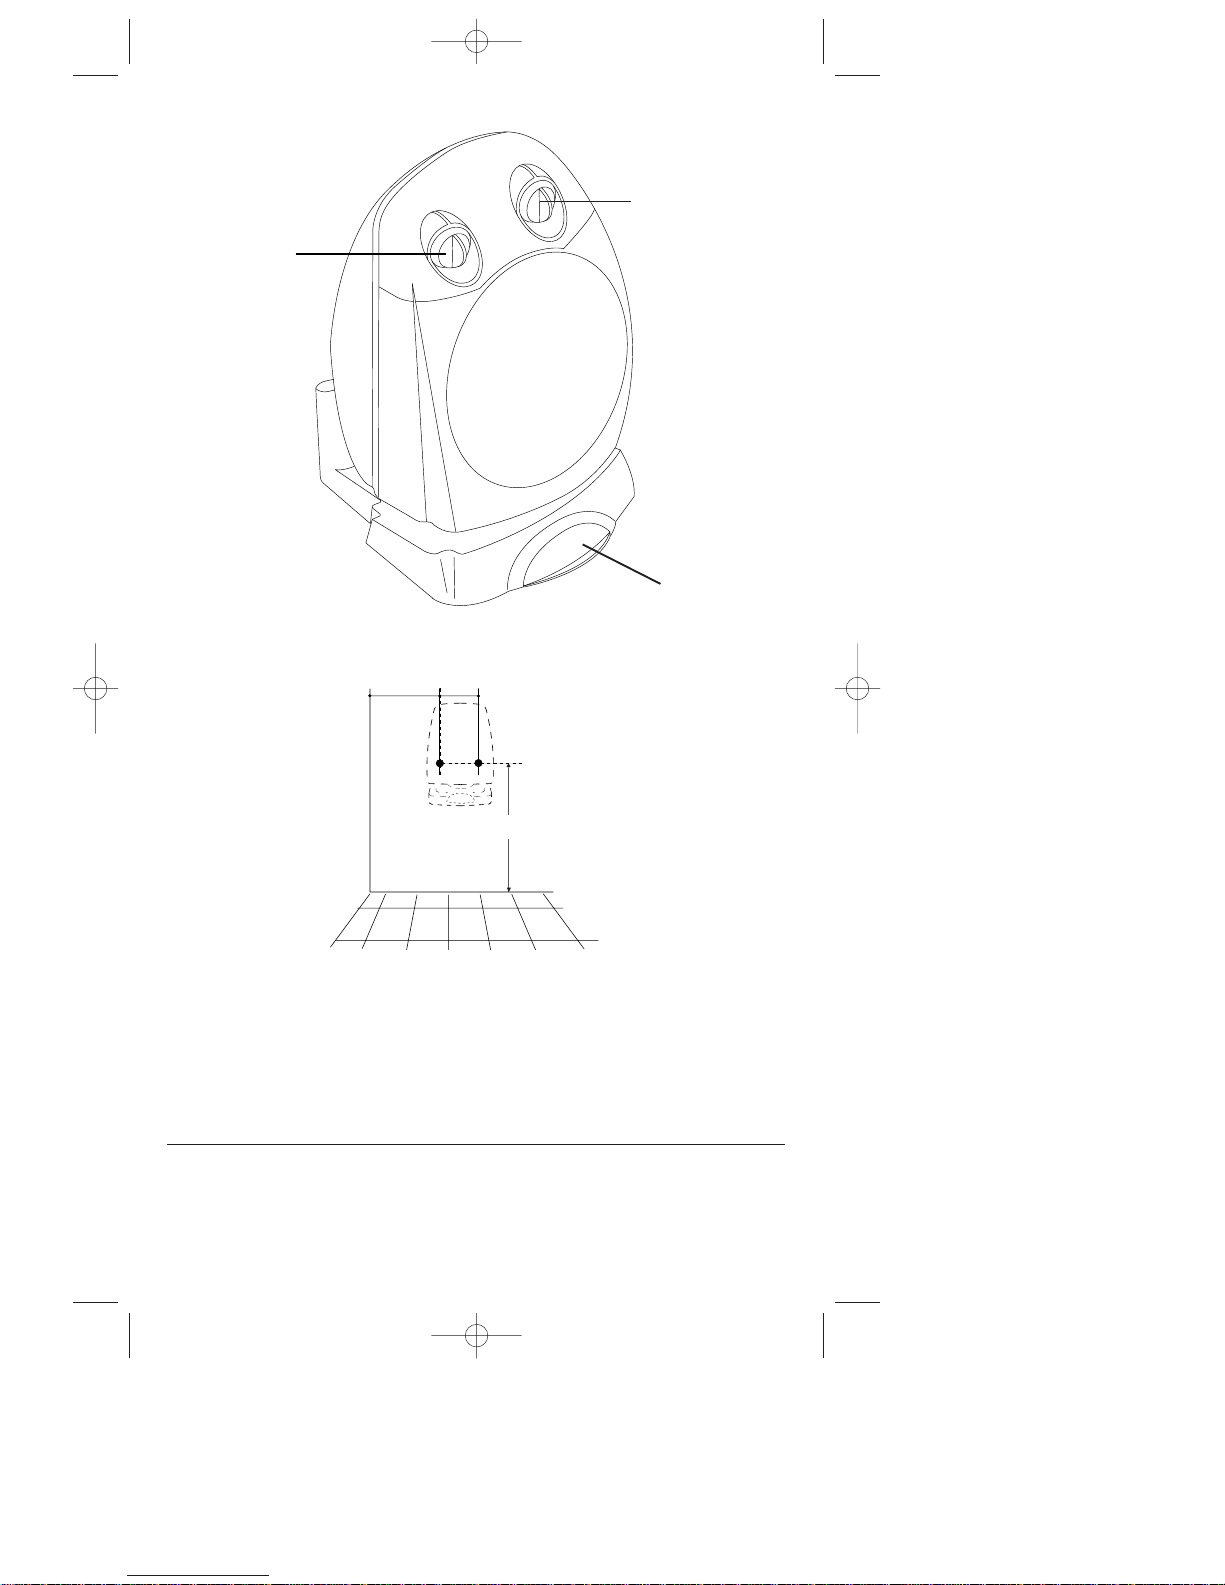
function selector
thermostat dial
foot switch
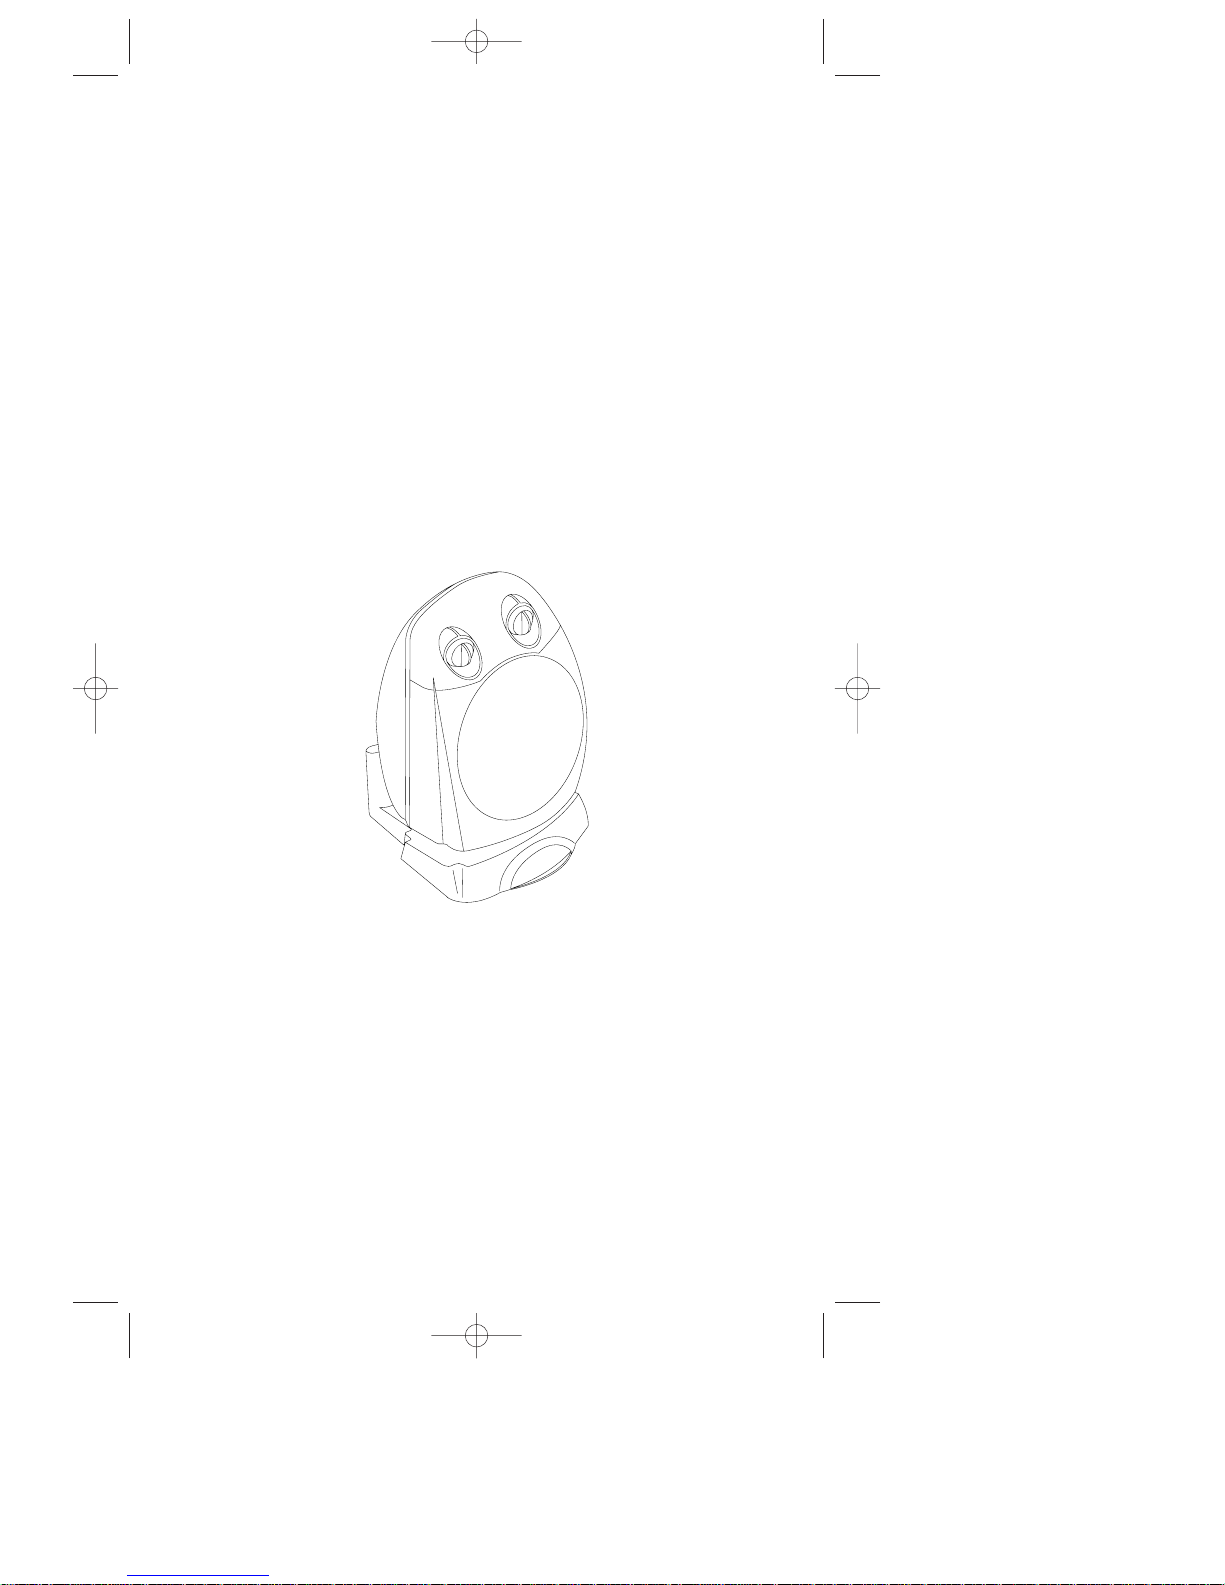
fig.1
fig. 2
500
mm
300
120 mm
A) If your appliance comes fitted with a plug, it will incorpo-
rate a 13 Amp fuse. If it does not fit your socket, the plug
should be cut off from the mains lead, and an appropriate plug fitted, as below.
WARNING: Very carefully dispose of the cut off plug after
removing the fuse: do not insert in a 13 Amp socket
elsewhere in the house as this could cause a shock
hazard.
With alternative plugs not incorporating a fuse, the circuit
must be re-fitted when changing the fuse using a 13 Amp
Asta approved fuse to BS 1362. In the event of losing the
fuse cover, the plug must NOT be used until a replacement
fuse cover can be obtained from your nearest electrical
dealer. The colour of the correct replacement fuse cover is
that as marked on the base of the plug.
B) If your appliance is not fitted with a plug, please follow
the instructions provided below:
IMPORTANT
The wires in the mains lead are coloured in accordance with
the followin code:
Blue: Neutral
Brown: Live
As the colours of the wires in the mains lead of this appliance may
not correspond with the coloured markings identifying the terminals in your plug, proceed as follows:
The wire which is coloured blue must be connected to the terminal which is marked with the letter N or coloured black.
The wire which is coloured brown must be connected to the terminal which si marked with the letter L or coloured red.
ELECTRICAL CONNECTION (U.K. ONLY)
5714004300 18-12-2000 14:46 Pagina 2
Page 3

ELECTRICAL CONNECTION
- Before plugging in the heater, check that the voltage of your domestic supply corresponds to the voltage (V) indicated on the appliance.
- Before using the appliance check that your supply voltage is the same of that shown
on the rating label of the unit.
- THIS APPLIANCE CONFORMS TO DIRECTIVE 89/336/CEE GOVERNING RADIO
INTERFE-RENCE.
INSTALLATION
The appliance can be used as a portable appliance on a horizontal surface.
IT IS NOT SUITABLE FOR USE IN A BATHROOM .
It can also be wall-mounted, proceed as follows:
• Drill the holes in the wall, noting the minimum distances indicated in Fig. 2.
• Hang the appliance on the wall using 2 screws and screw fixings and fasten it using
a third screw at the bottom.
• The appliance must not be positioned directly underneath a fixed power point.
OPERATION AND USE
Foot switch
This appliance is fitted with an ON/OFF foot switch.
Set the thermostat and your chosen function following the instructions below, and.
simply press the foot switch to start the appliance working.
To switch it off, simply press the foot switch again.
The power plug should be removed from the wall socket when the appliance is not in use.
IMPORTANT
The appliance can only be started when the foot switch is ON
OPERATING THE FUNCTON SELECTOR AND THERMOSTAT (Fig 1)
- Turn the thermostat dial fully clockwise to the maximum position
-
Summer use: (ventilation only): turn the dial to position
-
Reduced power heating: turn the function selector to position 1.
-
Full power heating: turn the function selector to position 2.
-
Switching off: turn the function selector to position 0.
SETTING THE THERMOSTAT
When the room has reached the desired temperature, slowly turn the thermostat dial anticlockwise, until the appliance switches off and not beyond. The temperature fixed in this way
will be automatically regulated and kept constant by the thermostat.
FROST STAT FUNCTION
Switch on the appliance by pressing the foot switch. It is recommended to select the full
power setting (2 on the function selector), and then turn the thermostat dial in position
The appliance will maintain a minimum room temperature of approximately 5°C to prevent freezing with a minimum energy consumption.
AIRFLOW DIRECTION
THE APPLIANCE CAN BE ADJUSTED AND INCLINED MANUALLY SO AS TO AIM THE FLOW OF
AIR IN THE DESIRED DIRECTION
Voltage/ Wattage See rating label
5714004300 18-12-2000 14:46 Pagina 3
Page 4

MAINTENANCE
- Before cleaning always switch off and remove the plug from the electrical socket.
-
Periodically clean the air intake and outlet grilles using a vacuum cleaner.
To clean the unit, do not use solvents or abrasive detergents.
A soft damp
cloth should be used to clean the surfaces of the heater.
WARNINGS
-
As with any electrical apppliance, whilst the instructions aim to cover as many eventualities as
possible, caution and common sense should be applied when operating your heater, particularly
in the vicinity of young children.
- Do not use the appliance in bathrooms or in the vicinity of showers, bath tubs, wash
basins, swimming pools, etc.
- Always use the heater in an upright position.
- Do not use the heater to dry your laundry. Never obstruct the intake and outlet grilles
(dan-ger of overheating).
- The heater must be positioned at least 50 cm from furniture or other objects.
- When the appliance is used as a portable heater, do not place it up against walls, fur-
nitu-re, curtains, etc.
- If the power cable is damaged, it must be replaced by the manufacturer or by an autho-
rised technical service centre.
The use of an extention lead is not recommended, as overheating of the extention lead
may occur during the heaters' operation
- The appliance must not be positioned directly underneath a fixed power point.
- Do not cover the appliance while it is functioning in order to avoid overheating with
the attendant risk of fire.
- Do not use the appliance in rooms less than 4 m
2
in area.
The heater is fitted with a
safety device which will switch off the heater in case of acci-
dental overheating
(eg. obstruction of air intake and outlet grilles, motor turning
slowly or not at all). To reset, disconnect the plug from the power for a few minutes, remove the cause of overheating then plug the appliance in again.
5714004300 18-12-2000 14:46 Pagina 4
 Loading...