

Page 1

FFAN HEA
AN HEA
TER
TER
Instruction manual
Page 2
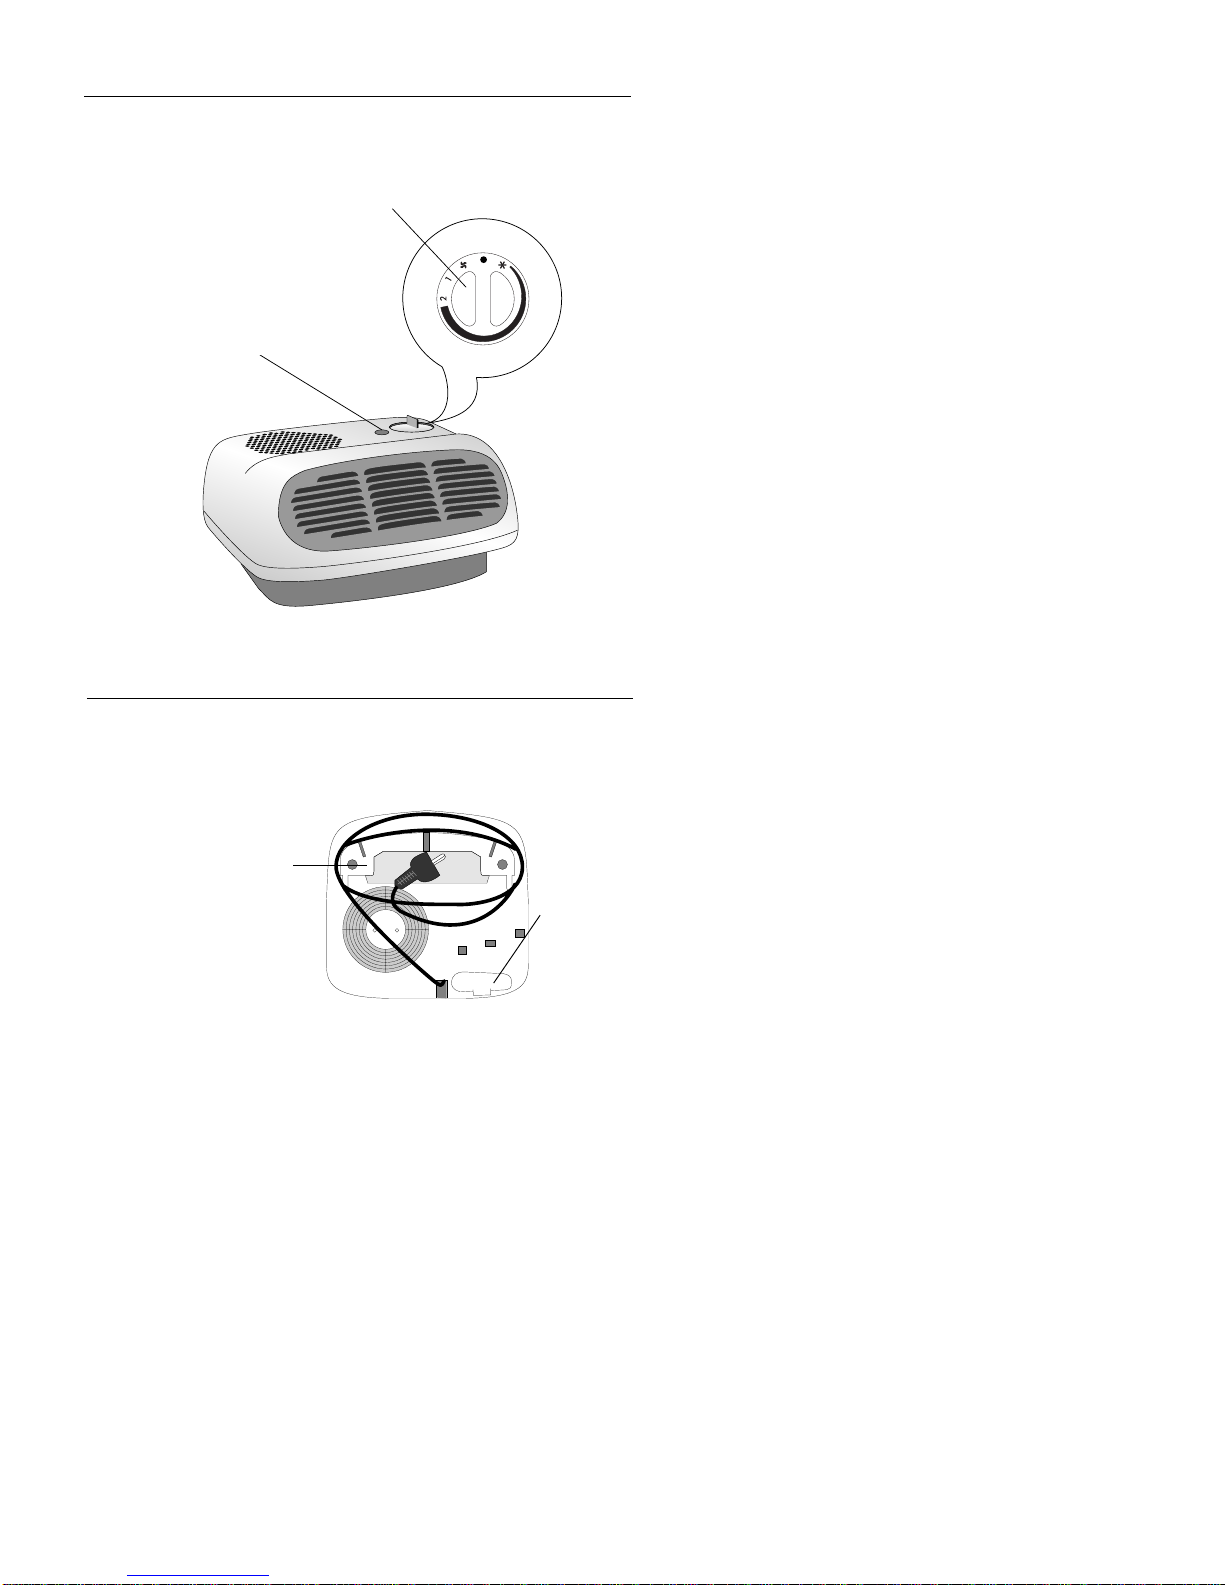
fig. 2
Cable winder
Handle
fig. 1
Voltage
Wattage
See rating label
Pilot lamp
Dial
Page 3

ELECTRICAL CONNECTION
- Before plugging in the heater, check that the voltage of your domestic supply
corresponds to the voltage (V) indicated on the appliance.
- Check that the electrical socket has a rating of 10/16 Amps.
- THIS APPLIANCE COMPLIES WITH EEC DIRECTIVE 89/336, RELATING TO
ELECTRO-MAGNETIC COMPATIBILITY.
OPERATION.
- Summer use (ventilation only): turn the knob clockwise to the position.
- Heating at low power: turn the knob to the “1” position. The pilot lamp switches on.
- Heating at maximum power: turn the knob to the “2” position. The pilot
lamp switches on.
- Setting the thermostat: when the room temperature has reached the desired level, slowly turn the thermostat dial counter-clockwise until the pilot light
goes out (or until you hear a ‘click’ on models without pilot light) but no further.
The thermostat will now automatically maintain the temperature at the desired level.
- Switching the heater off: turn the knob fully counter-clockwise to the
“O” position.
To switch off completely the appliance, remove the plug from the socket.
- Antifreeze function (thermostat models only): turn the knob to the posi-
tion. The appliance will maintain a minimum room temperature of approximately 5˚C thus preventing freezing with the minimum energy consumption.
MAINTENANCE
- Always pull the plug out of the power point before cleaning the heater.
- Periodically clean the air intake and outlet grilles during the
period in which the heater is in use with a vacuum cleaner.
- Do not use abrasive cleaning products or solvents.
CAUTION
- Do not install the heater in humid environments or near showers, bathtubs, sinks,
swimming pools etc.
- Do not use the heater to dry your laundry. Never obstruct the intake and outlet
grilles (danger of overheating).
- The heater must positioned at least 50 cm from furniture or other objects.
- Appliance fitted with Y type connection. Replacement of power cord must be
made by a qualified person.
- The appliance must not be positioned directly underneath a fixed power point.
- Do not use the appliance in rooms less than 4 m2in area.
Important: never cover the appliance when it is in operation as this could cause
a fire risk.
The heater is fitted with a safety device which will switch off the heater in case of acci-
dental overheating (eg. obstruction of air intake and outlet grilles, motor turning slowly
or not at all). Take the heater to an authorised service agent who will reset the device.
GB
A) If your appliance comes fitted with a plug, it will incorporate a 13 Amp fuse. If it does not fit your socket,
the plug should be cut off from the mains lead, and an appropriate plug fitted, as below.
WARNING: Very carefully dispose of the cut off plug after removing the fuse: do not insert in a 13 Amp
socket elsewhere in the house as this could cause a shock hazard.
With alternative plugs not incorporating a fuse, the circuit must be re-fitted when changing the fuse using a
13 Amp Asta approved fuse to BS 1362. In the event of losing the fuse cover, the plug must NOT be used
until a replacement fuse cover can be obtained from your nearest electrical dealer. The colour of the correct
replacement fuse cover is that as marked on the base of the plug.
B) If your appliance is not fitted with a plug, please follow the instructions provided below:
IMPORTANT
The wires in the mains lead are coloured in accordance with the followin code:
Blue: Neutral
Brown: Live
As the colours of the wires in the mains lead of this ppliance may not correspond with the coloured markings
identifying the terminals in your plug, proceed as follows:
The wire which is coloured blue must be connected to the terminal which is marked with the letter N or coloured black.
The wire which is coloured brown must be connected to the terminal which si marked with the letter L or
coloured red.
ELECTRICAL CONNECTION (U.K. ONLY)
Page 4

5714003400/04.00
 Loading...