

Dell SC200, SC220 Getting Started

Dell™ SC200/SC220
Storage Enclosures
Getting Started
With Your System
Regulatory Model E03J
Regulatory Model E04J

Notes, Cautions, and Warnings
NOTE: A NOTE indicates important information that helps you make
better use of your Storage Center.
CAUTION: A CAUTION indicates potential damage to hardware or loss of
data if instructions ar e no t fo l lo w e d.
WARNING: A WARNING indicates a potential for property damage,
personal injury, or death.
Contacting Dell Technical Support Services
For technical support, go to support.dell.com/compellent/.
____________________
Information in this document is subject to change without notice.
© 2012 Dell Inc. All rights reserved.
Reproduction of these materials in any manner whatsoever without the written permission
of Dell Inc. is strictly forbidden.
Trademarks used in this text: Dell and the DELL logo.
Other trademarks and trade names may be used in this document to refer to either the entities
claiming the marks and names or their products. Dell Inc. disclaims any proprietary interest
in trademarks and trade names other than its own.
Regulatory Model Series E03 J
Regulatory Model Series E04 J
September 2012 P/N 1C9X5 Rev. A00

Installation and Configuration
WARNING: Before performing the following procedure, review the safety
instructions that came with all Storage Center components.
Unpacking the System
NOTE: Unpacking, installing, and deploying your Storage Center may be
done only by a certified service technician.
Before you begin, make sure the site where you intend to set up and use
the Storage Center has the following:
• Standard power from an independent source or a rack power
distribution unit with a UPS.
• Storage Center with the latest firmware, BIOS, and drivers. Contact
your supplier for the correct software versions.
Installation Overview
The installation process follows the general steps below. For detailed
information, refer to vendor documentation supplied with the equipment.
CAUTION: If installed in a closed or multi-unit rack assembly, the
operating ambient temperature of the rack environment may be greater
than room ambient temperature. Therefore, consideration should be given
to installing the equipment in an environment compatible with the maximum
ambient temperature (Tma) specified by the manufacturer. For more
information, see "Technical Specifications" on page 8.
1
Assemble the rails following the safety instructions and the rack
installation instructions provided with your system.
2
Install network switches, as applicable.
3
Unpack the Storage Center controllers.
4
Unpack and install the IO cards into the Storage Center controllers.
5
Install the Storage Center controllers into the rack.
6
Unpack the enclosures.
7
Install the enclosures into the rack.
Getting Started With Your System 3
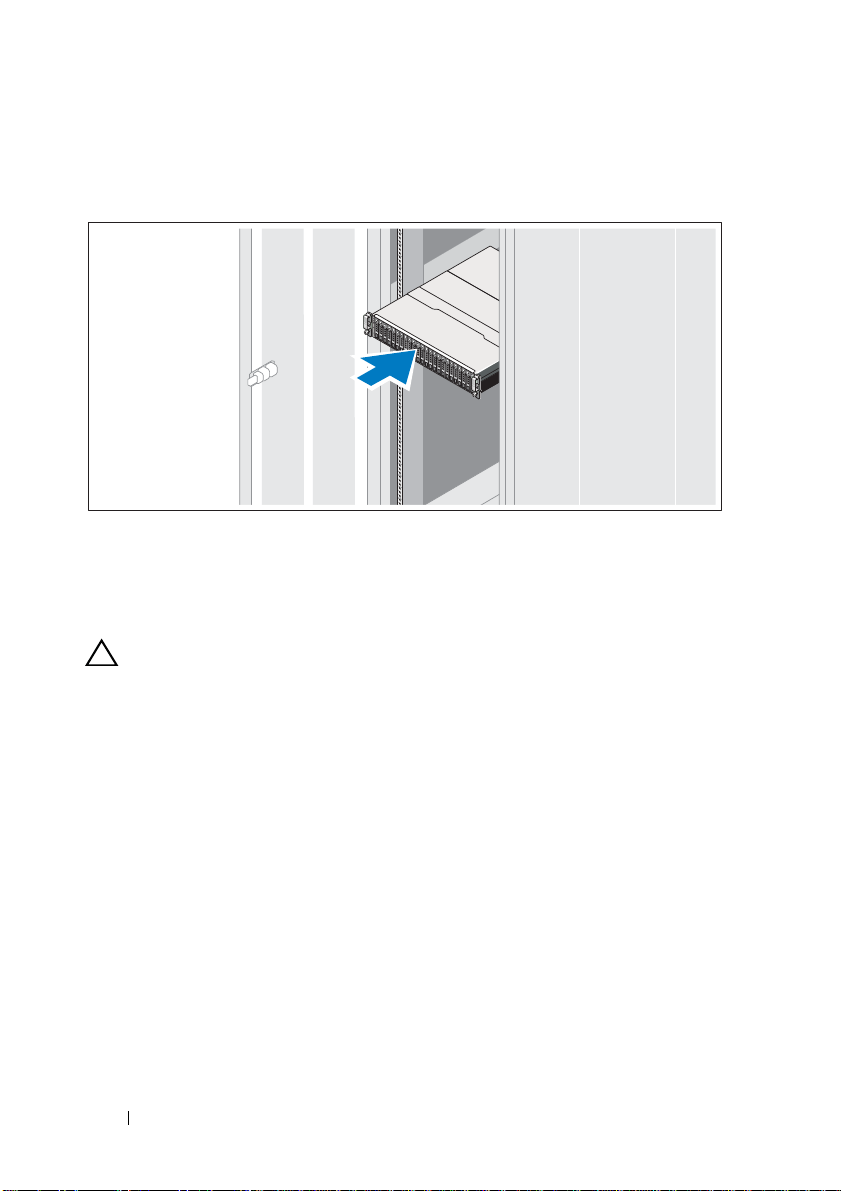
•
Always load the rack from the bottom up for weight stability.
•
You can allow room for expansion if you have fewer than the
maximum number of enclosures.
8
Unwrap and insert each drive into the enclosure one at a time.
•
Protect the drive from static discharge.
•
Handle drives by the edges of the frame.
CAUTION: If the enclosure system operates for more than a few minutes
with missing drives, the enclosure can overheat, causing power failure and
data loss. Such use may invalidate the warranty.
4 Getting Started With Your System
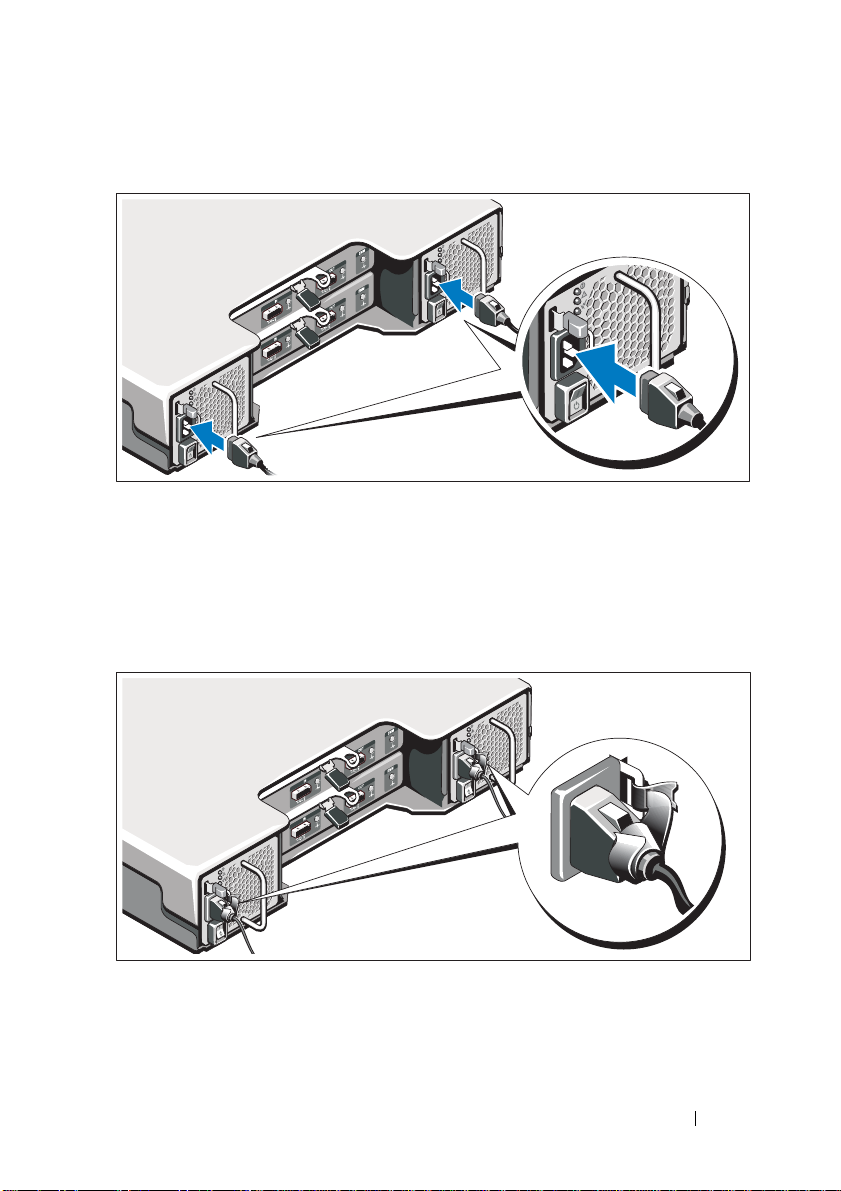
Connecting the Power Cables
1
Ensure that the power switch is in the OFF position before co nnecting
the power cables.
2
Connect the enclosure power cables to the rack power.
Securing the Power Cables
1
Bend the power cables as shown in the illustration and secure the
cables firmly to the bracket using the strap provided.
Getting Started With Your System 5
 Loading...