

Page 1
DJ Bank™
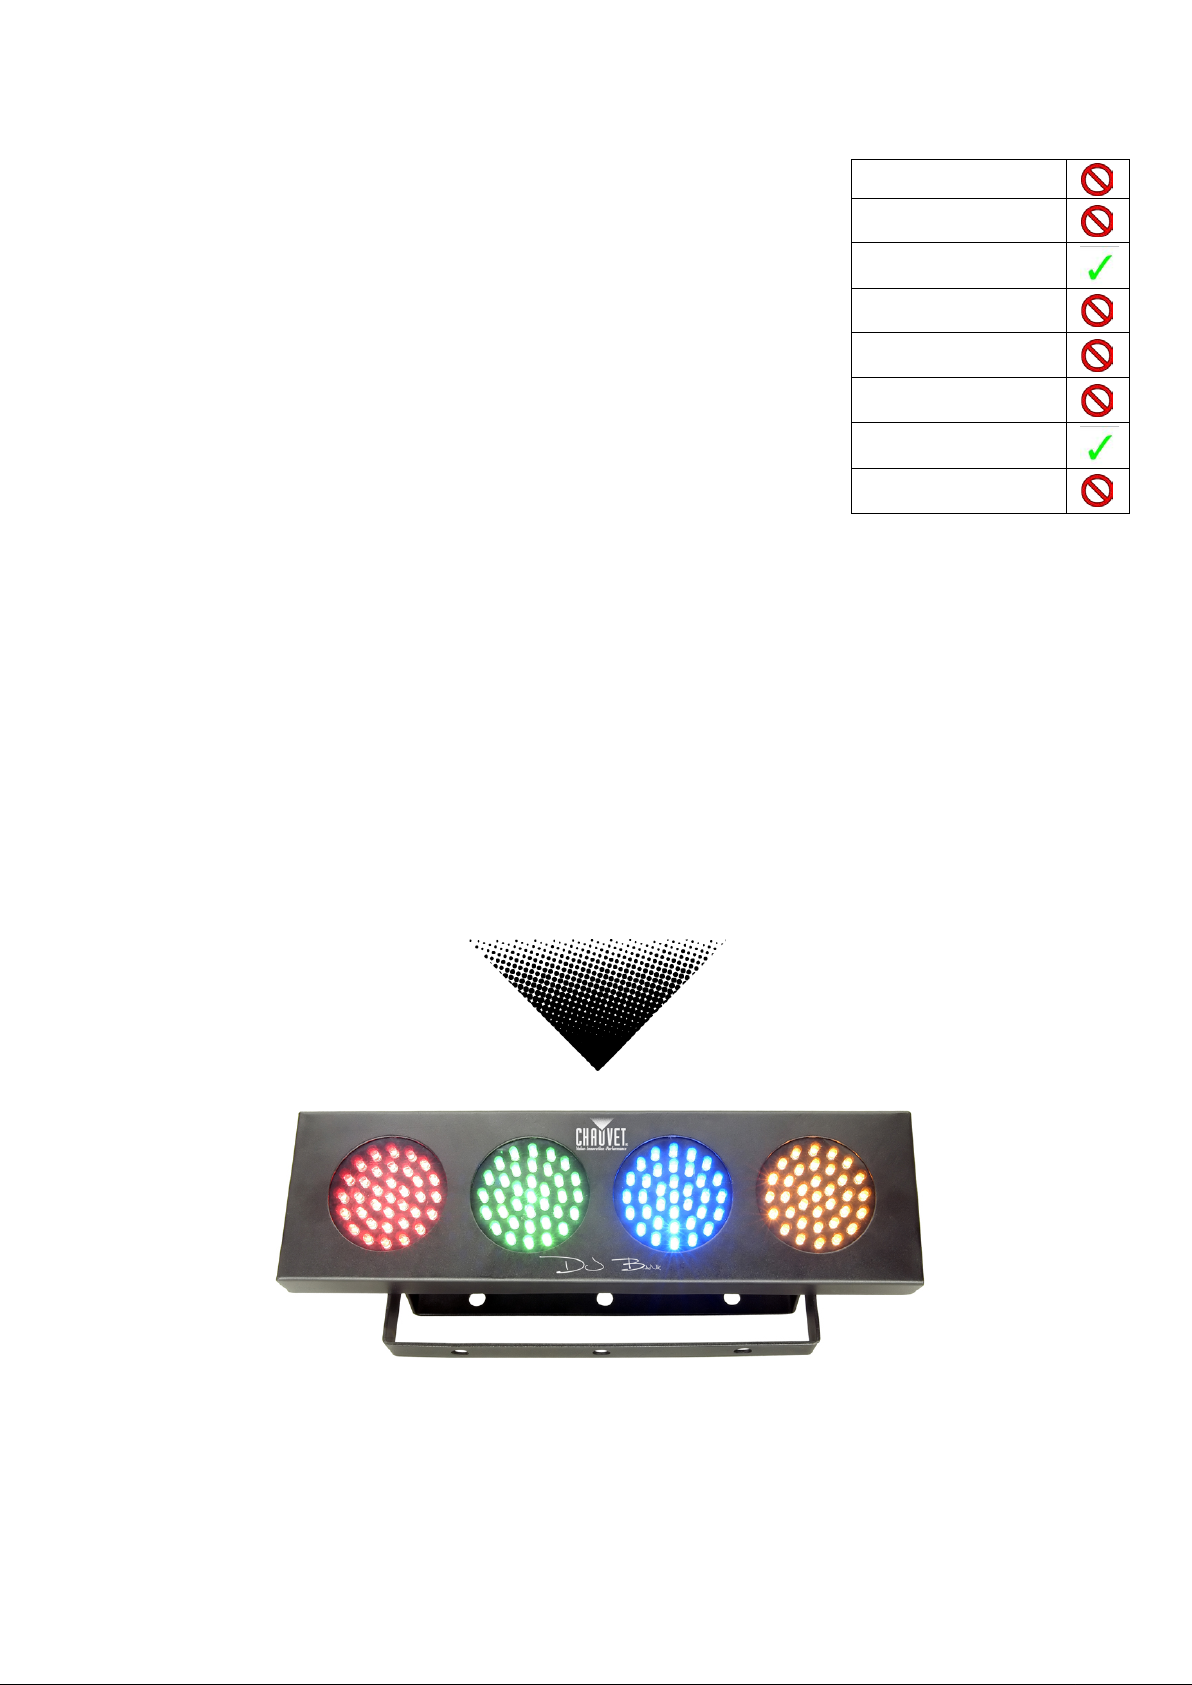
Snapshot
OK on Dimmer
Outdoor OK
Sound-Activated
DMX512
USER MANUAL
Master/Slave
115/220 SWITCH
Replaceable Fuse
User-Serviceable
DJ Bank™ User Manual Rev. 5 1 6/21/2013 1:59 PM
Page 2

TABLE OF CONTENTS
1. Before You Begin................................................................................................................................. 2
WHAT IS INCLUDED........................................................................................................................................................................... 2
UNPACKING INSTRUCTIONS ................................................................................................................................................................ 2
Safety I ns truc tions ............................................................................................................................................................. 3
2. Introduction ......................................................................................................................................... 4
FEATURES ...................................................................................................................................................................................... 4
Product Overview .............................................................................................................................................................. 4
This fixture can operate in automatic mode with the speed adjustment or in sound triggering mode with the sound
sensitivity adjustment. ............................................................................................................................ 4
Note: the auto speed adjustment takes priority over the sound sensitivity adjustment.3. S etup ......... 4
AC POWER ..................................................................................................................................................................................... 5
MOUNTING ...................................................................................................................................................................................... 5
Orientation.......................................................................................................................................................................... 5
Rigging ............................................................................................................................................................................... 5
4. Appendix .............................................................................................................................................. 6
GENERAL MAINTENANCE ................................................................................................................................................................... 6
RETURNS PROCEDURE ..................................................................................................................................................................... 6
CLAIMS .......................................................................................................................................................................................... 6
DJ BANK SERVICE MAINTENANCE GUIDE ............................................................................................................................................. 7
TECHNICAL SUPPORT ....................................................................................................................................................................... 7
CONTACT US................................................................................................................................................................................... 7
TECHNICAL SPECIFICATIONS .............................................................................................................................................................. 8
1. BEFORE YOU BEGIN
What is Included
Ø 1 x DJ Bank™
Ø 1 x Power cable with plug
Ø 1 x Warranty Card
Ø 1 x Quick Reference Guide
Unpacking Instructions
Immediatel y upon receiving a fixture, carefully unpac k the carton, check the contents to ensure that all
parts are present, and hav e been r ec eived in good condition. Notify the shipper im m ediately and retain
packing material for inspection if any parts appear damaged from shipping or the carton itself shows signs
of mishandling. S av e the carton and all packing materials. In the event that a fixture must be returned to
the factory, it is important that the fixture be retur ned in the original factory box and packing.
DJ Bank™ User Manual Rev. 5 2 6/21/2013 1:59 PM
Page 3

Safety Instructions
Please read these instructions carefully, which includes important
inform at i on ab ou t th e inst allation, usage and m ai ntenanc e of th is
product.
• Please keep this User Guide for future consultation. If you sell the unit to another user, be
sure that they also receive this instruction booklet.
• Always make sure that you are connecting to the proper voltage, and that the line voltage
you are connecting to is not higher than that stated on the decal or rear panel of the fixture.
• The unit must be installed in a location with adequate ventilation, at least 20in (50cm) from
adjacent surfaces. Be sure that no ventilation slots are blocked.
• Always di sc o nn ec t fr om pow er sour ce before s er vicing or replacing lamp or fuse and be sure
to replace with same lamp source.
• Secure fixture to fastening device using a safety chain. Never carry the fixture solely by its
head. Use its carrying handles.
• Maximum ambient temperature (Ta) is 104°F (40°C). Do not operate fix tur e at t em peratures
higher than this.
• In the event of a serious operating problem, stop using the unit immediately. Never try to
repair the unit by yourself. Repairs carried out by unskilled people can lead to damage or
malfunc ti o n. Pl ease contact the nearest authori z e d tec h ni c al as si s t ance center . Al w ays us e
the same ty pe spare parts.
• Never c on nect the devic e t o a dim m er pac k.
• Make sure the power cord is never crimped or damaged.
• Never disconnect the power cord by pulling or tugging on the cord.
• Avoid direct eye exposure to the light sou r ce while it is on.
Caution! There are no user serv ice a ble par ts i nside the unit. Do not ope n the ho using or
attempt any repairs yourself. In the unlikely event your unit may require
service, please contact CHAUVET at: 954-929-1115.
Caution! After prolonged periods of operation, the fixture chassis may reach high
temperatures. Use caution when handling this fixture.
DJ Bank™ User Manual Rev. 5 3 6/21/2013 1:59 PM
Page 4

2. INTRODUCTION
Power Link Out
Features
• Compact border, strip or cyc light
• Sound activated
• Fully automatic
Product Overview
This fixture can operate in automatic mode with the speed adjustment or in sound
triggering mode with the sound sensitivity adjustment.
Note: the auto speed adjustment takes priority over the sound sensitivity adjustment.
DJ Bank™ User Manual Rev. 5 4 6/21/2013 1:59 PM
Page 5

3. SETUP
Hanging Clamp
AC POWER
To determine the power requirements for a particular fixture, see the label affixed to the back
plate of the fixture or refer to the fixture’s speci fica t ions chart. All fix tures must be powered
directly off a switched circuit and cannot be run off a rheostat (variable resistor) or dimmer
circuit, even if the rheostat or dimmer channel is used solely for a 0% to 100% switch. Before
applying power to a fixture, check that the source voltage matches the fixt ur e’s requir em e nt.
Warning! All fixtures must be connected to circuits with a suitable Earth Ground.
Mounting
Orientation
This fixture may be mounted in any safe position.
Rigging
The fixture includes a mounting yoke to which a rigging clamp can be attached. You
must supply your own clamp and make sure the clamp is capable of supporting the
weight of this fixture. It is recommended to use at least 2 mounting points per fixture.
You can order “C” and “O”-clamps from any CHAUVET dealer or distributor (CLP-15,
CLP-06 recom m en ded ) .
Note: T h er e are 2 types of applications for this fixture: floor stand for up lighting, and
overhead use for down lighting. If you are using this fixture for up lighting, then you must use
at least 1 safety cable/chain for each fixture in addition to the mounting brackets.
If hanging the fixture for over head use, then please follow the below steps.
1. Block access below the work area and use suitable and stable platform when
installi n g or ser v i ci n g fix t ur e.
2. Safety cables must always be used, secured
passageway. The safety cable must be capable of holding 10 times the weight
of the fixt ur e.
3. Verify the structure can hold 10 times the weight of all to-be instal l e d fixtures.
Note: sold separately
through the heat sink ventilation
DJ Bank™ User Manual Rev. 5 5 6/21/2013 1:59 PM
Page 6

4. APPENDIX
General Maintenance
To maintain optimum performance and minimize wear fixtures should be cleaned frequently. Usage
and environment ar e c ontributing factors in determining frequency. As a general rule, fixt ur es should
be cleaned at least twic e a month. Dust build up reduces light output perf ormance and can cause
overheating. This can lead to reduced lamp life and increased mechanical wear. Be sure to power off
fixture befor e c onduc ting maintenance.
Unplug fixtur e from power. Use a vacuum or air compressor and a soft brush to remove dust collec ted
on external vents and internal components. Clean all glass when the fixture is cold with a mild
solution of glass cleaner or Isopropyl Alcohol and a soft lint free c ott on cl oth or lens tissue. Apply
solution to the cloth or tissue and drag dirt and grime to the outsi de of t he lens. Gently polish optical
surfaces until they are free of haze and lint.
The cleaning of internal and external optical lenses and/ or mir r or s must be car ri ed out periodically to
optimize light output. Cleaning frequency depends on the environment in which the fixt ur e operates:
damp, smoky or partic ular ly dir ty surrounding can cause greater ac c um ulation of dirt on the unit’s
optics. Clean with soft cloth using normal glass cleani ng fluid. - Always dry the parts carefully. - Clean
the external optic s at least every 20 days. Clean the internal opti c s at least every 30/60 days.
Returns Procedure
Claims
Returned merc handise must be sent prepaid and in the original packing, call tags will not be issued.
Package must be clearl y l abeled with a Return Merchandise Authoriz ation Number (RA #). Products
returned without an RMA # will be refused. Call CHAUVET and request RA # prior to shipping t he
fixture. Be prepared to provide the model number, serial number and a brief descri ption of the cause
for the return. Be sure to proper ly pack fixture, any shipping dam age r esul ting from inadequate
packaging is the customer’s responsibility. CHAUVET reserves the right to use its own discretion t o
repair or replace pr oduc t(s). As a suggestion, proper UPS packing or double-boxing is always a safe
method to use.
Note: If you are given an RMA #, please include the following information on a piece of paper
inside the box :
1) Your name
2) Your address
3) Your phone number
4) RMA #
5) A brief descripti on of t he symptoms
Damage incurred in shipping is the responsibilit y of the shipper; therefore the damage must be
reported to the carrier upon receipt of merchandise. It is the customer's responsibili ty to notify and
submit claim s with the shipper in the event that a fixture is damaged due to shippi ng. Any other cl aim
for items such as missing com ponent/part, damage not related t o shippi ng, and concealed damage,
must be made within sev en (7) days of r ec eiv ing m er c handise.
DJ Bank™ User Manual Rev. 5 6 6/21/2013 1:59 PM
Page 7

DJ Bank Service Maintenance Guide
Clean the fixture r egularly to avoid any such failure. This fixture is convection
proper cooli ng will be allowed to occur
An LED may have failed, resulting in an open circuit. In this event, all of the red,
that all of the LEDs have failed, but the circuit may be wired in series.
An LED may have failed, resulting in a short circuit. In this event, only the single
Breaker/Fuse keeps blowing
Check total load pl ac ed on the electrical circuit
Check for a short in the electrical wiring: internal and/ or ex ternal
Device has no power
Check device’s fuse (i nternal)
Check for power on Mains
Symptom(s) Possible Solution(s)
1 or more LED’s are not
illuminating
If you still have a problem after t ryin g the above solutions, please contact CHAUVET Technical
Support at the location below.
Technical Support
Address: Servi c e Dept.
5200 NW 108th Avenue, Sunrise, FL 33351 (U.S.A.)
Support (Email): tech@chauvetlighting.com
Telephone: (954) 577-4455 - (Press 4 )
Fax: (954) 929-5560 - (Attention: S ervice)
Website: http://www.chauvetlighting.com
cooled, which means that if t he surf ac e is kept cl ean and free of debris, then
green, or blue in a single m odule may no longer illuminate. This does not mean
LED which has failed will no longer function.
-Note: In the event of LED failure, a replacement LED PCB assembly may be
purchased directly from Chauvet Part#: P222-DJBANK
Contact Us
World Wide
General Informatio n Chauvet Lighting
5200 NW 108th Avenue
Sunrise, FL 33351
voice: 954.577.4455
fax: 954.929.5560
toll free: 800.762.1084)
World Wide Web www.chauvetlighting.com
DJ Bank™ User Manual Rev. 5 7 6/21/2013 1:59 PM
Page 8

Technical Specifications
WEIGHT & DIMENSIONS
Length ....................................................................................... 15.8 in (401 mm)
Width ........................................................................................... 4.5 in (114 mm)
Height .......................................................................................... 5.5 in (140 mm)
Weight .......................................................................................... 3.1 lbs (1.4 kg)
POWER
AC Power ....................................................... 115 VAC 60 Hz or 230 VAC 50 Hz
Power Consumption ......................................... 24 W (0.2 A) max @ 120 V 60 Hz
LIGHT SOURCE
Quantity ............................................ 140 (35 Red, 35 Blue, 35 Green, 35 Yellow)
PHOTOOPTICS
Beam angle..................................................................................................... 12°
Field angle ...................................................................................................... 24°
Luminance @ 1M ........................................................................................ 47 lux
COOLING ..................................................................... CONVECTION COOLED
STANDARD ORDERING INFORM ATION
DJ Bank ™ ............................................................................................ DJBANK
SPARE PARTS ORDERING INFORMATION
Master PCB (Part) ......................................................................... P170-DJBANK
LED PCB (Part)............................................................................. P222-DJBANK
Bracket kit (Part) ........................................................................... P111-DJBANK
Front plastic l ens (Par t) ................................................................. P114-BANKDJ
WARRANTY INFORMATION
Warranty ........................................................................... 1-year limited warranty
DJ Bank™ User Manual Rev. 5 8 6/21/2013 1:59 PM
 Loading...