SPECIFICATION SHEET
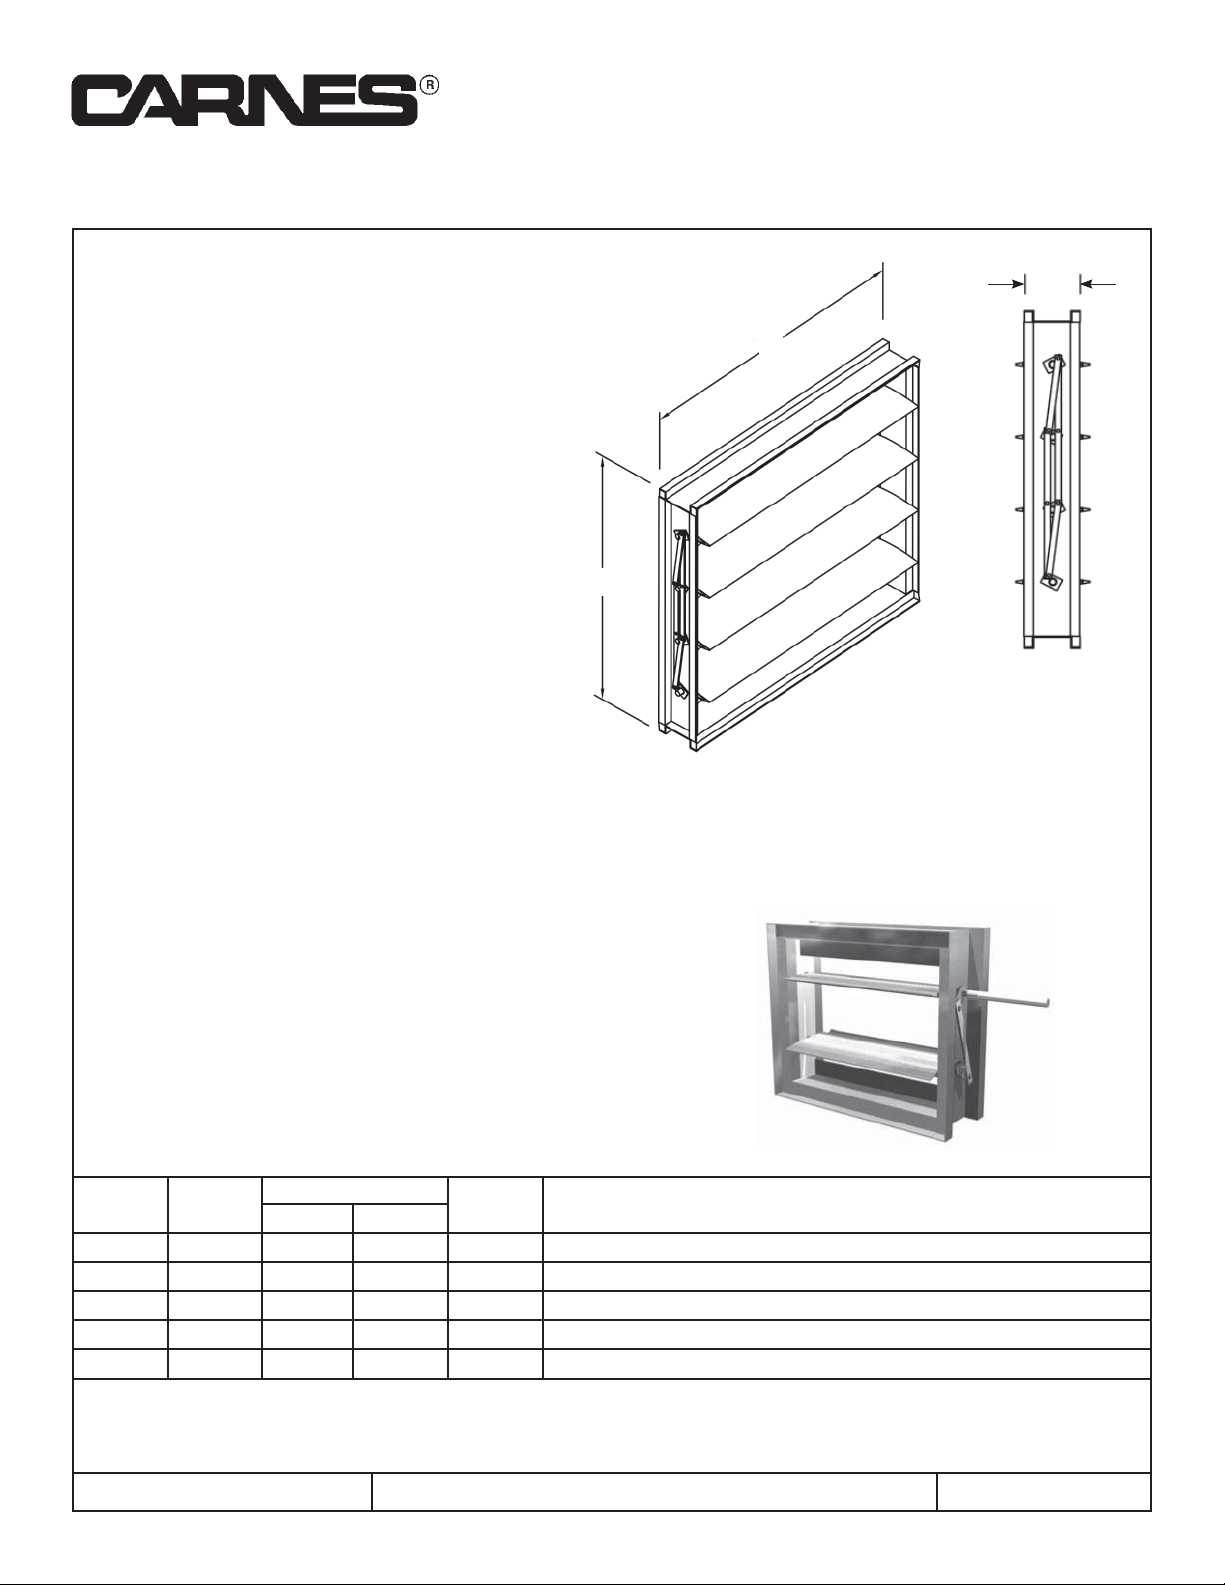
Stainless Steel Airfoil Blade Control Damper/Zone Damper
(w/Optional Insulated Blade)
Model FAQA - Opposed Blade, Model FARA - Parallel Blade
CARNES COMPANY, 448 S. Main St., P. O. Box 930040, Verona, WI 53593-0040 Phone: (608)845-6411 Fax: (608)845-6504 carnes@carnes.com
Model FAQA & FARA
Standard Specifications
Frame: 304 stainless steel
Blades: 6” wide stainless steel airfoil
Extended Shaft: 1/2” diameter
Bearing: nylon
Linkage: concealed in frame
Axels: zinc plated
Blade Seals: PVC (175°F)
Jamb Seals: stainless steel (compression)
Options
- Hand Quadrant
- Chain Operated
- Factory Installed Pneumatic or Electric Actuators
- Position Switch
- Stand Off Bracket, 2”
- Side Plate (End Flange)
- Face and By-pass Damper
- Single Flange
- Double Flange
- Bolt Holes in Flange
- 6-1/2” Deep Frame
- 304L Stainless Steel Construction*
- 316L Stainless Steel Construction*
- 12 ga. Construction
- 10 ga. Construction
- Heresite Coated (Air Dry)
- Expoxy Coated (Powder Coated at 415°)
- Insulated (Foam Filled Blades)
4.5”
*W
*H
*Undersized 1/4”
Standard
Minimum Size: 8”w x 8”h
Maximum Size: 48”w x 60”h (single section)
9”h and under - single blade
Maximum Multi-Section: Unlimited
(*304 stainless steel linkage)
Tag Qty.
Size
Width Height
Frame Variations
Project Location
Arch./Engr. Contractor
Representative Date
COPYRIGHT © 2015 CARNES COMPANY
ALL RIGHTS RESERVED
SUPERSEDES 17174 17174-A

Model FAQA & FARA Performance Data
Imperial Units (Forward Flow)
Damper
Width x Height
1 in. w.g. Class 4 in. w.g. Class 8 in. w.g. Class
(per sq. ft.)
12” x 12” Class I Class II Class II 15 lbs-in
24” x 24” Class I Class I Class I 12.59 lbs-in
36” x 36” Class II Class II Class II 15.55 lbs-in
12” x 48” Class III Class III Class II 12.59 lbs-in
48” x 12” Class I Class I Class I 12.59 lbs-in
60” x 36” Class II Class II Class II 15 lbs-in
*Torque applied to hold damper in closed position.
**Only 36” x 36” size is certified by Certaire Technical Servies, LTD.
Leakage, ft.3/min/ft.
2
Required Rating Extended Ranges (optional)
Class
Pressure
1” 4” 8” 12”
I4811 14
II 10 20 28 35
III 40 80 112 140
All data corrected to represent standard air at a density of 0.075 lbs/ft.
3
*Torque
Air leakage is based on operation
between 50°F to 104°F. All data
corrected to represent air density
of 0.075 lbs/ft.
3
75mm ± 6mm
(3 in. ± .025 in.)
Device
W x H
being
tested
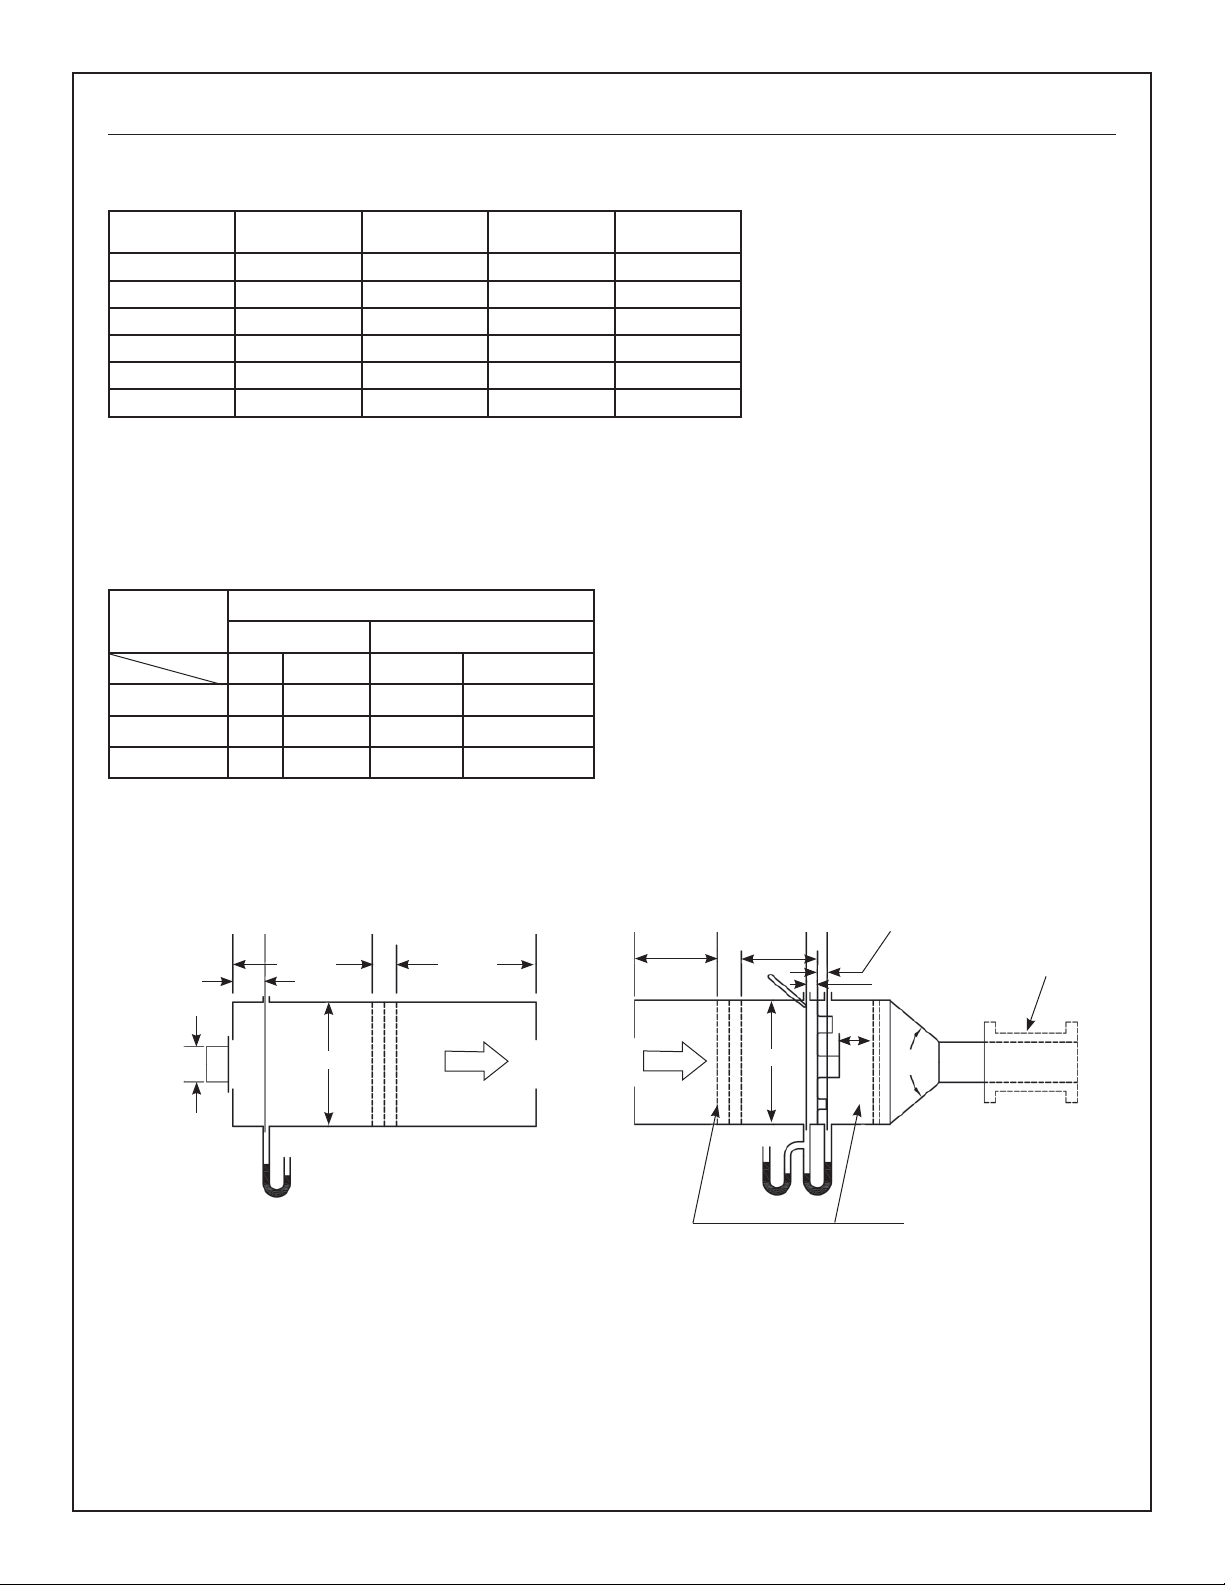
Figure 5.4 - Test Device Setup with Outlet Chamber
PL-1
PL-7 PL-X
M/2 min.
P
s7
PL-Y
M/2 min.
M
AIRFLOW
Note: For pressure drop testing an outlet
chamber shall have a cross sectional
area at least fifteen times the free
area of the device being tested.
PL-A
PL-B PL-5 PL-6
M/2 min.
Figure 6.3 - Airflow Rate Measurement Setup -
38mm ± 6mm
M/2 min.
t
d5
M
(1.5 in. ± .025 in.)
38mm ± 6mm
(1.5 in. ± .025 in.)
Any
2.5 D
6
angle
min.
D6 = Throat dia. of largest nozzle
P
s7Pn
Settling means
Multiple Nozzle Chamber on Fan Inlet
Variable
exhaust
system
17174-A, pg 2
 Loading...