

Page 1

IEEE 1394 CardBus Adapter
User ’s Manual
Table of Contents
1. About this Manual ....................................... ..............................2
2. IEEE 1394 Basic.......................................................................2
3. Key Feature & Benefits............. ................................................3
4. Hardware Installation ................................................................4
5. Windows 98SE Driver Installation ......................... ...................5
6. Windows ME Driver Installation................................................5
7. Windows 2000 Driver Installation....... .... .. .. .... ... .. .. .... .. .. .. .. .... .. .6
8. Device Connection....................................................................7
CONNECTING DV CAMCORDER .....................................7
8.1
CONNECTING OTHER DEVICE........................................ 7
8.2
- 1 -
Page 2

1. ABOUT THIS MANUAL
The purpose of this manual is to in troduce you to you r 1394 CardBus
converter. It wi ll guide you on how to setup the product for proper
operati on in your Not ebook co mpu t er. Please keep thi s ma nual for
future reference.
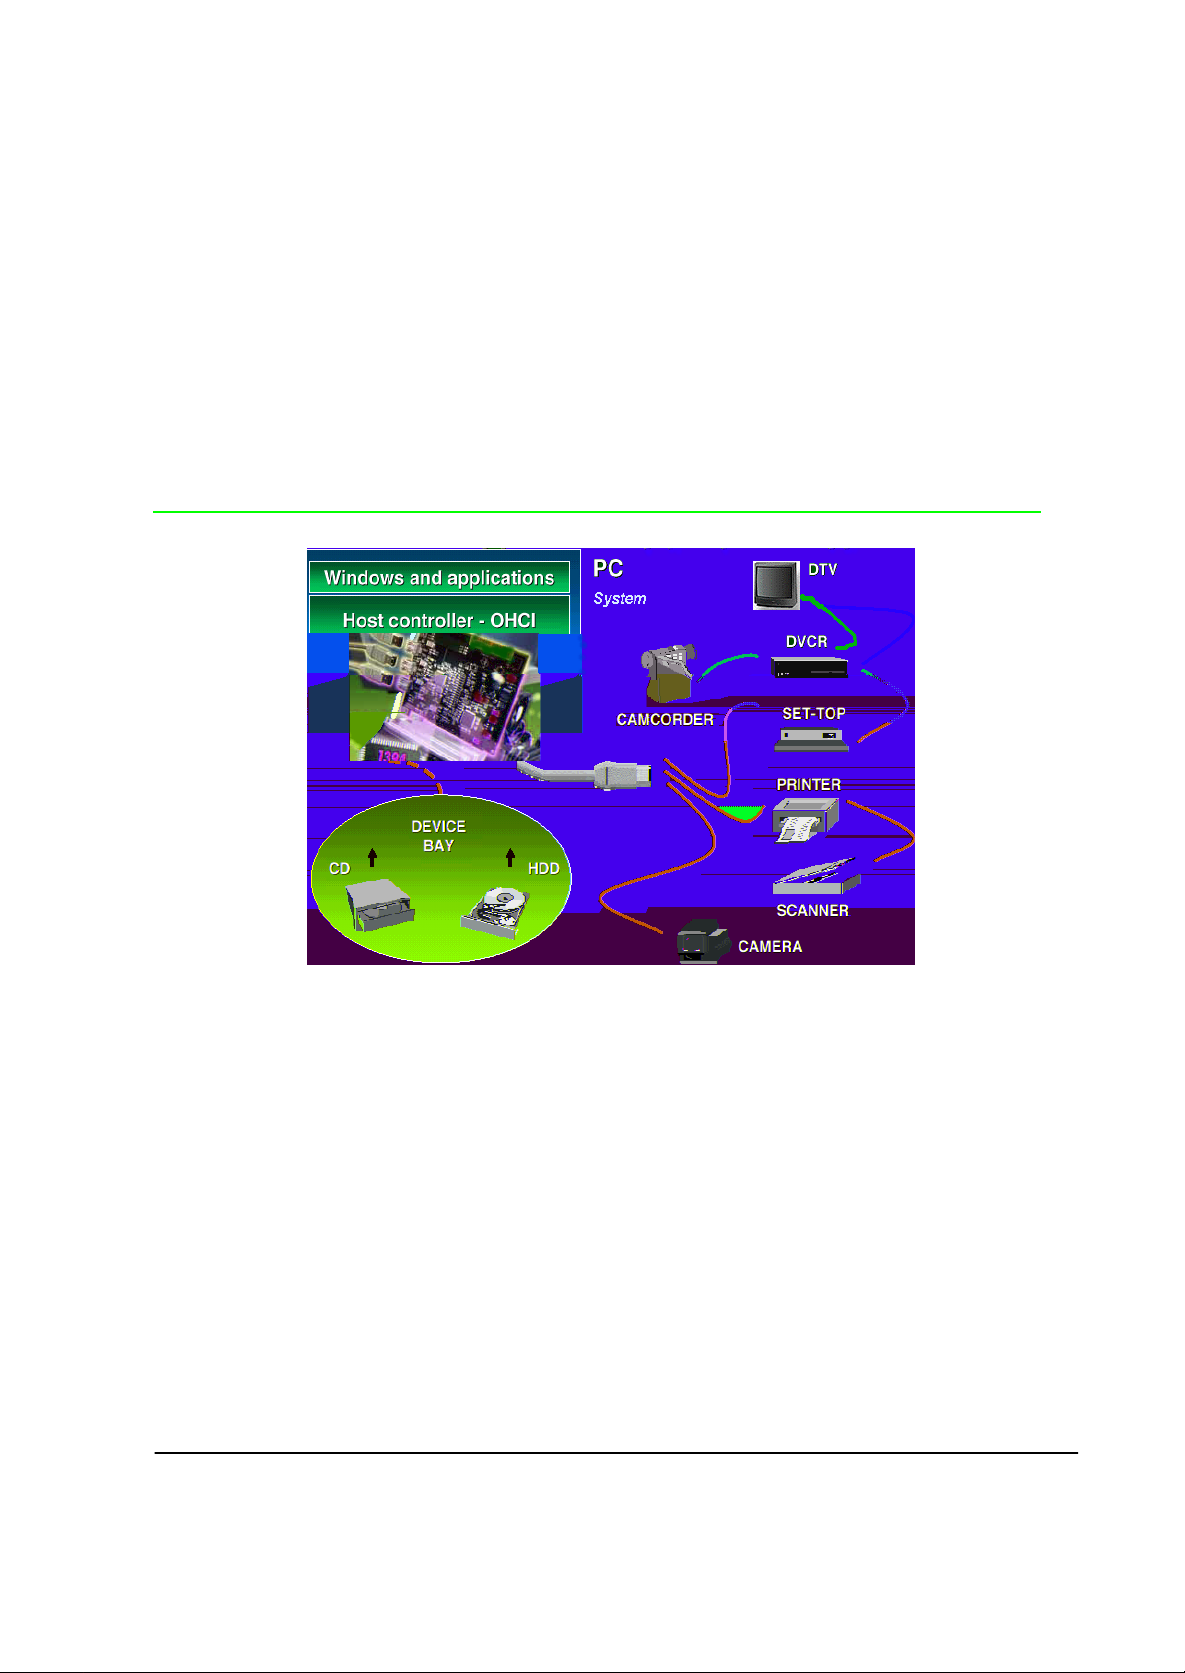
2. IEEE 1394 BASIC
IEEE 139 4 is desi gned to function as both a ca ble-connected v irtual
bus and as a backp lane bus ach ieves speeds up to 400 Mbps. Higher
speed in the range of one gi gabits-per-sec ond are possible in the
future. This type of performance has enabled many new PC
applications such as real-time digital video.
When compared with older seria l and parallel I/O buses, IEEE 1394
offers a rich set of advanced featur es, including live connection /
disconnection of devices onto a 1394-based cable I/O system or on
boards into a 13 94 - based b ackplan e. The standard also supports
both asynchronous and isochronous forms of communication on the
same system. Whereas isochronous communication can be used to
guarantee bandwidth for certain time-critical applications like
streaming vide o or audio, asynchr onous communication is appropriate
for the typical PC periph erals s uch as printers or disk drives.
The topology of a IEEE 1394 network resembles a tree structure.
Each node on a IEEE 1394 network functions as a repeater,
forwarding the signals on to the next node in the daisy-chain. As many
as 63 nod es can be configured on a desktop and up to 64,000
devices in a 139 4 network u s ing br idges.
Because of its high-capacit y bandwi dth and adv anced features, IEEE
1394 has the ability to consolidate many older standards and I/O
meth ods in to one un ified, high -performa n ce serial bu s. Eventuall y,
expanding a 1394-based computer system will be as simple and as
easy as plugging an appliance int o an AC power sock et. The PC will
provide instanta ne ous communication on dem a nd to th e peri pheral
- 2 -
Page 3
device that is new to the 1394 bus and the us er will not have to
manually reconf igure an d shut down the system.
On systems and pr oducts from Sony, Panasonic, JVC, Canon and
Sharp, IEEE 1394 goes by the name of i.LINK™, while Apple
Computer refers to it as FireWire™.
3. KEY FEATURE & BENEFITS
Key Feat ur e & Benefits:
• 32 bit CardBus interface compatible
• 32-bit Data Bus and 33 MH z operati o n
• Data transfer rate up to 400 Mbps
• Connec t up to 63 devi ce
• Supports Plug-and-Play Specific ation
• Hot Plug
• Complies with Standard for IEEE 1394-1995, P1394a, and
OHCI standard
• Up to 16 consecut ive cable hops of 4.5 meters
• Isochronous and Asynchronous data transfer and tr ansfer rate
up to 400Mbps
• PTC recover fuse for reliable over-current protecti on
- 3 -
Page 4

Operation System Support:
• Micro soft Window s 98/98SE/ME, Window s 2000
• MAC 8.6 or later
4. HARDWARE INSTALLATION
General instructions for installing the CardBus adapter are given
since the location of the CardBus Type II slot may vary between
different portable computers.
1. Insert the PC Card into an available CardBus Type II slot with the
arrow orientation pointing towards the slot.
2. Hardware installation is complete. Please proceed to the next
section for software installation.
- 4 -
Page 5

5. WINDOWS 98SE DRIVER INSTALLATION
Follow the procedures below to install the Windows 98SE driver:
1. When Windows boots up, a dialog box New Hard war e F o und wi l l
appear as:
Texas Instrument OHCI Compliant IEEE 1394 Host Controller
Or
OHCI Compliant IEEE 1394 Ho st Controller
2. click "Next".
3. Choose "Sele ct for the b est dr iver f or your devices" , and click o n
"Next".
4. Insert the Windows 98SE CD-Title into your CD-ROM drive and
check th e box label "CD-ROM" then click "Next".
5. Click "Finish" for the driver to take effect.
6. Driver installation complete. Please proceed to Section 8 for
device co nnectio n proced ures.
6. WINDOWS ME DRIVER INSTALLA TION
Follow pr ocedur es below to insta ll the Windows ME driver:
1. When Windows boots up, a dialog box New Hard war e F o und wi l l
appear as:
Texas Instrument OHCI Compliant IEEE 1394 Host Controller
Or
OHCI Compliant IEEE 1394 Host Controller
2. click "Next".
3. Choose "Sele ct for the b est dr iver f or your devices" , and click o n
"Next".
4. Insert the Windows ME CD-ROM and check the "CD-ROM"
option then click on "Next".
- 5 -
Page 6

5. Choose "The updated driver (Recommended)", and click on
"Next" then "Next" again.
6. Click on "Finis h" for the driver to take ef fect .
7. Driver installation complete. Please proceed to Section 8 for
device co nnectio n proced ures.
7. WINDOWS 2000 DRIVER INSTALLATION
Follow the procedures b elow to install the Windows 2000 driver:
1. When Windows boots up, a dialog box New Hard war e F o und wi l l
appear as:
Texas Instrument OHCI Compliant IEEE 1394 Host Controller
Or
OHCI Compliant IEEE 1394 Host Controller
2. click "Next".
3. Choose "Sele ct for the b est dr iver f or your devices" , and click o n
"Next".
4. Insert the Windows 2000 CD-ROM and check the "CD-ROM"
option then click on "Next".
5. Choose "The updated driver (Recommended)", and click on
"Next" then "Next" again.
6. Click on "Finis h" for the driver to take ef fect .
7. Driver installation complete. Please proceed to Section 8 for
device co nnectio n proced ures.
- 6 -
Page 7

8. DEVICE CONNECTION
The following section pr ovides informat ion on connecting devices to
the 13 94 Car d Bus ad apt er .
8.1 Connecting DV Camcorder
Before setting up the digital video camcorder, make sure to verify
the driver for the CardBus PC card has been successfully installed
into your syste m and follow the setup procedures listed below.
1. Boot up your system to Windows OS
2 . Connect the 4-pin connector int o the digi ta l camcor der, then power -o n the
camcorder. The camcorder should be recognized by the system
once the power is on.
3.The set up pro ce dur e is now co mp lete .
To verify successful device setup:
1. From the main desktop, double-click on My Computer, Control
Panel, System, Device Manager .
2. Double-click on Imaging Device option. "Microsoft DV Camera
and VCR" should be displayed when the device is successfully
setup.
8.2 Connecting Other Devices
Most of the 1394 devices are supported by Windows 98 (Second
Edition). Please refer to the device’s user manual for detail
installation i nformation.
- 7 -
Page 8

Note:
1. Depending on the device connecting to your system, you may
need to us e differ ent type of cable for dev ice connectivity.
2. Sinc e the CardBus slot does not provide power. A power adapter
may be re quired when conn ecting certain 1394 devices such as
an external hard di sk driv e.
02-032B
- 8 -
 Loading...