

Broan NUTONE QT series Installation Manual
::
bathroomsource
1
.com
Call 1-800-667-8721 anywhere in the US and Canada -
www.bathroomsource.com
QT Fan Series Installation Guide
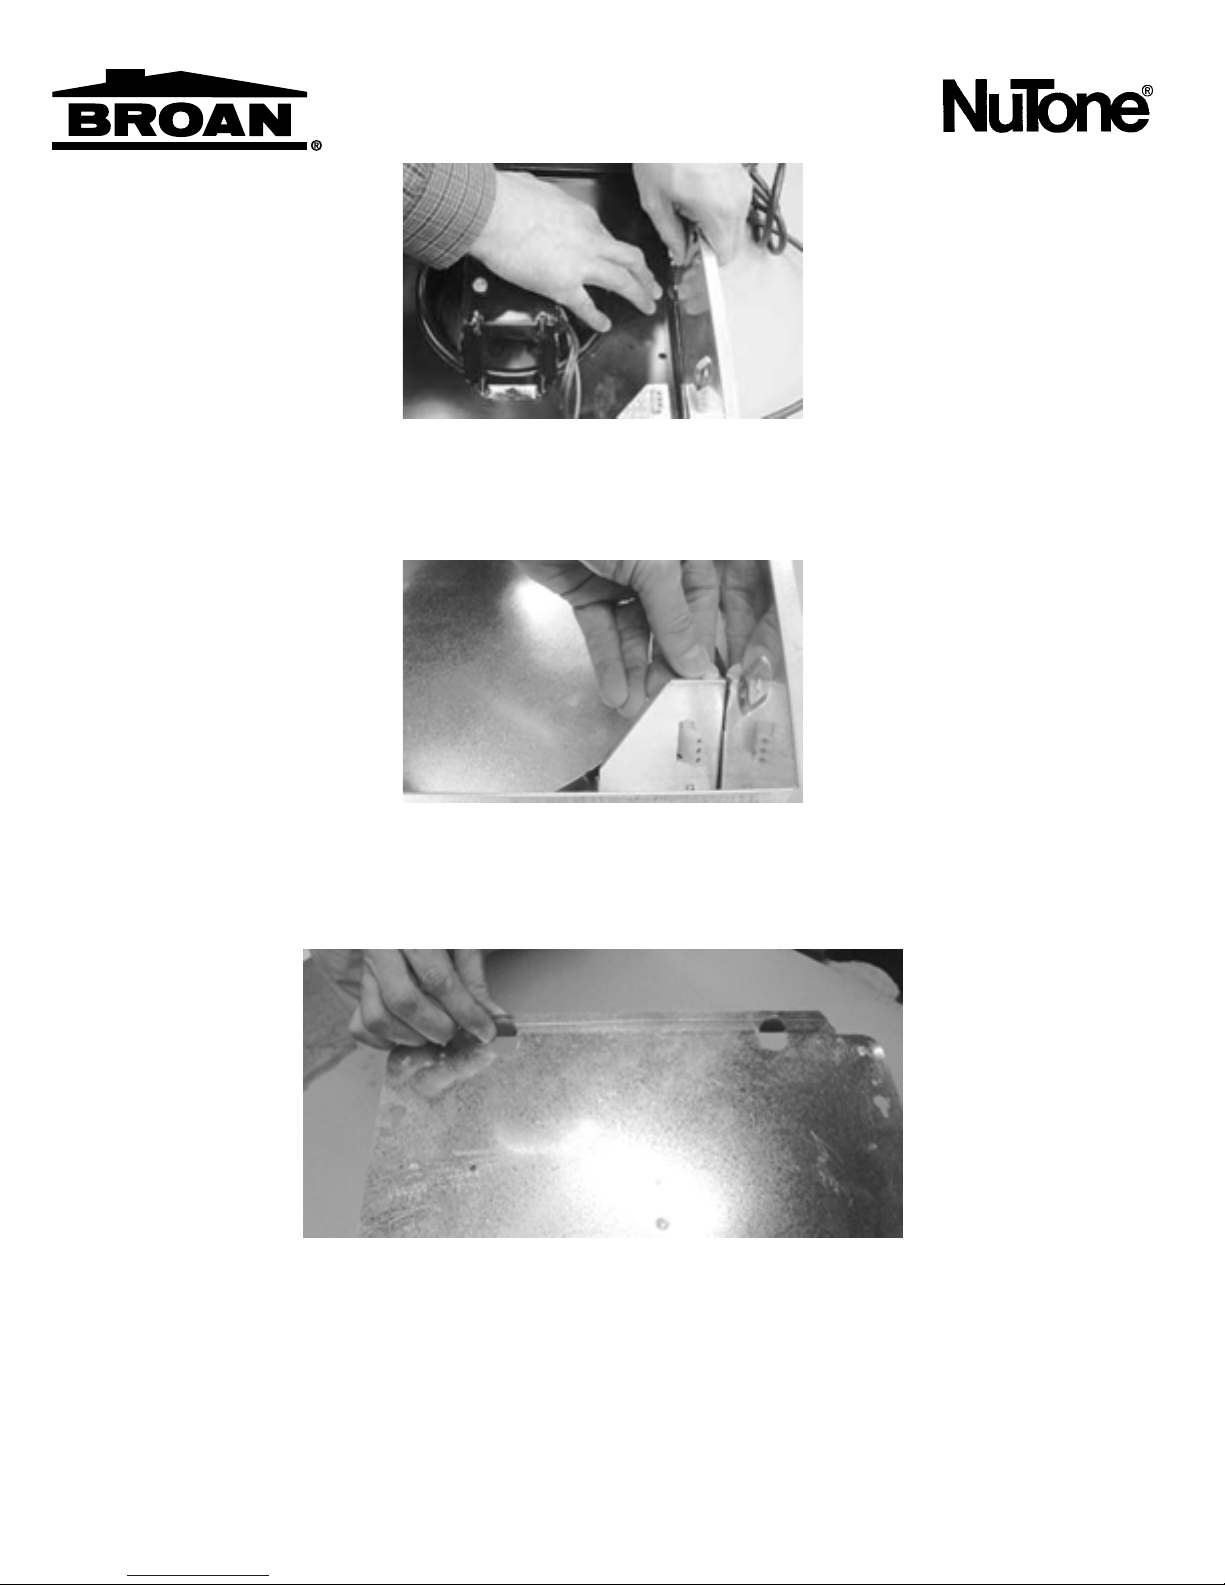
1. Remove motor plate assembly.
Unplug motor. Release tab on motor plate by pushing “down” on motor plate while pushing
side of housing “out”. Lift motor plate assembly out of housing and set plate aside.
2. Remove wiring cover.
Lift wiring cover from inside corner of housing and set cover aside.
3. Bend housing tabs.
Tabs are provided to aid in positioning housing for all ceiling material.
Bend the tabs outward 90o.
Steps 4 & 5 show three types of house construction
- I-Joists, Standard Joists, & Trusses. Use the appropriate steps for your
installation.
2
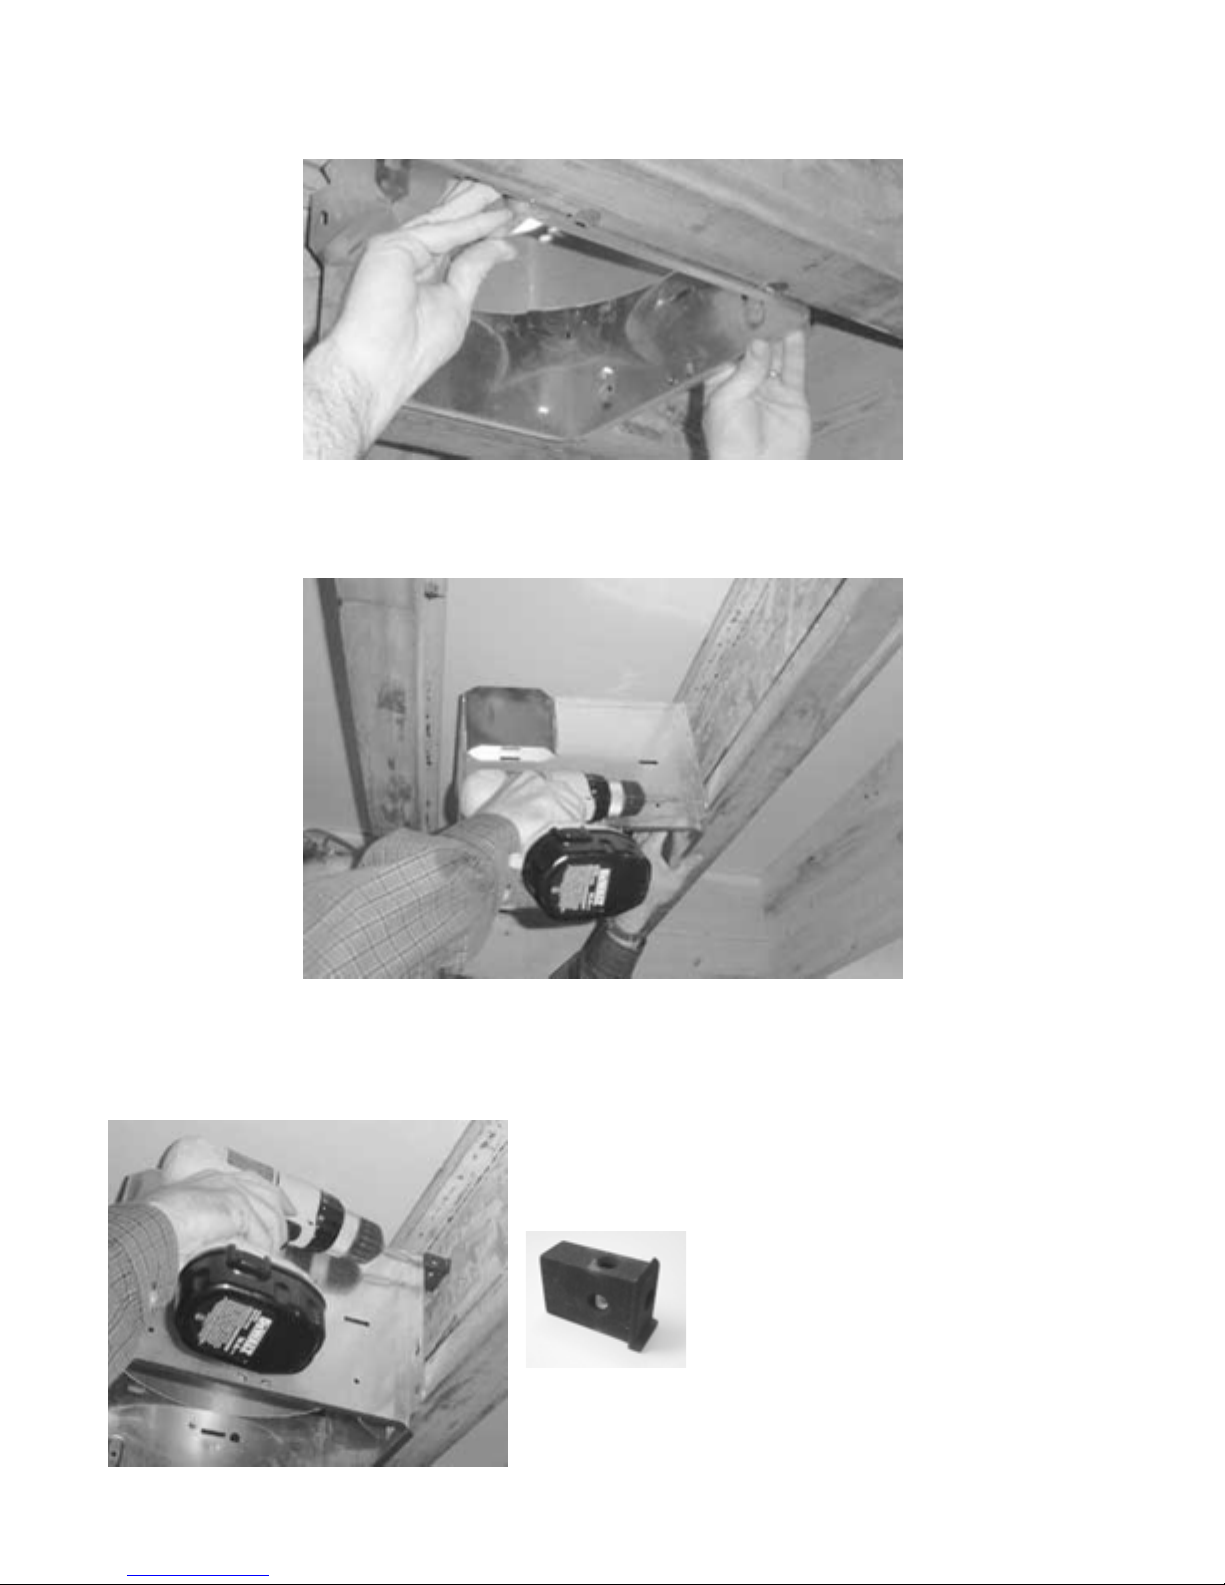
I-JOIST CONSTRUCTION
4. Position housing against joist.
Lift housing into position - with tabs against bottom edge of joist.
5. Fasten housing to joist.
Secure housing to joist through housing flanges (4 places). Use the lowest and highest holes
in each housing flange.
spacer block, using highest hole in each housing flange.
The length, width, and height of the spacer block
match three of the most common I-Joist flange-toweb gaps. Orient the spacer block to best fill your
construction gap.
Insert the spacer block (provided) between housing
flange and joist. Secure housing to joist through
 Loading...