

User's guide - Trapezoid hood
Le guide d’utilisation - Hotte trapèze
Ïдзгьт чсЮузт фпх фсбрежпейдЮ брпсспцзфЮсб убт.
Gebruiksaanwijzing van uw afzuigkap "piramide"
O guia de utilização - Extractor de fumos
trapézio
GB
FR
GR
NL
PT
99631292_ML_A.qxd 12/07/04 11:39 Page 1
Introduction
Dear Customer,
Thank you for choosing the BRANDT hood.
Our design staff have produced a new generation of kitchen
equipment, to make everyday cooking a pleasure.
The modern, attractive design of your new BRANDT hood will
blend smoothly into your kitchen installation, providing an optimum combination of easy use and performance.
The Brandt range also includes a huge choice of fitted cooking
hobs, ovens, dish-washers and refrigerators, that will match
your new BRANDT hood.
Of course, we make every effort to ensure that our products
meet all your requirements, and our Customer Relations department is at your disposal, to answer all your questions and to
listen to all your suggestions.
A specialist in the world of cooking, BRANDT works hard to
contribute to your culinary success, and your cooking pleasure,
offering ever more effective products, which are easy to use,
environmentally friendly, attractive and reliable.
The BRANDT name.
99631292_ML_A.qxd 12/07/04 11:39 Page 2
Safety instructions
- You should never "flambé" dishes under the hood or operate gas rings under
the hood without cooking utensils being placed on them (the flames sucked up
into the hood can damage the appliance).
- When frying food under the appliance, a careful watch must be kept on this at all times.
- Repairs must only be carried out by an approved specialist.
- You should regularly clean the filter cartridge.
- The hood should never be used over a combustible fuel burning stove (wood, coal, etc).
These hoods have been designed for non-commercial use in private homes.
With a view to constantly improving our products, we reserve the right to modify their
technical, functional or aesthetic characteristics, making any changes to their features
considered necessary or desirable in view of technical progress.
These hoods are designed exclusively for cooking foodstuffs and drinks. These products do
not contain any asbestos based components.
Throughout this manual,
indicates safety recommendations,
indicates advice to help you make the
best use of your oven
GB
99631292_ML_A.qxd 12/07/04 11:39 Page 3
T
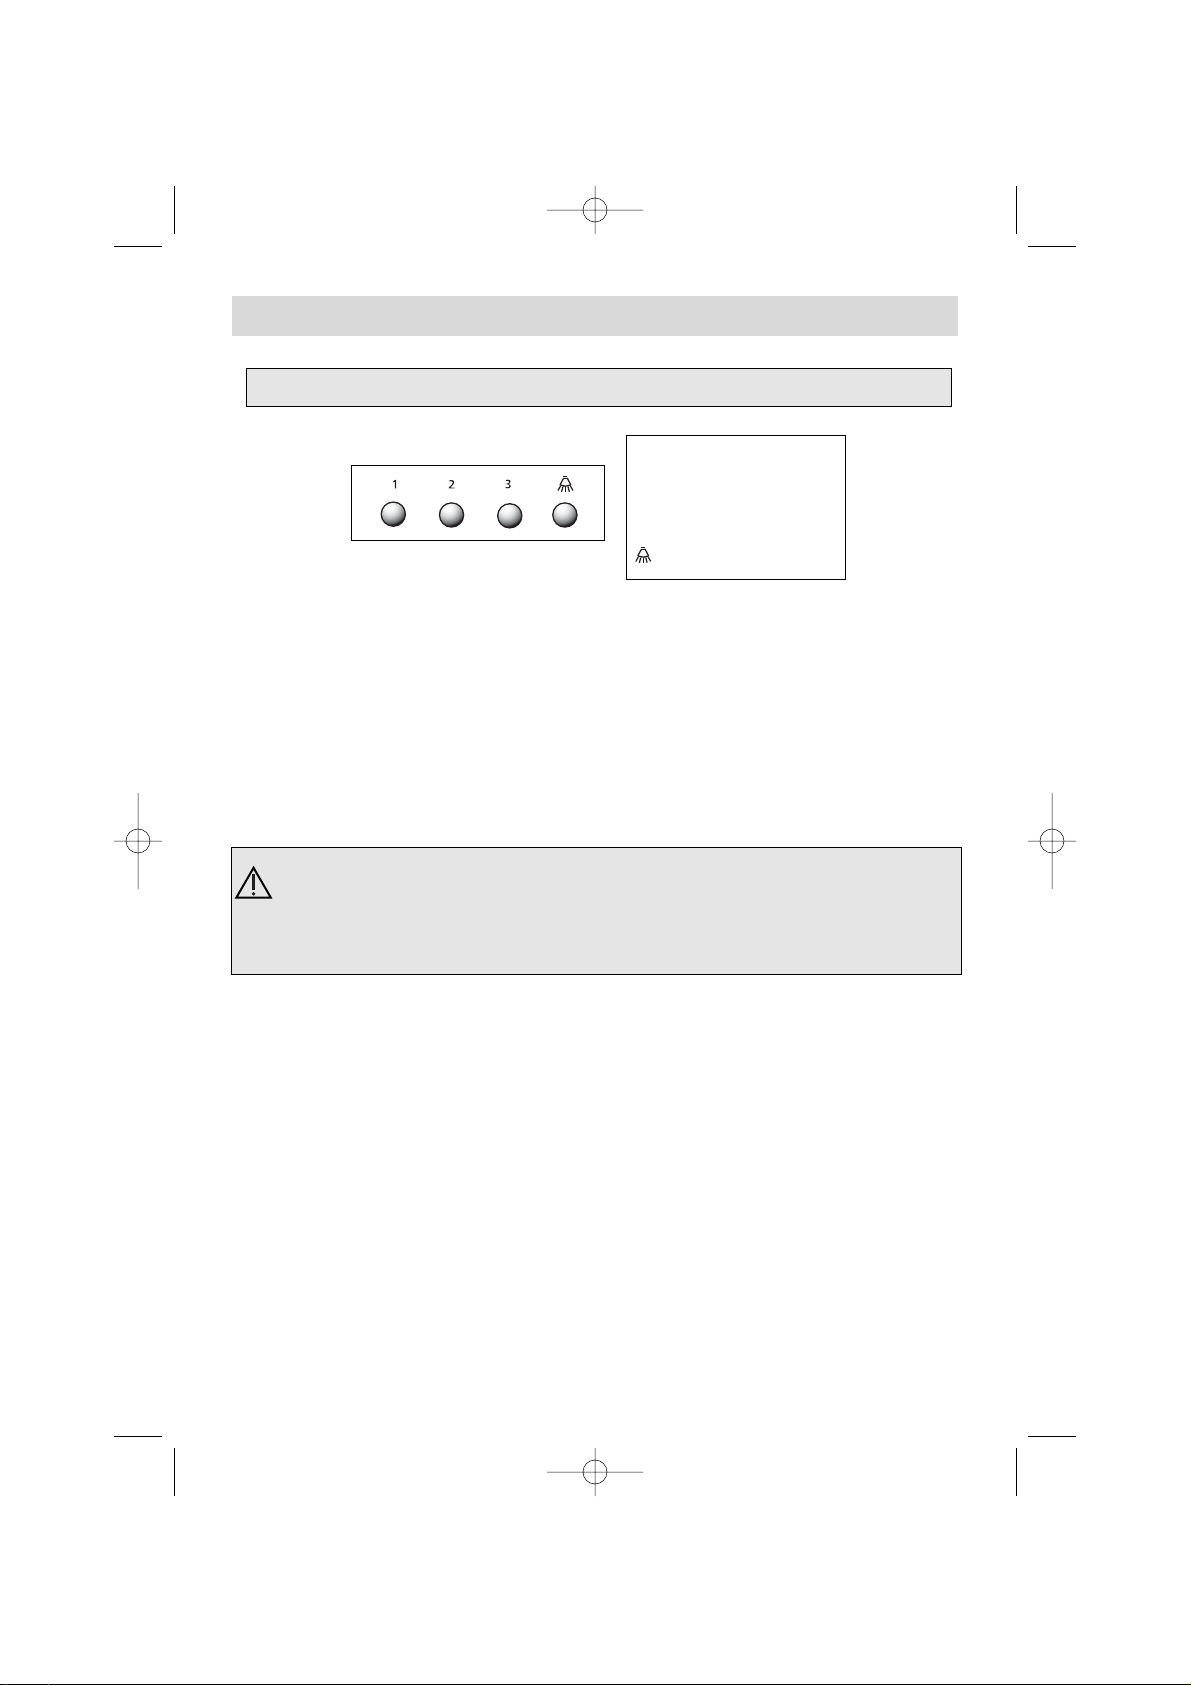
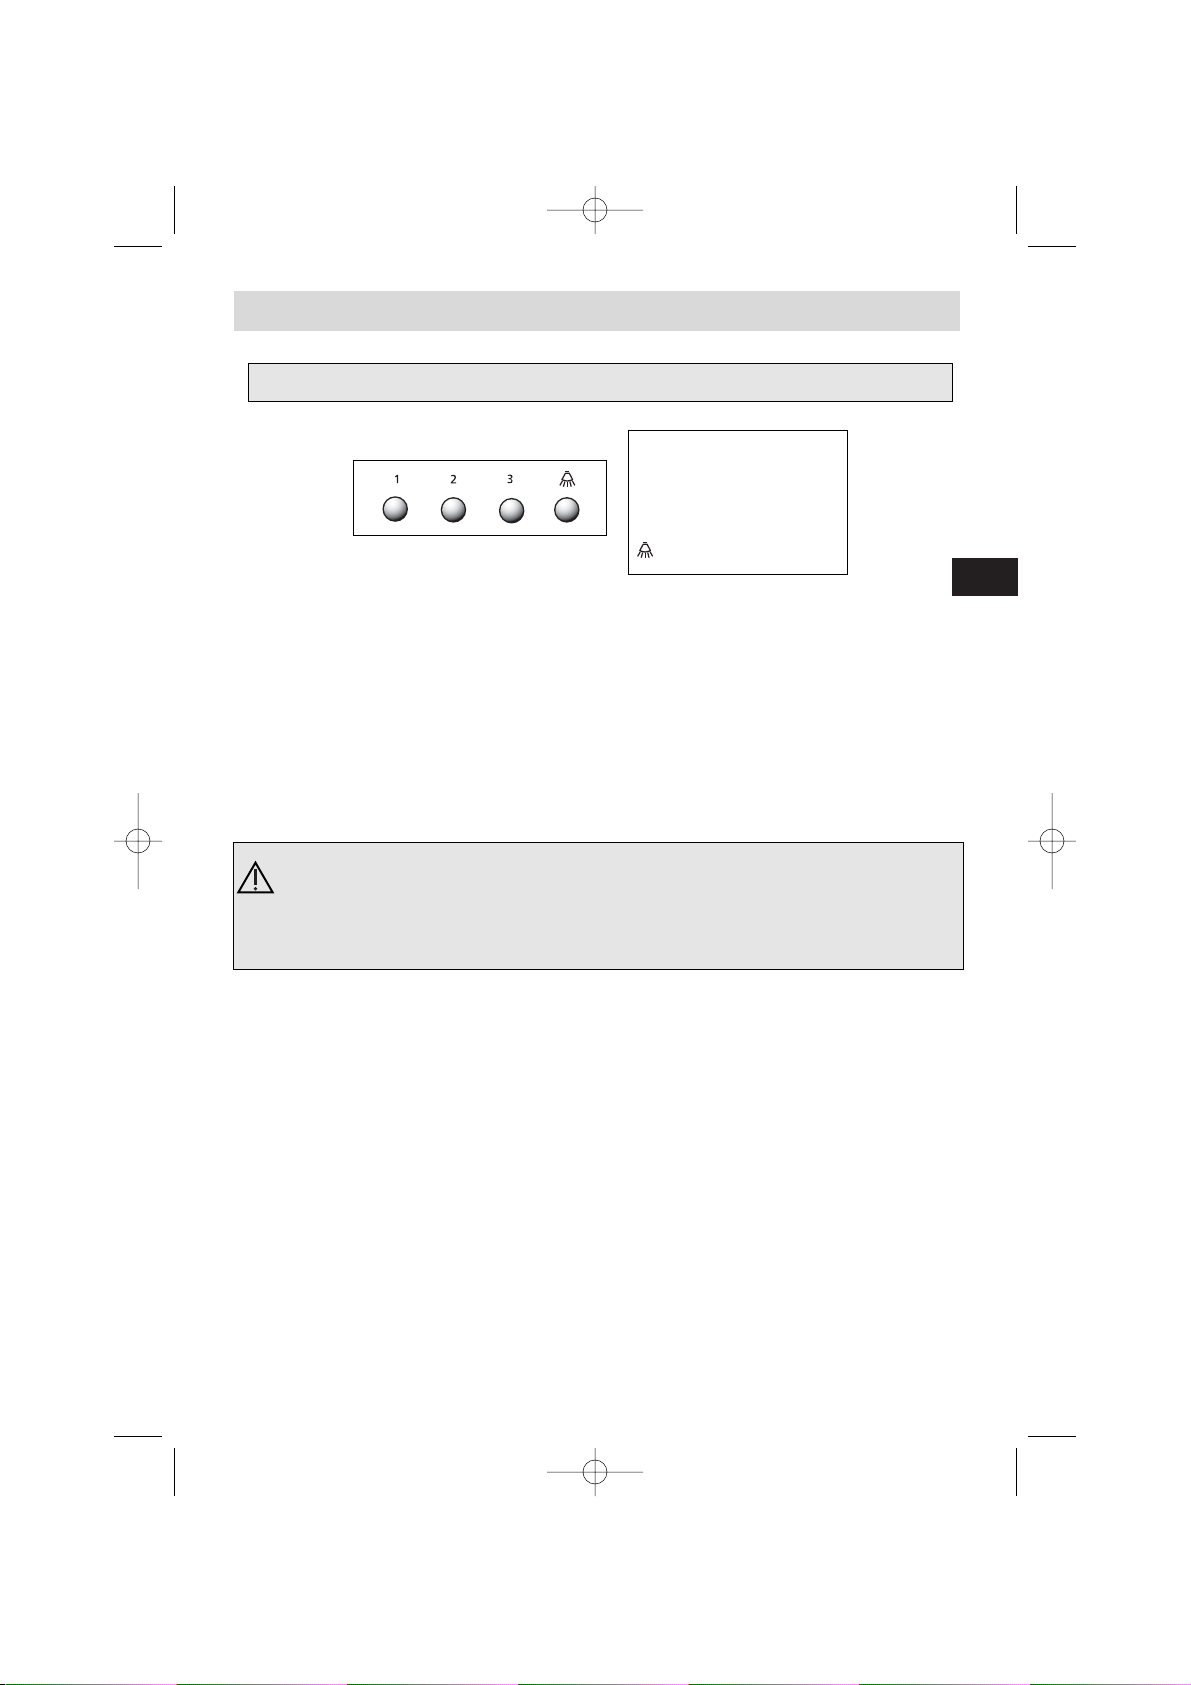
he controls on your hood Fig.1
In the case of a kitchen heated by a device connected to a chimney (for
example a stove) the "recycling" version of the hood should be installed. Do not
use the hood without metal filters.
Suitable ventilation should be ensured for the room when the suction hood is used at
the same time as appliances using gas or another combustible fuel.
3-speed model
1 Slow speed
2 Medium speed
3 Fast speed
Lighting
Important: When several speed buttons are pressed-in, the highest speed
applies.
The hood turns off when none of the buttons are pressed-in.
99631292_ML_A.qxd 12/07/04 11:39 Page 4
The hood must be installed in conformity with the applicable regulations
concerning the ventilation of premises. In France, these regulations are
detailed in DTU 61.1 from the CSTB. In particular, the evacuated air must not
be channelled into a duct used to evacuate fumes from appliances using gas or
other combustible fuels. Disused ducts may only be used after approval from a
competent specialist.
The minimum distance between the cooking surface and the lowest part of the
hood must be 70 cm. If the instructions for the hob installed under the hood
specify a distance of more than 70 cm, this requirement must be respected.
Installing your hood ?
If you possess an outlet to the exterior: fig. 4
Your hood can be connected to this using a flue (minimum Ø 125 mm, enamelled, made from
aluminium, flexible or made from a non-flammable material). If your flue is below 125 mm in
diameter, you must obligatorily use the "recycling" mode.
If you do not possess an outlet to the exterior: fig. 5
All of our appliances can be used in recycling mode.
In this case, you should add an active carbon filter which will keep in odours.
- Draw a horizontal line 70 cm minimum from the cooktop.
- Draw a vertical line on the wall running from the ceiling to the lower edge of the hood.
- Place the mounting hole template against the wall (fig. 2)
.
- Drill the 6 holes. Insert the 6 wall plugs.
- Screw up the top two screws of the hood, but not completely - allow them to
protrude by 5 mm.
- Remove the metal filter.
- Attach the suction hood to the two screws (fig. 3).
- Screw up the two screws at the bottom.
Assembling your hood
Connecting up your hood
This appliance is delivered with a H 05 VVF power cable with 2 conductors of 0.75 mm2 (neutral, live). This must be
connected to the 220-240 V single phase mains network via a CEI 60083
standard plug which must remain accessible following installation. We will
not be liable in the event of an accident arising following incorrect installation.
The fuse for your installation must be 10 or 16A. If the power cable is damaged, call the after sales service department in order to avoid danger.
Adjust the level of your hood before fully tightening up all four screws.
GB
99631292_ML_A.qxd 12/07/04 11:39 Page 5
Assembling the chimney
Hood to be used with external evacuation : fig. 4 and 8
- Attach the metal chimney bracket to the wall, also placing this against the ceiling (fig. 6).
Take care in aligning the 2 triangular slots on the metal bracket with the vertical line on the wall.
- In the case of a flue with a diameter of 125 mm, use the adapter supplied (fig. 8).
If your exterior duct is below 125 mm, you must obligatorily connect your hood in
recycling mode
- Prepare your telescopic chimney taking care to block off the vents (fig. 8).
Fit the chimneys into one another as far as they will go.
- Fit the upper part to the metal bracket.
- Adjust the length of the telescopic chimney by bringing down the lower part and fitting it to the
top of the hood.
Hood to be used in "recycling" mode: f
ig. 5 and 9
- It is possible to remove the back flow valves.
- Fit the plastic smoke deflector to the wall also placing this against the ceiling.
Take care to centre the deflector vis-à-vis the vertical line drawn on the wall (fig. 7).
- Prepare your chimney taking care to place the vents toward the top to ensure that
they are visible (fig. 9).
- Fit the upper part to the plastic deflector.
- Adjust the length of the telescopic chimney by bringing down the lower part and fitting it into
the top of the hood.
To ensure optimal use of your device, we advise that you connect a flue with a
diameter of 150 mm (not supplied). Limit the number of angles and bends as
far as possible, and keep the length of the flue to a minimum. In the event
that the hood will be functioning using exterior evacuation, you should ensure
a sufficient inlet of fresh air to avoid a pressure deficiency in the room.
Changing the lamp ?
1. Remove metal filters (fig. 10).
2. Unscrew then change the E14-40W bulb (fig. 11).
3. Replace the metal filters.
Before carrying out any work, the power supply to the hood must be turned off,
either by unplugging it or by using the circuit breaker switch,
99631292_ML_A.qxd 12/07/04 11:39 Page 6

Dismantling the filter cartridge
(fig. 10)
Assembling the carbon filter
(fig. 12)
1. Remove the cartridges.
2. Place the carbon filter on the cartridge, on the inner side of the hood.
3. Fit the 2 fastener clips.
4. Repeat this operation on all of the cartridges.
Cleaning your hood ?
The power supply to the hood must be turned off either by removing the plug or
by using the circuit breaker switch before you remove the metal filters. After
cleaning, the metal filters must be refitted in conformity with the instructions.
MAINTENANCE
WHY?
HOW ?
VITAL EVERY MONTH
VITAL EVERY YEAR
This filter traps fatty vapours and dust. This
component plays an important part in
ensuring the effectiveness of your hood.
This filter traps odours and must be
changed at least once a year
depending on your level of use.
Use a commercial household cleaning product then
rinse abundantly and dry. This cleaning can be
carried out in your dishwasher in the vertical position (ensure that the cartridge never comes
into contact with dirty crockery or silver
tableware).
You should order these filters from
your dealer (quoting the reference
shown on the ID plate located
inside the hood) and note the date
the filter was changed.
FILTER CARTRIDGE
ACTIVATED CARBON FILTER
Never use metal scouring pads, abrasive products or excessively stiff brushes.
To clean the body and the lighting port, you should use only commercial household cleaning products
diluted in water and then rinse using clean water, drying with a soft cloth.
Remove the protective film before using the
filter cartridge for the first time.
For hoods installed in
"recycling" mode.
To avoid all risks of fire.
GB
99631292_ML_A.qxd 12/07/04 11:39 Page 7
BRANDT APPLIANCES SAS
7 rue Henri Becquerel
92500 RUEIL MALMAISON
MADE IN FRANCE
220 - 240V ~ 50 Hz
Who should I contact ?
Blemishes on the hood caused by abnormal use or cleaning with abrasive products which do
not cause the appliance to cease functioning or which do not cause it to become unsuitable for
use will not be dealt with by the manufacturer. Any repairs must be carried out by a qualified
technician.
Only the distributors of our brand :
• Are fully familiar with your appliance and its operation
• Are fully familiar with your appliance and its operation,,
• Fully apply our adjustment, maintenance and repair methods,
• Fully apply our adjustment, maintenance and repair methods,
• Use only original parts.
• Use only original parts.
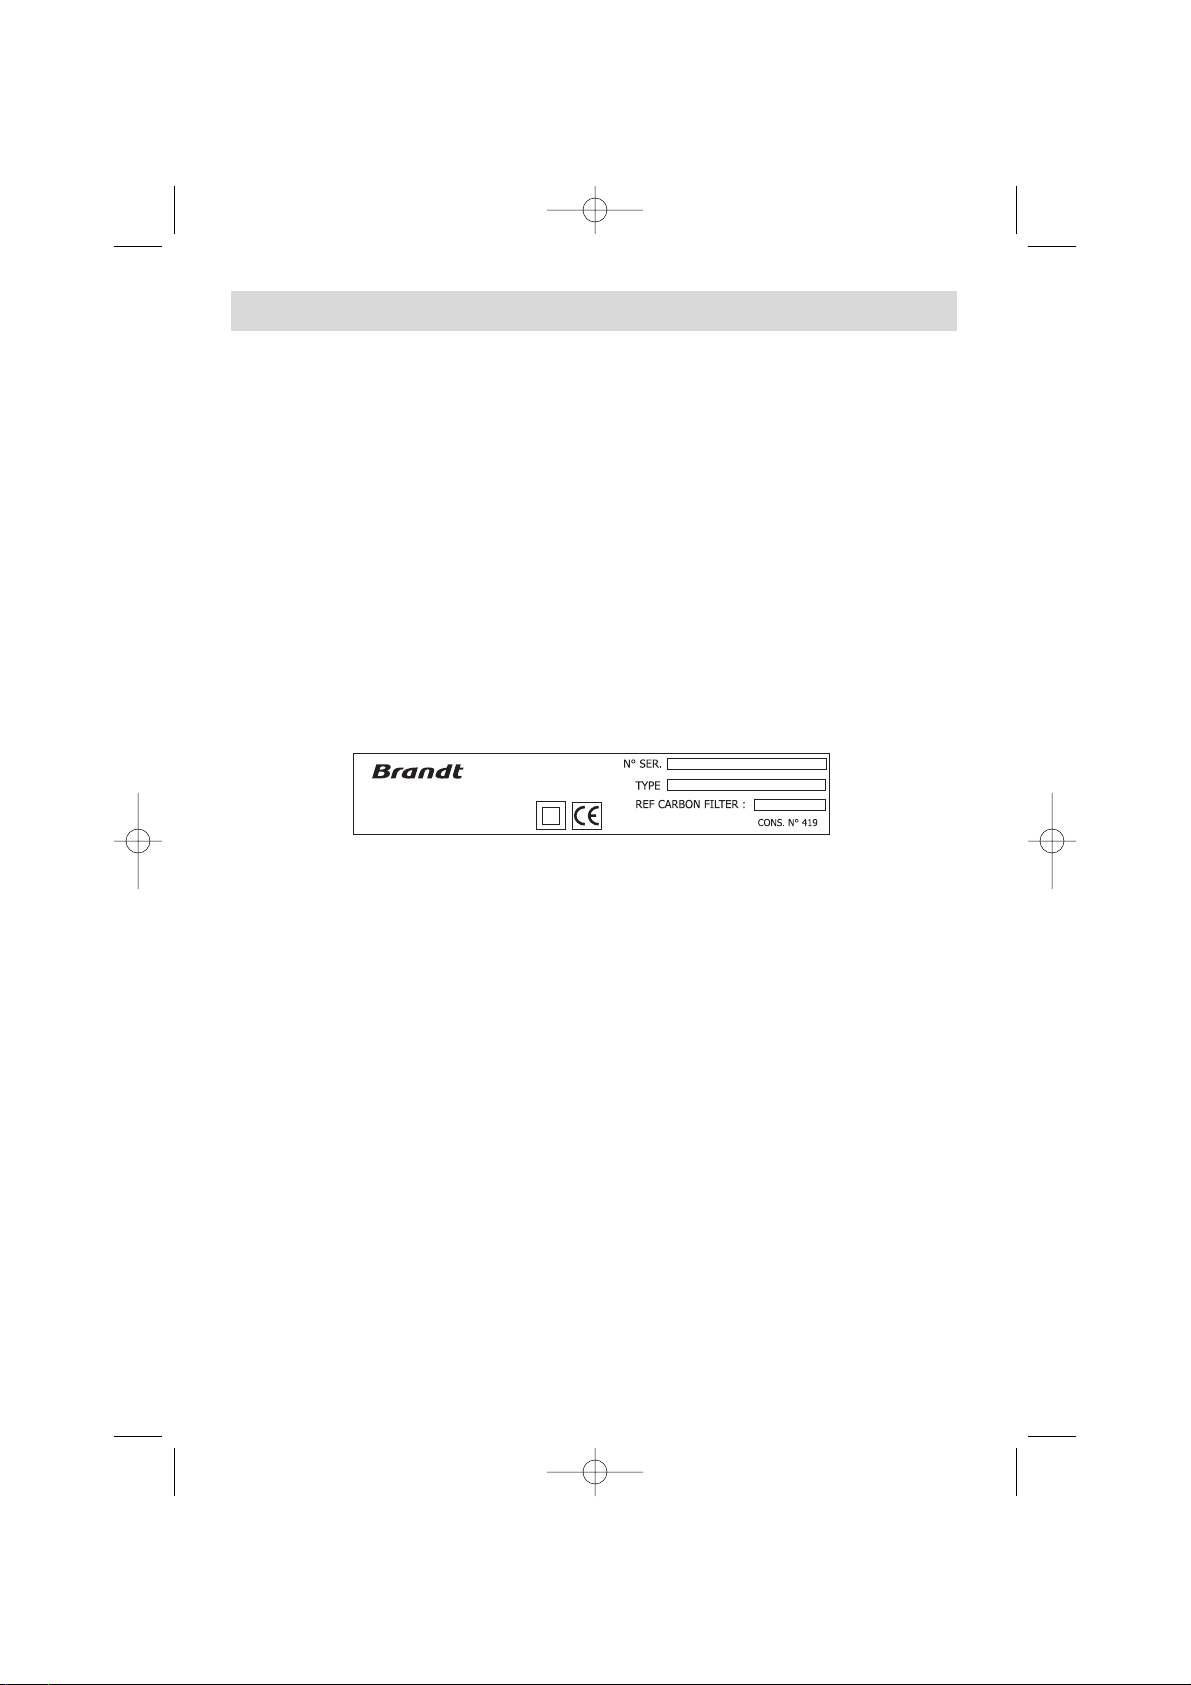
To submit a complaint or to order spare parts from your distributor, please be sure to give him the
complete reference for your appliance (type of appliance and serial number).
You can find this information on the identification plate fitted inside the appliance.
The descriptions and characteristics featuring in this booklet are provided for information
purposes only, and are not binding upon us. Indeed, as part of our ongoing commitment to
improving the quality of our products, we reserve the right to make any modifications or
improvements necessary, without notice.
99631292_ML_A.qxd 12/07/04 11:39 Page 8
Edito
Chère Cliente, Cher Client,
Vous venez d'acquérir une nouvelle hotte BRANDT et nous
vous en remercions.
Nos équipes de recherche ont conçu pour vous une nouvelle
génération d'appareils pour vous permettre d'exercer pleinement vos talents culinaires et vous régaler chaque jour.
Avec des lignes pures et une esthétique moderne, votre nouvelle hotte BRANDT s'intègre harmonieusement dans votre
cuisine et allie parfaitement facilité d'utilisation et performances de cuisson.
Vous trouverez également dans la gamme des produits BRANDT,
un vaste choix de fours, cuisinières, tables de cuisson, lavevaisselle, fours micro-ondes et réfrigérateurs intégrables, que
vous pourrez coordonner à votre nouvelle hotte BRANDT.
Bien entendu, dans un souci permanent de satisfaire au mieux
vos exigences vis à vis de nos produits, notre service consommateurs est à votre disposition et à votre écoute pour répondre à toutes vos questions ou suggestions.
Spécialiste de tout l'univers de la cuisson, BRANDT contribue
ainsi à la réussite culinaire, au plaisir partagé, à la convivialité
en vous apportant des produits toujours plus performants, simples d'utilisation, respectueux de l'environnement, esthétiques
et fiables.
La Marque BRANDT.
FR
99631292_ML_A.qxd 12/07/04 11:39 Page 9

Consignes de sécurité
- Il est interdit de flamber des mets ou de faire fonctionner des foyers gaz sans
les recouvrir de plats de cuisson au-dessous de la hotte (les flammes aspirées risqueraient de détériorer l’appareil).
- Les fritures effectuées sous l’appareil doivent faire l’objet d’une surveillance constante.
- Les réparations doivent être exclusivement effectuées par un spécialiste agréé.
- Nettoyez régulièrement le filtre cassette pour éviter tout risque de prise de feu.
- Le fonctionnement au-dessus d’un foyer à combustible (bois, charbon, etc...) n’est pas
autorisé.
Ces hottes ont été conçues pour être utilisées par des particuliers dans un lieu d’habitation.
Dans le souci d’une amélioration constante de nos produits, nous nous réservons le droit
d’apporter à leurs caractéristiques techniques, fonctionnelles ou esthétiques toutes modifications de leurs caractéristiques liées à l’évolution technique.
Ces hottes sont destinées exclusivement à la cuisson des boissons et denrées alimentaires.
Ces produits ne contiennent aucun composant à base d’amiante.
Tout au long de la notice,
vous signale les consignes de sécurité,
vous signale les conseils et les astuces
99631292_ML_A.qxd 12/07/04 11:39 Page 10
FR
Comment se présente votre hotte ? Fig.1
Dans le cas d’une cuisine chauffée avec un appareil raccordé à une cheminée
(ex : poêle), il faut installer la hotte en version recyclage. Ne pas utilisez la hotte
sans les filtres métalliques.
Une ventilation convenable de la pièce doit être prévue lorsqu’une hotte de cuisine est
utilisée simultanément avec des appareils utilisants du gaz ou un autre combustible.
Modèle 3 vitesses
1 Petite vitesse
2 Moyenne vitesse
3 Grande vitesse
Éclairage
Important : Lorsque plusieurs touches de vitesse sont enfoncées, la vitesse la
plus élevée est privilégiée.
L’arrêt de la hotte se fait lorsque toutes les touches ne sont pas enfoncées.
99631292_ML_A.qxd 12/07/04 11:39 Page 11
L’installation doit être conforme aux règlements en vigueur pour la ventila-
tion des locaux. En France, ces règlements sont indiqués dans le DTU 61.1 du
CSTB. En particulier, l’air évacué ne doit pas être envoyé dans un conduit uti-
lisé pour évacuer les fumées d’appareils utilisant du gaz ou autre combustible.
L’utilisation de conduits désaffectés ne peut se faire qu’après accord d’un spécialiste compétent.
La distance minimale entre le plan de cuisson et la partie la plus basse de la hotte
doit être de 70 cm. Si les instructions de la table de cuisson installée sous la hotte
spécifient une distance plus grande que 70 cm, celle-ci doit être prise en compte.
Comment installer votre hotte ?
Vous possédez une sortie vers l’extérieur : fig. 4
Votre hotte peut être raccordée sur celle-ci par l’intermédaire d’une gaine d’évacuation (minimum
Ø 125 mm, émaillée, en alu, flexible ou en matière ininflammable). Si votre gaine est inférieure
à 125 mm de diamètre, passez obligatoirement en mode recyclage.
Vous ne possédez pas de sortie vers l’extérieur : fig. 5
Tous nos appareils ont la possibilité de fonctionner en mode recyclage.
Dans ce cas, ajoutez un filtre à charbon actif qui retiendra les odeurs.
- Tracez un trait horizontal à 70 cm minimum du plan de cuisson.
- Tracez un trait vertical sur le mur allant du plafond jusqu’au bord inférieur de la hotte.
- Placez contre le mur les gabarits de montage (fig. 2)
.
- Percez les 6 trous. Enfoncez les 6 chevilles.
- Vissez les deux vis du haut de la hotte en les laissant dépasser de 5 mm.
- Retirez le filtre métallique.
- Accrochez la hotte aspirante aux deux vis (fig. 3).
- Vissez les deux vis du bas.
Montage de votre hotte
Raccordement de votre hotte
Cet appareil est livré avec un câble d’alimentation H 05 VVF à 2 conducteurs de 0,75 mm2(neutre et phase). Il doit être branché sur réseau
220-240 V monophasé par l’intermédiaire d’une prise de courant normalisée CEI 60083 qui doit rester accessible après installation, conformément
aux règles d’installation.
Notre responsabilité ne saurait être engagée en cas d’accident consécutif à une
installation incorrecte. Le fusible de votre installation doit être de 10 ou 16 A.
Si le câble d’alimentation est endommagé, faites appel au service après-vente
afin d’éviter un danger.
Avant serrage complet des 4 vis, ajustez le niveau de la hotte.
99631292_ML_A.qxd 12/07/04 11:39 Page 12
 Loading...