

Bosch DVD 330, DVR 480 User Manual
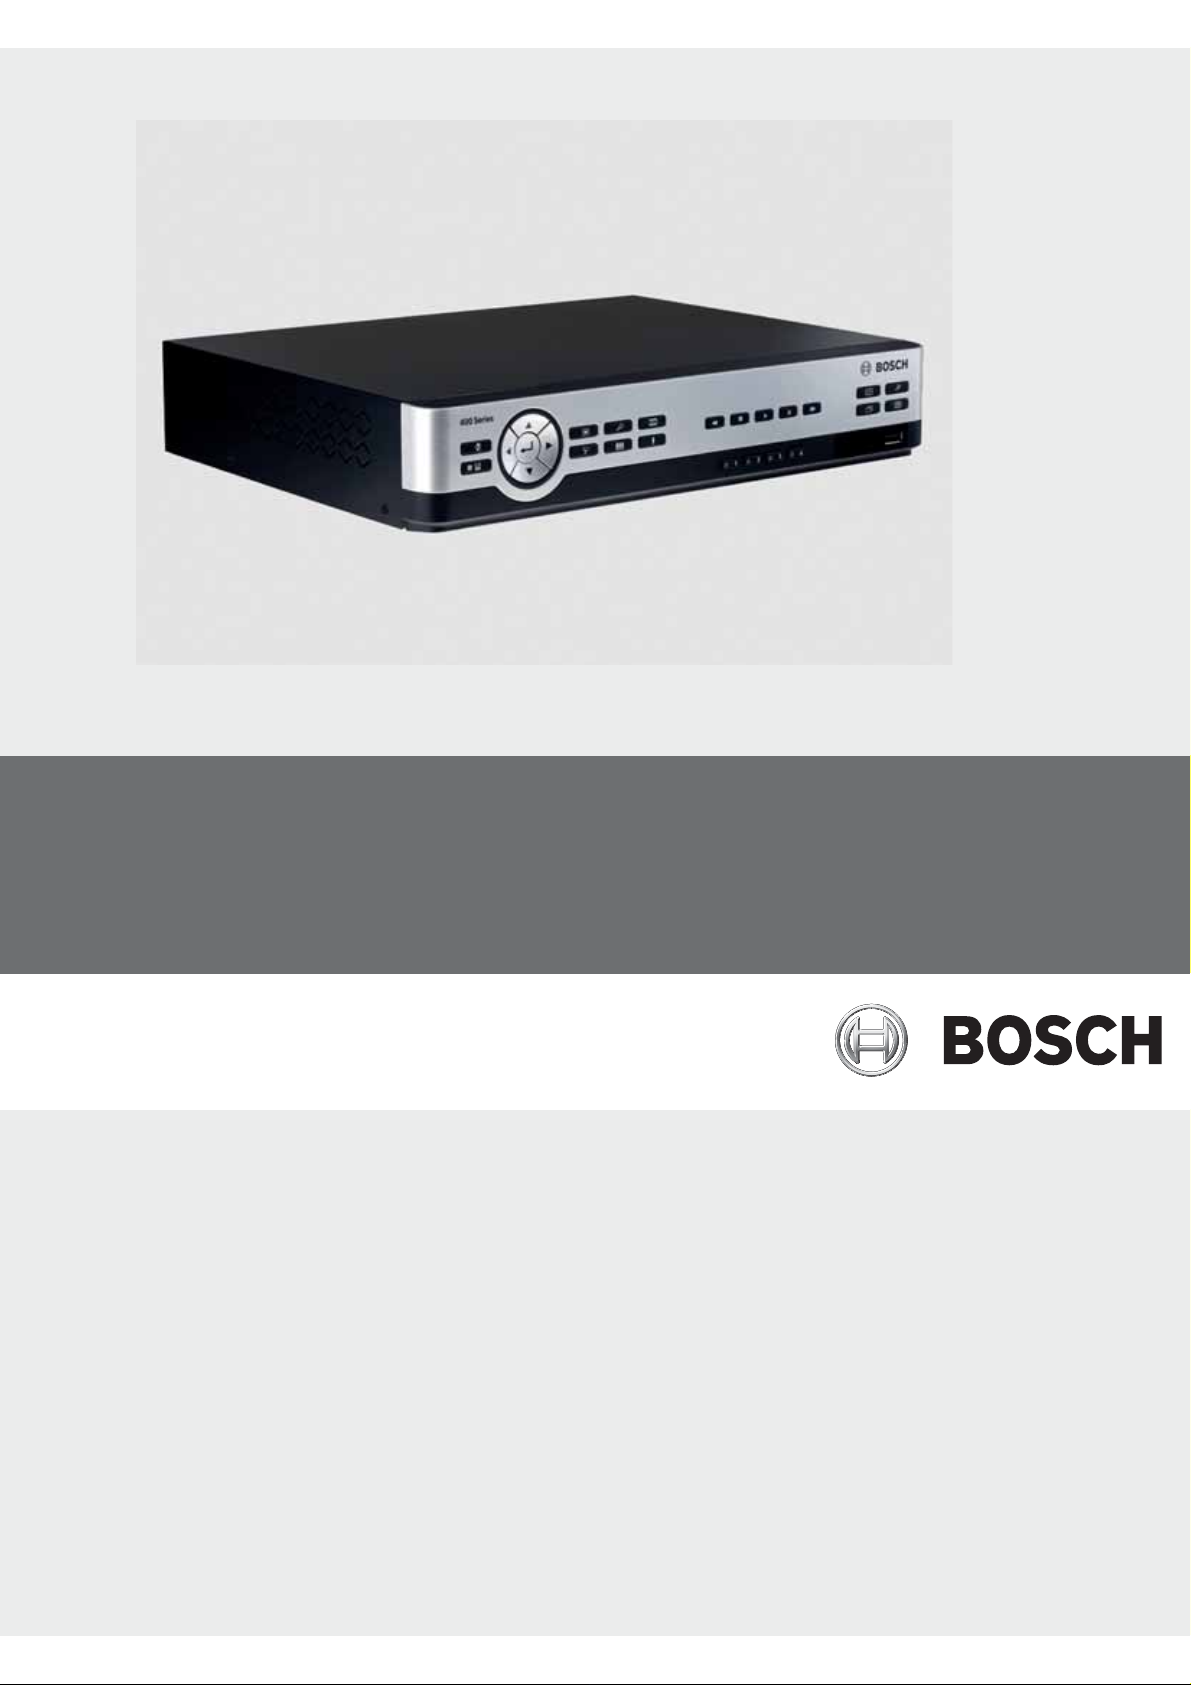
Digital Video Recorder 400 Series
DVR 440 / DVR 480
en Operations manual

Operating instructions
These instructions explain the purpose of the front panel keys.
The functions available can be limited by setting passwords. Access to the unit’s functions are
determined by the user level of the user logged in.
Function Administrator level Advanced User level Normal User level
View live Yes Yes Yes
Sequence Yes Yes Yes
Quad Yes Yes Yes
OSD Yes Yes Yes
Zoom Yes Yes Yes
Pan/Tilt/Zoom (PTZ) Yes Yes Yes
Playback Yes Yes No (configurable)
ne | snoitcurtsni gnitarepO seireS 084/044 redroceR oediV latigiD 2
Search Yes Yes No (configurable)
Export Yes Yes No (configurable)
Acknowledge Alarm Yes Yes No (configurable)
oNoNseYsuneM metsyS
oNoNseYtrevoC
Table 5.1 User Levels and Permissions
pOsmetsyS ytiruceS hcsoB 50.1102 | 0.1v | 5060Q-81MAlaunam nsoitare
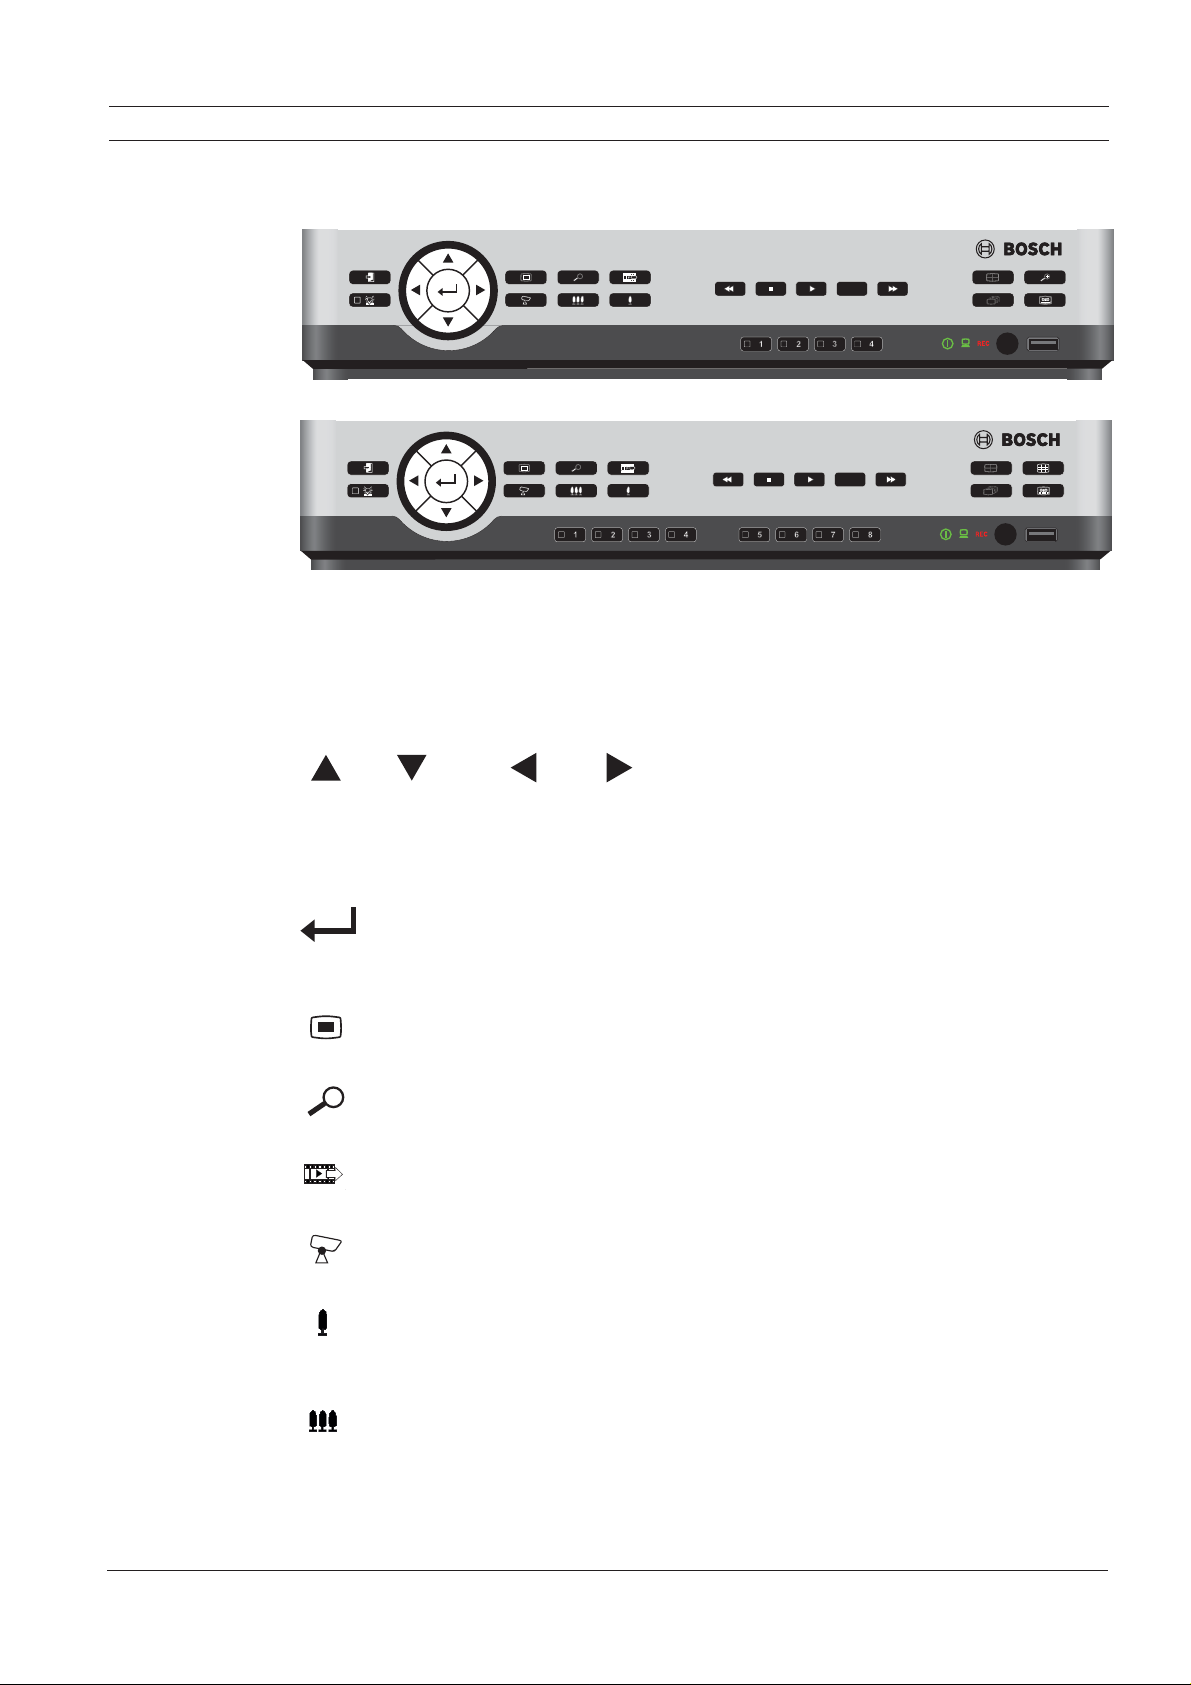
Fr ont panel controls
400 series
Figure 5.1 Front panel controls - 4-channel model
400 series
Figure 2 Front panel controls - 8-channel model
Keys
The keys on the front panel control all functions. Symbols on the keys show the functions.
Inactive keys emit an audible beep when pressed.
ne | snoitcurtsni gnitarepO seireS 084/044 redroceR oediV latigiD 3
Arrow keys:
Up, Down, Left, Right
– move around through menu items or values when in menu mode
– in PTZ mode, the arrow keys can be used to control the pan or tilt functions of the
selected camera
– moves the visible area of the selected image in digital zoom mode
Enter key
– selects a submenu or menu item, or confirms selections made in menus
– displays the cameo submenu in full screen or quad modes
Menu key
– opens the system menu
Search key
– press to open the date/time search menu to look for recorded images
Export key
– press to open the export menu
PTZ key
– enables or disables the PTZ mode
Zoom in key
–PTZ zoom in key
– Digital zoom in key on active full-screen display
Zoom out key
– PTZ zoom out key
– Digital zoom out key
smetsyS ytiruceS hcsoB 50.1102 | 0.1v | 5060Q-81MA
pOlaunam nsoitare

Exit key
– press to return to previous level or to exit the menu system
Alarm indicator / acknowledge key
– flashes when an alarm is detected
– press to acknowledge an alarm event; an indicator light is located on the key
Camera keys (1-4)/(1-8)
– press to see a full-screen display of the video input
– the LED lights when the camera is recording
– the LED flashes during an alarm on the camera
Quad key
– press to go to quad mode
– in quad mode, press to toggle to full screen
Sequence key
– view cameras in sequence on full-screen or quad displays
ne | snoitcurtsni gnitarepO seireS 084/044 redroceR oediV latigiD 4
OSD key
– press to view date/time and camera information, date/time only, or none
Digital zoom key (4-channel model)
– press to zoom in on the active full screen camera display
Multi-screen key (8-channel model)
– press to go to different multi-screen modes
Pause key
– press to freeze the picture
Reverse key
– in live mode, press to start reverse playback of recordings for the displayed camer
– in playback mode, press to start or speed up reverse playback
– in pause mode, press to step back one frame
Play key
– in live mode, press to resume playback from the last selected playback position
– in pause or fast forward/reverse modes, press to resume playback
Fast forward key
– in live mode, press to start playback from one minute earlier
– in playback mode, press to speed up the forward playback rate
– in reverse playback mode, press to start forward playback
– in pause mode, press to step forward one frame
as
Stop key
– while in playback mode, press to return to live mode
smetsyS ytiruceS hcsoB 50.1102 | 0.1v | 5060Q-81MA
pOlaunam nsoitare

Indicators
The indicators on the front panel display light or flash to alert of various operating conditions.
Power - lights green when the unit is powered
Network - lights green when a remote user is connected to the unit
Record - lights red when the unit is recording video
ne | snoitcurtsni gnitarepO seireS 084/044 redroceR oediV latigiD 5
smetsyS ytiruceS hcsoB 50.1102 | 0.1v | 5060Q-81MA
pOlaunam nsoitare

Mouse Controls
All functions controlled by the front panel can, alternatively, be accessed using a USB mouse.
All main DVR functions are accessible via the System Control Bar. To display the panel
(monitor A only), move the mouse pointer to the bottom left of the screen or press the menu
key. To close the System Control Bar press the exit key.
Figure 3 System Control Bar
The buttons and indicators of the System Control Bar work the same as the keys and
indicators on the front panel.
– The System Control Bar can also be controlled with the Arrow Keys and Enter Key.
6
ne | snoitcurtsni gnitarepO seireS 084/044 redroceR oediV latigiD
smetsyS ytiruceS hcsoB 50.1102 | 0.1v | 5060Q-81MA
pOlaunam nsoitare
Viewing pictures
The unit has two monitor outputs, A and B. The way in which these monitors display pictures
depends on how the system is configured.
Monitor A
Monitor A is the main monitor. It shows full-screen, quad or multiscreen live or playback
camera pictures. Status messages, alarms, motion, and video loss warnings are also displayed
on this monitor. When the menu system is activated, it is displayed on this monitor. Monitor A
is the default monitor for keyboard and mouse commands.
Changing the full-screen display on Monitor A
To control the display on monitor A with mouse control:
1. Display the System Control Bar.
2. Click .
3. From the pop-up menu, select the display for Monitor A
– Select 1-4/8 for the corresponding Camera
– Select the sequence key to sequence channels 1-4/8
Changing the quad/3x3 display on Monitor A
To control the quad/3x3 display on monitor A with mouse control:
1. Display the System Co
ne | snoitcurtsni gnitarepO seireS 084/044 redroceR oediV latigiD 7
ntrol Bar.
2. Click .
3. From the pop-up menu, select the display for Monitor A
– Select the quad key to select the quad mode
– Select the multiscreen key to select the 3x3 mode (DVR 480 only)
– Select the sequence key to sequence the quad mode
Monitor B
Monitor B displays full-screen, quad or multiscreen (with or without sequence) of live
pictures. When an alarm or motion input is detected, the camera picture with the Alarm/
Motion indicator can be displayed on monitor B. When multiple alarms or motion occur,
camera pictures are sequenced on monitor B.
Changing the full-screen display on Monitor B
To control the display on monitor B with mouse control:
1. Bring up the System Control Bar.
2. Click the Monitor B button.
3. From the pop-up menu, select the display for Monitor B
– Select 1-8/16 for the corresponding Camera
– Select the sequence key to sequence channels 1-8/16
Changing the quad display on Monitor B
To control the quad display on monitor B with mouse control:
1. Bring up the System Control Bar.
2. Click the Monitor B button.
smetsyS ytiruceS hcsoB 50.1102 | 0.1v | 5060Q-81MA
pOlaunam nsoitare
 Loading...