

Page 1
Addressable Bases
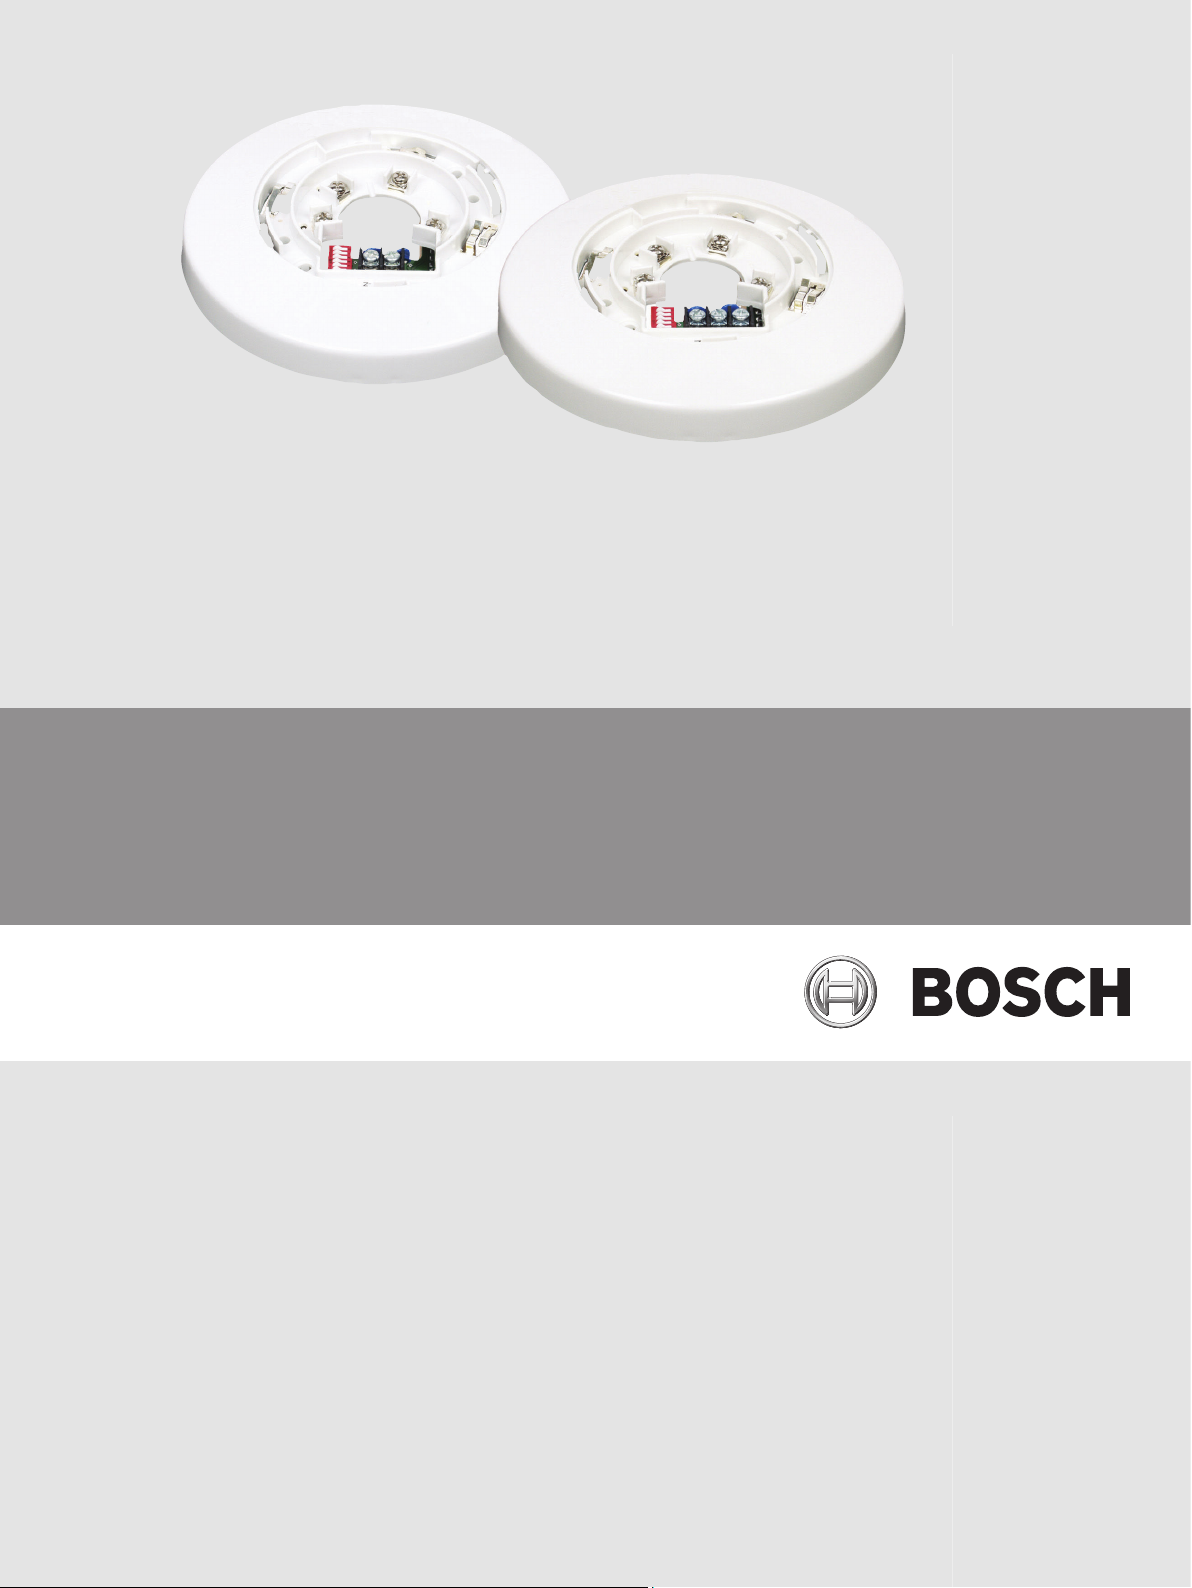
D298M, D298S, D278S
en Installation Guide
Page 2

Page 3

Addressable Bases Table of Contents | 3
Table of contents
1
2
3
4
5
6
Notices 4
System overview 5
Mounting 6
Wiring 7
Addressing 11
Technical data 14
Bosch Security Systems, Inc.
Installation Guide 6.2012 | 01 | F01U268606
Page 4

!
4 | Notices Addressable Bases
1
Notices
Install, test, and maintain the D298M according to these instructions, NFPA 72 standards,
local codes, and the Authority Having Jurisdiction (AHJ) in your area.
Caution!
Failure to follow these instructions can cause the failure of the detector to indicate an alarm.
Bosch is not responsible for improperly installed, tested, or maintained detectors.
6.2012 | 01 | F01U268606 Installation Guide
Bosch Security Systems, Inc.
Page 5

Addressable Bases System overview | en 5
2
System overview
These instructions cover installing the D298M (24 V), D298S (24 V), and D278S (12 V)
Addressable Bases in an addressable system controlled by a G Series control panel (D9412G/
D7412G or later) 12 V Fire Alarm Control Panel (FACP) with a D8125 POPEX Module and 24 V
auxiliary power1 provided by a UL 1481 regulated power‑limited power supply, or a D9124
24 V FACP.
The D298M base provides individual addresses on the FACP data expansion circuit and
accepts:
– D263 and D263TH Photoelectric Smoke Detectors
– D287 and D288 Smoke Detector Bases, with the following detectors:
– D285 and D285TH Photoelectric Smoke Detectors
– D286 Ionization Smoke Detector
– D603, D604, and D605 Heat Detectors
When used with the D285 Series Detectors, the D298M base indicates chamber check trouble
to the control panel through the POPIT bus. The chamber check trouble indication appears on
the control stations as a fire trouble.
The D298M base also provides connection points for supervised circuits with up to 19 twowire conventional detectors reporting to the D298M’s address. When the D298M base is
combined with a PAM‑4 Relay Module, one Form “C” output (normally open [NO]/common
[C]/ normally closed [NC]) provides auxiliary functions such as recalling an elevator or closing
fire doors.
The D298S and D278S bases have a built‑in POPIT to provide individual addresses on the
FACP data expansion circuit. These bases accept:
– D285 and D285TH Photoelectric Smoke Detectors
– D286 Ionization Smoke Detector
– D603, D604, and D605 Heat Detectors
1
Depending on the current requirements of the application for the D278S base, power can be
provided by the FACP or by a UL 1481 regulated power‑limited auxiliary power supply
Bosch Security Systems, Inc.
Installation Guide 6.2012 | 01 | F01U268606
Page 6

i
3
2
1
4
6 en | Mounting Addressable Bases
3
Mounting
Notice!
Ensure that the electrical box is large enough for the number and size of conductors specified
by these instructions, the National Electrical Code (NEC), and any local regulations having ju-
risdiction.
Item references are to Figure 3.1 below.
1. Select a proper mounting location according to the instructions in the Smoke Detectors
Technical Service Note (P/N: 31347).
2. Run all system wiring to the base location.
3. Mount the base (Item 1) using the two oblong mounting holes (Item 4). Tighten the base
to the mounting surface.
4. If you mount the base to four-inch square boxes, use the adapter plate (Item 2):
1. Mount the adapter plate to the box by screwing two 6-32 x 1-in. self-threading screws
(not supplied) through the adapter mounting holes (Item 3).
2. Mount the base to the adapter plate and box using the oblong mounting holes (Item 4).
Figure 3.1: Adapter Plate Connections
Addressable Base 3 Plate to box mounting holes (2)
1
2 Adapter plate 4 Base mounting holes (2)
6.2012 | 01 | F01U268606 Installation Guide
Bosch Security Systems, Inc.
Page 7

Addressable Bases Wiring | en 7
4
Wiring
Wiring the Bases
The bases can accept any solid wire from 12 AWG (2.0 mm) to 22 AWG (0.8 mm). The
minimum wire size required is determined by the maximum number of bases used and the
maximum distance from the FACP to the most remote base.
See Table 4.1 for the number of bases in a circuit and their corresponding wire gauges.
Number of
bases in
circuit
1 to 70 1822 ft
71 to 80 1594 ft
81 to 90 1417 ft
91 to 100 1275 ft
101 to 110 1159 ft
22 AWG
(0.8 mm)
(555.4 m)
(485.9 m)
(431.9 m)
(388.6 m)
(353.3 m)
20 AWG
(1.0 mm)
2898 ft
(883.3 m)
2536 ft
(773 m)
2254 ft
(687 m)
2028 ft
(618.1 m)
1844 ft
(562.1 m)
Wire Gauges
(1.2 mm)
(1404.5 m)
(1229 m)
(1092.4 m)
(893.7 m)
18 AWG
4608 ft
4032 ft
3584 ft
3225 ft
(983 m)
2932 ft
16 AWG
(1.5 mm)
7327 ft
(2233.3 m)
6411 ft
(1954.1 m)
5699 ft
(1737.1 m)
5129 ft
(1563 3 m)
4663 ft
(1421.3 m)
111 to 120 1063 ft
(324 m)
Use 16 AWG (1.5 mm) gauge wire ratings for 12 AWG (2.3 mm) and 14 AWG (1.8 mm).
Table 4.1: Bases and Wire Gauges
Wiring D298M Bases
Note the following wiring requirements:
– Each D298M can supervise up to 19 additional two-wire detectors.
– When wiring the conventional detectors to a D298M base, the wiring to the most distant
detector cannot exceed 500 ft (152 m). The wiring must be 18 AWG (1.2 mm) or larger.
– If you are running a conventional two-wire detector circuit off of a D298M base, connect a
3 kΩ end-of-line (EOL) resistor1 across the last conventional device in the circuit.
– If you are not running a conventional two-wire detector circuit off of a D298M base,
connect a 3 kΩ EOL resistor1 across the D298M base between terminal 2 and terminal H.
– Connect the power loop to the control panel’s switched auxiliary power. If you are using a
separate power supply, connect the negative side to the control panel’s negative terminal
or POPIT.
1
The EOL resistor must be Bosch P/N: 15‑03130‑007, F.01U.008.725.
To wire the D298M bases, see the following figure.
1690 ft
(515.1 m)
2688 ft
(819.3 m)
4274 ft
(1302.7 m)
Bosch Security Systems, Inc.
Installation Guide 6.2012 | 01 | F01U268606
Page 8

1
2
3
4
0 1 2 3 4 5 6
ON
Z
-
H
-
Z+
1
2
3
4
0 1 2 3 4 5 6
ON
Z
-
H
-
Z+
1
2
3
4
0 1 2 3 4 5 6
ON
Z
-
H
-
Z+
1
-
+
2
+
IN
–IN–
OUT+OUT
+
IN
–IN–
OUT+OUT
1
2
3
4
1
4
2 3
-
+
3
33
2
3
4
5
1
2
3
4
5
1
7
4
5
5
8
6
6
8 en | Wiring Addressable Bases
Figure 4.1: D298M Wiring
1 Power loop 5 Two-wire base
2 POPIT bus 6 D263 or D263TH detector
3 D298M bases 7 EOL resistor
4 EOL resistor
1
The EOL resistor (3 kΩ, Bosch P/N: 15‑03130‑007, F.01U.008.725) is required on any
1
D298M base that is not connected to two-wire detectors. Use a D298S base when not
connecting two-wire detectors.
8 EOL resistor
Wiring D298S and D278S Bases
To wire the D298S and D278S bases, see the following figure.
1
1
6.2012 | 01 | F01U268606 Installation Guide
Bosch Security Systems, Inc.
Page 9

5
4
0 1 2 3 4 5 6
ON
2
3
4
Z
-
Z+
3
6
2
4
5
6
1
2
3
4
0 1 2 3 4 5 6
ON
Z
-
Z
+
H
-
1
2
Addressable Bases Wiring | en 9
Figure 4.2: D298S and D278S Wiring
1 D298S or D278S Addressable Base 3 POPIT bus
2 Power loop
Wiring PAM-4 Relay Modules
To wire the PAM‑4 Relay Modules to D298M or D298S bases, see the following figure and
table.
Figure 4.3: D298M-D298S_PAM-4
1 D298M Addressable Base 4 Relay Contact connectors
Bosch Security Systems, Inc.
2 PAM-4 Relay Module 5 Red power connector (positive +)
3 D298S Addressable Base 6 Black power connector (negative -)
Installation Guide 6.2012 | 01 | F01U268606
Page 10

10 en | Wiring Addressable Bases
Contact connections Power connections
Wire lead color Description Wire lead color Description
Blue Common Red Positive +
Orange Normally open Black Negative -
Yellow Normally closed
Note: Contact connection descriptions are in the inactive, not energized, state.
Table 4.2: Contact and Power Connections
6.2012 | 01 | F01U268606 Installation Guide
Bosch Security Systems, Inc.
Page 11

0 1 2 3 4 5 6
ON
Z
-
Z
+
H
-
1
Addressable Bases Addressing | en 11
5
Addressing
Each base has a specific address that does
not depend on the base’s location in the
circuit. The address is determined by setting
the seven DIP switches located on the
detector’s base.
See Item 1 in figure.
1 Address Switches
To set the address for the D9112, D9124, or G Series FACP, use the following table.
If adding the base to a previous version FACP, set Switch 0 to ON and leave all other switches
OFF. Points 009 through 128 are on Point Bus A (Zonex Bus 1) and points 129 through 248
are on Point Bus B (Zonex Bus 2).
Point Bus
A B 0 1 2 3 4 5 6 A B 0 1 2 3 4 5 6
Switch (bullet [●] = ON) Point Bus Switch (bullet [●] = ON)
009 129 0 1 2 3 4 5 6 069 189 0 5 6
010 130 0 1 2 3 4 5 070 190 0 5
011 131 0 1 2 3 4 6 071 191 0 6
012 132 0 1 2 3 4 072 192 0
013 133 0 1 2 3 5 6 073 193 1 2 3 4 5 6
014 134 0 1 2 3 5 074 194 1 2 3 4 5
015 135 0 1 2 3 6 075 195 1 2 3 4 6
016 136 0 1 2 3 076 196 1 2 3 4
017 137 0 1 2 4 5 6 077 197 1 2 3 5 6
018 138 0 1 2 4 5 078 198 1 2 3 5
019 139 0 1 2 4 6 079 199 1 2 3 6
020 140 0 1 2 4 080 200 1 2 3
021 141 0 1 2 5 6 081 201 1 2 4 5 6
022 142 0 1 2 5 082 202 1 2 4 5
023 143 0 1 2 6 083 203 1 2 4 6
024 144 0 1 2 084 204 1 2 4
025 145 0 1 3 4 5 6 085 205 1 2 5 6
Bosch Security Systems, Inc.
026 146 0 1 3 4 5 086 206 1 2 5
027 147 0 1 3 4 6 087 207 1 2 6
Installation Guide 6.2012 | 01 | F01U268606
Page 12

12 en | Addressing Addressable Bases
Point Bus Switch (bullet [●] = ON) Point Bus Switch (bullet [●] = ON)
A B 0 1 2 3 4 5 6 A B 0 1 2 3 4 5 6
028 148 0 1 3 4 088 208 1 2
029 149 0 1 3 5 6 089 209 1 3 4 5 6
030 150 0 1 3 5 090 210 1 3 4 5
031 151 0 1 6 091 211 1 3 4 6
032 152 0 1 3 092 212 1 3 4
033 153 0 1 4 5 6 093 213 1 3 5 6
034 154 0 1 4 5 094 214 1 3 5
035 155 0 1 4 6 095 215 1 3 6
036 156 0 1 4 096 216 1 3
037 157 0 1 5 6 097 217 1 4 5 6
038 158 0 1 5 098 218 1 4 5
039 159 0 1 6 099 219 1 4 6
040 160 0 1 100 220 1 4
041 161 0 2 3 4 5 6 101 221 1 5 6
042 162 0 2 3 4 5 102 222 1 5
043 163 0 2 3 4 6 103 223 1 6
044 164 0 2 3 4 104 224 1
045 165 0 2 3 5 6 105 225 2 3 4 5 6
046 166 0 2 3 5 106 226 2 3 4 5
047 167 0 2 3 6 107 227 2 3 4 6
048 168 0 2 3 108 228 2 3 4
049 169 0 2 4 5 6 109 229 2 3 5 6
050 170 0 2 4 5 110 230 2 3 5
051 171 0 2 4 6 111 231 2 3 6
052 172 0 2 4 112 232 2 3
053 173 0 2 5 6 113 233 2 4 5 6
054 174 0 2 5 114 234 2 4 5
055 175 0 2 6 115 235 2 4 6
056 176 0 2 116 236 2 4
057 177 0 3 4 5 6 117 237 2 5 6
058 178 0 3 4 5 118 238 2 5
059 179 0 3 4 6 119 239 2 6
6.2012 | 01 | F01U268606 Installation Guide
Bosch Security Systems, Inc.
Page 13

Addressable Bases Addressing | en 13
Point Bus Switch (bullet [●] = ON) Point Bus Switch (bullet [●] = ON)
A B 0 1 2 3 4 5 6 A B 0 1 2 3 4 5 6
060 180 0 3 4 120 240 2
061 181 0 3 5 6 121 241 3 4 5 6
062 182 0 3 5 122 242 3 4 5
063 183 0 3 6 123 243 3 4 6
064 184 0 3 124 244 3 4
065 185 0 4 5 6 125 245 3 5 6
066 186 0 4 5 126 246 3 5
067 187 0 4 6 127 247 3 6
068 188 0 4 128 248 Reserved
Table 5.1: Base POPIT Addresses
Bosch Security Systems, Inc.
Installation Guide 6.2012 | 01 | F01U268606
Page 14

14 en | Technical data Addressable Bases
6
Technical data
Electrical
Current (alarm) maximum
– D278S 40 mA
– D298S: 18 mA
– D298S with PAM-4: 30 mA
– D298M2: 36 mA
– D298M2 with PAM-4: 49 mA
Current (standby)
– D278S 2.5 mA
– D298S: 2 mA
– D298S with PAM-4: 8.5 mA
– D298M2: 13 mA
– D298M2 with PAM-4: 29 mA
Voltage (operating)
1
– D278S: 18.9 VDC to 28.0 VDC
– D298M/D298S: 18.9 VDC to 28.0 VDC
1
For the D298 models, power is supplied by an auxiliary power supply. For the D278S,
power is either supplied by the FACP or a UL 1481 regulated power-limited auxiliary power
supply depending on the current requirements of the application.
2
The current ratings are based on D298M with 19 detectors.
Environmental
Temperature (operating):
+32°F to +100°F (0°C to +38°C)
Mechanical
Color:
Bone white
Dimensions (diameter x depth): 6.375 in. X 0.9 in. (16.2 cm x 2.3 cm)
6.2012 | 01 | F01U268606 Installation Guide
Bosch Security Systems, Inc.
Page 15

Page 16

Bosch Security Systems, Inc.
130 Perinton Parkway
Fairport, NY, 14450
USA
www.boschsecurity.com
© Bosch Security Systems, Inc., 2012
 Loading...