

Bosch BAT 135 Operating Instructions Manual

BAT 135 Battery Tester Operating Instructions

en | 2 | Operating Instructions | BAT 135 Battery Tester
Contents
1 Introduction 3
2 Safety Warnings and Instructions 3
3 Paper Loading 3
4 Test Preparation 4
5 Battery Testing 4
6 Start/Stop Test 5
7 System Test 6
8 Glossary 7
9 Warranty Terms and Conditions 8
Appendix A - System Analyzer Screens 9
Appendix B - Surface Charge Notice 10
Appendix C - Decoding Test Codes 12
BAT 135 | REV. A | JANUARY 2018
Operating Instructions | BAT 135 Battery Tester | 3 | en
1 Introduction
The BAT 135 Battery Tester is used to test 6 and 12 volt batteries, and to test 12 and 24 volt charging systems. The
suggested operation range is from 0 degrees Centigrade (32 degrees Fahrenheit) to 50 degrees Centigrade (122
degrees Fahrenheit) in ambient temperature.
2 Safety Warnings and Instructions
WARNING
This product can expose you to chemicals including arsenic, which is known to the State of California to
cause cancer. For more information, go to www.P65Warnings.ca.gov.
CAUTION
Do not expose the tester to rain or snow.
} Working in the vicinity of a lead acid battery is dangerous. Batteries generate explosive gases during normal
operation. For this reason it is of utmost importance, if you have any doubt, that you read these instructions very
carefully each time you use your tester.
} To reduce risk of battery explosion, follow these instructions, those published by the battery manufacturer, and
the manufacturer of any equipment you intend to use in the vicinity of the battery. Observe cautionary markings
on these items.
} Another person should be within range of your voice or close enough to come to your aid when you work near a
lead acid battery.
} Have plenty of fresh water and soap nearby in case battery acid contacts skin, clothing, or eyes.
} Wear safety glasses and protective clothing.
} If battery acid contacts your skin or clothing, wash immediately with soap and water. If acid enters your eye,
immediately flood the eye with running cold water for at least ten minutes and seek immediate medical attention.
} NEVER smoke or allow a spark or flame in vicinity of the battery or engine.
} Be extra cautious to reduce the risk of dropping a metal tool onto the battery. It could spark or short-circuit the
battery or other electrical parts and could cause an explosion.
} Remove personal metal items such as rings, bracelets, necklaces, and watches when working with a lead acid
battery. These items can produce a short-circuit current high enough to weld a ring or like to metal causing a
severe burns.
3 Paper Loading/Replacement
Do the following to load paper:
1. Open the clear cover.
2. Insert a new/replacement paper roll (PN 1699200246) into the paper feeder for auto running the paper into the
printer.
3. Pull the paper slowly and straight from the paper roll in the chamber.
Note: The battery clamp replacement part number is 1699200245.
BAT 135 | REV. A | JANUARY 2018
en | 4 | Operating Instructions | BAT 135 Battery Tester
4 Test Preparation
1. Ensure that the area around the battery is well ventilated while the battery is being tested.
2. Clean battery terminals. Be careful to keep corrosion from coming in contact with your eyes.
3. Inspect the battery for cracked or broken case or cover. If the battery is damaged, do not use the tester.
4. If the battery is not sealed maintenance free, add distilled water in each cell until the battery acid reaches the
level specified by the manufacturer. This helps purge excessive gas from cells. Do not overfill.
5. If necessary to remove battery from vehicle to test, always remove the ground terminal from the battery first.
Make sure all accessories in the vehicle are off to prevent arcing.
5 Battery Testing
CAUTION
Before you test a battery in a vehicle, turn off the ignition and all accessories and loads. Close all
vehicle doors and the trunk lid.
Note: Each time you connect the tester to a battery, the tester will run a quick cable verification to ensure a
proper connection through the output cables to sensors in the clamp jaws. If the connection checks out OK, the
display will momentarily flash and proceed to the Home Screen. In operation the tester will only show three
results: CHECK CLAMPS / VOLTAGE HIGH / VOLTAGE LOW.
1. Make sure you have put 6 pcs 1.5V batteries into the battery chamber. Oxyride batteries are not recommended
because of the initial 1.7 Volt output. If the 1.5V battery runs out of power, the screen will display “POWER
LOW.” Replace those 6 pcs 1.5V batteries before starting the test.
Note: Nothing will be seen on the display until the tester is connected to a vehicle battery.
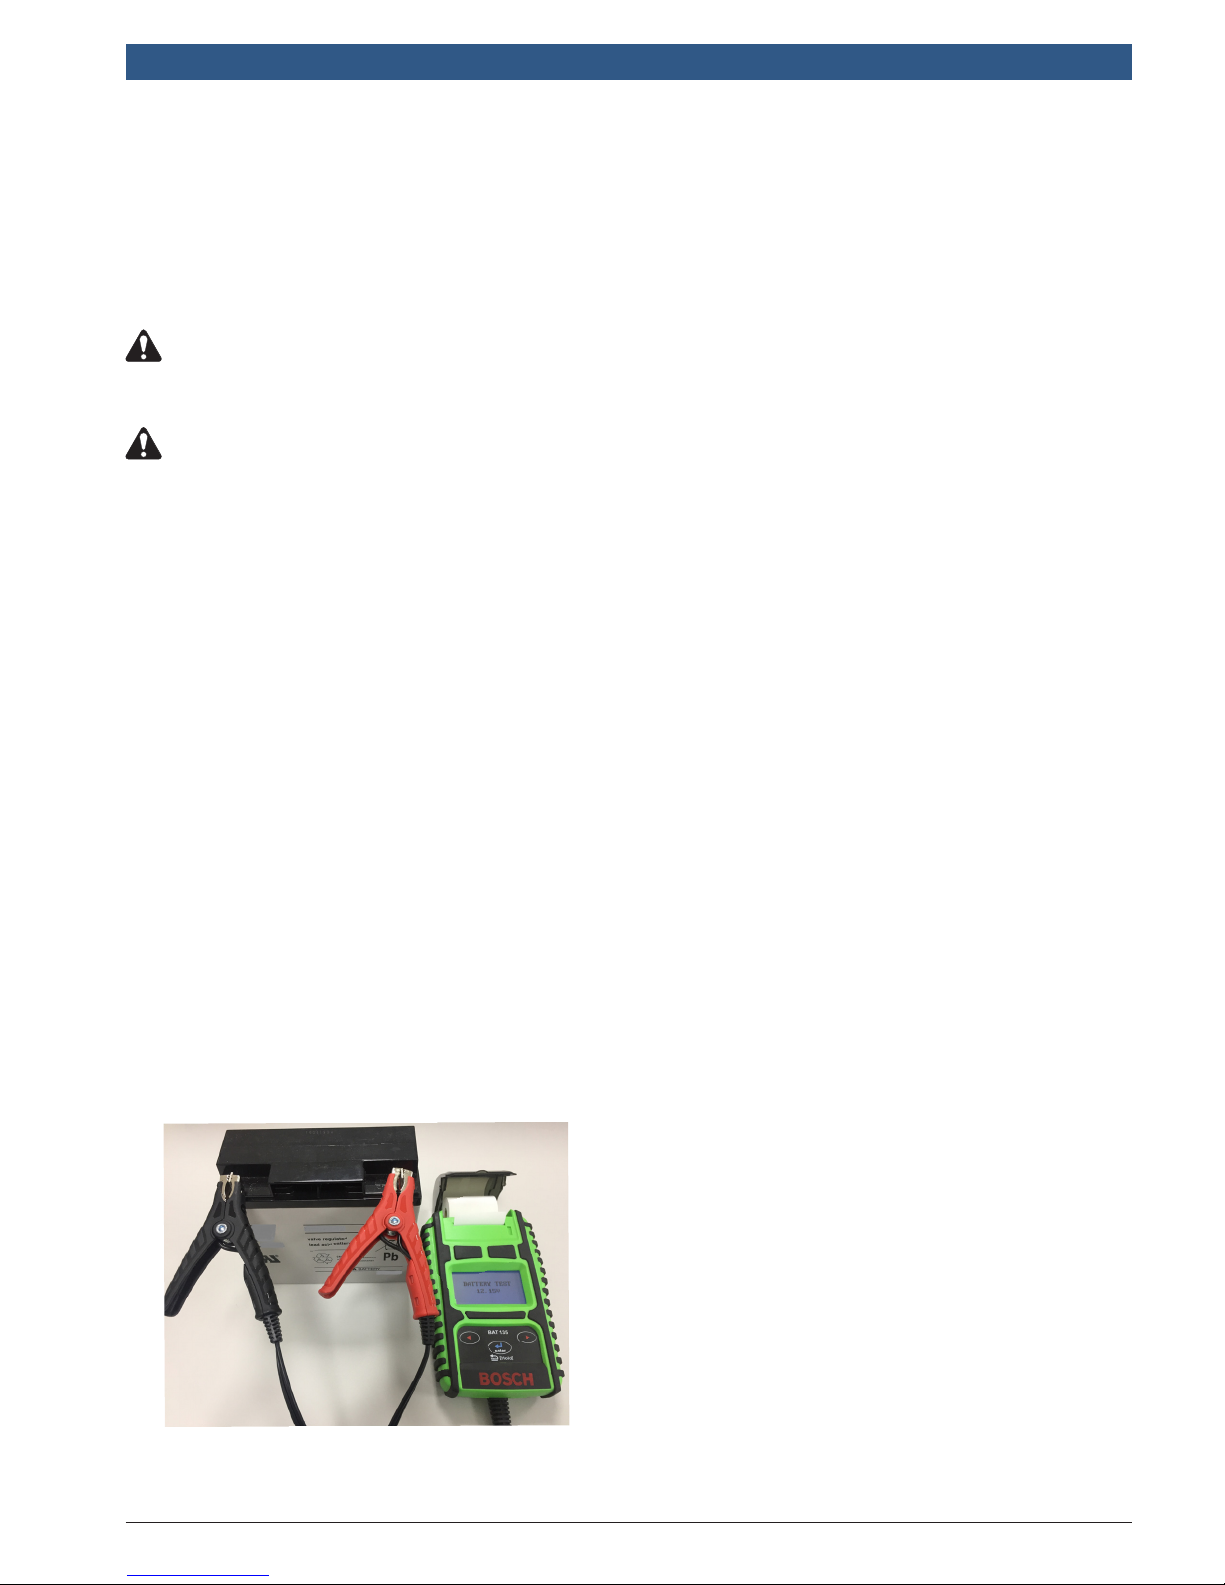
2. Make sure the battery terminals are clean. Wire brush them if necessary. Clamp the black load lead to the
vehicle negative battery terminal. Clamp the red load lead to the vehicle positive battery terminal. Clamp on the
lead part of the terminal only, as clamping on the iron part of the terminal will lead to inaccurate test results.
3. View the
4. Press to select Battery Test, then press ENTER.
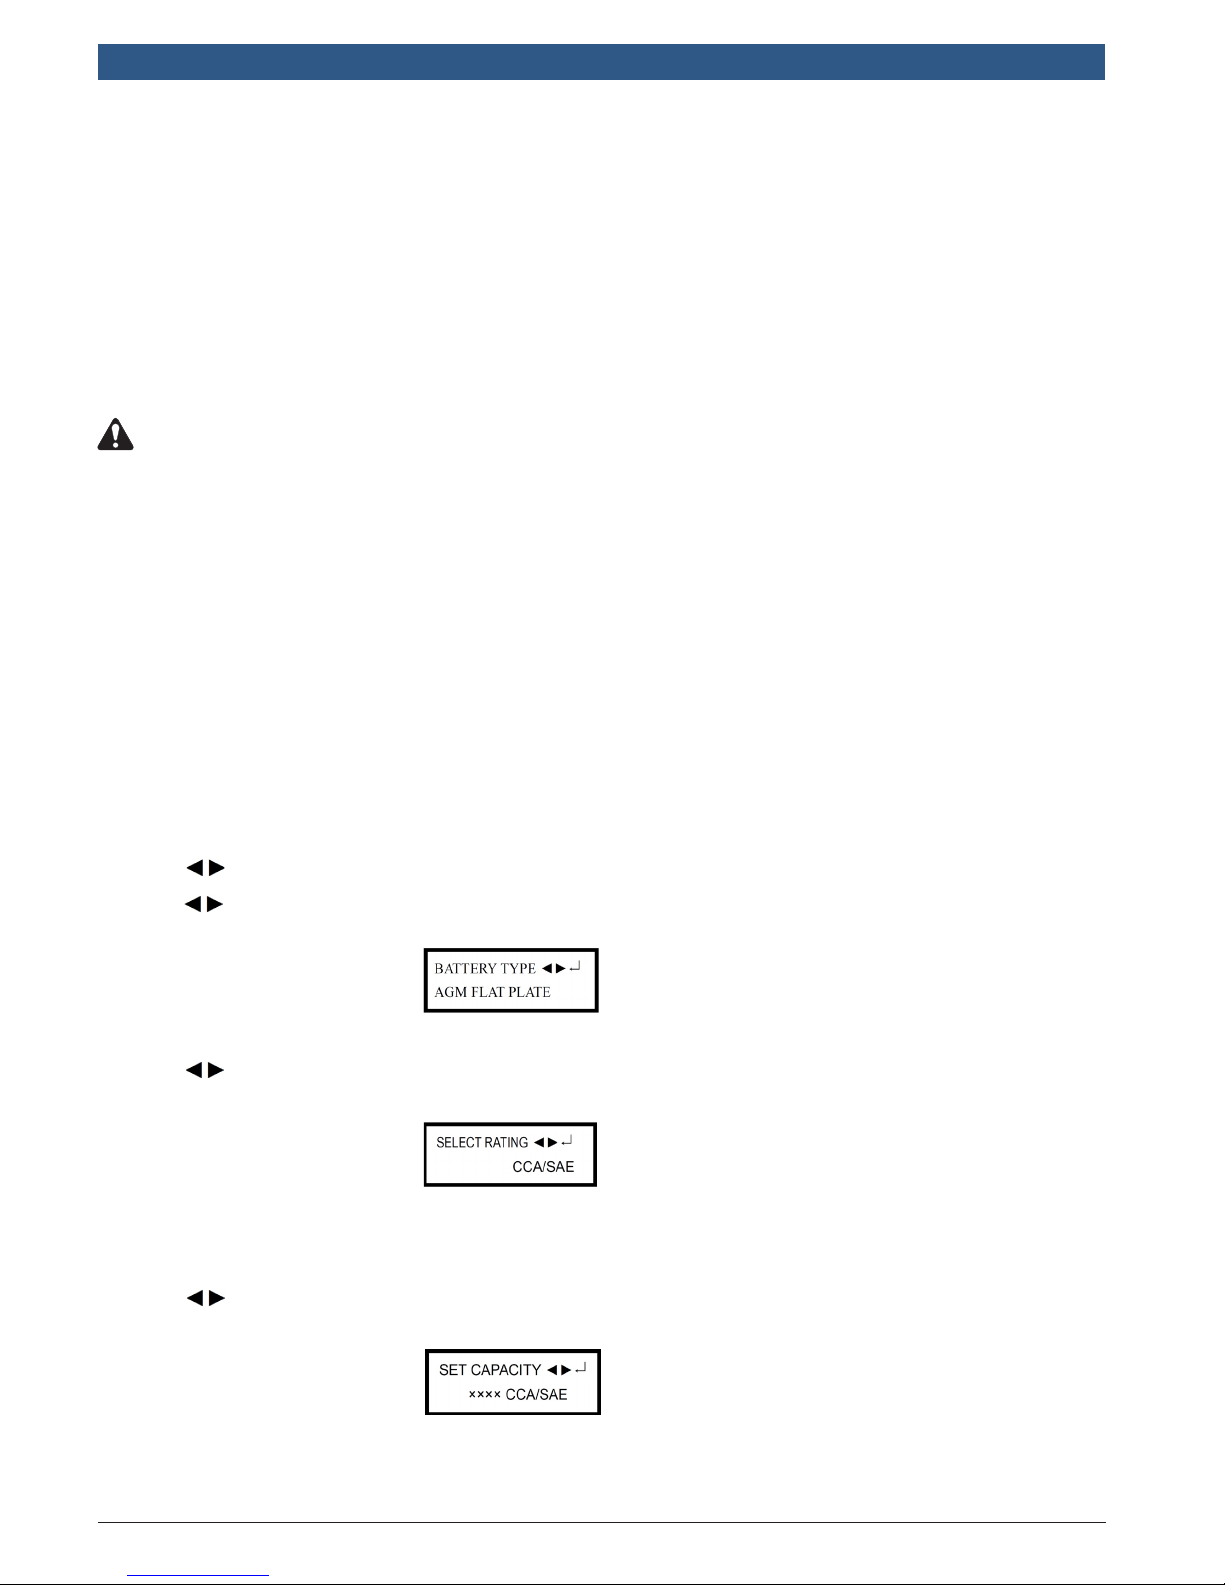
5. Press to select one of the following battery types:
} FLOODED
} AGM FLAT
} AGM SPIRAL
} VRLA/GEL
Press ENTER to confirm choice.
6. Press to select one of the following battery ratings.
} CCA/SAE
} EN
} JIS
} DIN
} IEC
} CA/MCA
Press ENTER to confirm choice.
7. Press to select the battery capacity of SAE from one of the following:
System Analyzer Screens
diagram (
Example
Example
Appendix A
) for selection options.
} CCA/SAE: 40~2000
} EN: 40~1885
} DIN: 25~1120
} IEC: 30~1320
} JIS: By battery type number
} CA/MCA: 50~2400
Press ENTER to begin the test.
BAT 135 | REV. A | JANUARY 2018
Example
Operating Instructions | BAT 135 Battery Tester | 5 | en
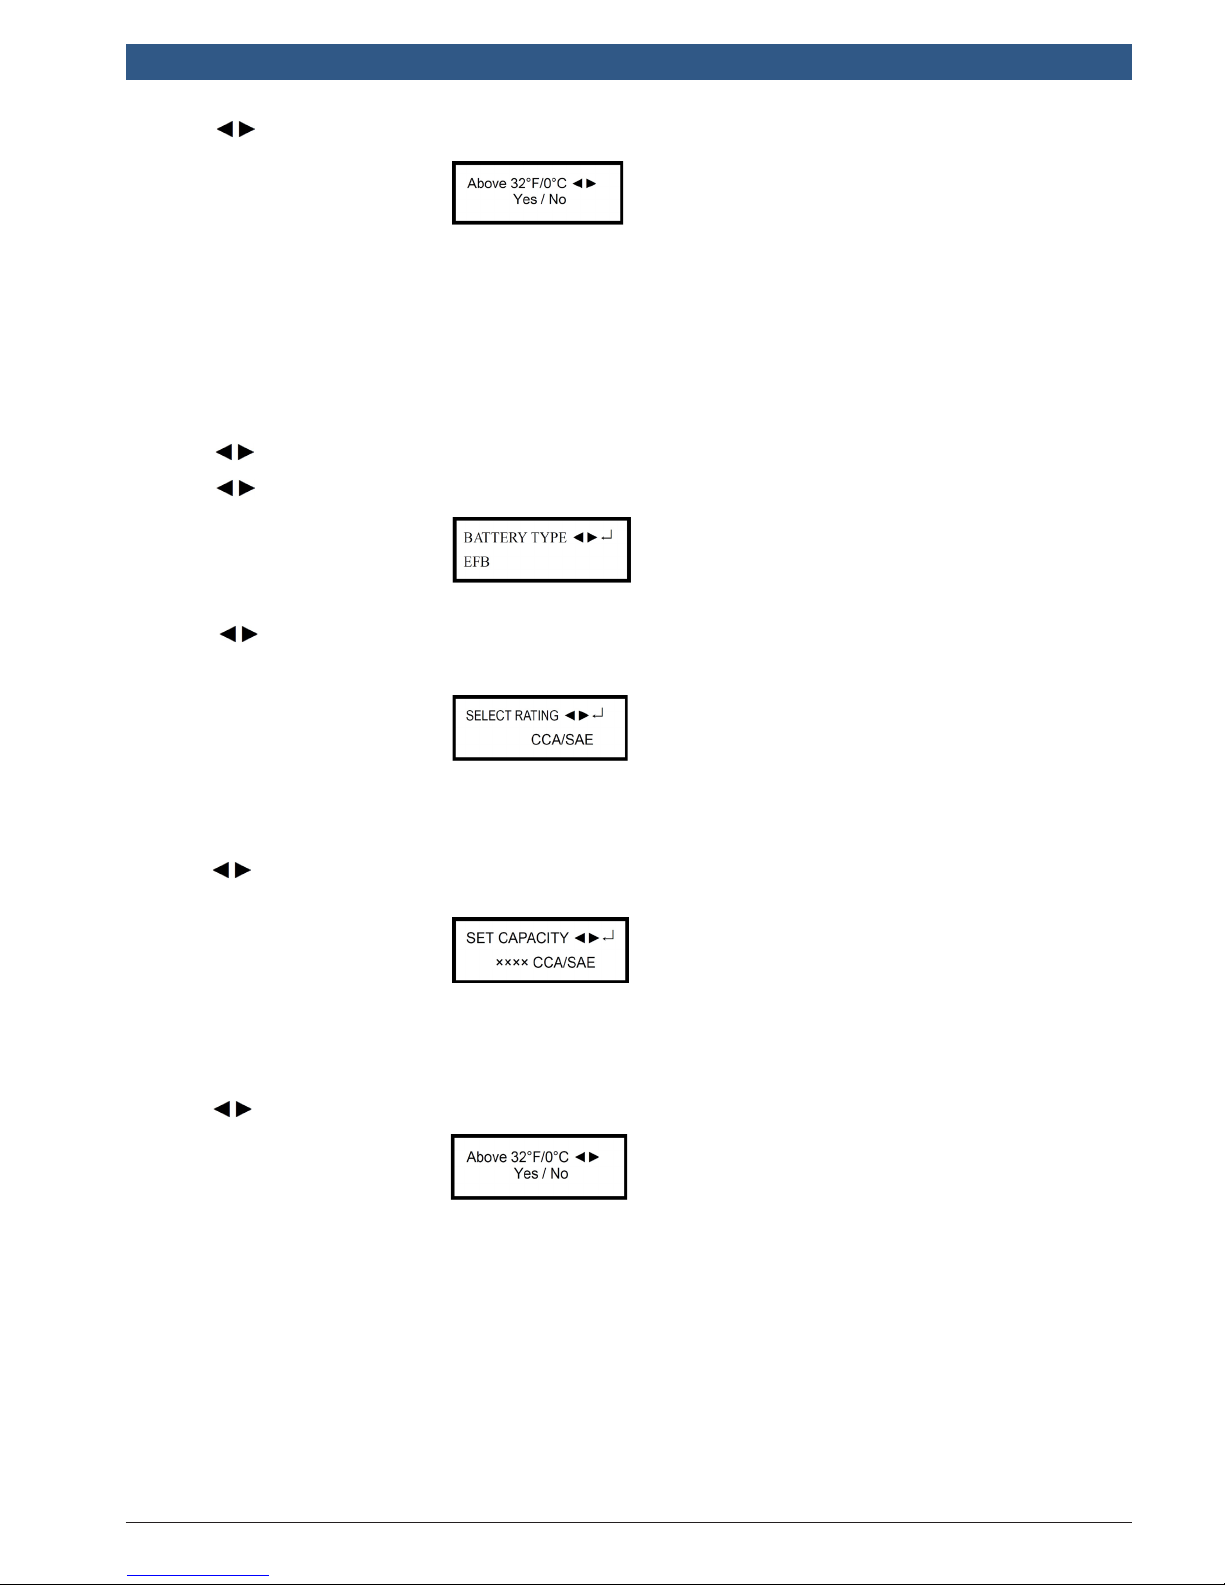
8. Press to confirm the temperature.
Example
Press ENTER to begin the test.
Note: Before the test is started, you can always return to the previous page by pressing and holding ENTER for
two seconds.
Important: If prompted by the tester to remove a surface charge, refer to
Appendix B, Surface Charge Notice
6 Start/Stop Test
1. Press to select Start/Stop Test, then press ENTER.
2. Press to select one of the following the battery types:
} EFB
} AGM FLAT
Press ENTER to confirm choice.
3. Press to select one of the following battery ratings:
} CCA/SAE
} EN
} JIS
} DIN
} IEC
} CA/MCA
Example
Example
.
Press ENTER to confirm choice.
4. Press to input one of the following battery capacities of SAE:
} CCA/SAE: 40~2000
} EN: 40~1885
} DIN: 25~1120
} IEC: 30~1320
} JIS: By battery type number
} CA/MCA: 50~2400
Press ENTER to begin test.
5. Press to confirm temperature.
Press ENTER to begin test.
Note: Before the test is started, you can always return to the previous page by pressing and holding ENTER for
two seconds.
Important: If prompted by the tester to remove a surface charge, refer to
Example
Example
Appendix B, Surface Charge Notice
.
BAT 135 | REV. A | JANUARY 2018
 Loading...