

Page 1
AUTORADIO
T3/F4 ASB EU
T-Line 3 CR T-Line 3 CD Funline 4
Ravenna C32 Kiel CD32 Bologna C52
7 642 115 310 7 642 171 310 7 642 210 310
Dublin C32 Porto CD32
7 642 120 310 7 642 172 310 Carolina DJ52
Boston C32 Alicante CD32 7 642 410 310/9
7 642 125 510 7 642 174 310
San Remo CD32
Louisiana DJ32 7 642 176 310
7 642 121 310/9 Santa Cruz CD32 Modena CD52
Minnesota DJ32 7 642 178 310 7 642 260 310
7 642 141 310/9 Valencia CD52
Florida DJ32 7 642 262 310
7 642 166 310/9
8 622 403 462 BN 02/03
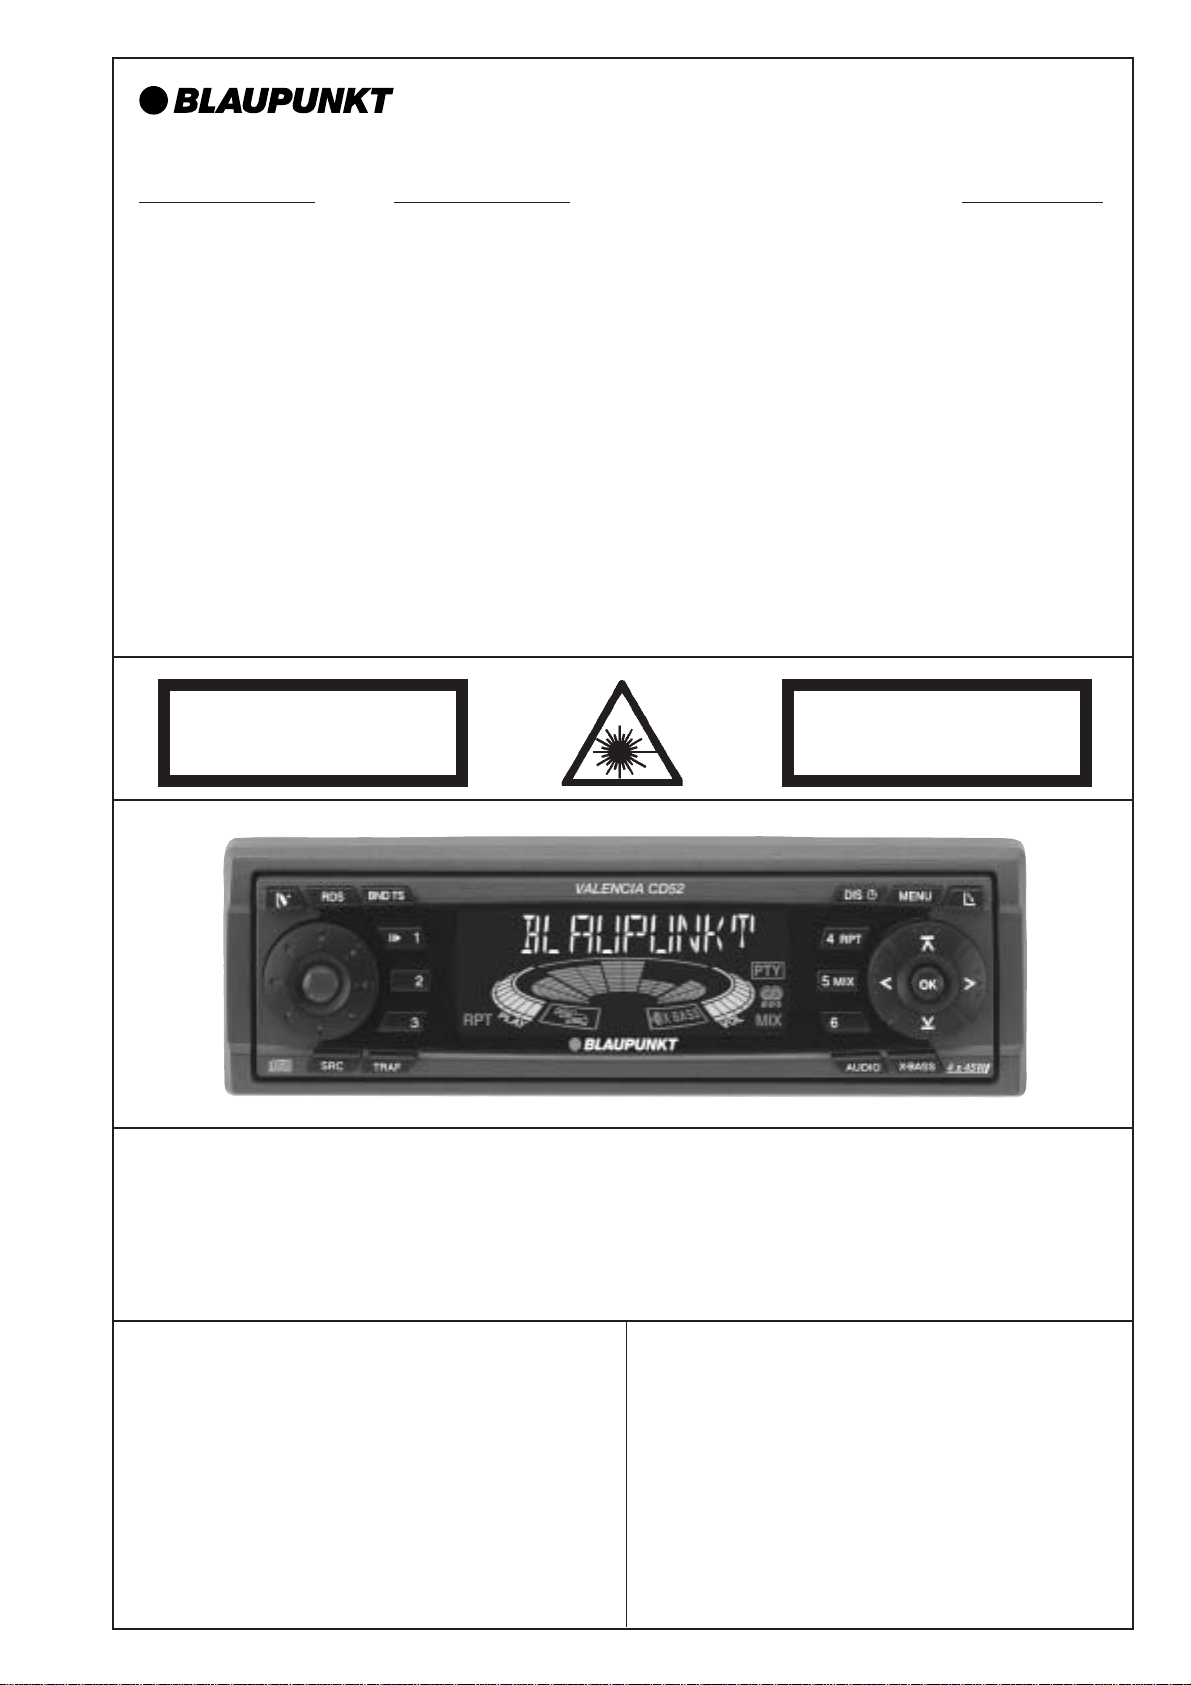
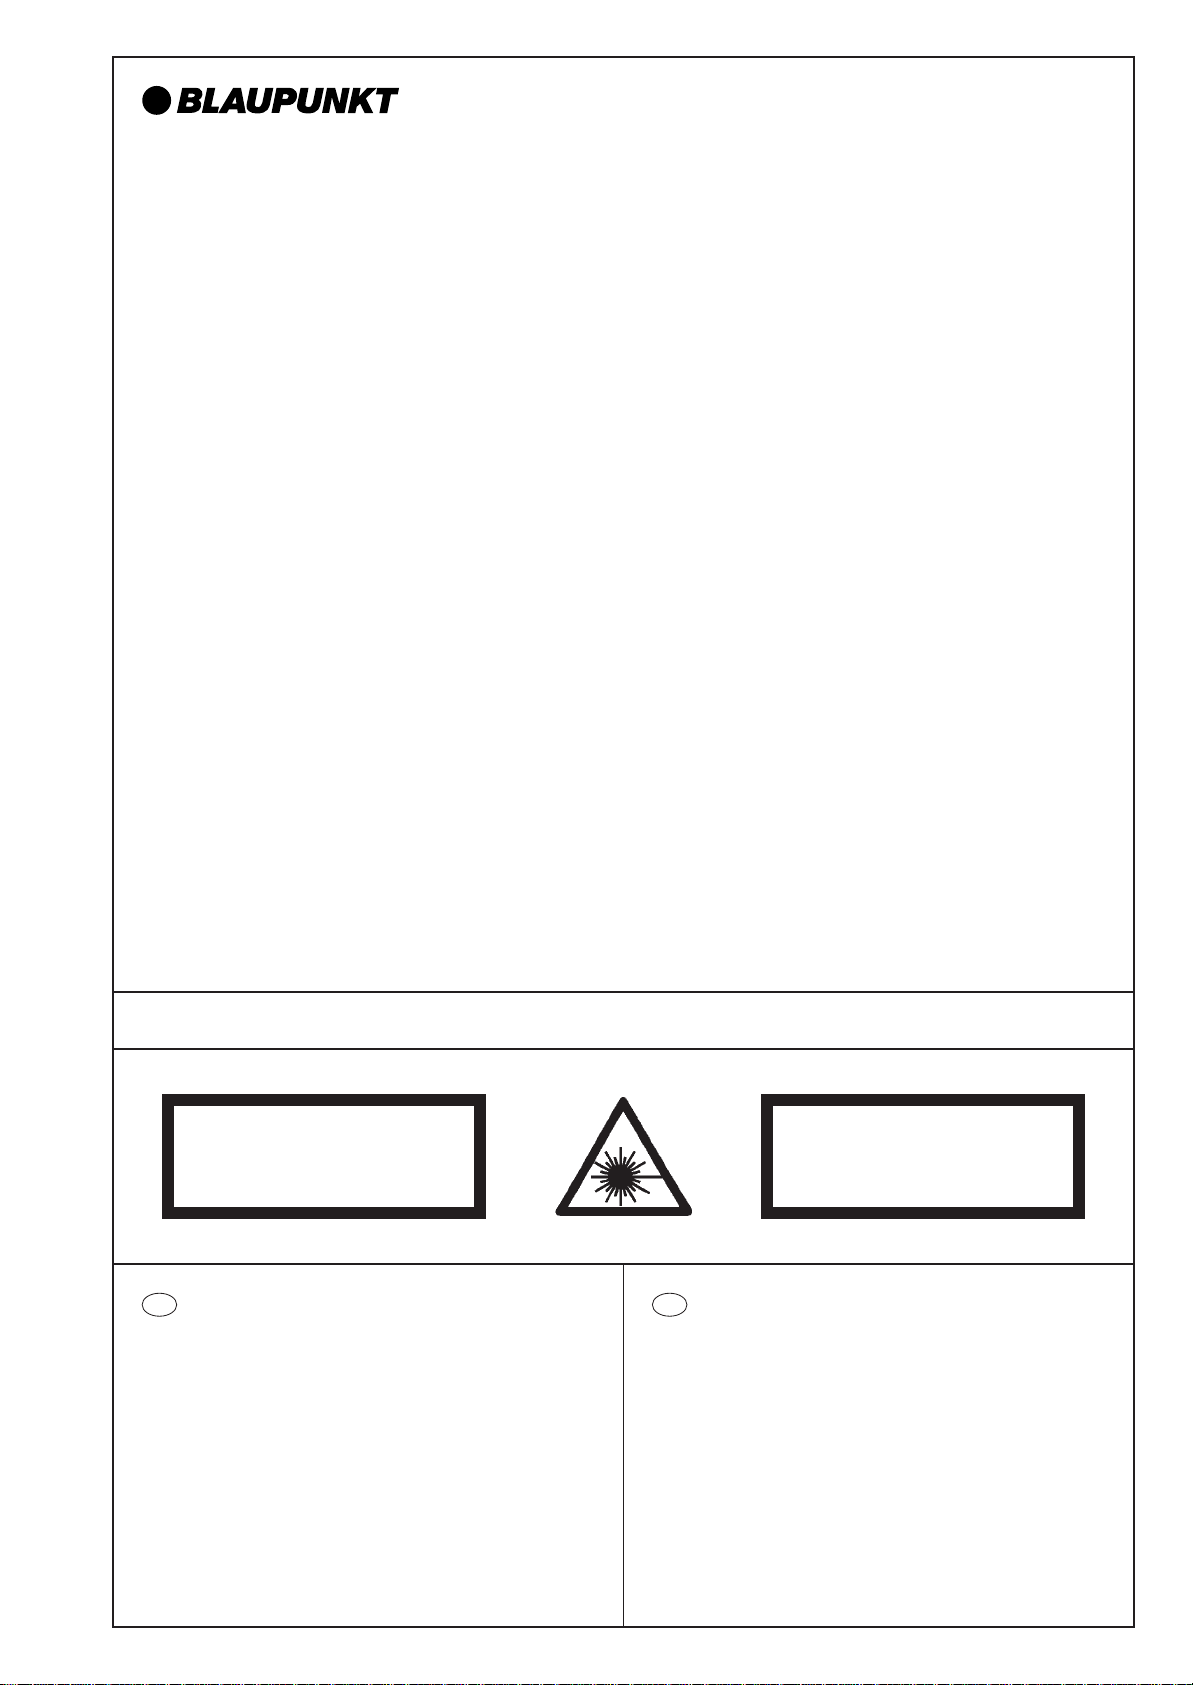
CLASS 1
LASER PRODUCT
UNSICHTBARE LASERSTRAHLUNG
NICHT DEM STRAHL AUSSETZEN
LASER CLASS 3B
• Serviceanleitung / • Service Manual
Abgleich und Programmierungen nur mit Softwaretool (ComServer) möglich
All alignment and programming steps can only be carried out with the ComServer
software tool.
(D) VORSICHT!
Die CD-Geräte beinhalten eine Laserkomponente!
Im Servicefall bitte nachfolgende Hinweise
beachten:
- Das Gerät arbeitet mit einem unsichtbaren Laserstrahl.
- Bei geöffnetem Gerät tritt im Bereich des Plattenfaches
Laserstrahlung aus.
- Nicht in den Strahl blicken.
- Unbeteiligte Personen vom Arbeitsplatz fernhalten.
- Der Betrachtungsabstand darf 13 cm nicht unterschreiten.
- Kann dies nicht eingehalten werden, muss eine geeignete
Laserschutzbrille getragen werden.
(GB) CAUTION!
The CD units are equipped with a laser component!
For servicing make sure to observe the following
instructions:
- The unit operates with invisible laser beams.
- When the cover is removed, invisible laser beams are
emitted near the disc compartment.
- Avoid direct eye contact with these beams.
- Keep unauthorised persons away from the workbench.
- The viewing distance should not be less than 13 cm.
- If this distance cannot be kept, use suitable laser safety
goggles.
Page 2
Main Feature list Funline4
Modena CD52 Valencia CD52 Bologna C52
Features
FM-Preset 2x6 2x6 2x6
MW-Preset 1x6 1x6 1x6
LW-Preset 1x6 1x6 1x6
FMT 1x6 1x6 1x6
HICUT √√ √
lo/dx 3/3 3/3 3/3
Mechanism CC TN708
Dolby B √
Metal √
S-CPS √
Repeat √
Radio Monitor √
Mechanism CD BP4R/3 BP4R/3
Track Mix √√
Track Repeat √√
Carolina DJ52
Track Scan √√
Mute √√ √
X-Bass 3 steps 3 steps 3 steps
Preamp 4 x 2V 4 x 2V 4 x 2V
Source Tone Memory √√ √
Telephone Input √√ √
AUX IN √√ √
Radio Mute √√ √
Display negative negative negative
Flip Panel √√ √
DMS ASCI ASCI ASCI
Dimmer √√ √
IR RC08 optional optional optional
Peak Level Meter √√ √
Clock √√ √
Release Panel √√ √
Running Text √√ √
ETUI √√ √
CDC-A08; IDC-A09 ASCI ASCI ASCI
- 4 -
Page 3
Features
FM-Preset 2x6 2x6 2x6 2x6 2x6 2x6 2x6 2x6 2x6
MW-Preset 1x6 1x6 1x6 1x6 1x6 1x6 1x6 1x6
LW-Preset 1x6 1x6 1x6 1x6 1x6 1x6 1x6 1x6
FMT 1x6 1x6 1x6 1x6 1x6 1x6 1x6 1x6 1x6
HICUT √√√ √√√√√√
lo/dx 3/3 3/3 3/3 3/3 3/3 3/3 3/3 3/3 3/3
Mechanism CC ADC 1400 ADC 1400 ADC 1400 TN708
Dolby - - - B
Metal - - - √
S-CPS - - - √
Repeat - - - √
Mechanism CD BP4-R BP4-R BP4-R BP4-R BP4-R
Track Mix √√√√√
Track Repeat √√√√√
Track Scan √√√√√
X-Bass 3 steps 3 steps 3 steps 3 steps 3 steps 3 steps 3 steps 3 steps 3 steps
Preamp 4 x 2V 4 x 2V 4 x 2V 4 x 2V 4 x 2V 4 x 2V 4 x 2V 4 x 2V 4 x 2V
DMS, CDC-A08; IDC-A09 ASCI ASCI ASCI ASCI ASCI ASCI ASCI ASCI ASCI
AUX IN √√√ √√√√√√
Line Out √√√ √√√√√√
Tel/Nav In √
Radio Mute √√√ √√√√√√
IR Remote Control RC08 optional optional optional optional optional optional optional optional optional
Peak Level Meter √√√ √√√√√√
Clock manual 12/24 hours √√√ √√√√√√
Facia colour black black black black black black black black titanium
Night Design amber red amber red amber amber red red red
Iso Connector 36 pins √√√ √√√√√√
Release Panel √√√ √√√√√√
Dublin C32
Lousiana DJ32
Boston C32
(blue)
Ravenna C32
Florida DJ32
Minnesota
DJ32
Kiel
CD32
Porto
CD32
Alicante
CD32
(blue)
San Remo
CD32
Santa Cruz
Edition
CD32
Main Feature list T-Line3
- 5 -
Page 4
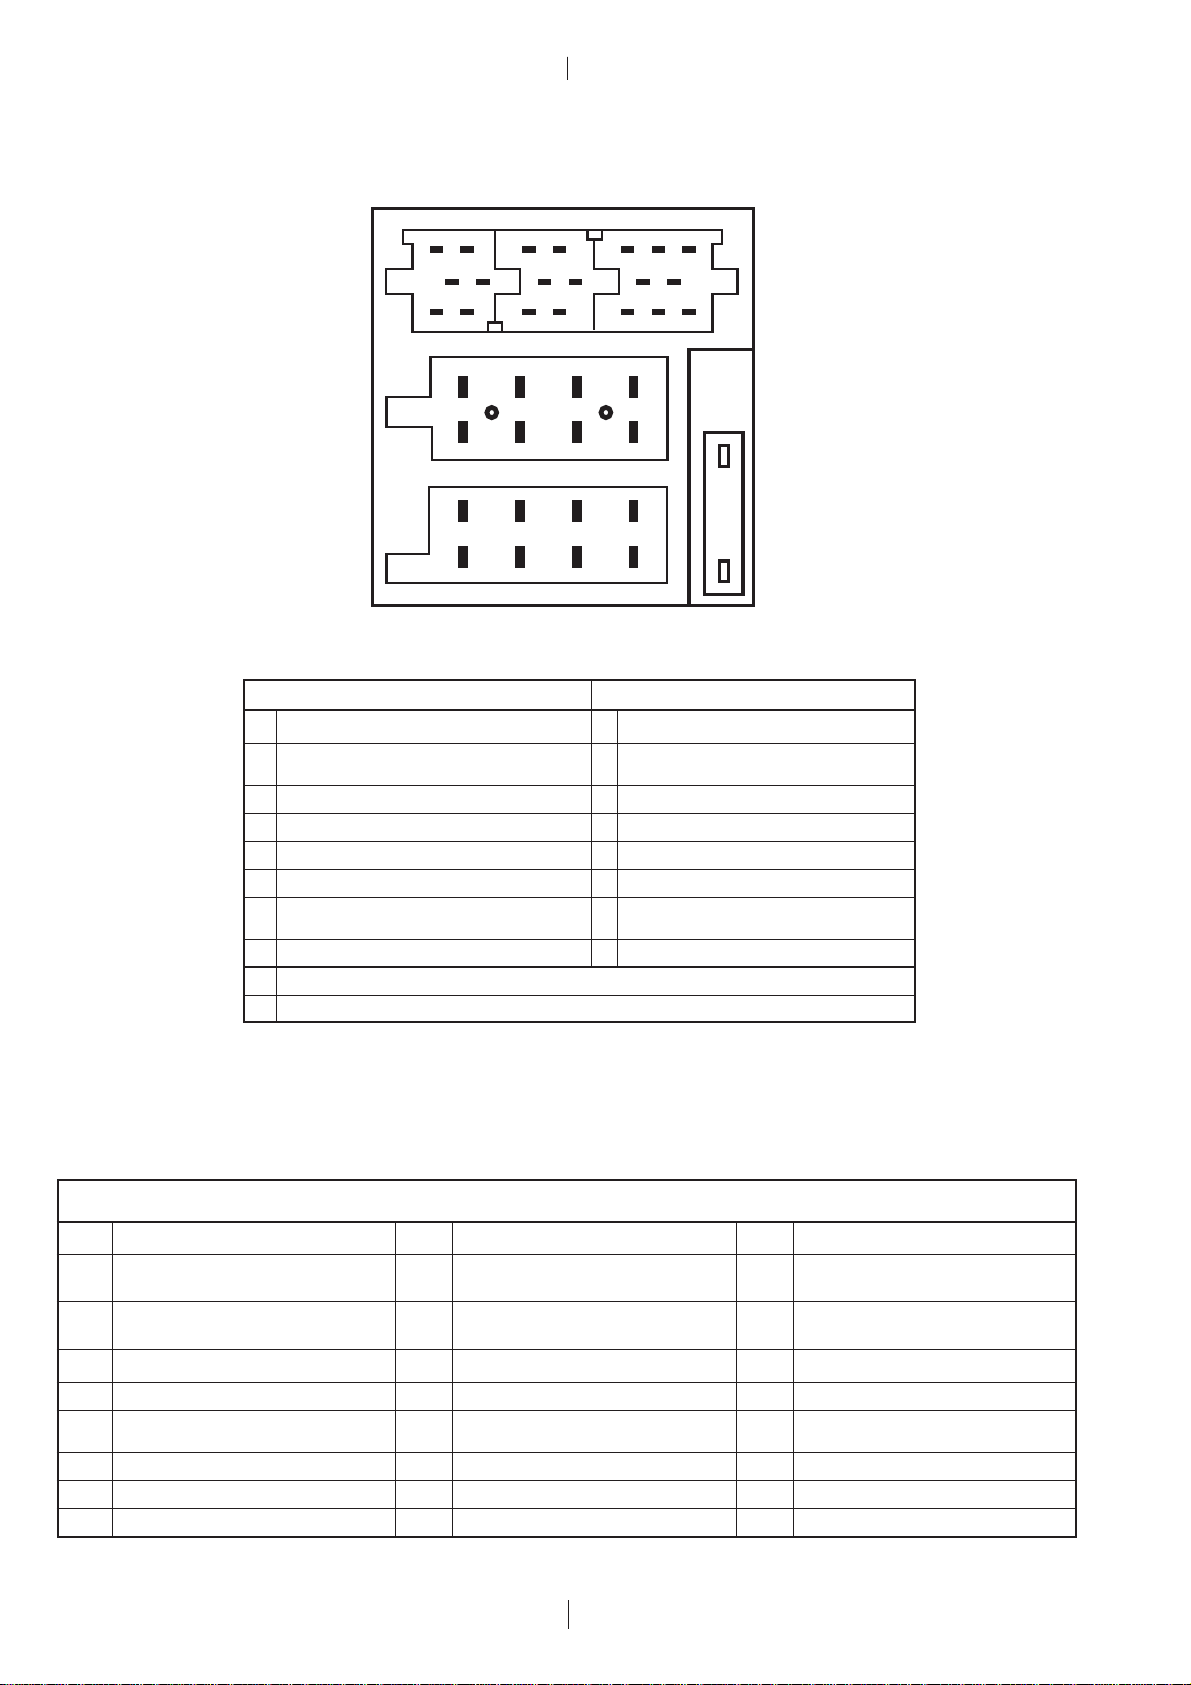
(D) Belegung des Anschlußkästchens
C-1 C-2 C-3
(GB) Pin assignment of quickfit connector
16
19
15
18
20
7
8
7
8
C
B
A
7
3
4
3
4
10 13
9
12
5
b
6
5
6
14
6
3
581114 17
2
1
a
2
1
2
AB
1NC1Speaker Out (RR +) 4Ω
2 <2volts = active; open = not active
3NC3Speaker Out (RF +) 4Ω
4 Permanent plus (KL 30); 10 A 4 Speaker Out (RF-) 4Ω
5 Automatic antenna 5 Speaker Out (LF +) 4Ω
6 Illumination, active high (3 - 12 volts) 6 Speaker Out (LF-) 4Ω
7 <2.5volts = Ign.off; >7volts = Ign.on 7
8 Ground 8 Speaker Out (LR-) 4Ω
a MAUS-BUS-OUT (TXD) <0.5volts = logic 0; >3.5volts = logic 1
b MAUS-BUS-IN (RXD) <1volt = logic 0; >3.5volts = logic 1
Telephone mute 2 Speaker Out (RR -) 4Ω
Ignition plus, (KL 15) Speaker Out (LR +) 4Ω
(*) Nur Funline 4 Geräte und Santa Cruz / (*) only Funline 4 units and Santa Cruz
(+) Nur Funline 4 Geräte / (+) only Funline 4 units
C
C1 C2 C3
1 Line out, 3V/10kΩ (LR) (*)7 Tel.-/Navi. AF In 10V/560Ω 13 CD-Changer ASCI IN / (+)TMC-Out
2 Line out, 3V/10kΩ (RR) (*)8 Tel.-/Navi. AF In 10V/560Ω 14 CD-Changer ASCI OUT / (+)TMC-Out
3 Line out ground 9 NC 15 CDC permanent plus (bloc A / pin 4)
4 Line out out, 3V/10kΩ (LF) 10 +12 V switched 16 +12 V switched
5 Line out out, 3V/10kΩ (RF) Remote control PWM 17 CD-Changer I2C-Bus Masse / Gnd.
11 <1volt = logic 0; >3.5volts = logic 1
6 +12 V switched 12 Remote control Ground 18 Aux Ground
IG für A/Pin5; C1/Pin6; C2/Pin10 + C3/P = 300 mA. IG for A/Pin5; C1/Pin6; C2/Pin10 + C3/P = 300 mA.
- 6 -
<1volt = logic 0; >3.5volts = logic 1
<0.5volt = logic 0; >3.5volts = logic 1
19 Aux input 2V/6kΩ (L)
20 Aux input 2V/6kΩ (R)
Page 5

(D) Abgleichhinweise
(GB) Notes on alignment
Der Abgleich erfolgt nur noch elektronisch über
den PC (ComServer). Es dürfen keine Filter
abgeglichen werden. Nach dem Tausch eines
Filters, muss der Abgleich über den PC erfolgen.
Wellenbereich:
FM = 87,5 MHz - 108,0 MHz
(100 kHz automatische Suchlaufschritte)
(50 kHz manuelle Suchlaufschritte)
MW = 531 kHz - 1602 kHz
(9 kHz automatische Suchlaufschritte)
(9 kHz manuelle Suchlaufschritte)
LW = 153 kHz - 279 kHz
(9 kHz automatische Suchlaufschritte)
(1 kHz manuelle Suchlaufschritte)
Vorbereitende Arbeiten
Bevor Sie den elektrischen Abgleich durchführen, müssen Sie
folgende Vorbereitungen treffen:
Höhen - Einstellung........................................................................ 0
Bass - Einstellung .......................................................................... 0
Fader - Einstellung ......................................................................... 0
Balance - Einstellung ..................................................................... 0
HICUT (Menü, nur Funline 4)......................................................... 0
X-Bass - Einstellung (Menü) .....................................................OFF
The alignment is always done electronically using
a PC (ComServer). Do not align any filters. If a
filter has been replaced, align the unit with the PC.
Waveband:
FM = 87.5 MHz - 108.0 MHz
(100 kHz automatic search steps)
(50 kHz manual search steps)
MW = 531 kHz - 1602 kHz
(9 kHz automatic search steps)
(9 kHz manual search steps)
LW = 153 kHz - 279 kHz
(9 kHz automatic search steps)
(1 kHz manual search steps)
Preparatory steps
Observe the following preparations before performing the electrical
alignment:
Treble adjustment .......................................................................... 0
Bass adjustment ............................................................................ 0
Fader adjustment ........................................................................... 0
Balance adjustment ....................................................................... 0
HICUT (menu, only Funline 4) ....................................................... 0
X-Bass adjustment (DSC menu) ............................................... OFF
Lautsprecheranschluß
Der Lautsprecherausgang muß mit 4 Ω abgeschlossen sein.
Demomode
Demomode aktivieren
1. Schalten Sie das Autoradio aus.
2. Betätigen Sie die Tasten 1 + 6 gleichzeitig und halten Sie die
Tasten gedrückt.
3. Schalten Sie das Gerät ein und halten Sie die Tasten noch für
ca. 1 Sekunde gedrückt.
Nach diesem Schritt erscheint im Display nach "BLAUPUNKT" der
Schriftzug "DEMO".
Demomode deaktivieren
Sie verlassen den Servicemode durch Ausschalten des Autoradios.
Wiederholen Sie bitte den Schritt 1-3 um den Demomode zu
verlassen.
Software Version Hauptprozessor und
Kappenprozessor
Testmode aktivieren
1. Schalten Sie das Autoradio aus.
2. Betätigen Sie die Tasten 1 + 2 gleichzeitig und halten Sie die
Tasten gedrückt.
3. Schalten Sie das Gerät ein und halten Sie die Tasten noch für
ca. 1 Sekunde gedrückt.
Loudspeaker connections
The loudspeaker output must be terminated with 4 Ω.
Demo mode
Activating the Demo mode
1. Switch the unit off.
2. Press the push-buttons 1 + 6 simultaneously and hold them
depressed.
3. Switch the unit back on and hold on to the buttons for
approximately one more second.
Following this step, the display will show the wording “BLAUPUNKT” followed by “DEMO”.
Deactivating the Demo mode
You can quit the service mode by switching the radio off.
To quit the demo mode, repeat step 1-3.
Software version main processor and
panel prozessor
Activating the test mode
1. Switch the unit off.
2. Press the push-buttons 1 + 2 simultaneously and hold them
depressed.
3. Switch the unit back on and hold on to the buttons for
approximately one more second.
Das Autoradiodisplay zeigt 8 Zeichen an.
Die 4 linken Zeichen zeigen den Softwarestand des Hauptprozessors an und die 4 rechten Zeichen zeigen den Softwarestand
des Kappen- Prozessors an.
Testmode deaktivieren
Sie verlassen den Service Mode durch Ausschalten des Autoradios.
The car radio display shows 8 characters.
The left 4 characters indicate the software version of the main
processor, the right 4 characters indicate the software version of
the panel processor.
To exit the test mode
You can quit the service mode by switching the radio off.
- 7 -
Page 6
AUTORADIO
D/EU
Funline 4 / T-Line 3
Modena CD52
7 642 260 310
Valencia CD52
7 642 262 310
Bologna C52
7 642 210 310
Carolina DJ52
7 642 410 319
Alicante CD32
7 642 174 310
Porto CD32
7 642 172 310
Kiel CD32
7 642 171 310
San Remo CD32
7 642 176 310
Santa Cruz CD32
7 642 178 310
Dublin C32
7 642 120 310
Boston C32
7 642 125 310
Ravenna C32
7 642 115 310
Louisiana DJ32
7 642 121 319
Florida DJ32
7 642 166 319
Minnesota DJ32
7 642 141 319
Schaltbild • Circuit diagram
CLASS 1
LASER PRODUCT
D
VORSICHT!
Die Geräte beinhalten eine Laserkomponente!
Im Servicefall bitte nachfolgende Hinweise
beachten:
• Das Gerät arbeitet mit unsichtbarem Laserstrahl.
• Bei geöffnetem Gerät tritt im Bereich des Plattenfaches
Laserstrahlung aus.
• Nicht in den Strahl blicken.
• Unbeteiligte Personen vom Arbeitsplatz fernhalten.
• Der Betrachtungsabstand darf 13 cm nicht unterschreiten.
• Kann dies nicht eingehalten werden, muß eine geeignete
Laserschutzbrille getragen werden.
8 622 403 366 BN-ST 04/03
UNSICHTBARE LASERSTRAHLUNG
NICHT DEM STRAHL AUSSETZEN
LASERKLASSE 3B
GB
CAUTION!
The CD units are equipped with a laser component!
For servicing make sure to observe the following
instructions:
• The unit operates with invisible laser beams.
• When the cover is removed, invisible laser beams are
emitted near the disc compartment.
•Avoid direct eye contact with these beams.
• Keep unauthorised persons away from the workbench.
• The viewing distance should not be less than 13 cm.
• If this distance cannot be kept, use suitable laser safety
goggles.
Page 7
Boston C32
Dublin C32
Ravenna C32
Louisiana DJ32
Florida DJ32
T - LINE 3 FUNLINE 4
Minnesota DJ32
Alicante CD32
Por to CD32
San Remo CD32
Kiel CD32
Santa Cruz CD32
Bologna C52
Carolina DJ52
Modena CD52
Valencia CD52
Page 8

HAUPTPLATTE
MAIN BOARD
Blockschaltbild
Block diagram
PL 4604 D06
Page 9

Audio-Endstufe / Power amplifier
PL 4604 D06
Page 10

HAUPTPLATTE
MAIN BOARD
Tuner
NICE / CASP
PL 4604 D06
Page 11

HAUPTPLATTE
MAIN BOARD
Audio Signal Verarbeitung / Audio signal processing
PL 4604 D06
Page 12

HAUPTPLATTE
MAIN BOARD
Prozessor / Processor
PL 4604 D06
Page 13

Spannungsversorgung / Power supply
PL 4604 D06
Page 14

HAUPTPLATTE
MAIN BOARD
Schnittstellen / Interface
PL 4604 D06
Page 15

SCHALTERPLATTE
KEY BOARD
PL 4940 D02
Page 16

SCHALTERPLATTE
KEY BOARD
PL 4949 D03
Page 17

CD LAUFWERK BP4 R3 ANALOG
CD MECHANISM BP4 R3 ANALOG
Steuerplatte
Control board
PL 9052 D01
Page 18

B-Side
BP7 Control board
BP7b-CR001-0
Page 19

TN708.3
C1
0,01µ
R30
330k
R28
13k
R26
18k
C9
2,2/50
R24
20k
30 29 28 27 26 25 24 23 22 21
C13
0,1µ
JW5
1µ
CN3
1
V REF
2
L FWD
3
R FWD
4
R REV
5
L REV
TO MECH GND
W1
CN2
1
MMT(+)
2
P GND
3
SMT(+)
4
SMT(–)
C28
0,1µ
R7
220
R6
220
R5
68k
R4
68k
R1
68k
R3
68k
C21
390
C22
390
C19
390
C20
390
VR1
470
VR2
470
R53
220k
C5
33/10
0,01µ
GND
AUX IN2
IC2
AUX IN1
DIRF E
LINE OUT2
MS LPF
LINE OUT1
31
32
33
34
35
36
37
38
39
40
PB EQ2
PB FB2
PB R IN2
PB REF2
PB F IN2
VCT
PB GND
PB F IN1
PB REF1
PB IN1
PB FB1
PB EQ1
PB OUT2
PB OUT1
VCC
TAPE IN2
CXA 2510 Q
TAPE IN1
12345678910
C8
C6
47/16
2,2/50
C2
R25
18k
R27
13k
R29
330k
IC1
LB 1641
GND
OUT1P1Z
IN1
12345678910
C3
0,01µ
D2
R33
100
0,01µ
C4
MTZ 4,7B
NC
T CH2
MS MODE
MS SW
DR SW
TAPE SW
IN SW
NRSW
NC
MS OUT
D GND
MST C
G 1F B
20
19
18
17
16
15
14
13
12
11
T CH1NCG 2F B
R9
3,9k
C10
0,1µ
IN2
JW1
1µ
C16
0,22µ
VCC1
VCC2P2OUT2
R2
22k
C24
0,0082µ
R18
0,022µ
15
C26
47/6,3
C25
10/16
R8
100k
C15
R52
22k
R51
22k
R50
22k
R14
10k
R13
10k
CN4
21
F/R
20
DOLBY ON/OFF
19
OUT-R
18
OUT-L
17
GND
16
SMT-F
15
MTL-IN
14
MS GAIN
13
SMT-R
12
VCC (BATT)
11
TAPE 8V
10
MS OUT
9
MMT +
8
REEL-F
7
MMT –
6
REEL-R
5
ANODE
4
MODE2
3
+5V
2
MODE3
1
MODE1
CrO2
REEL-F
ANODE
REEL-R
+5V
MODE2
MODE1
MODE3
D GND
CN1
1
2
3
4
5
6
7
8
9
Q3
DTC113Z
Q4
DTC113Z
C18
10/16
C7
47/16
C12
0,1µ
Page 20

MOTOR +
MOTOR –
GND
CASS_SWITCH
GND
CASS_MUTE
HAUPTPLATTE
MAINBOARD
TAPE_DIRECTION
LEFT
COM
RIGHT
GND
FR_SWITCH
GND
Page 21

ANSCHLUSSPLATTE
CONNECTOR BOARD
Anschlußplatte
Connector board
PL 8 638 214 596 D02
14
25
252623
24
36
1
2
1
2
710
912
811
3
5
4
6
3
5
4
6
13
14
15
7
8
7
8
16
17
19
18
20
1
234
PL 4596 D02
Page 22

(TO X2000) X2001
ANSCHLUSSPLATTE
CONNECTOR BOARD
Anschlußplatte
Connector board
PL 8 638 213 275 D01
14
25
252623
24
36
1
2
1
2
710
912
811
3
4
3
4
5
6
5
6
13
14
15
7
8
7
8
16
17
18
19
20
1
3
2
4
PL 3275 D01
 Loading...