


OmniView® Secure
KVM Switch
Control |
Control your computer or KVM switch |
|
through a web browser—from anywhere |
||
|
Start Here
EN
FR
DE
NL
ES
IT
Quick Installation Guide
F1DN102Uea
F1DN104Uea
F1DN108Uea
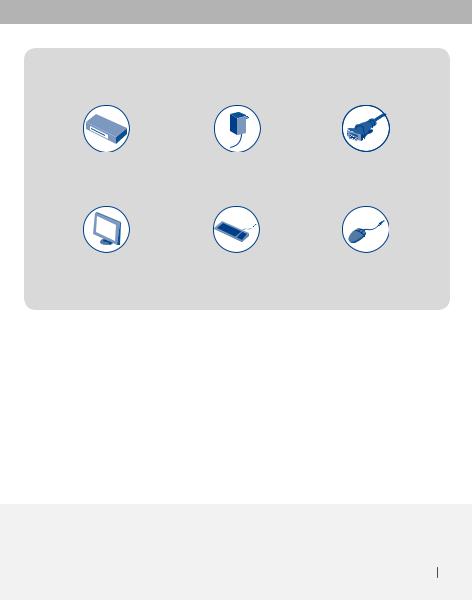
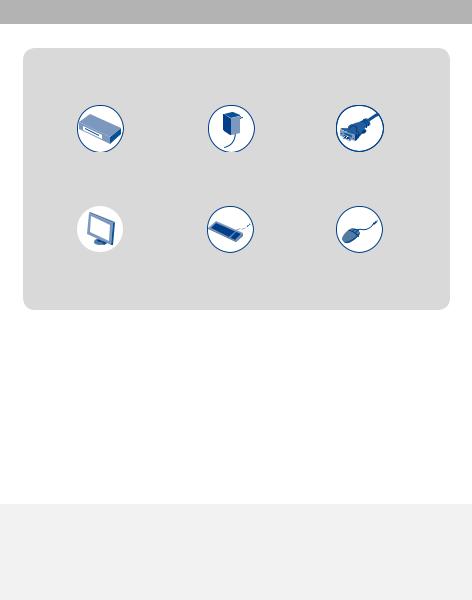
To install the Switch, you will need the following:
OmniView Secure |
5V DC, 2.6A |
Belkin All-In-One USB KVM |
KVM Switch |
Power Adapter |
Cable Kits (F3X1962bXX) |
(included) |
(included) |
– 1 per computer |
VGA Monitor |
USB Keyboard |
USB Mouse |
(“XX” = length in feet)
Introduction
This Quick Installation Guide will guide you through the steps needed to install the OmniView Secure KVM Switch (the Switch). If you have any problems during this installation, please refer to the User Manual.
Introduction 1

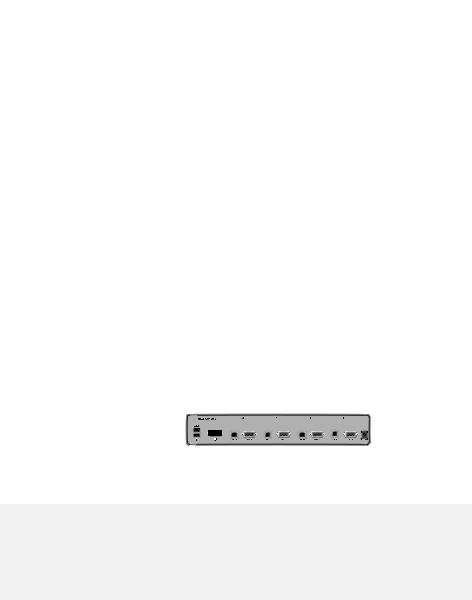
Step 1
Connect the Console to the Switch
EN
NOTE: Before you begin, make sure that all computer equipment and devices are powered off, and that your USB keyboard and mouse work properly with all your computers.
1.1Connect your monitor to the VGA port on the back of the Switch in the “User Console” section.
1.2Connect your keyboard and mouse to the USB ports on the back of the Switch in the “User Console” section.
Connect the Console to the Switch 2
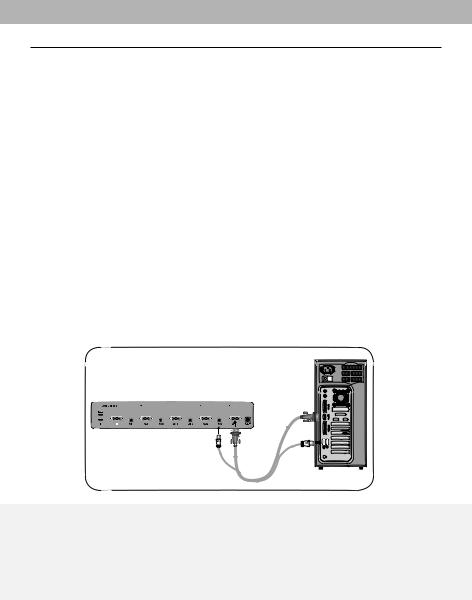
Step 2
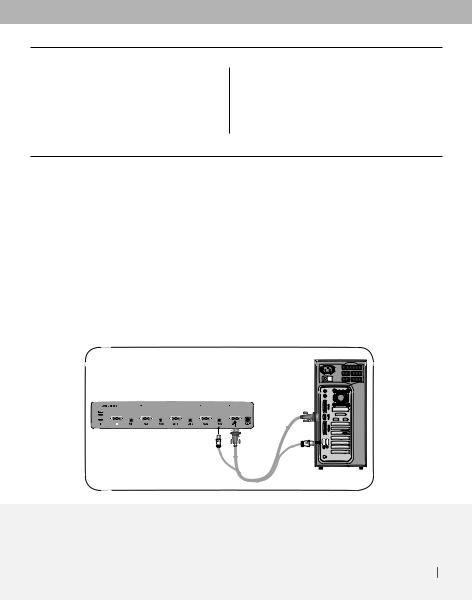
Connect Computers to the Switch
2.1Using the Belkin All-In-One USB KVM Cable Kit, connect one end of the VGA and USB cables to your computer.
2.2Connect the other end of the cables to the ports on the Switch labeled “VGA 01” and “USB 01”.
2.3Repeat steps 1 and 2 for each additional computer you wish to connect.
Connect Computers to the Switch 3
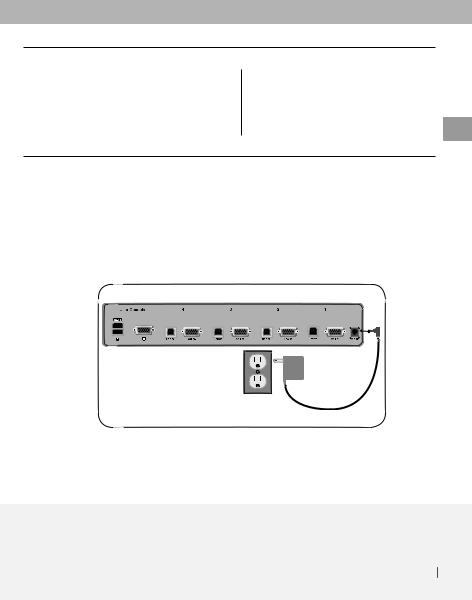
Step 3
Power Up the Systems
EN
3.1Attach the power adapter to the back of the Switch. Only use the power adapter supplied with the Switch.
3.2Power on your computers. All computers can be powered on simultaneously.
You are now ready to use the Switch. Please refer to your User Manual for additional information.
Power Up the Systems 4

OmniView® Secure
KVM Switch
Belkin Ltd. |
Belkin SAS |
|||
Express Business Park |
130 rue de Silly |
|||
Shipton Way, Rushden NN10 6GL |
92100 Boulogne-Billancourt |
|||
United Kingdom |
France |
|
||
+44 |
(0) |
1933 35 2000 |
+33 (0) |
1 41 03 14 40 |
+44 |
(0) |
1933 31 2000 fax |
+33 (0) |
1 41 31 01 72 fax |
Belkin B.V. |
Belkin GmbH |
|||
Boeing Avenue 333 |
Hanebergstrasse 2 |
|||
1119 PH Schiphol-Rijk |
80637 Munich |
|||
Netherlands |
Germany |
|||
+31 |
(0) |
20 654 7300 |
+49 (0) |
89 143405 0 |
+31 |
(0) |
20 654 7349 fax |
+49 (0) |
89 143405 100 fax |
Belkin Iberia |
Belkin Nordic |
|||
Avda. Cerro del Aguila 3 |
Knarrarnäsgatan 7 |
|||
28700 San Sebastián de los Reyes |
164 40 Kista |
|||
Spain |
|
Sweden |
||
+34 |
9 16 25 80 00 |
+46 (0) |
8 5229 1870 |
|
+34 |
9 02 02 00 34 fax |
+46 (0) |
8 5229 1874 fax |
|
© 2006 Belkin Corporation. All rights reserved. All trade names are registered trademarks |
|
of respective manufacturers listed. |
P75210ea |
Switch KVM
Sécurisé OmniView
Commandez votre ordinateur ou votre switch FR
Contrôlez KVM au moyen d’un navigateur Web – où que vous soyez
Commencez ici 
Guide d’installation rapide
F1DN102Uea
F1DN104Uea
F1DN108Uea
Pour installer le switch, vous avez besoin des éléments suivants :
Switch KVM |
Adaptateur de courant |
Kits de câbles KVM |
||
Sécurisé OmniView |
5V CC, 2,6 A |
USB tout-en-un Belkin |
||
|
(fourni) |
(fourni) |
(F3X1962bXX) – |
|
|
|
|
|
1 par ordinateur |
|
|
|
|
|
|
|
|
|
|
Moniteur VGA |
Clavier USB |
Souris USB |
(« XX » indique la longueur en pieds)
Introduction
Ce guide d’installation rapide vous guidera à travers les étapes nécessaires à l’installation du Switch KVM Sécurisé OmniView (le switch). Si vous rencontrez des problèmes lors de l’installation, reportez-vous au manuel de l’utilisateur.
Introduction | 1
Étape 1 |
Branchement de |
|
|
|
la console au switch |
FR
REMARQUE : Avant de commencer, assurez-vous que tout le matériel informatique et tous les appareils sont hors tension, et que le clavier et la souris USB fonctionnent correctement sur tous les ordinateurs.
1.1Branchez votre moniteur au port VGA à l’arrière du switch, dans la partie « User Console » (console utilisateur).
1.2Branchez votre moniteur au port VGA à l’arrière du switch, dans la section « User Console » (console utilisateur).
Branchement de la console au switch | 2
Étape 2 |
Branchement des |
|
|
|
ordinateurs au switch |
|
|
|
|
2.1À l’aide d’un Kit de câbles KVM USB tout-en-un Belkin, branchez une extrémité du câble VGA et des câbles USB à votre ordinateur.
2.2Branchez l’autre extrémité des câbles aux ports du switch « VGA 01 » et « USB 01 ».
2.3Répétez les étapes 1 à 2 pour chaque ordinateur supplémentaire devant être raccordé.
Branchement de la console au switch | 3
Étape 3 |
Mise en route des |
|
|
|
systèmes |
|
|
FR
3.1Branchez l’adaptateur de courant à l’arrière du switch. N’utilisez que l’adaptateur de courant fourni avec l’unité.
3.2Allumez vos ordinateurs. Tous les ordinateurs peuvent être allumés simultanément.
Vous êtes maintenant prêt à utiliser le switch. Pour de plus amples informations, reportez-vous au manuel de l’utilisateur.
Mise en route des systèmes | 4
 Loading...