

Page 1

BeoLab 6002
Guide
Page 2
WARNING: To reduce the risk of fire or
electric shock, do not expose this appliance
to rain or moisture. Do not expose this
equip ment to dripping or splashing and
ensure that no objects filled with liquids,
such as vases, are placed on the equipment.
To completely disconnect this equipment
from the AC Mains, disconnect the mains
plug from the wall socket. The disconnect
device shall remain readily operable.
The lightning flash with arrowhead symbol
within an equilateral triangle, is intended to
alert the user to the presence of un insulated
“dangerous voltage” within the product’s
enclosure that may be of sufficient
magnitude to constitute a risk of electric
shock to persons.
The exclamation point within an equilateral
triangle is intended to alert the user to the
presence of important operating and
main tenance (servicing) instructions in the
literature accompanying the product.
Page 3
Daily use
3
When you have finished setting
up the loudspeakers as described
on the following pages, connect
the entire system to the mains
supply. The indicator lights up
in red, indicating that the loud-
speakers are in standby, ready
to be used. The loudspeakers
are designed to be left in this
standby mode when not in use.
Switching on and off –
indicator
When you switch on your Bang &
Olufsen system, the loudspeakers
switch on simultaneously. The red
standby indicator light turns green,
indicating that the loudspeakers
are switched on.
When you switch off your system,
or mute the sound, the red
indicator light appears immediately,
indicating that the loudspeakers are
not in use.
If the loudspeakers are connected
to a non-Bang & Olufsen system,
they switch on when they receive a
signal from the system (refer to p. 6).
They switch off a few minutes after
the signal has disappeared.
Loudspeaker protection
The loudspeakers are equipped
with a thermal protection system
which prevents overheating. If an
error occurs – or the speaker units
become overheated – the system
automatically switches the loudspeakers to standby, and the
indicator light turns orange.
To restore the situation:
> Disconnect the loudspeakers
from the mains.
> Allow the system time to reset
(approximately 3 –5 minutes).
> Reconnect the loudspeakers to
the mains.
Should the problem persist, contact
your Bang & Olufsen retailer.
Indicator
Cleaning the loudspeaker
Wipe dust off the surfaces using a
dry, soft cloth. If necessary, remove
stains or dirt with a soft, damp
cloth and a solution of water and
mild detergent such as washing-up
liquid.
Never use alcohol or other solvents
to clean any part of the loudspeakers!
NOTE! Prolonged listening at high
volume levels may cause hearing
damages.
Page 4
4
Set up the loudspeaker
We recommend that you follow
this procedure:
– Disconnect your system from the
mains supply.
– Place the loudspeakers in your
setup.
– Set the switches to the correct
setting. This is explained in ‘Adapt
the loudspeakers to your setup’
(pages 6 –7).
– Connect your speaker system.
– Connect the entire system to the
mains again.
If you mount the loudspeaker on a
wall bracket, you cannot assemble
the base to the loudspeaker.
Cautions
– Make sure that the loud speakers
are placed and connected in
accordance with the instructions
in this Guide. To prevent injury,
use Bang & Olufsen approved
stands and wall brackets only!
– The loud speakers can only be
switched off completely by
disconnecting them from the
wall socket.
– The loudspeakers are designed
for indoor use in dry, domestic
environments only, and for use
within a temperature range of
10–40º C (50–105º F).
– Remember that all speakers in a
setup must be connected to a
mains outlet, and that they are
designed to be connected to the
mains at all times, as this allows
them to switch on automatically.
– Do not attempt to open the loud-
speaker. Leave such operations to
qualified service personnel!
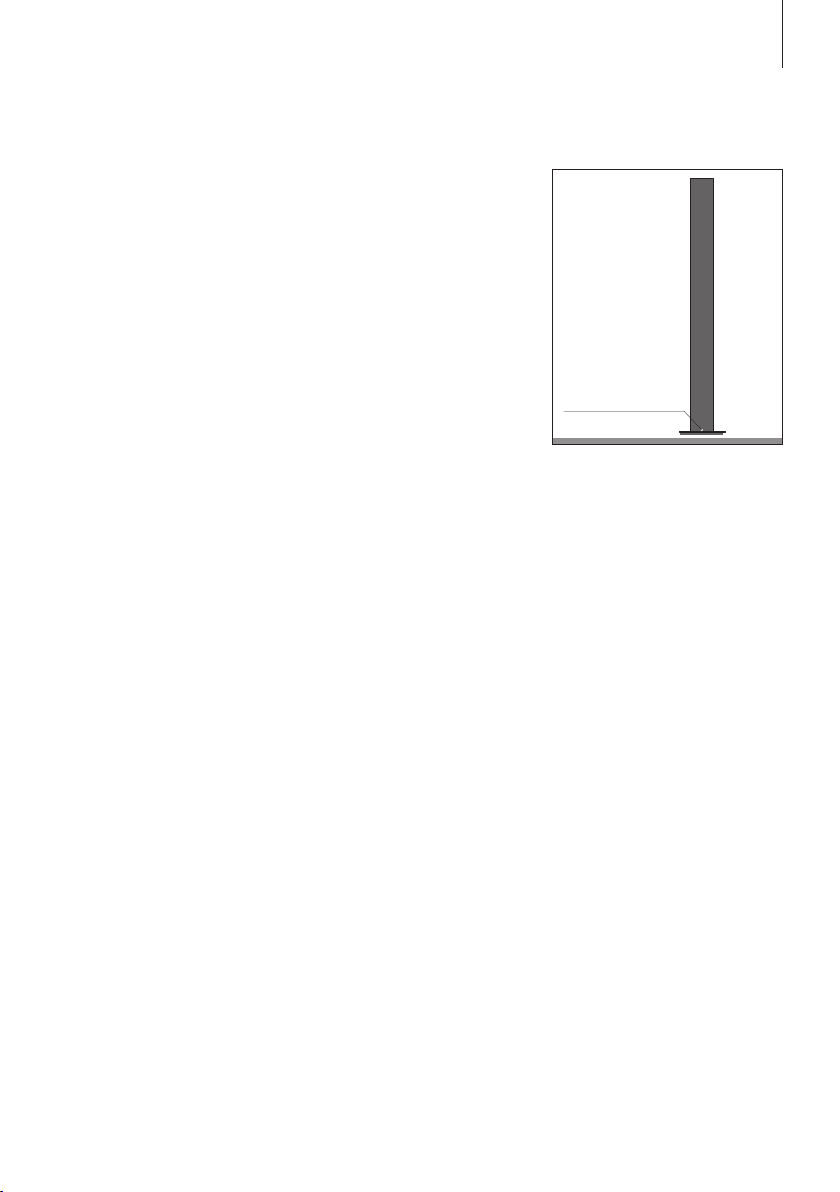
Column and base
It is easiest to assemble the base and
the speaker column if the loudspeaker is lying on a table.
In order to protect the table and
the column from being scratched,
we recommend that you place the
wrapping foam on the table first.
Hook the base plate onto the two
guiding pins at the bottom of the
speaker column (be care ful not to
drop the base plate!). Insert the
three screws and tighten them
securely.
Page 5

The loudspeakers can be used
LEFT RIGHT LINE
1 POWER LINK 2
SETUP
CORNER WALL FREE
POSITION
POWER LINK POWER LINK
LEFT RIGHT
1
LEFT RIGHT
2
5
with Bang & Olufsen audio,
video and link systems. They may
also be used with non-Bang &
Olufsen systems. For specific
information about the sockets on
your system, refer to the Guide
enclosed with the system.
The socket panel is located at the
bottom of the loud speakers.
Power Link connections: These
connections carry both the right
and left sound signals. Therefore,
you can:
1 run a Power Link cable from your
Bang & Olufsen system directly
to each loud speaker, or…
2 run a Power Link cable from your
Bang & Olufsen system to the
first loud speaker, and then run
another Power Link cable to the
next loud speaker. This will often
help to minimise cable clutter.
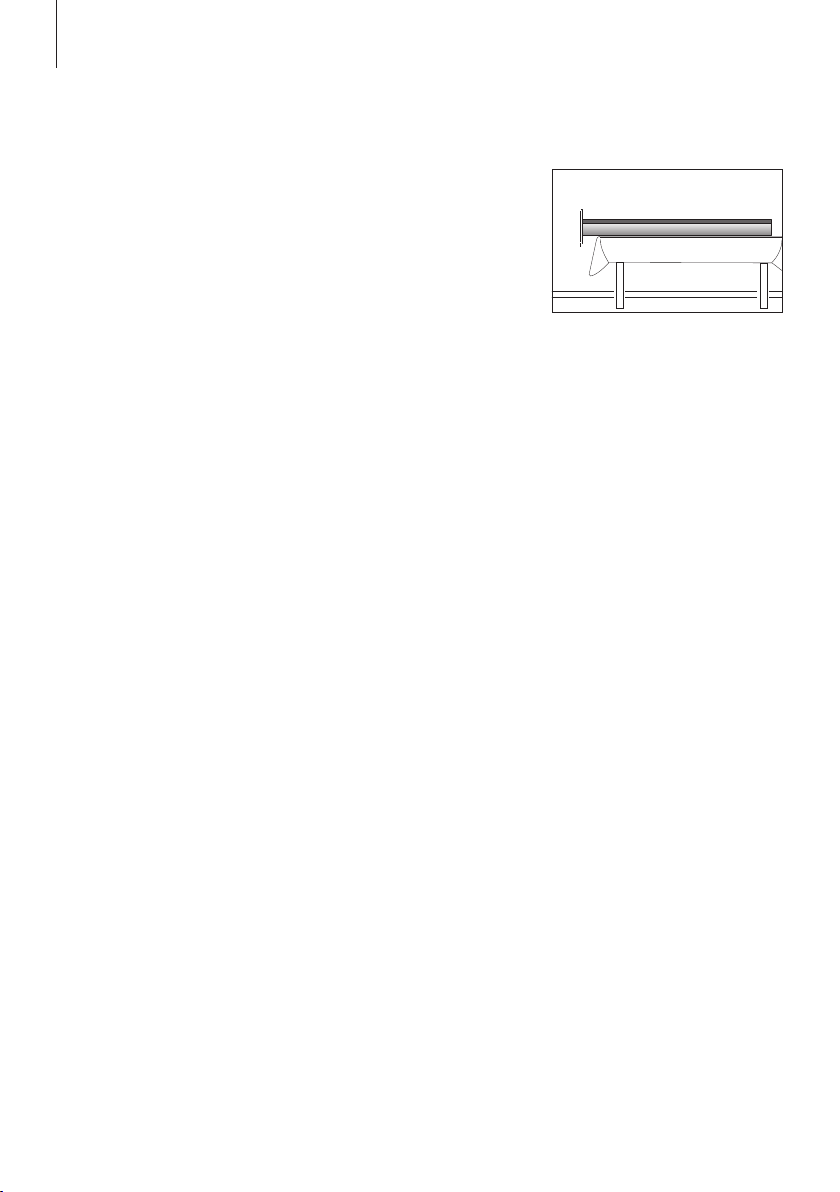
Cable connections
SETUP switch
Connection to the
mains supply
POWER LINK
socket
POSITION switch
For safety reasons you must run
the cables to and from the loudspeaker through the cable guides.
Mains cord: The supplied mains
cord and plug are specially designed
for the product. If you change the
plug or damage the mains cord, you
must buy another from your Bang &
Olufsen retailer!
Page 6

6
Adapt the loudspeakers to your setup
The loudspeakers may be placed
almost anywhere in your room.
However, the most natural
sound is obtained if they are set
up as explained on these pages.
SETUP switch
This switch has three settings: LEFT,
RIGHT and LINE.
Set the switch to LEFT or RIGHT
when connecting the loud speakers
in a Bang & Olufsen system. Set
the switch to LINE when
connecting the loud speakers in a
non– Bang & Olufsen system.
…To a Bang & Olufsen system:
Use the enclosed Power Link cables
to connect the loud speakers to your
system. Set the SETUP switch to
LEFT and RIGHT (the left and right
sound channel) respectively.
…To a non-Bang & Olufsen
system:
Use a special adaptor with an
ordinary phono/RCA plug in one
end, and a DIN -plug in the other.
Depending on your setup, you may
also need to connect an adaptor
with phono/RCA and mini jack
plugs (optional accessories, available
from your Bang & Olufsen retailer).
Set the SETUP switch to LINE.
The POSITION switch
When a loud speaker is placed in a
corner or close to a wall, the bass
level is boosted compared to the
bass level from a loud speaker placed
in a more free-standing position.
To remove this excessive bass boost,
set the POSITION switch to ensure
that the bass level suits the
placement of the loud speaker. The
appropriate switch setting depends
on the distance from the loudspeaker to the walls and corners of
the room. Use the guidelines
mentioned here, when deciding
which of the three POSITION
switch settings to select – on each
loudspeaker.
The position zones, shown on the
next page, are meant as guide lines
– you may, of course, set the switch
to any of the three settings you
prefer.
Page 7

CORNER
WALL
FREE
7
Position zones: The three settings
(CORNER–WALL–FREE) correspond
to the position zones marked in
different shades of grey.
CORNER
Use this setting if the loudspeaker
is placed in a corner – shown by the
dark grey areas in the illustration.
WALL
Use this setting if the loud speaker
is placed less than 15 cm (6") from
the wall, and no closer to a corner
than 50 cm (20") – shown by the
grey areas along the walls in the
illustration.
If the loudspeaker is mounted on a
wall bracket, use this setting.
FREE
Use this setting if the loud speaker is
placed more than 15 cm (6") from
the wall, and no closer to a corner
than 50 cm (20") – shown by the
large light grey area in the
illustration.
How to measure? The distances
referred to are measured as shown
here (the loud speaker seen from
above).
Page 8

8
Waste Electrical and Electronic
Equipment (WEEE) –
Environmental protection
Electrical and electronic equipment,
parts and batteries marked with
this symbol must not be disposed
of with normal household wastage;
all electrical and electronic equipment, parts and batteries must be
collected and disposed of separately.
When disposing of electrical and
electronic equipment and batteries
by use of the collection systems
available in your country, you
protect the environment, human
health and contribute to the
prudent and rational use of natural
resources. Collecting electrical and
electronic equipment, batteries
This product is in conformity with the provisions of the Directives
2004/108/EC and 2006/95/EC.
and waste prevents the potential
contamination of nature with the
hazardous substances which may
be present in electrical and electronic products and equipment.
Your Bang & Olufsen retailer will
advise you of the correct way of
disposal in your country.
If a product is too small to be
marked with the symbol, it will
appear in the User Guide, on the
Guarantee certificate, or on the
packaging.
Page 9

9
Technical specifications, features
and the use thereof are subject to
change without notice!
All Bang & Olufsen products comply
with applicable environ mental
legislation throughout the world.
For the Canadian market only!
This class B digital apparatus meets
all require ments of the Canadian
Interference-Causing Equipment
Regulations.
For the US -market only!
NOTE: This equipment has been
tested and found to comply with the
limits for a class B digital device,
pursuant to part 15 of the FCC Rules.
These limits are designed to provide
reasonable protection against
harm ful interference in a residential
installation.
This equipment generates, uses and
can radiate radio frequency energy
and, if not installed and used in
accordance with the instructions,
may cause harmful interference to
radio communications. However,
there is no guarantee that interference will not occur in a particular
installation. If this equipment does
cause harmful interference to radio
or television reception, which can be
determined by turning the equipment off and on, the user is
encouraged to try to correct the
interference by one or more of the
following measures:
– Reorient or relocate the receiving
antenna.
– Increase the separation between
the equipment and receiver.
– Connect the equipment into an
outlet on a circuit different from
that to which the receiver is
connected.
– Consult the retailer or an
experienced radio/ T V technician
for help.
Page 10

Page 11

Page 12

3510483 1002
 Loading...