

Page 1

User Guide
Page 2
Thanks for using Aztech Kyla product
If you need support or help, please visit www.kyla.aztech.com
Smart Smoke Sensor
01
Page 3
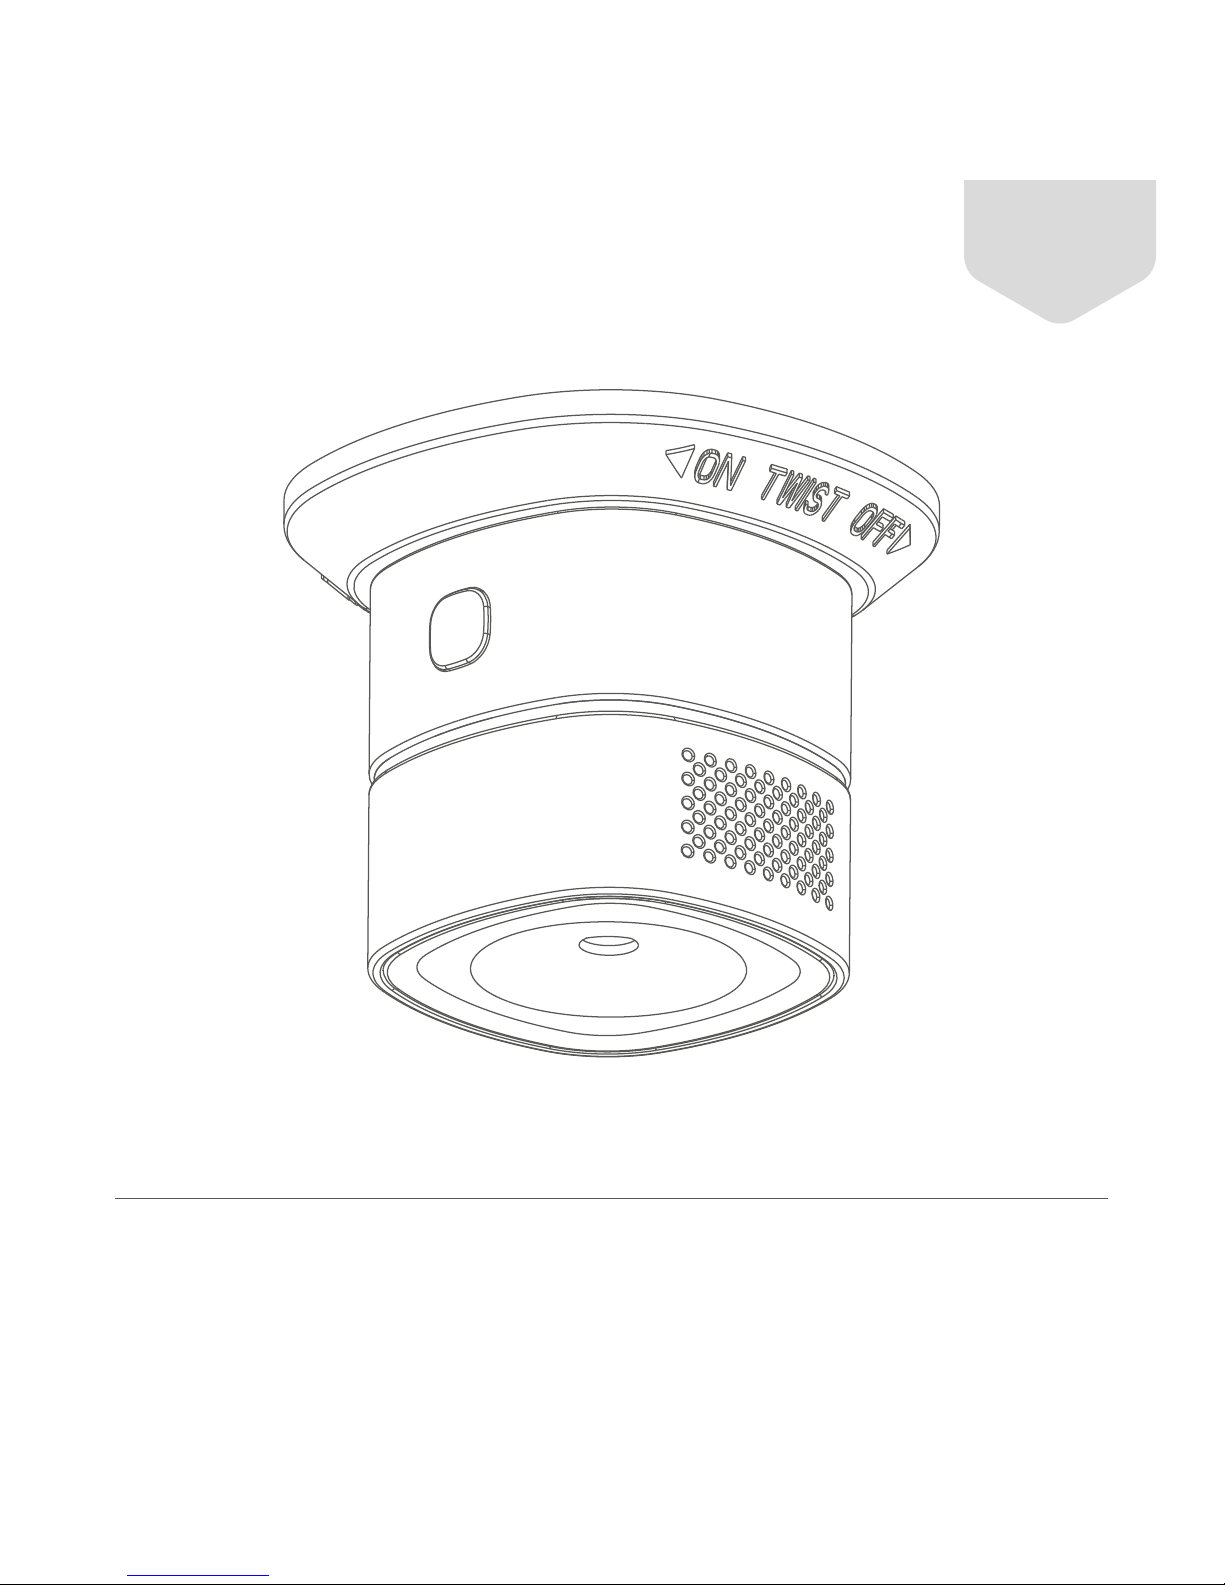
Product Description
The Smart Smoke Sensor alarms when there is excess
smoke detected indoors. It adopts high-performance
electrochemical sensor, supports sound and flash alarm,
has ultra-low power consumption for longer battery lifespan,
and many other features.
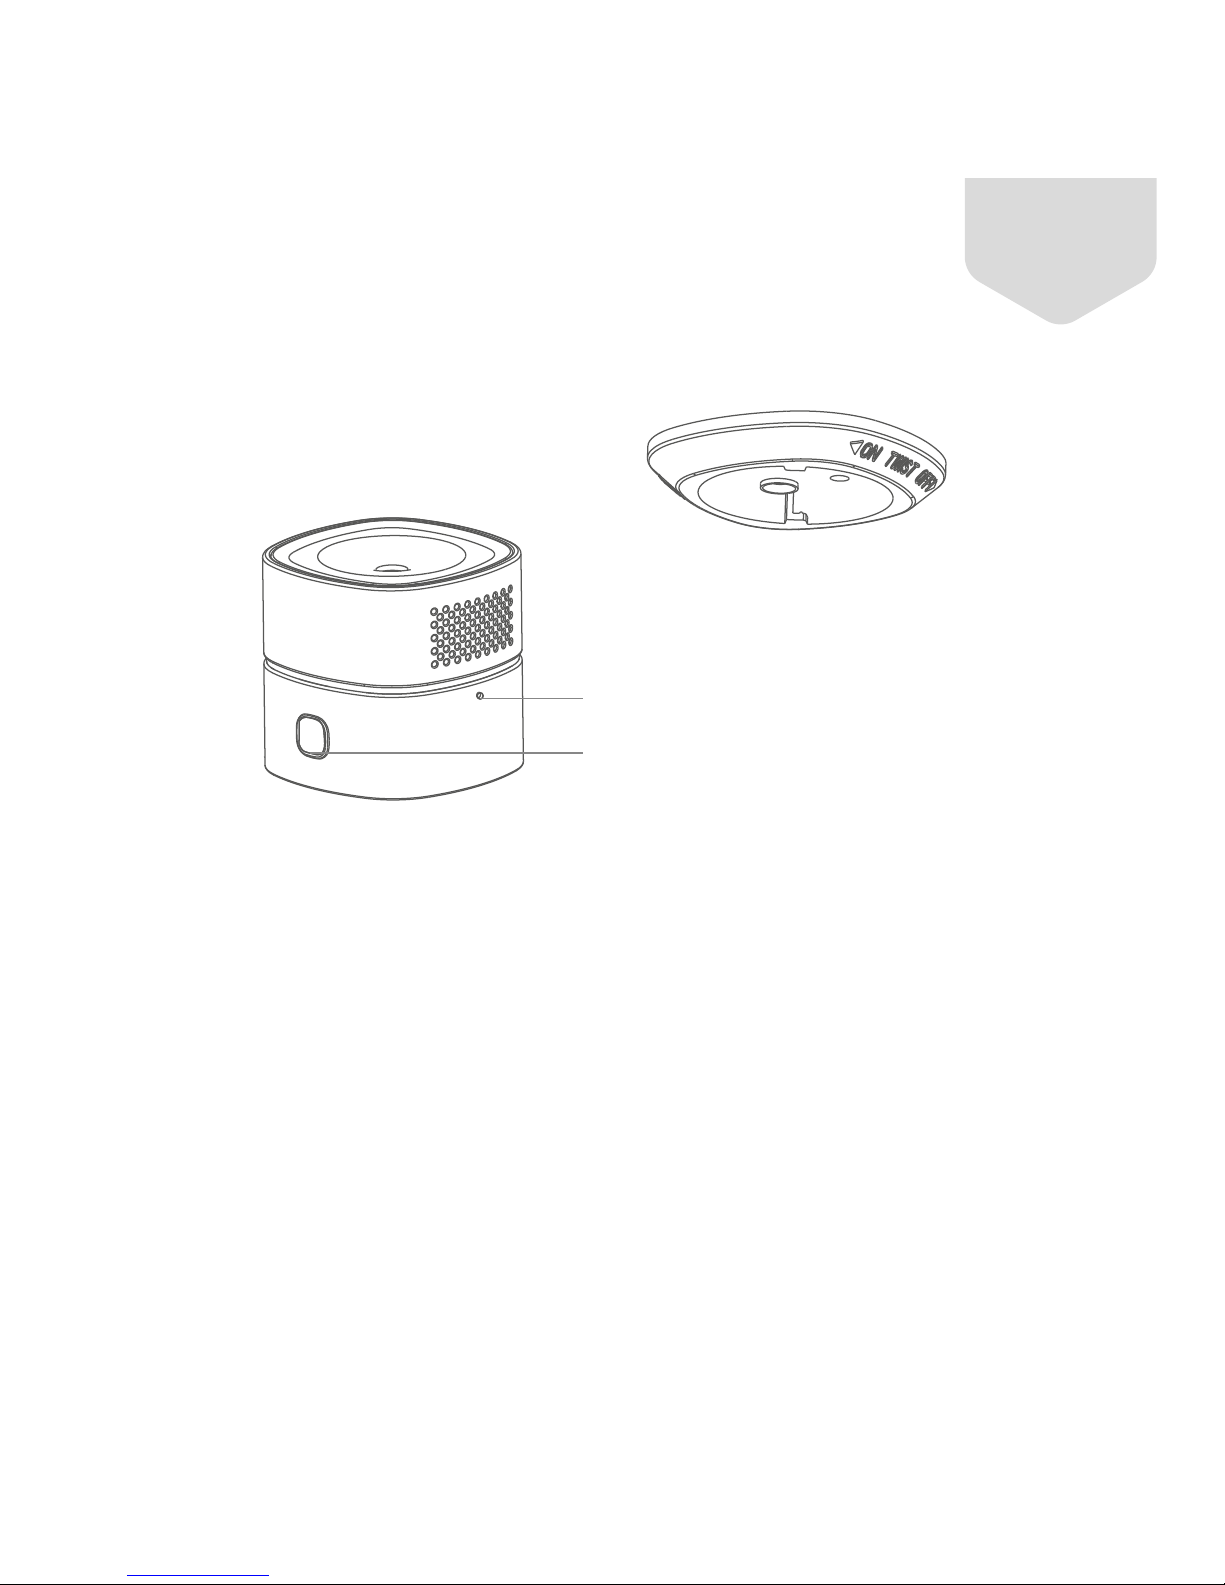
Networking Hole
LED Indicator
Sensor
Base
02
Page 4
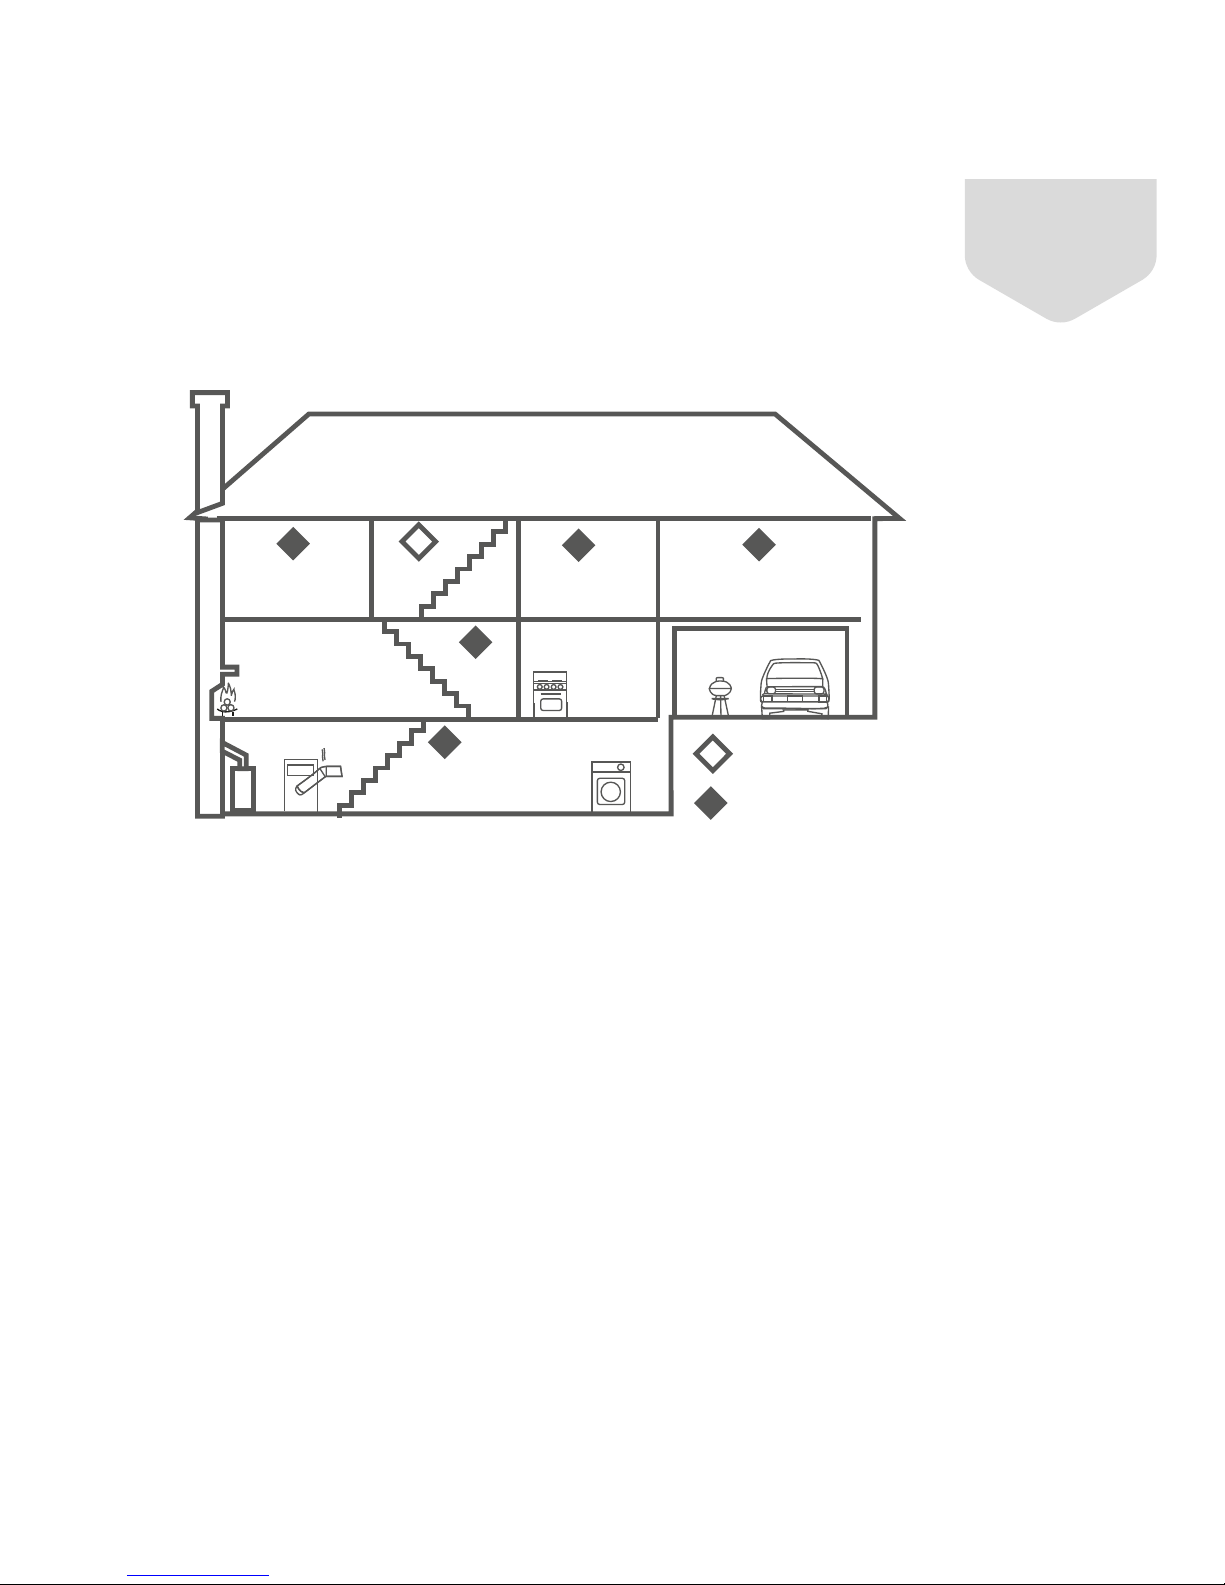
Installation Tips
To increase safety factors in single-layer house, at least a
Smart Smoke Sensor in each bedroom and at 6m from
chimney and gas fixture is suggested.
To increase safety factors in multi-layer house, at least a
Smart Smoke Sensor in each bedroom, in basement, and
at 6m from chimney and gas fixture, is suggested.
Bedroom
Living Room
Aisle
Kitchen
Basement
Minimum Required Installation
Additional Required Installation
Garage
Bedroom
Bedroom
03
Page 5
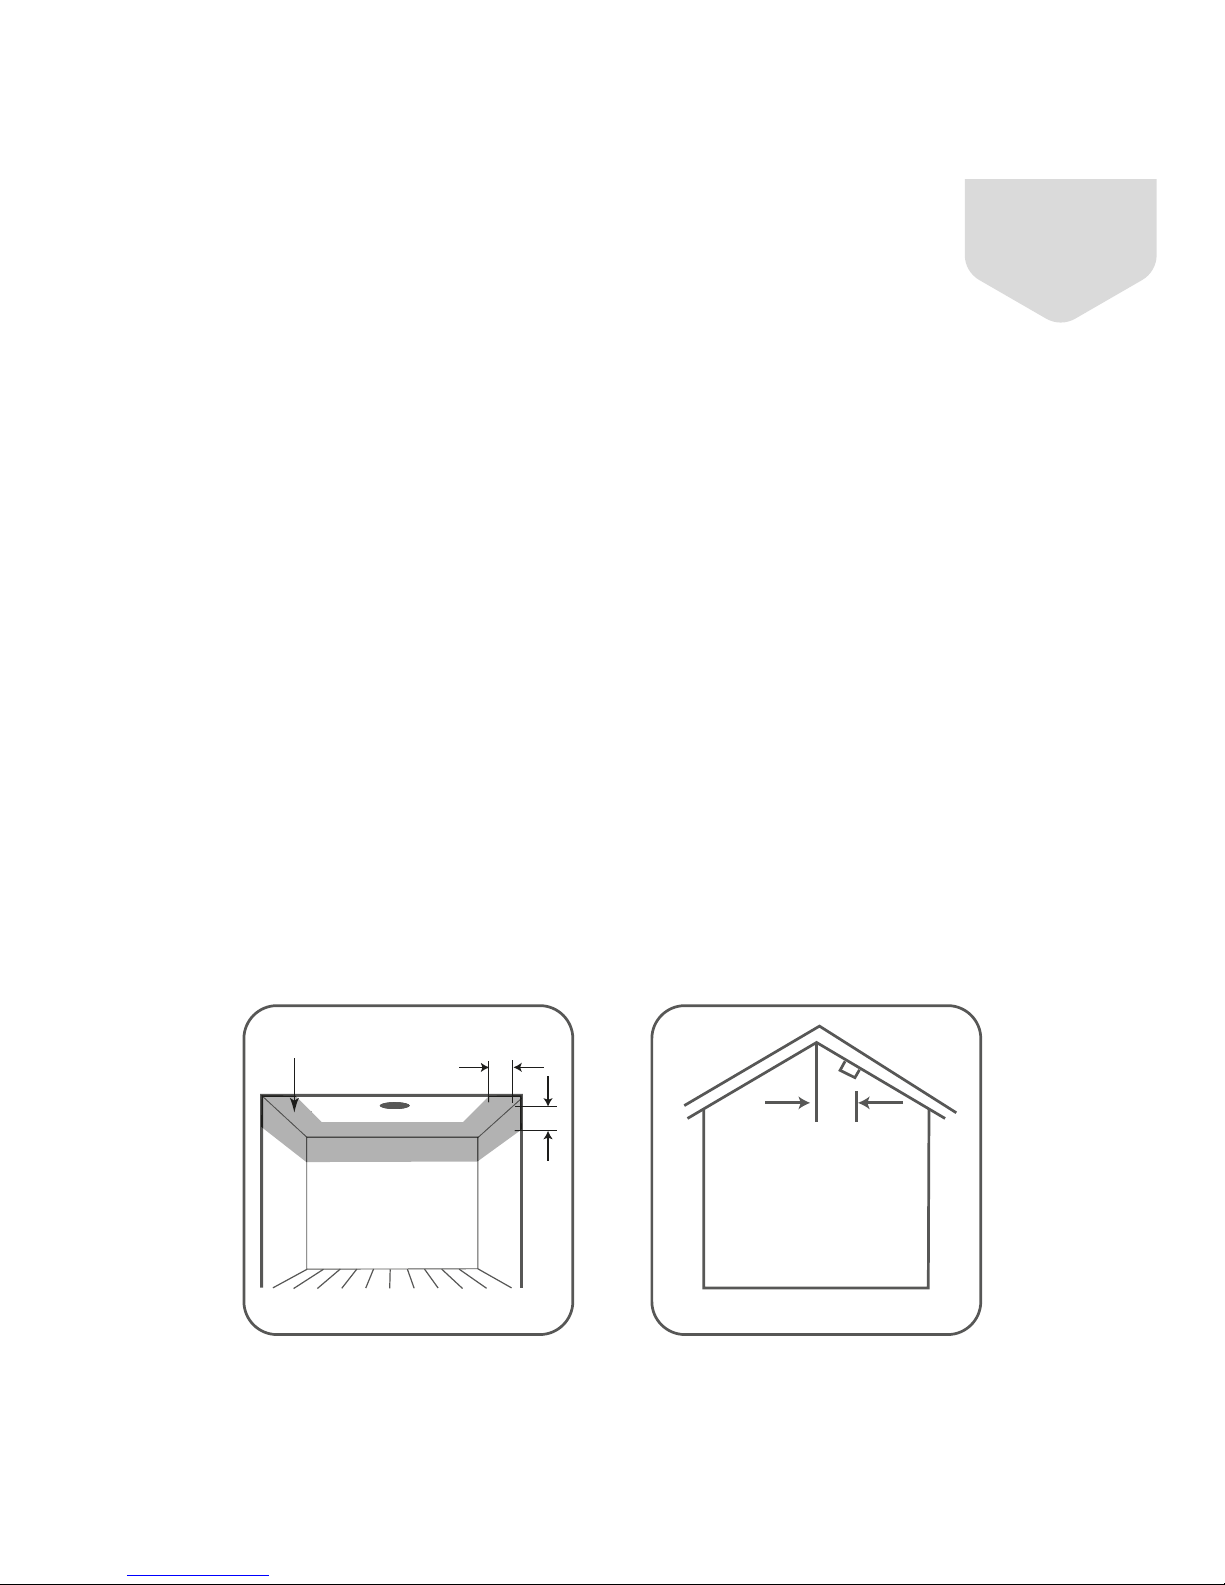
Ceiling Mounting
The preferred location to install smoke alarm is in the
centre of the ceiling because smoke, heat, and combustion
products rise to the ceiling and will lateral spread. Keep at
least 30cm distance from lights or decorations, and at
least 15cm away from walls and corner. If hall is more
than 12 meters wide, please install at 2 sides of the hall.
Sloping Ceiling Mounting
If ceiling is sloping, please install the smoke alarm at
horizontal distance 90cm away from the ceiling top.
90cm
Ceiling
Centre
15cm
15cm
04
Page 6

Operation Guide
Step 1:
Download Aztech Kyla App from Google Play/App Store
Step 2:
Login to Aztech Kyla App, then add “Smart Smoke
Sensor” to device list to enable the device.
Aztech Kyla App
05
Page 7

Step 3:
Rotate the bracket counter-clockwise from the installation
base, then remove the battery insulating film to turn on
power.
06
Page 8

Step 4:
Follow the App prompt and press the networking hole
for 2 seconds until a green LED flashes quickly. App will
be prompted once succesfully connected.
(Press the networking hole for 5 seconds to disconnect
from the network. Wait until the green LED flashes slowly
for 3 seconds which indicates that the device has
disconnected successfully.)
07
Page 9

Step 5:
Remove the double-sided adhesive membrane on the
mounting bracket, and rotate the smoke alarm into
the bracket.
08
Page 10

Status and Troubleshooting
Red LED flashes
4 times in 10 seconds
Mute Mode
Red LED flashes every
10 seconds
Status Light
Alarm
Sound
Normal
Red LED flashes
every 53 seconds
LED flashes alternately
in 3 colors then go out
No
No
Beeps every
40 seconds
Rapid
Beeps
Beeps Once
Testing
Warm Up
Low Power
Red LED flashes every
40 seconds
Beeps every
40 seconds
Fault
Red LED flashes every
40 seconds
09
Page 11

Please refer to the following if the sensor doesn’t work normally:
1. Fault is caused by dirt with dust or oil, etc.,. Please clean the
alarm properly.
2. Check whether the alarm is properly rotated into the
mounting bracket.
3. Replace the battery and follow the battery positive and
negative electrode.
10
Page 12

Notes
1. This product can not be used for detecting natural gas
(methane), propane, butane, and other combustible gas.
2. Clean once a month. Users may use household vacuum
cleaner and soft brush when cleaning.
3. Do not use cleanser or solvent wipes on sensor. Avoid
spraying air freshener, hair spray, oil paint or other aerosol
near sensor.
4. Effective working life span is 5 years. Replacing the sensor
every 5 years whether faulty or not is highly suggested.
(Battery lifespan is up to 3 years.)
5. Please be attentive when alarm happens. Shut off valves
immediately and open the windows for ventilation. Besides
using sensors correctly, users should practice safety fire
precautions.
11
Page 13

Technical Specications
Product Dimensions: 60 x 60 x 49.2mm
Alarm Volume: 85 dB/3m
Alarm Current: ≤ 60mA
Networking: Zigbee ZHA / Z-WAVE
Operating Temperature: -10~50°C
Working Humidity: Max 95% RH
Wireless Networking Distance ≤ 100m (Open Area)
12
Page 14

©2018 Aztech Technologies Pte Ltd. All rights reserved.
 Loading...