

Page 1

HW550-3G
3G Mobile Broadband plus 4-Port Wireless-N Router
Page 2
HW550-3G Print Server
To use the print server on the HW550-3G, you need to accomplish the following tasks:
1. Install the printer’s driver on the computer
2. Connect the printer to your HW550-3G.
3. Add a network printer
INSTALL THE PRINTER DRIVERS
Printers using the USB port come with a software installation CD for installing the printer
drivers and applications. The drivers for the printers must be installed on the computer first to prepare
it to use the printer when it’s connected to the HW550-3G. Refer to the printer’s documentation on
how to install the drivers.
ADD A NETWORK PRINTER
FOR WINDOWS XP
Before you continue, ensure that you have installed the printer’s driver on this computer and
the printer is attached to the HW550-3G.
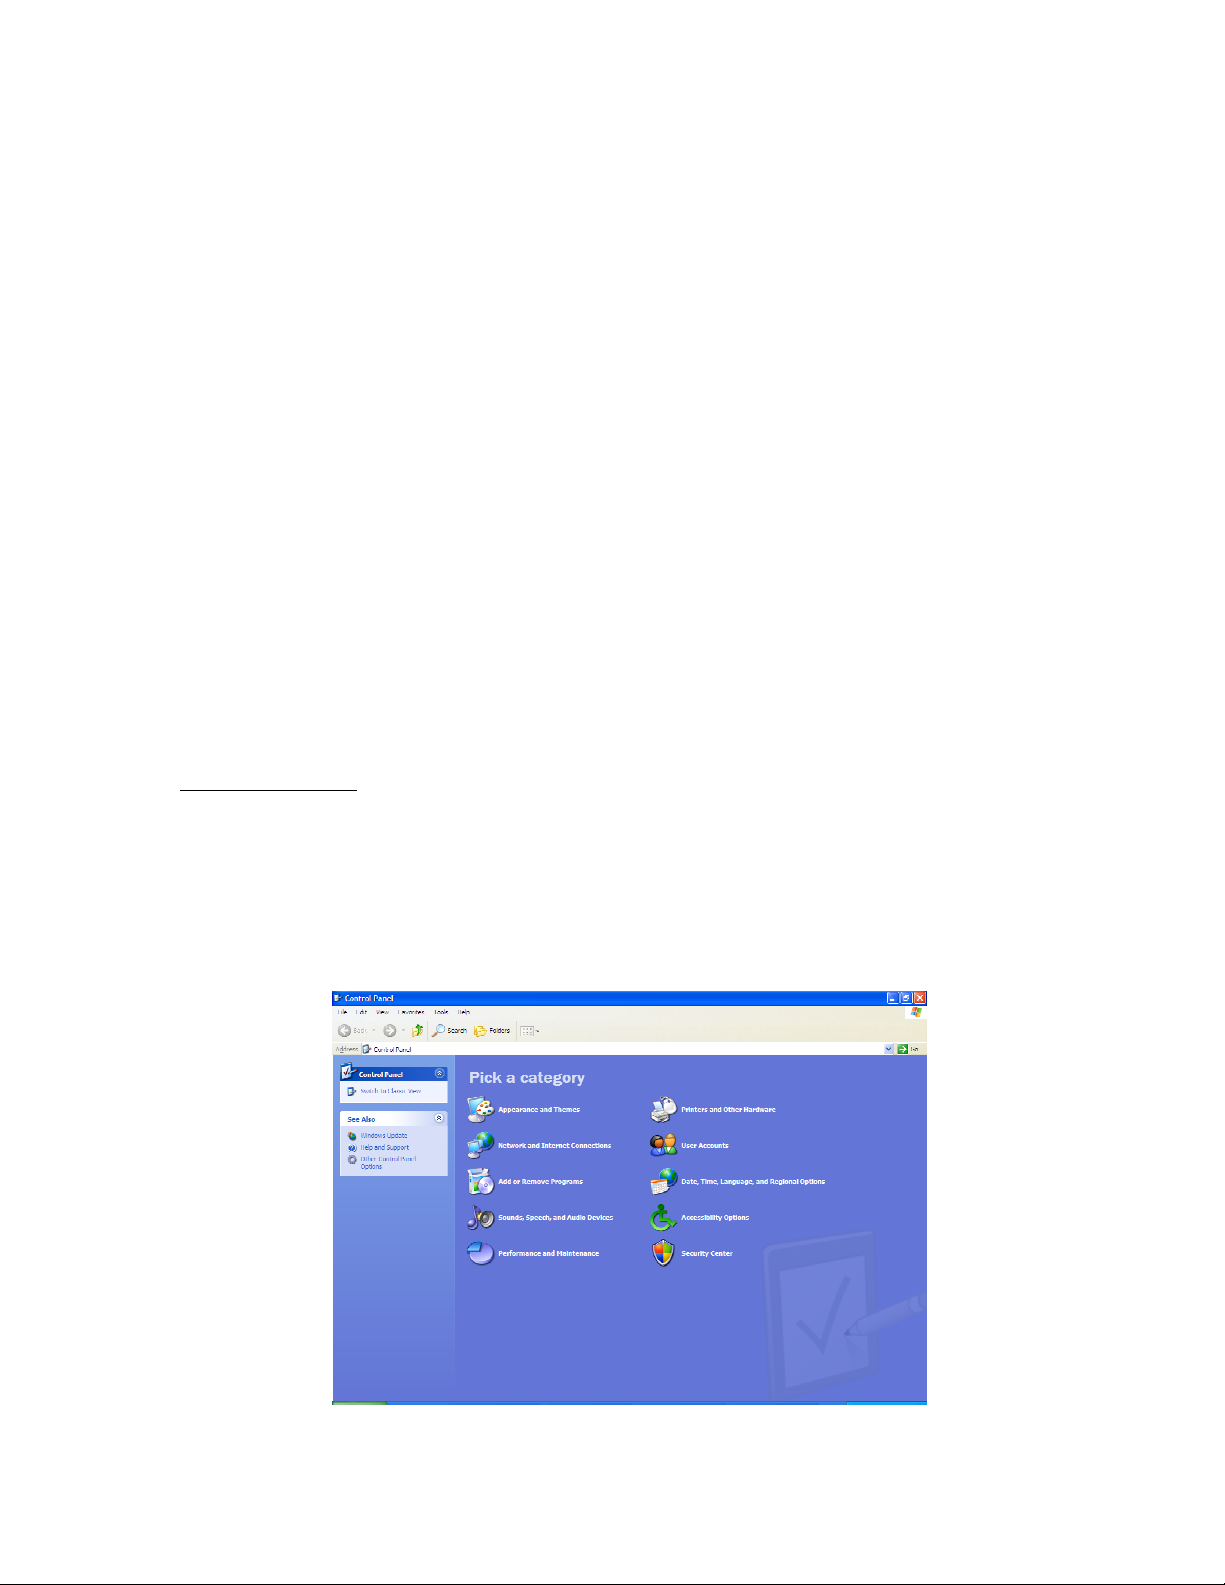
1. Click on the St
Start Button
art Button > Control Panel
StSt
art Buttonart Button
Control Panel > Printers and Other Hardware
Control PanelControl Panel
Printers and Other Hardware > Printers and Faxes
Printers and Other Hardware Printers and Other Hardware
Printers and Faxes.
Printers and Faxes Printers and Faxes
Page 3
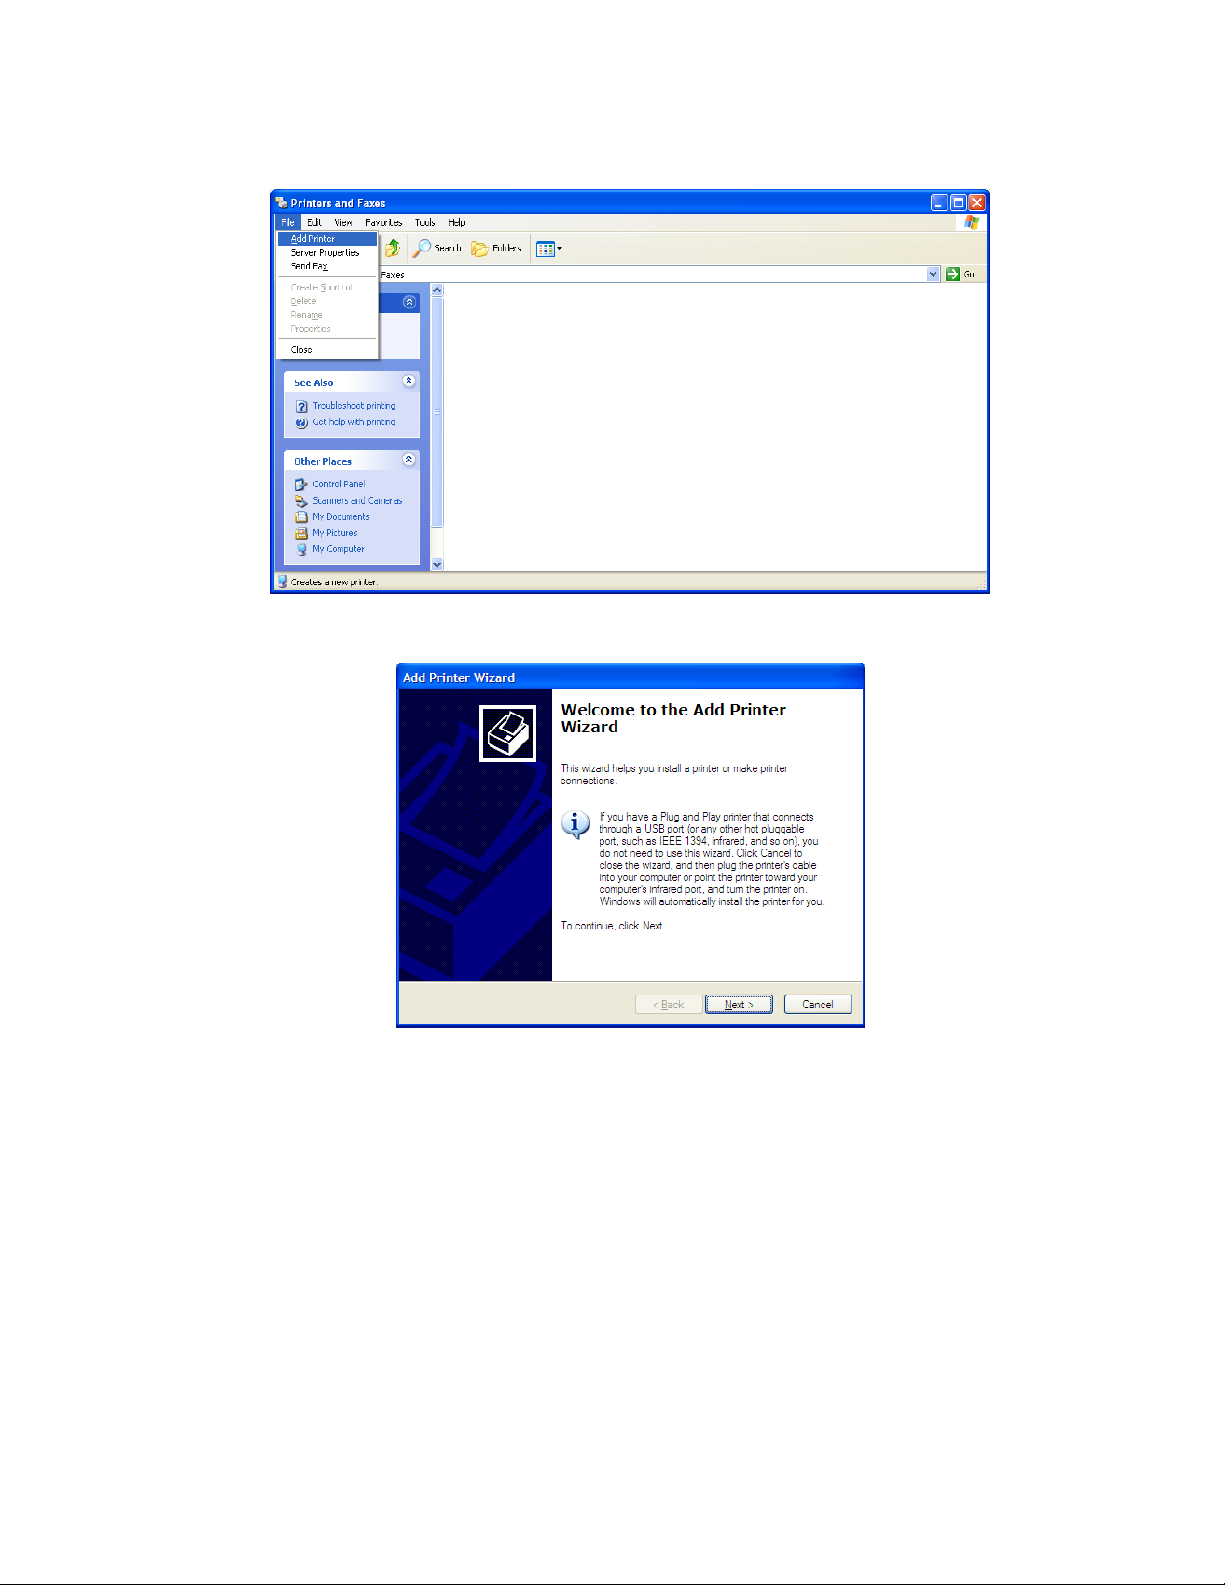
2. Click on the File Menu
File Menu > Add Printer
File MenuFile Menu
Add Printer.
Add PrinterAdd Printer
3. Click on Next
4. Choose Local Printer attached to this computer
page.
Next on the Add Printer Wizard page.
NextNext
Local Printer attached to this computer and click Next
Local Printer attached to this computer Local Printer attached to this computer
Next, on the Local or Network Printer
NextNext
Page 4
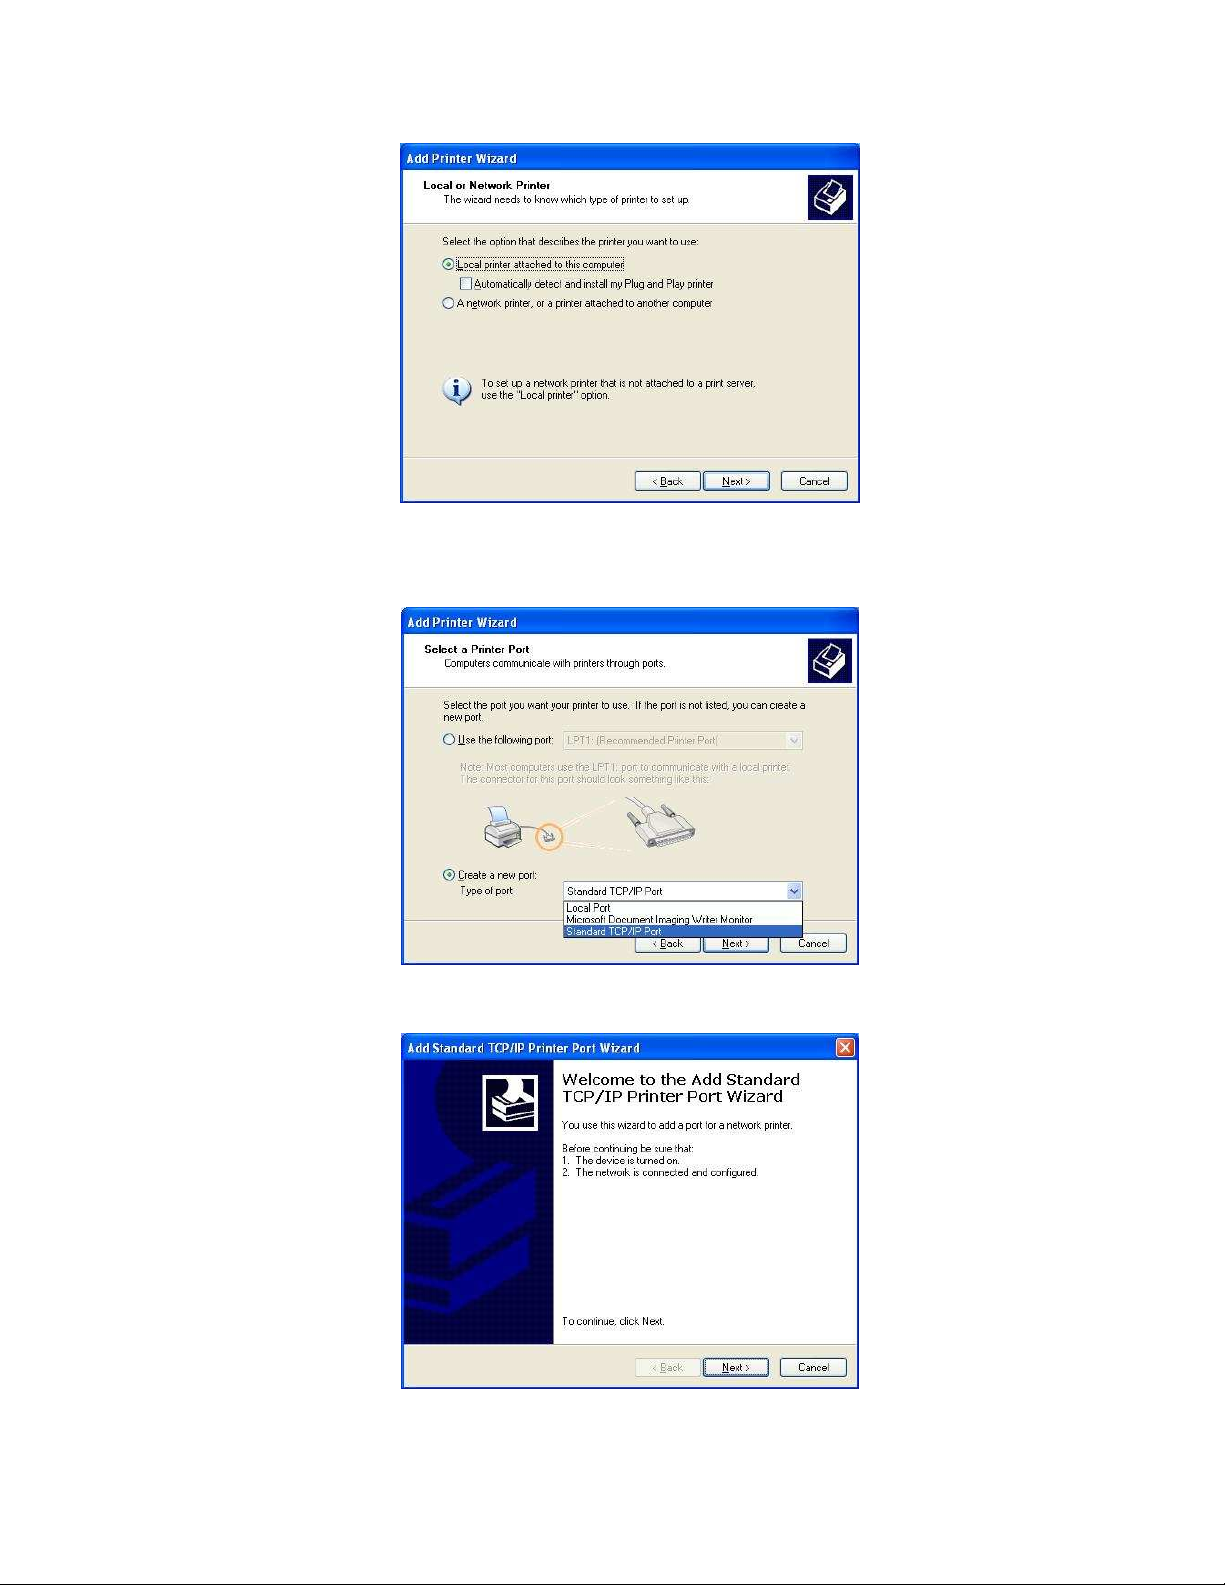
5. Choose Create a new port
Next
Next.
NextNext
6. Click Next
Create a new port and on the drop down box choose Standard TCP/IP Port
Create a new portCreate a new port
Next button on Welcome to the Add Standard TCP/IP Printer Port Wizard.
NextNext
Standard TCP/IP Port then click
Standard TCP/IP PortStandard TCP/IP Port
Page 5

7. Enter your HW550-3G’s Default Gateway IP address 192.16
192.168.2.1
192.16192.16
8.2.1 then click Next
8.2.18.2.1
Next.
NextNext
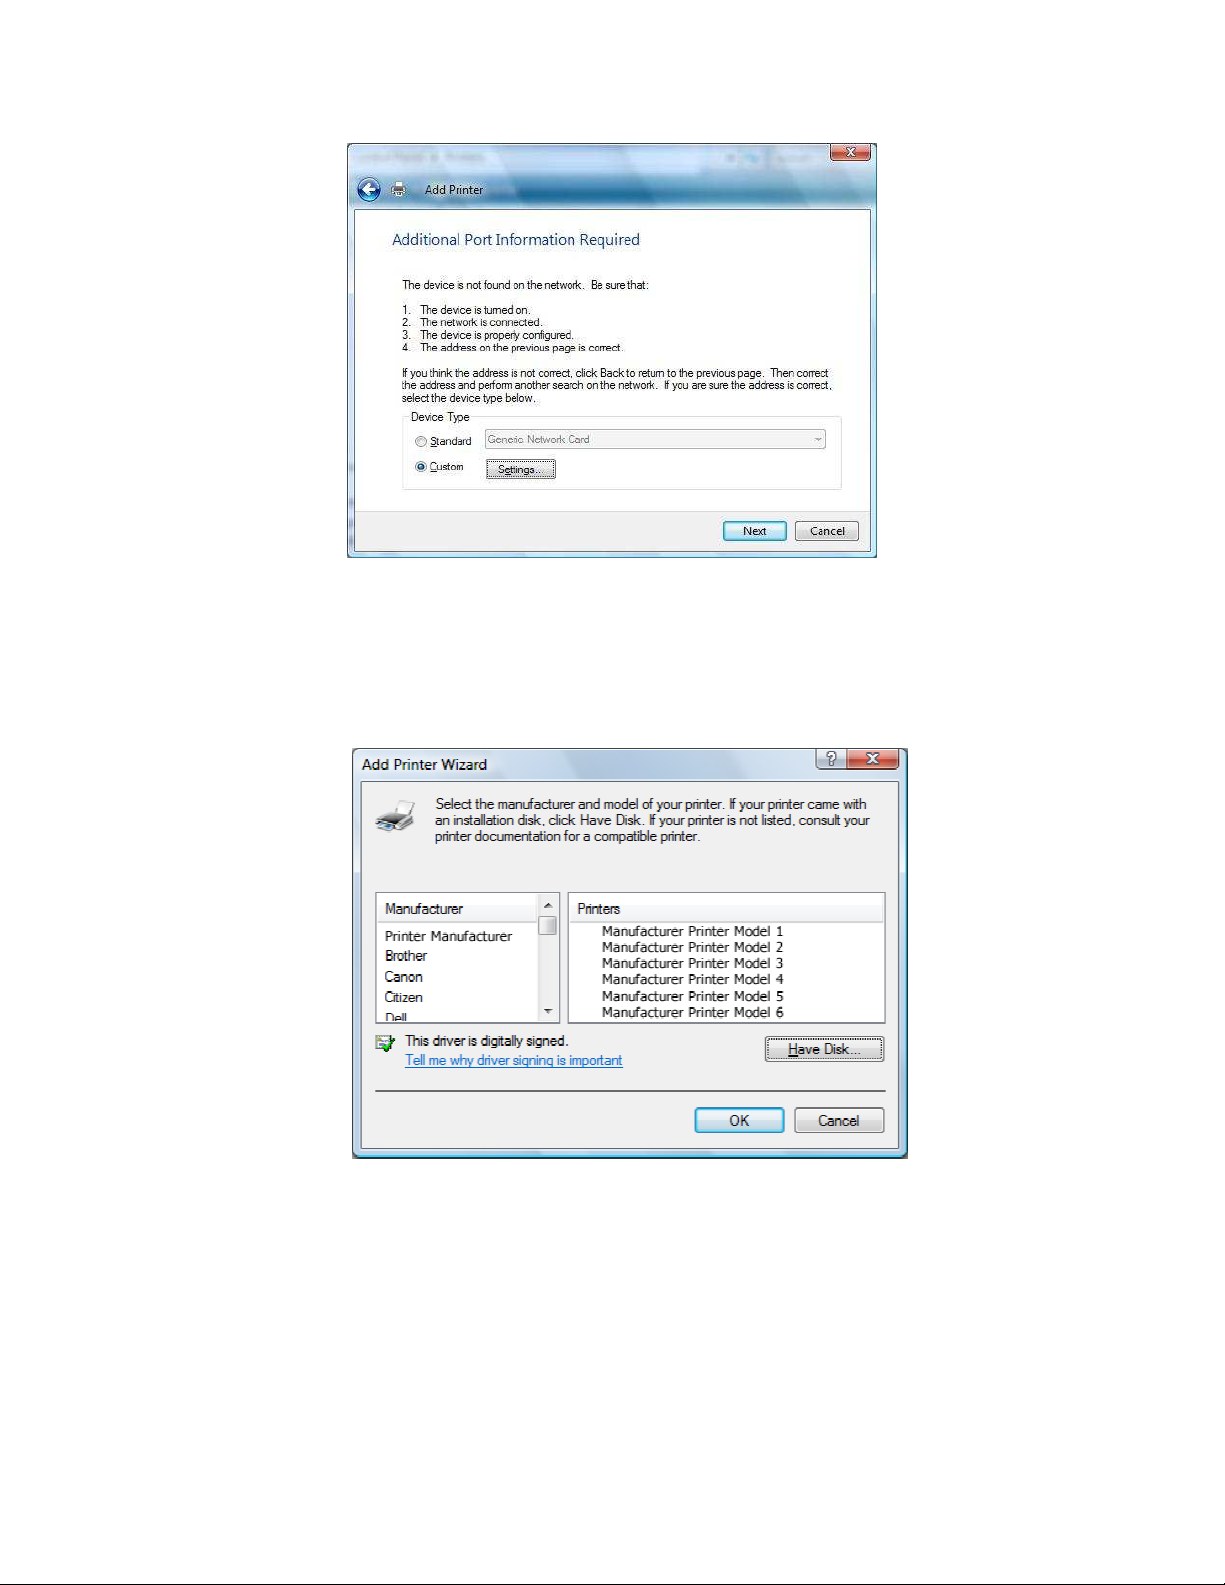
8. Under Additional Port Information Required choose Custom
Custom then click Next
CustomCustom
Next
NextNext
9. Once the computer detects the printer on the Print Server, it will ask for the printer
manufacturer and model, a list of printers will be shown, select the your printer from the list
and click OK
OK.
OKOK
Page 6

10. Choose Keep existing driver (recommended)
Add Printer Wizard
Add Printer Wizard.
Add Printer WizardAdd Printer Wizard
Keep existing driver (recommended) then click Next
Keep existing driver (recommended)Keep existing driver (recommended)
Next until you reach Completing the
NextNext
Completing the
Completing the Completing the
11. Click Finish
Finish to complete the installation.
FinishFinish
Page 7

PRINTING A TEST PAGE AFTER INSTALLATION
1. Open the Printers and Faxes page from Control Panel.
2. Right click on the new printer and click on Properties.
3. Click on the Print Test Page button on the Printer properties page, the test page will be
printed on the network printer.
FOR WINDOWS VISTA
1. Click on the Start Button
2. Click Printer
Start Button> Control Panel
Start ButtonStart Button
Printer under the Hardware and Sound
PrinterPrinter
Control Panel.
Control PanelControl Panel
Hardware and Sound category.
Hardware and SoundHardware and Sound
Page 8

3. Click on Add a Printer
Add a Printer.
Add a PrinterAdd a Printer
4. Click on Add a local printer
5. Select Create a new port
Add a local printer then click Next
Add a local printerAdd a local printer
Create a new port, on the drop down box choose Standard TCP/IP port
Create a new portCreate a new port
Next.
NextNext
Standard TCP/IP port then click Next
Standard TCP/IP portStandard TCP/IP port
Next.
NextNext
Page 9

6. Enter the Default Gateway IP address of your HW550-3G router 192.168.2.1
192.168.2.1 then click Next
192.168.2.1192.168.2.1
7. Under Additional Port Information Required window, select Custom then click Next
Next.
NextNext
Next.
NextNext
Page 10
8. Once the computer detects the printer on the Print Server, it will ask for the printer
manufacturer and model, a list of printers will be shown, select the your printer from the list
and click OK
OK.
OKOK
9. Select Use the driver that is currently installed then click Next
Next.
NextNext
Page 11

10. To print a test page click on Print a test page on the confirmation screen, click Finish
complete the installation.
Finish to
FinishFinish
11. If Printing was unsuccessful right click on the Printer’s icon then select Properties
Properties.
PropertiesProperties
Page 12
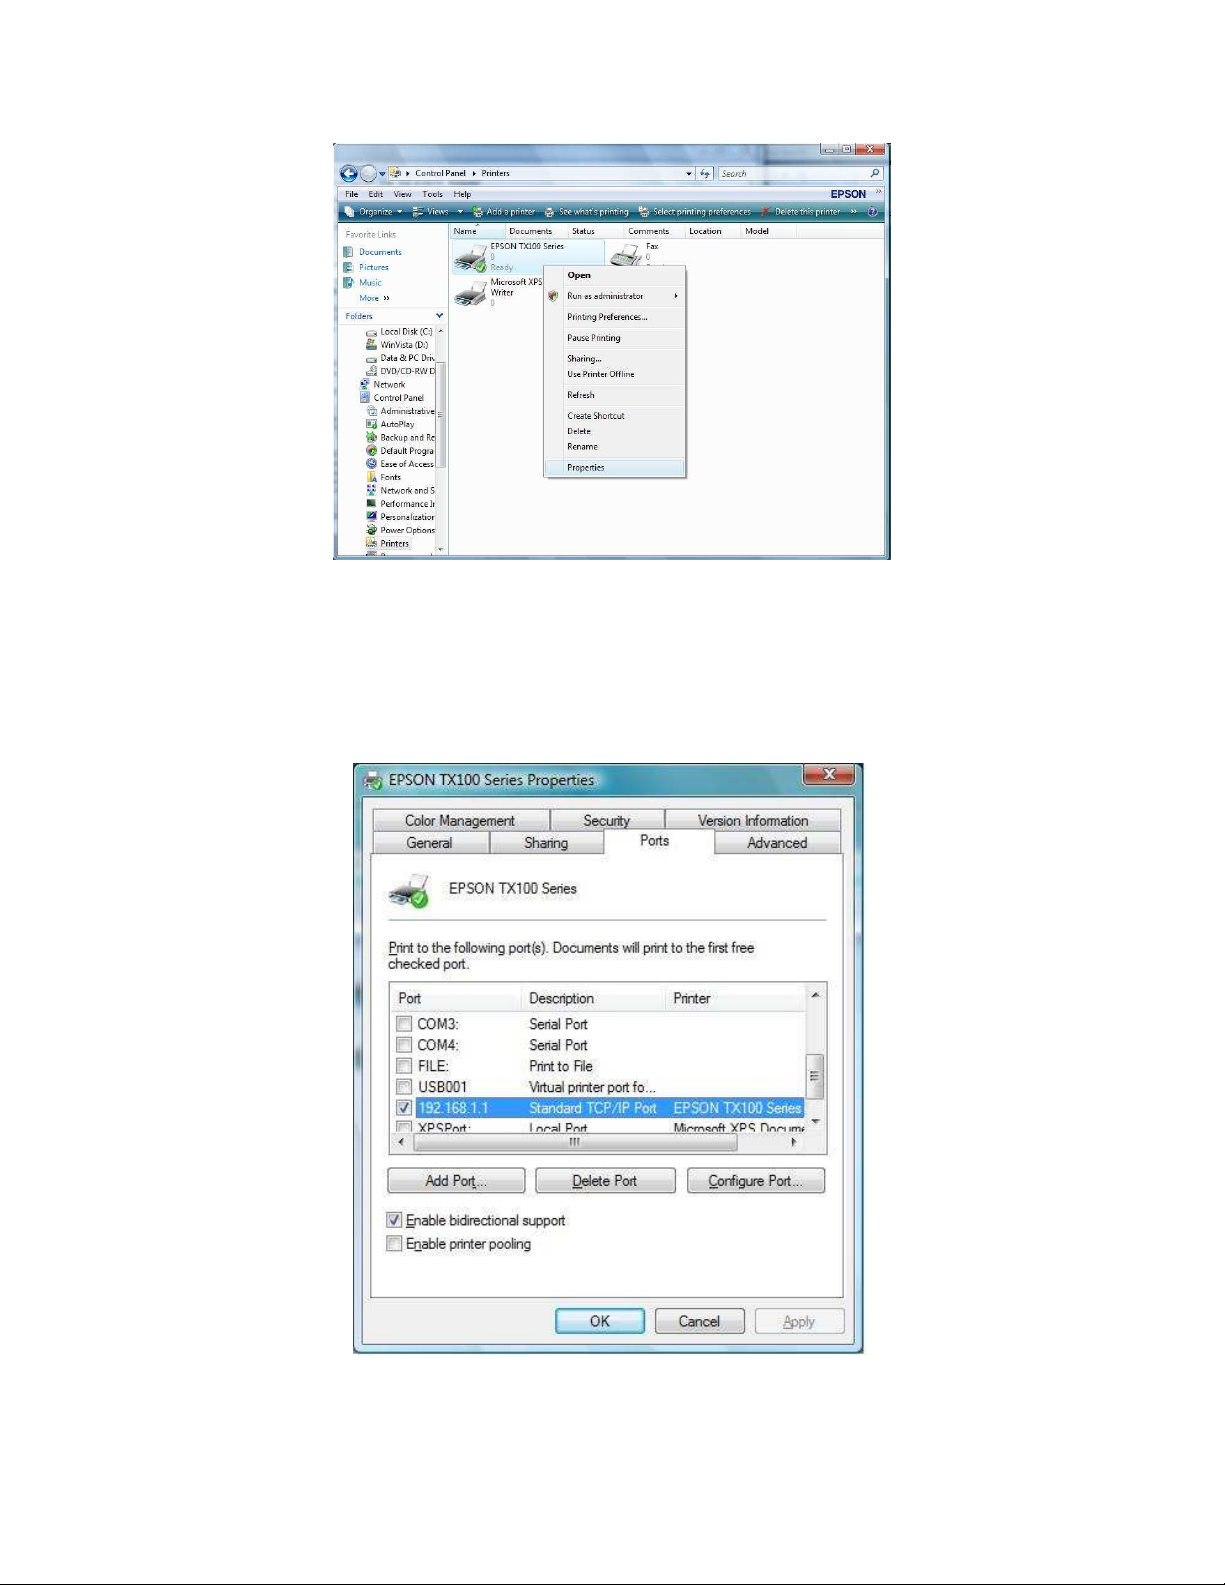
12. Under printer’s Properties click Port Tab and tick the IP address (192.168.2.1) that was set on
previous settings then click Apply
Apply.
ApplyApply
Page 13

Note:
Note: Scanning, Faxing and Photocopying functions on Multifunction printers are currently not
Note:Note:
supported on the HW550-3G, Print function is the only feature that will work on these printers type
when connected to the HW550-3G.
 Loading...