

Page 1
E281
R
PCI SCSI Cards
Symbios SCSI BIOS and Drivers
Aside from the system BIOS, the Flash memory chip on the motherboard also contains the Symbios SCSI BIOS. This Symbios SCSI BIOS works in conjunction with
the optional ASUS PCI-SC200 controller card to provide Fast SCSI-2 (up to 10MB/
Sec) interface when using compatible Fast SCSI-2 devices or the ASUS PCI-SC860
SCSI controller cards to provide Ultra-Fast SCSI-2 (up to 20MB/Sec) interface when
using Ultra-Fast SCSI-2 devices.
All SCSI devices you install on your system require driver software to function. The
Symbios SCSI BIOS directly supports SCSI hard disks under the DOS, Windows
and OS/2 environments. It also uses device drivers from the DOS floppy disk included in the ASUS PCI-SC200 and ASUS PCI-SC860 controller card packages to
support hard disks and other SCSI devices working under DOS, Microsoft Windows, Microsoft Windows NT, Novell NetWare and IBM OS/2. These drivers provide higher performance than the direct BIOS support. To use these drivers, you
must install them into your system and add them to your system configuration files.
Driver support for SCSI devices used with SCO UNIX is also provided on a separate diskette. W indows 95 support is also available using the device drivers included
within the Windows software. The ASUS PCI-SC200 and ASUS PCI-SC860 are
Plug and Play adapters that are auto detected by BIOS and current operating systems that support Plug and Play features.
SCSI BIOS
ASUS SCSI Cards
For information about these drivers and their usage, view the Readme files included
with each driver on the provided diskettes.
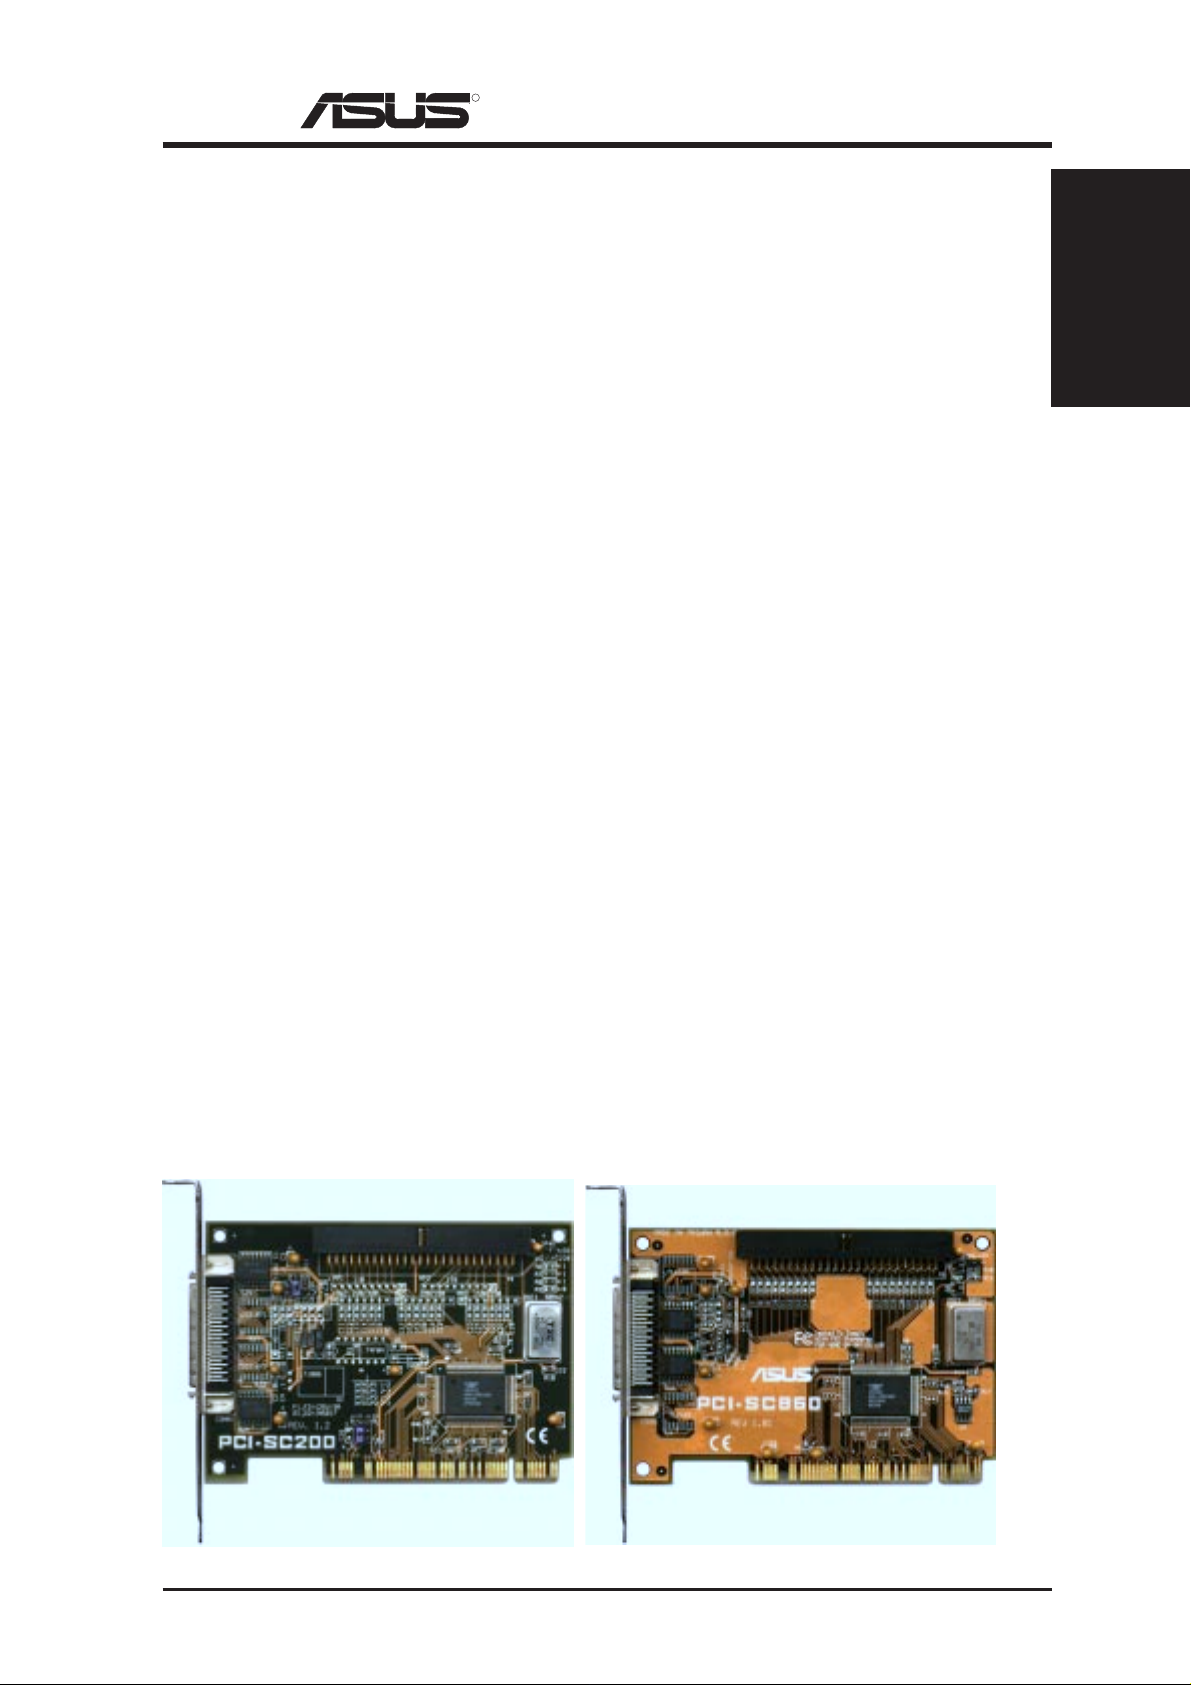
ASUS PCI-SC200 & PCI-SC860 SCSI Cards
The ASUS PCI-SC200 or the ASUS PCI-SC860 may be bundled with your motherboard or purchased separately . Both cards provide the option of connecting internal
or external SCSI devices for a total of 7 devices on each SCSI card.
ASUS SC200/SC860 Reference Guide 1
Page 2
R
PCI SCSI Cards
ASUS SCSI Cards
Jumper Settings
Setting Up the ASUS PCI-SC200 & PCI-SC860
There are two jumper settings you may need to make on the ASUS PCI-SC200. One
setting assigns the PCI interrupt, the other sets the card’s termination. The ASUS
PCI-SC860 has no jumper settings but you should read the “Terminator Requirements” for SCSI connection information.
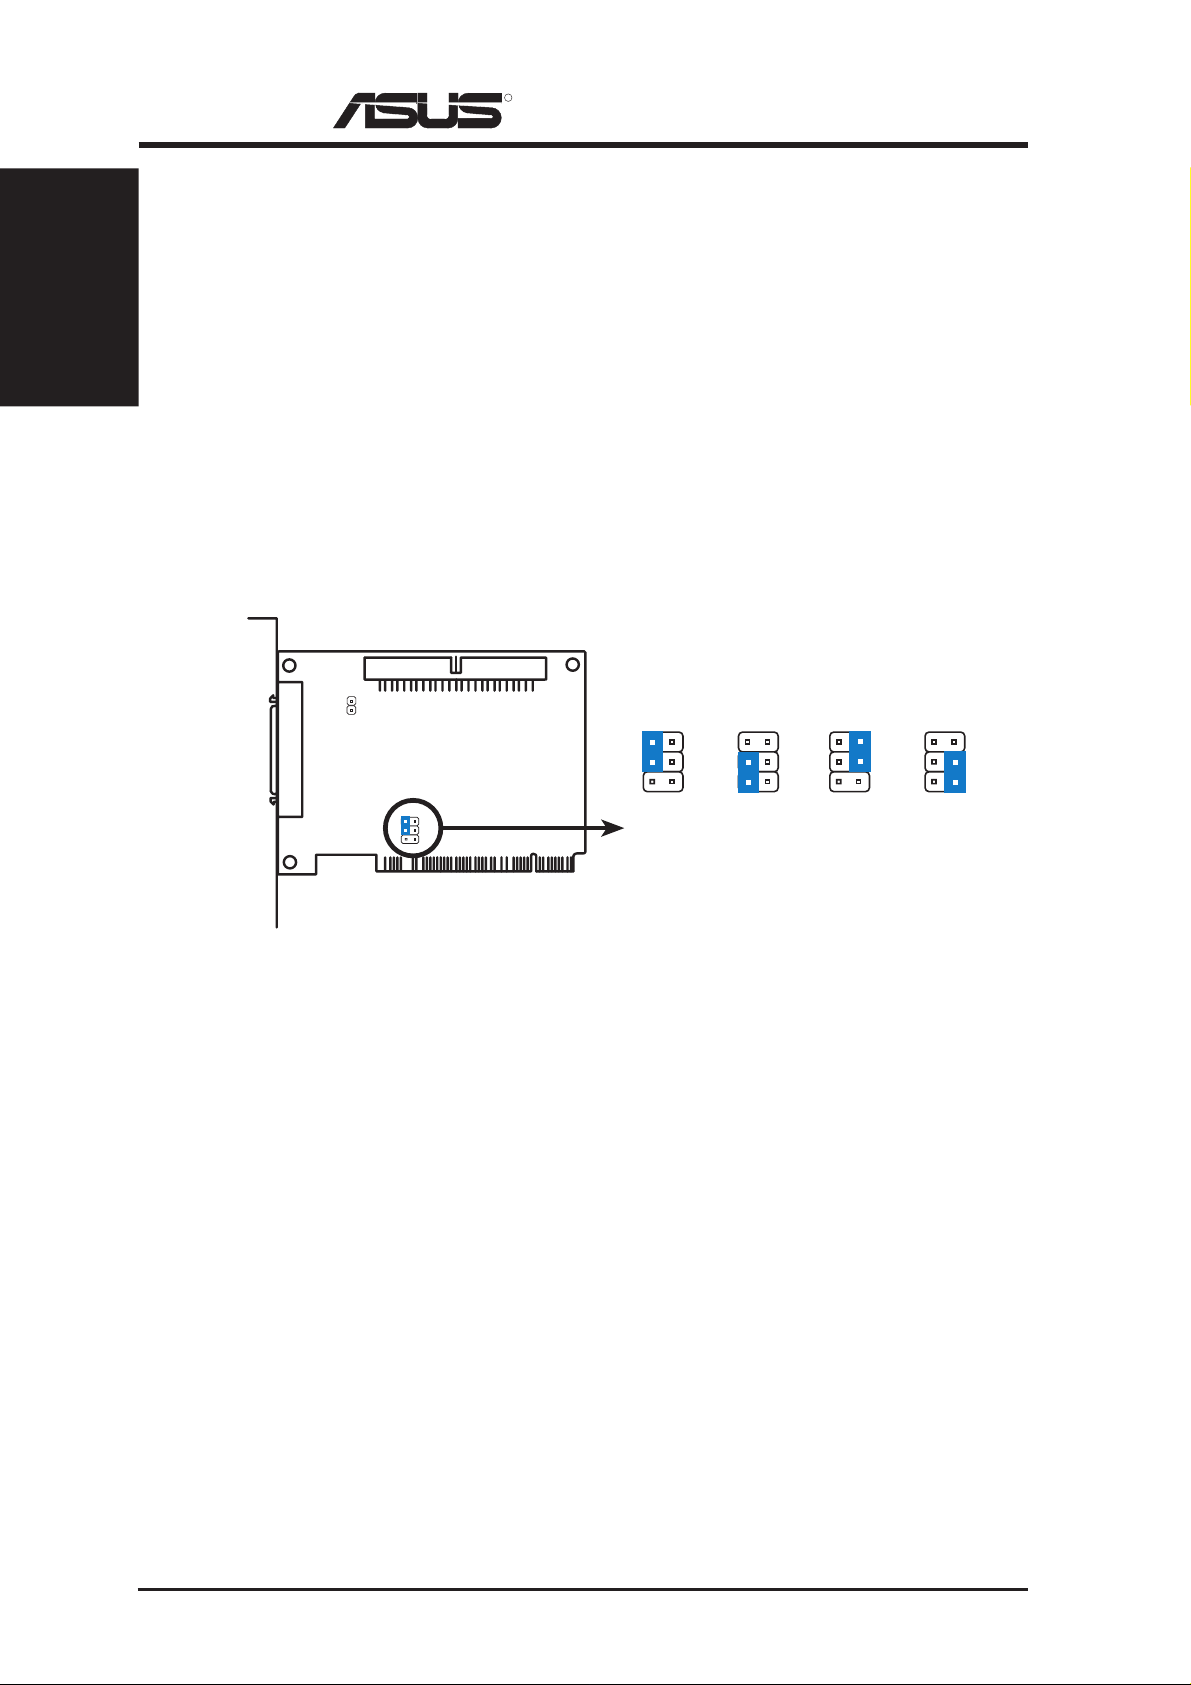
Setting the PCI Interrupt for the ASUS PCI-SC200
You must use PCI INT A setting in order to properly assign the ASUS PCI-SC200’s
interrupt. On the ASUS PCI-SC200, you assign the INT by setting jumper JP1 or
JP2. The default setting for the card already is INT A, so you do not need to change
the setting to use the ASUS PCI-SC200 with ASUS motherboards.
JP 1
1
2
3
INT A
(Default)
JP 2
JP 1
JP 2
1
2
3
INT B INT C INT D
1
2
3
JP 1
JP 2
JP 1
JP 2
1
2
3
Interrupt Settings (A, B, C, or D)
Terminator Requirements for SCSI Devices
SCSI devices are connected together in a “chain” by SCSI cables. Internal devices
connect to the ASUS PCI-SC200 or ASUS PCI-SC860 with a fifty-pin flat ribbon
cable. External devices connect to the external port with a SCSI-2 cable. If there are
more than one internal or external devices, additional devices are connected with
cables to form a “daisy chain.” Terminating the devices on the ends of the SCSI Bus
“chain” is necessary for SCSI devices to work properly. Termination of the devices
between the ends must be Disabled.
Terminator Settings for the ASUS PCI-SC860
Many SCSI devices including the ASUS PCI-SC860 use a set of onboard active
resistors to terminate the devices at the ends automatically. Automatic termination
requires that the SCSI devices be connected in a straight linear connection or “chain.”
Connect SCSI devices to one or two of the SCSI connectors in a linear “chain” for
auto termination of the ASUS PCI-SC860 to be effective. Other formations will
cause your SCSI devices to not mount properly . You must use the end of the ribbon
cable when using the internal connector(s) to keep a linear path.
2 ASUS SC200/SC860 Reference Guide
Page 3

R
PCI SCSI Cards
Terminator Settings for the ASUS PCI-SC200
The ASUS PCI-SC200, on the other hand, has “passive” termination that you must
set using jumper JP5. There are two settings, “terminated” and “not terminated,” as
shown below.
Jumpers Settings
ASUS SCSI Cards
JP 5
Terminated
(Default)
Terminator Setting (Terminated / Not Terminated)
JP 5
Not Terminated
Decide whether or not you need to terminate the ASUS PCI-SC200 based on its
position in the SCSI chain. Only the devices at each end of the chain need to be
terminated. If you have only internal or only external devices connected to the ASUS
PCI-SC200, then you must terminate the ASUS PCI-SC200. If you have both internal and external devices connected, you must not terminate the card. See the following two examples which illustrate this concept.
OR
SCSI Device 2
(End Device)
Termination Required
Termination Required
(JP5 Open)
SCSI Device 1
Only Internal or Only External Devices
SCSI Device 4
(End Device)
Termination Required
Termination Required
SCSI Device 1
(End Device)
No Termination Required
(JP5 Short)
SCSI Device 3
Both Internal and External Devices
SCSI Device 2
ASUS SC200/SC860 Reference Guide 3
Page 4

R
PCI SCSI Cards
ASUS SCSI Cards
SCSI ID Numbers
SCSI ID Numbers for SCSI Devices
All SCSI devices, including the ASUS PCI-SC200 and ASUS PCI-SC860 interface
card must have a unique SCSI identification number that is not in use by another SCSI
device on the same channel. There are eight possible ID numbers, 0 through 7. The
ASUS PCI-SC200 and ASUS PCI-SC860 cards have fixed SCSI IDs of 7, therefore
only ID0-ID6 are available for user-installed SCSI devices.
SCSI ID Priority for SCSI Devices
The ASUS PCI-SC200 and ASUS PCI-SC860 are 8bit single-channel SCSI cards.
SCSI ID 7 has the highest priority, and SCSI ID 0 has the lowest priority.
SCSI Configuration Utility
A SCSI configuration utility is programmed into both SCSI cards. The SCSI configuration utility is used for viewing and configuring SCSI devices. Follow the boot
menu for instructions on entering the utility.
IMPORTANT: The Symbios Logic SCSI Configuration Utility is a powerful
tool. If, while using it, you somehow disable all your controllers or cannot enter
the configuration utility, pressing “Ctrl-A” after memory count during reboot
allows you to enter the configuration utility for reconfiguration.
Copyright 1998 ASUSTeK Computer Inc. All rights reserved.
4 ASUS SC200/SC860 Reference Guide
 Loading...