

Page 1
< >
ABOUT IMINI KEYBOARD CONTROLSTABLE OF CONTENTS
USER GUIDE: MAIN UI
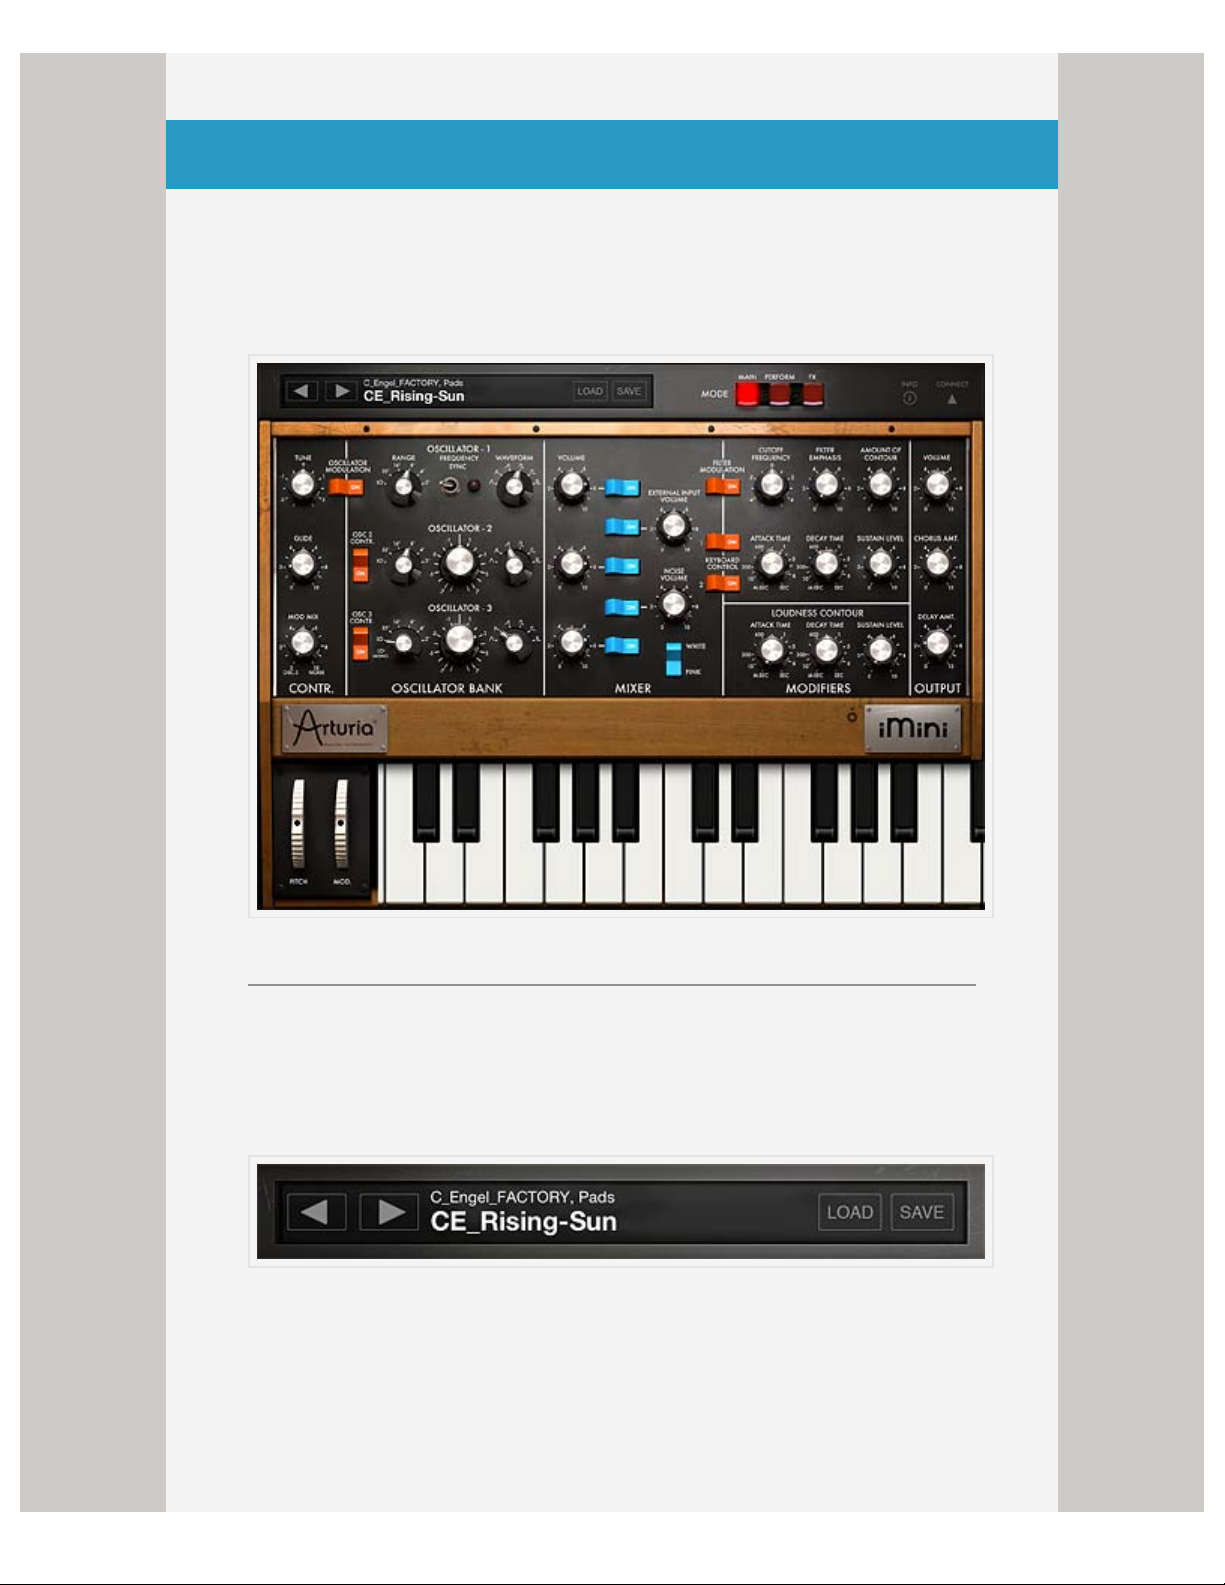
The main screen of iMini provides the controls for the
oscillator banks, the mixer, the signal modifiers, and the
output.
LOAD AND SAVE PATCHES
iMini comes with dozens of built-in presets, and you can create your own by
adjusting any of the parameters and saving the preset.
Browse Presets Use the back/forward arrows to scroll through the presets.
Load Tap this button to open the preset banks and search for specific
patch. The patches are sorted according to creators > types of presets >
and specific patches. You can test presets on the keyboard while the menu
is open.
Save Saves the preset. You can save the current settings as a new preset
Page 2
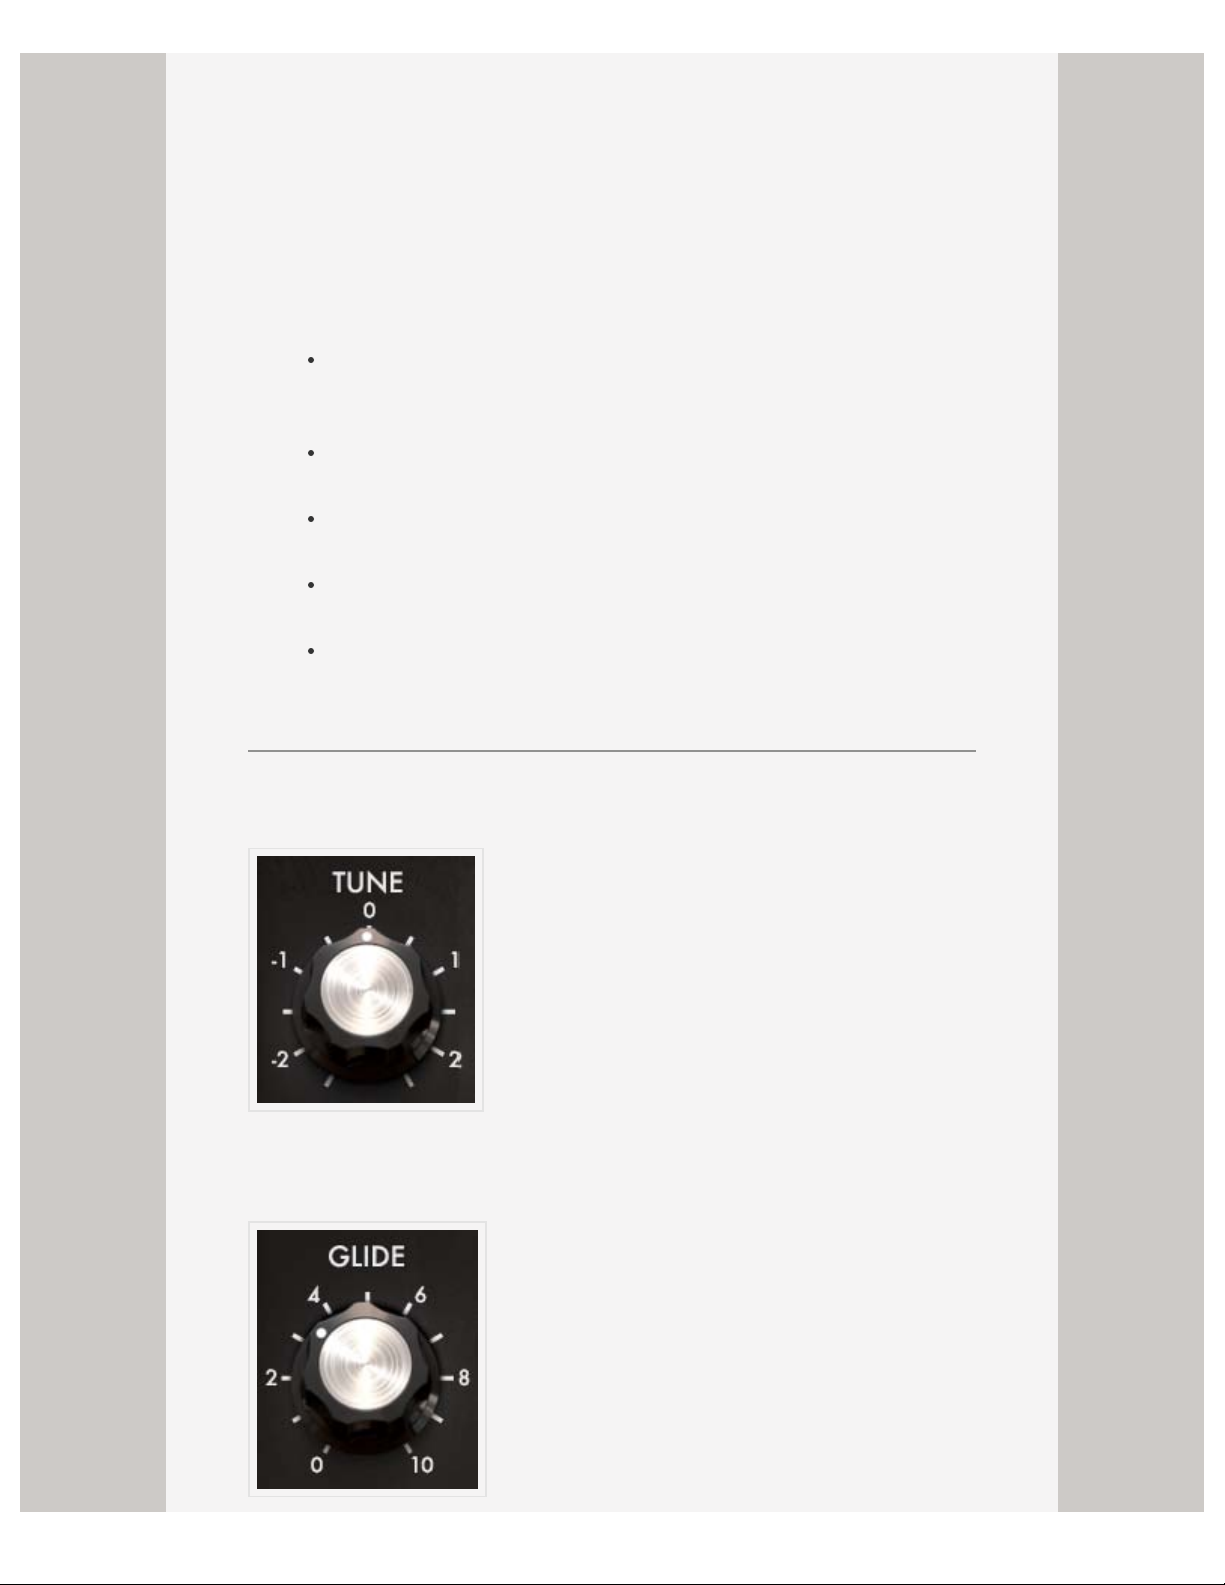
or overwrite the current settings.
All presets are saved to one of the following categories: Arpeggio, Basses,
EFX, Keyboards, Leads, Pads, Percussives, Horns, Synths, Brasses,
Chords, and Strings. Anything you create is stored in the bank called My
Presets.
Import .minibank Presets
You can also import your own .minibank presets via iTunes file sharing. To
use iTunes file sharing:
Connect your iPad to your computer and open iTunes. Select your
iPad under the DEVICES header in the left navigation column.
Click on the “Apps” tab above the main window.
Scroll down to the “File Sharing” section.
Select iMini from the list of Apps.
Under “iMini Documents” click the “Add” button; this opens a
dialog box to select the location of the presets on your computer.
CONTROLS
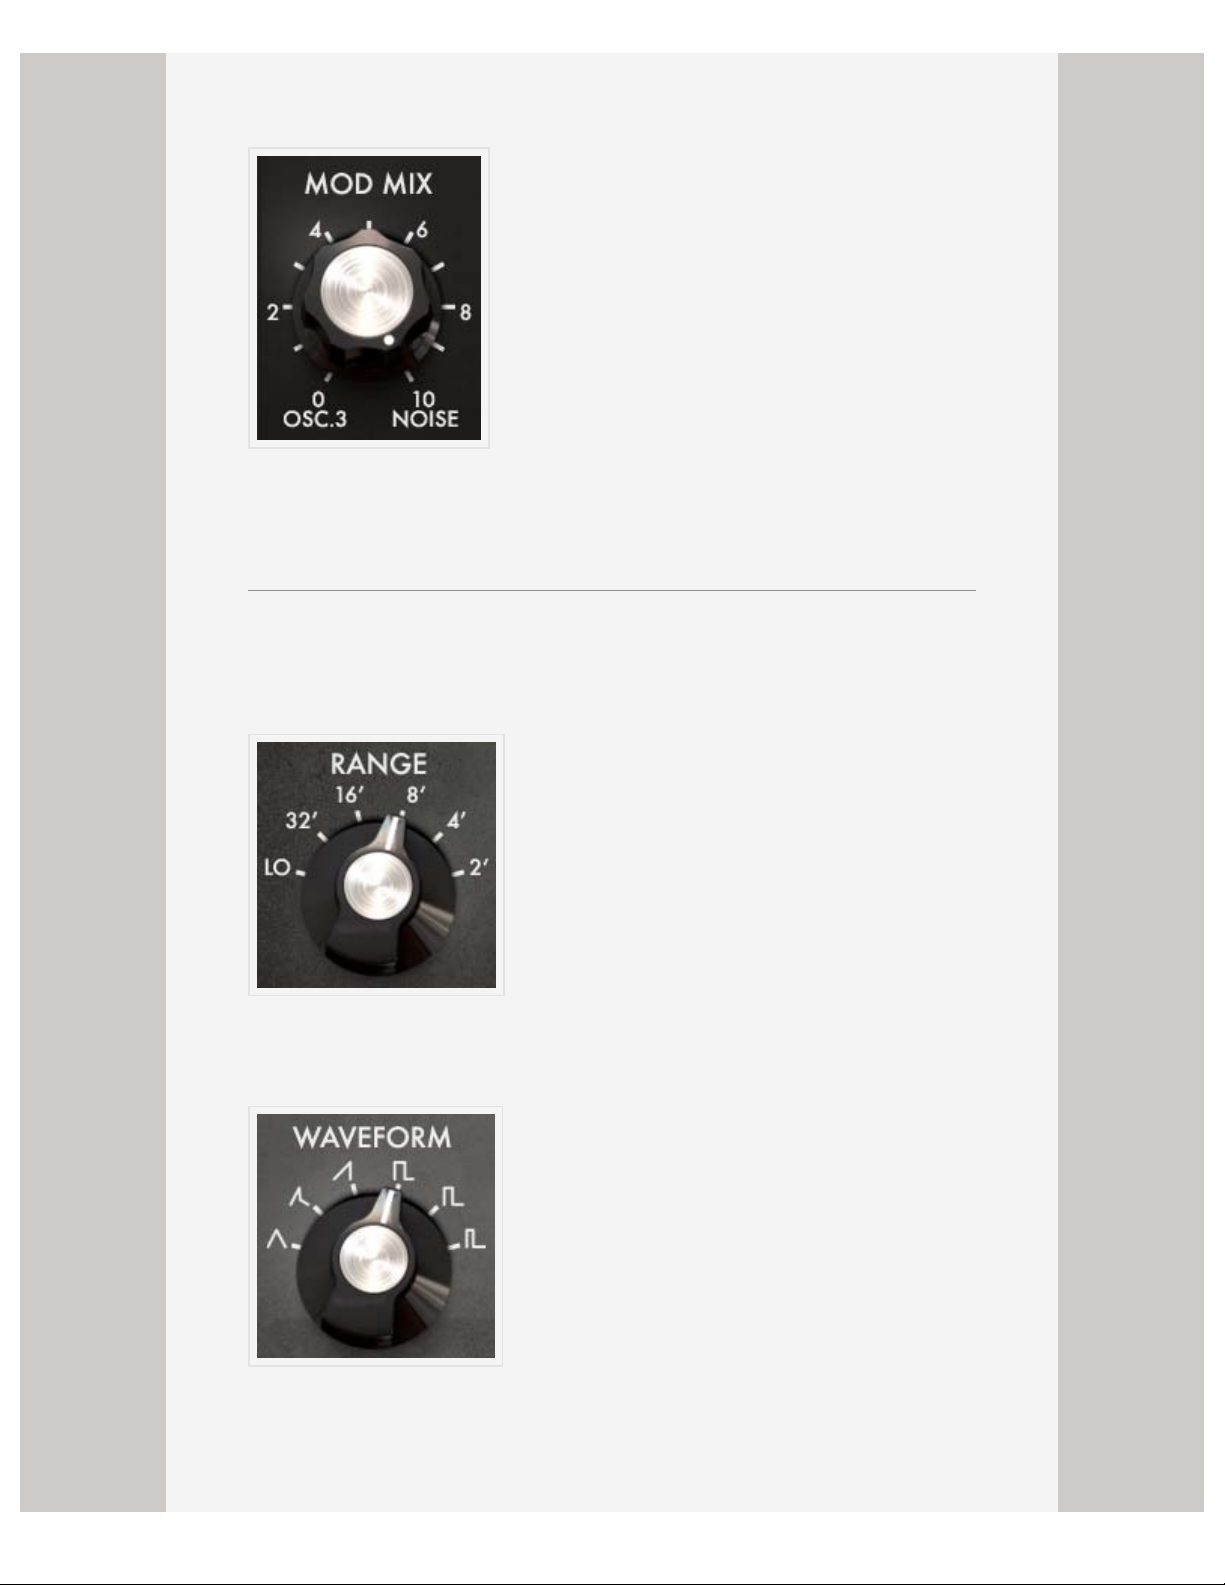
Tune This control shifts the pitch of the preset in increments of semitones,
up to -|+ two octaves.
Page 3
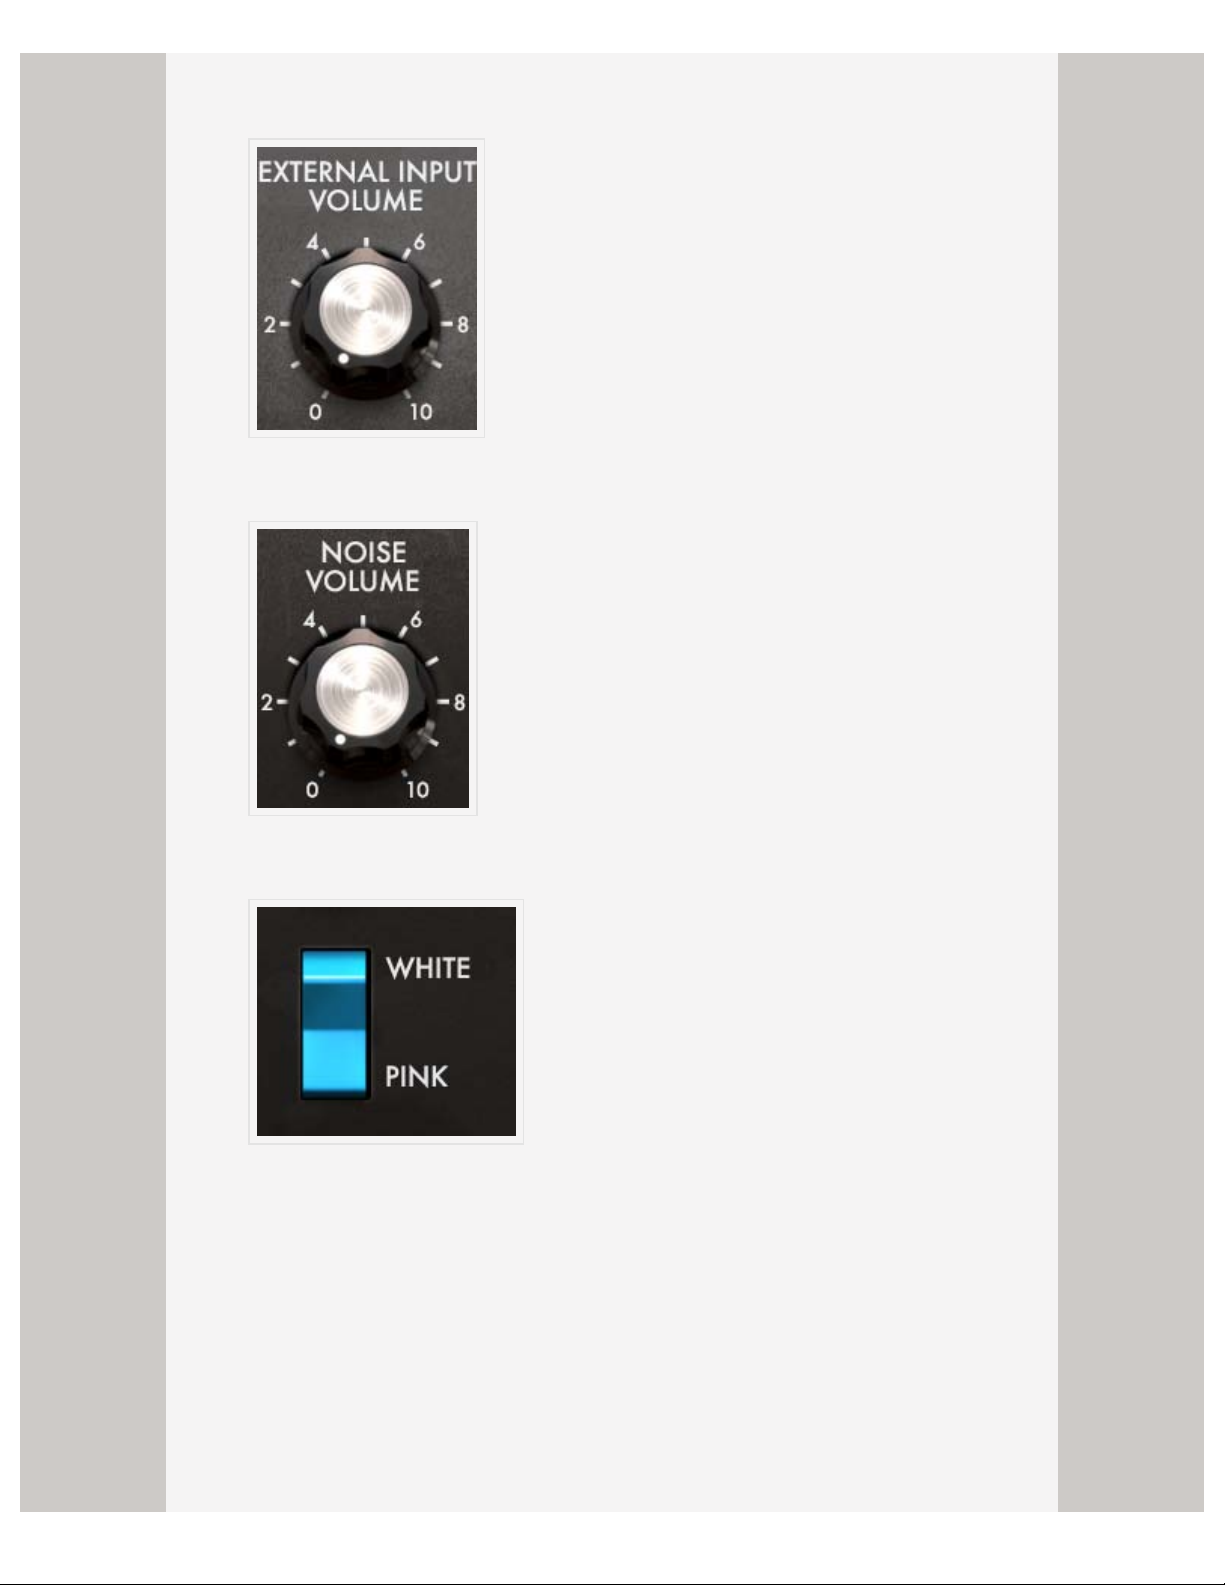
Glide Also called portamento, the Glide control allows the frequency of
each oscillator to move slowly from one note to the next.
Mod Mix This control sets the balance between Oscillator 3 and the noise
module.
OSCILLATOR BANK
All oscillators have the option to set the range and waveform.
Range Sets the pitch of the oscillator. The settings are displayed in feet,
with the lower the number, the higher the pitch.
Waveform
iMini’s oscillators generate the waveforms that define the sound of the
preset. All oscillators can be on or off, and each has the option of
generating a triangle, saw-triangle, sawtooth, square, wide rectangular, or
Page 4

narrow rectangular waveform.
Each waveform provides a different set of harmonics.
Frequency Sync This switch synchronizes oscillator 2 with oscillator 1; the
tuning of oscillator 1 gives the pitch while oscillator 2 brings and modifies
the harmonics heard.
Frequency/Detune Combined with the Range parameter, the
Frequency/Detune controls allows for more precise tuning of the oscillator.
IN ADDITION TO THE ABOVE, YOU CAN PRESS AND HOLD THE
WAVEFORM AND FREQUENCY/DETUNE PARAMETERS TO OPEN
MORE OSCILLATOR CONTROLS.
Width
Coarse
MIXER
Page 5
Volume Controls the volume of each oscillator. Tap the on button to the
right to make sure the oscillator is enabled.
External Input Volume Sets the volume of external input.
Noise Volume Sets the volume of the noise module.
Noise Type The noise module in iMini produces two types of noise: white
and pink.
White noise is the richest of noises, having all signal specturm frequencies
at an equal volume level. For this reason, the noise module is used to create
different noises like the imitation of wind or special effects.
Pink noise is also often present on synthesizers. It is less rich in the high
frequencies than white noise. Also note that the audio output of noise can
also be used as a modulation signal (especially when strongly filtered) to
create random cyclic variations.
Page 6
MODIFIERS
Use these controls to further shape of the sounds produced by the
oscillators.
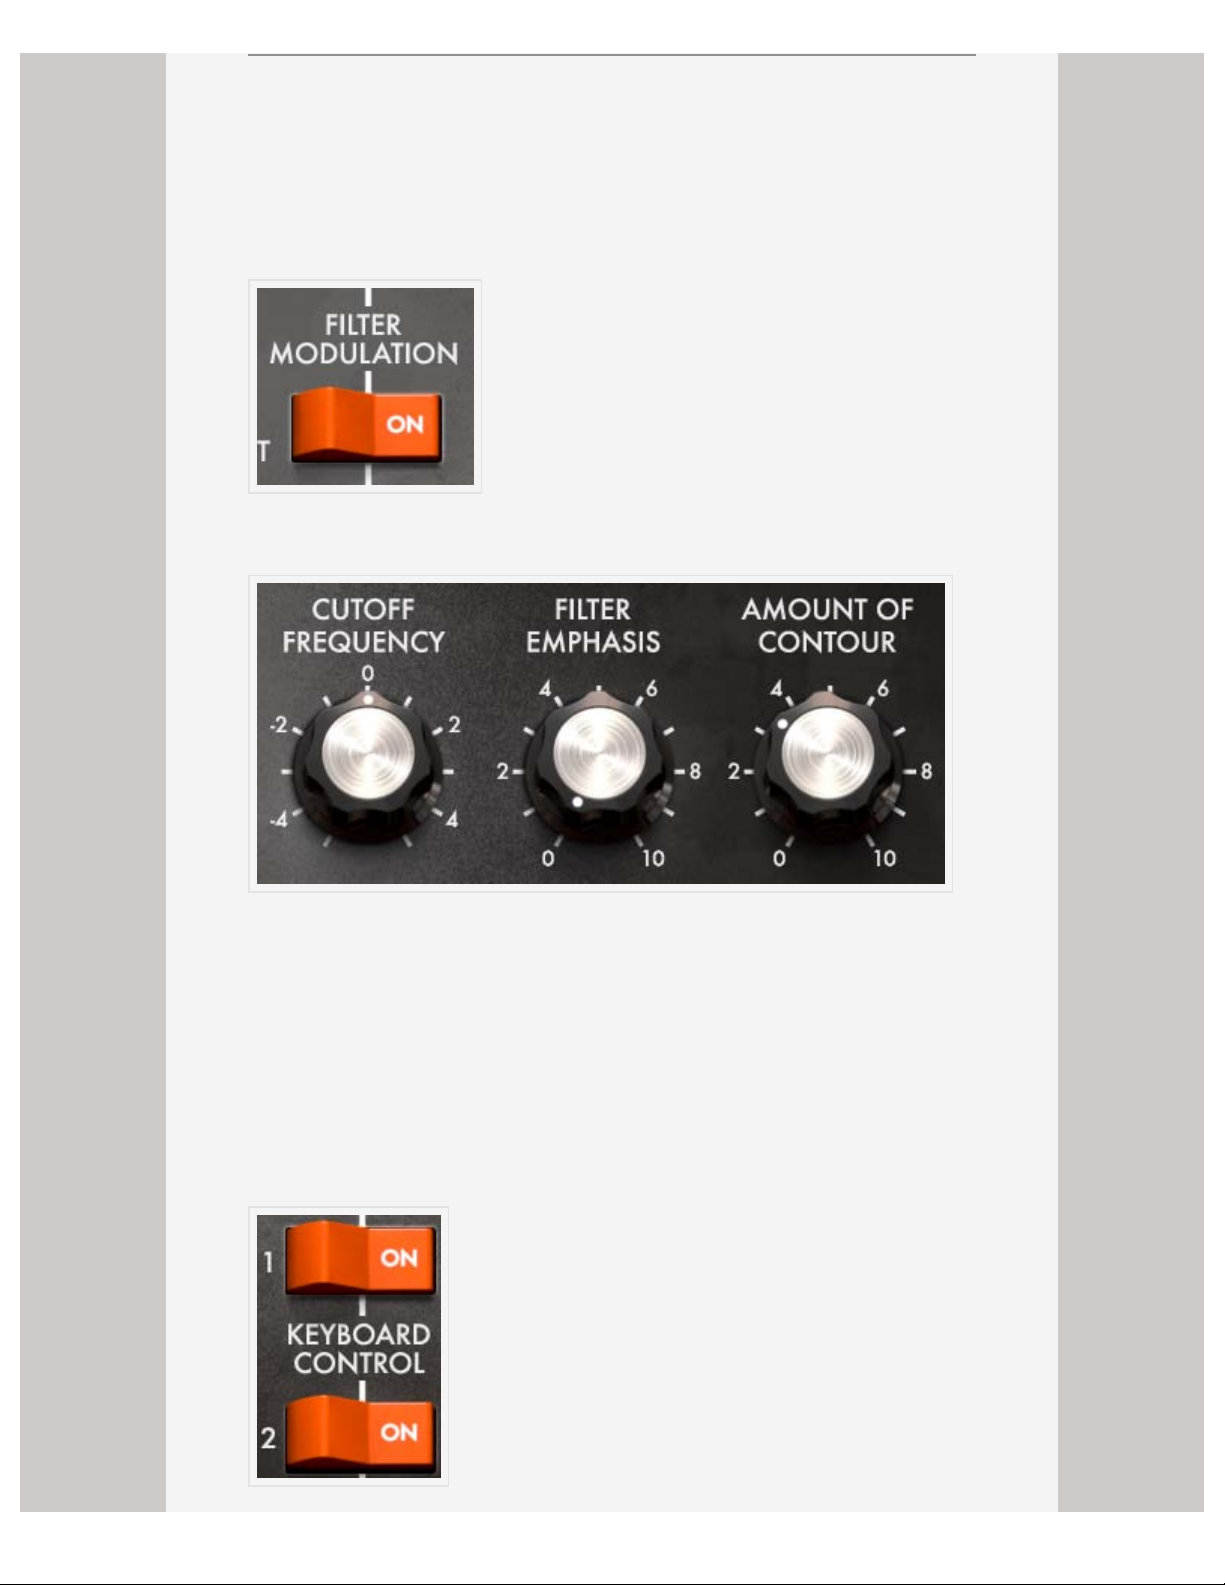
FILTER MODULATION
When this is enabled the signal passes through a low-pass filter.
Cutoff Frequency This control sets the frequency at which the signal is cut
off, allowing only the lower frequency harmonics to pass through the filter.
Filter Emphasis Also known as Resonance or Q, this control adds
emphasis to the frequencies near the cutoff.
Amount of Contour This control sets the action of the envelope generator
associated with the filter.
KEYBOARD CONTROL
Page 7

The two “Keyboard control” switches allow the use of a key follow on the
filter cut-off frequency.
• When they are set to the “OFF” position, no key follow is connected.
• When the first is “ON”, the key follow allows the modification of the cut-off
frequency by a major third for an octave.
• When the second is “ON”, the key follow is of a fifth for an octave, and
when both are “ON”, the filter cut-off frequency follows the keyboard notes
exactly. It should be noted the pivot note is F0.
LOUDNESS CONTOUR
This envelope modulates the amplitude of the sound.
Attack Increasing the “Attack time” increases the volume of the sound
progressively.
Decay This is the time that the sound takes to diminish after the attack
portion is complete.
Sustain This control sets the maximum volume level the sound reaches after
the decay is complete. It stays at this level as long as the note is held.
OUTPUT
Volume Sets the volume of the output.
Chorus Amount Sets the amount of Chorus applied to the signal.
Page 8

Delay Amount Sets the amount of Delay applied to the signal.
MODE
These buttons change the view to other screens, providing additional control
parameters to shape the sound in Perform and access to the effects in FX.
INFO
Opens the information panel of the device. Also provides access to user
guide.
< >
CREDITS KEYBOARD CONTROLSTABLE OF CONTENTS
Page 9

< >
MAIN UI CONNECT PANELTABLE OF CONTENTS
USER GUIDE: KEYBOARD CONTROLS
At the risk of stating the obvious, the keyboard is what
allows you to play the iMini. iMini has the option of playing
in either monophonic or polyphonic mode. When set to
monophonic, only one key will play at a time, while
polyphonic mode allows you to play chords.
On the left side of the keyboard are two wheels, one that changes the pitch,
and one that changes the modulation.
Tap the icon next to the iMini plate and the panel above the keyboard flips
open to reveal more controls.
Octave The octave control displays the currently selected octave on the
keyboard. Tap the +|- buttons to raise or lower the octave.
Page 10

Scroll Tap the scroll button to “unlock” the keyboard from its fixed position
and easily scroll to higher and lower octaves.
Glide The notes played on the keyboard directly command the frequency of
the oscillators, but it is possible for this frequency to move slowly from one
note to the next. This function, called portamento, is activated with the Glide
switch.
Decay This switch activates the return-to-zero time of the envelopes.
Legato When this control is enabled, it prevents triggering of the envelopes.
Scale iMini comes equipped with preset scales, with the default being the
Chromatic scale (all keys are enabled).
Key iMini allows the scale to be set to any key.
< >
MAIN UI CONNECT PANELTABLE OF CONTENTS
Page 11

< >
KEYBOARD CONTROLS PERFORMTABLE OF CONTENTS
USER GUIDE: CONNECT PANEL
Tapping the Connect button displays the back panel of the
iMini and provides connections to MIDI devices and other
iPads via WIST, access to tempo controls, or opens the
iMini module in Tabletop.
WIST
Korg’s WIST technology allows any iPad running the app to sync to another
device running a WIST-compatible app. When two devices are working
together via WIST, whichever is the master is the only one capable of
controlling settings; settings for the slaved device are inherited. Changing
settings on either device disrupts synchronization and requires reestablishing a WIST connection.
Tap the WIST LED button to enable WIST. WIST requires the use of
Bluetooth, and if it’s not currently enabled on your iPad, you will be
prompted to do so. You can also manually enable Bluetooth in your iPad’s
native Settings app, under General > Bluetooth. When you enable WIST in
Tabletop, a dialog will then appear as WIST searches for other devices
running compatible apps. (For a full listing of available WIST-compatible
apps, tap the ABOUT WIST button.) Any secondary device needs to confirm
the WIST connection before the devices will be properly synchronized.
Once connected, the Master device’s transport triggers playback on all
connected devices, and slaved devices should begin playing in the same
tempo.
GLOBAL TEMPO
Tap the tempo to open the popover in which you make changes. Set the
tempo for your session by either tapping the TAP button or using arrows to
increase or decrease the tempo.
MIDI
Tap the button to enable MIDI devices. Connect external devices then tap
Page 12

MIDI Learn to manually map the hardware controls to iMini parameters.
Valid MIDI-mappable controls will be highlighted; match the controls to the
corresponding MIDI controller. Once you map a control to the MIDI device it
will no longer be editable on screen.
Midi Learn Mode
Tap a control on your iPad, then touch the control on the MIDI device; that
sets the parameter to the MIDI device. Repeat as desired. Tap done to exit
learn mode.
TABLETOP READY
Tap the Tabletop Ready icon to open iMini in Tabletop. If you don’t have
Tabletop installed the App Store launches instead.
< >
KEYBOARD CONTROLS PERFORMTABLE OF CONTENTS
Page 13

< >
CONNECT PANEL FXTABLE OF CONTENTS
USER GUIDE: PERFORM
Use the perform screen to further shape the sounds of
iMini. Here you have the option to use the arpeggiator or
two-axis joysticks to control additional parameters of the
synth.
ARPEGGIATOR
Play
Enables/disables the arpeggiator.
To use the arpeggiator, press the notes you want iMini to use in the
arpeggio. The synth then plays an arpeggio of those notes according to the
following parameters.
Repeat
Sets the number of cycles repeated for each octave.
Octave
Page 14

Selects the number of octaves that the arpeggiator covers for each cycle.
Latch Mode
In the Hold position, the notes played on the keyboard remain present until
a new note (or group of notes) is played. As long as a note remains active
on the keyboard, all of the notes played are memorized.
In Memory position, the notes played on the keyboard are memorized. To
stop the memorization, place the switch to Off mode.
To stop the chaining of the notes, you must stop the arpeggiator with the
Play switch.
Speed
Sets the speed at which the arpeggio cycles through the notes.
BPM Sync
Page 15

Syncs the delay return time with the tempo.
Mode
Sets the arpeggio mode: ascending, descending, return, random, and in the
order of appearance of the notes.
TWO-AXIS JOYSTICKS
The X and Y axes of the two joysticks can be mapped to any two
parameters of the iMini. Tap the setting button at the top of the control to
open the parameters you can choose from. The parameters assigned to the
x and y axes are displayed at the bottom of the popover; tap the arrows on
either side to scroll through the parameters and select the desired one. It is
possible to test the parameters before closing the window.
Page 16

< >
CONNECT PANEL FXTABLE OF CONTENTS
Page 17

<
PERFORM TABLE OF CONTENTS
USER GUIDE: FX
The FX section controls the effects for iMini – the chorus
and delay.
CONTROLS
Tune
This control shifts the pitch of the preset in
increments of semitones, up to +|- two octaves.
Glide
Also called portamento, the Glide control allows
the frequency of each oscillator to move slowly from one note to the next.
Mod Mix
Page 18

and the noise module.
CHORUS
Power
when the effect is on.
Rate
This control is the balance between Oscillator 3
Turns the effect on or off. The LED will show as lit
Sets the modulation speed of the
oscillators; the higher the rate, the faster the detuning.
Depth
Page 19

This control allows you to clearly hear
the different depths, or amplitudes, of modulation. The higher the value, the
more the sound detunes.
Type
There are three types of chorus effects, Chorus 1, 2
and 3, with Chorus 1 being a simpler version to Chorus 3 being the more
sophisticated chorus, designed for sharper detuning effects.
ANALOG DELAY
Power
when the effect is on.
Time Left
Turns the effect on or off. The LED will show as lit
Page 20

speaker.
Time Right
speaker.
BPM Sync
Sets the speed of echoes for the left
Sets the speed of echoes for the right
delay return time to the tempo.
Feedback Left
This control lets you synchronize
Page 21

Feedback Right
OUTPUT
Volume
Sets the number of echoes on the left side.
Sets the number of echoes on the right side.
Chorus Amount
Sets the volume of the effects.
Page 22

Sets the amount of Chorus applied to the signal.
Delay Amount
Sets the amount of Delay applied to the signal.
<
PERFORM TABLE OF CONTENTS
 Loading...