

Page 1
1 December 2005 Page 1 of 8 3783189
If you have any queries regarding the installation of this product please contact the distributor from whom it was purchased, or alternatively the ARB office in your state.
Head Office – ARB Corporation Ltd VIC: 42-44 Garden Street, Kilsyth, Victoria, 3137 Tel: (03) 9761 6622 Fax: (03) 9761 6807
WA:(08) 9244 3553 NSW: (02) 9821 3633 ACT: (02) 6280 7475 SA: (08) 8244 5001 QLD: (07) 3872 3872 NT: (08) 8947 2262 TAS: (03) 6331 4190
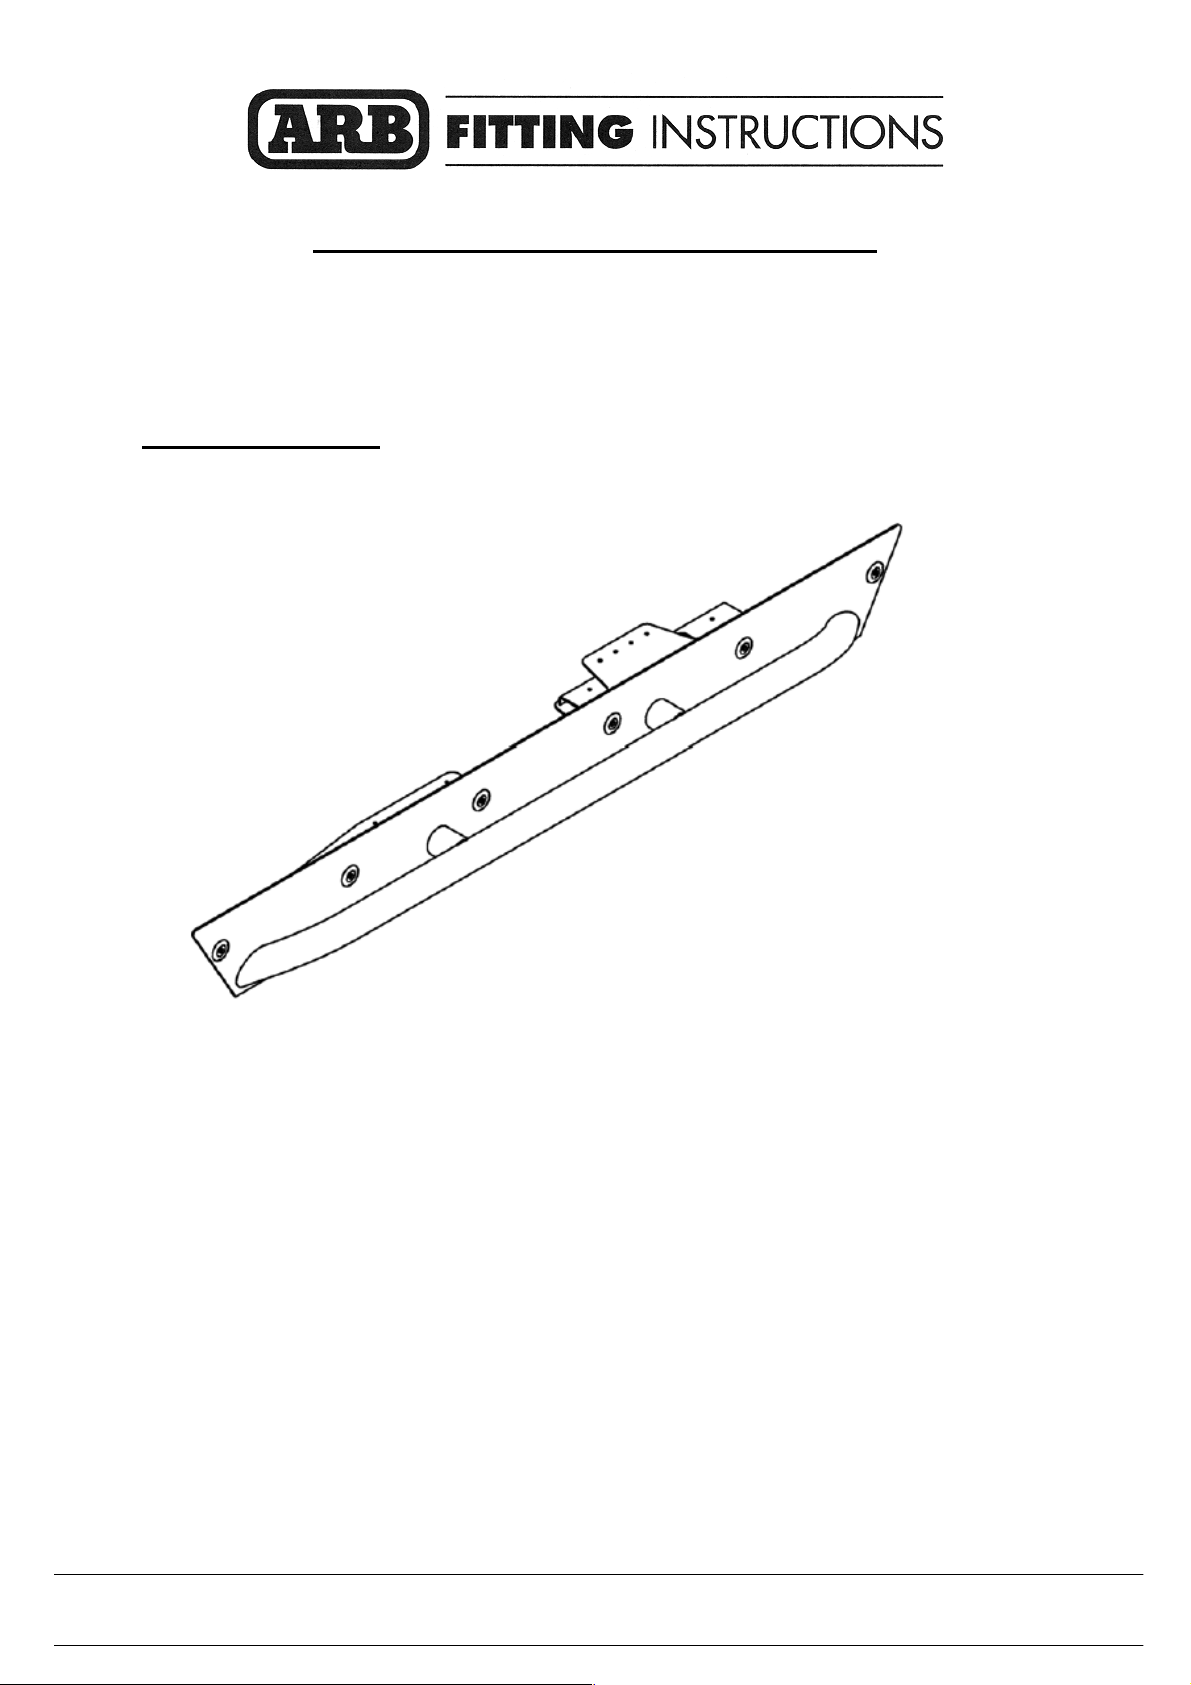
ARB TJ JEEP ROCKER GUARDS
• PART No 4450010
TOOLS REQUIRED:
• Electric Drill
• Pop-Rivet Gun
• Floor jack or a friend
• 1” (25mm) Hole Saw
• 9/32” (7.14mm) Drill Bit
• 3/16” (4.76mm) Drill Bit
• 10mm Wrench or Socket
• ¼” Transfer Punch
• Hammer
Page 2

06-05-09 Page 2 of 9
3783182
PART No
QTY
DESCRIPTION
6562476L
1
Rocker Guard Left Hand
6562476R
1
Rocker Guard Right Hand
3756518L
1
Bracket Internal Mount Left Hand
3756518R
1
Bracket Internal Mount Right Hand
3756520
4
Caged Nut Brackets
6151162
8
Nut Nyloc M6 x 1.0
6151315
4
Nut M6 Caged
4581289
2
Washer Flat ¼” x 1 ¼”
6151312
12
Screw M6x25MM S/S Button Head
4581099
12
Washer Ms S/S Bonded
6151323
30
Rivet 3/16” S/S Truss Head
6151265
1
M4 Allen Key, Ball Type
3162465
2
Rubber Grommet
215618
2
ARB Domed Badge
6151046
6
Washer Flat 6mm
Page 3
06-05-09 Page 3 of 9
3783182
1. Begin by removing the small flare extension or body side moulding & mounting strip
(Sahara & Renegade models only). Also, remove the factory sidesteps or any aftermarket
accessories that may interfere with the installation of the ARB Rocker Guards.
2. Remove the first two rear fender flare bolts (Closest to the door opening).
3. Clean the body side of all dirt and debris. Use a glass cleaner and a clean paper towel or
rag.
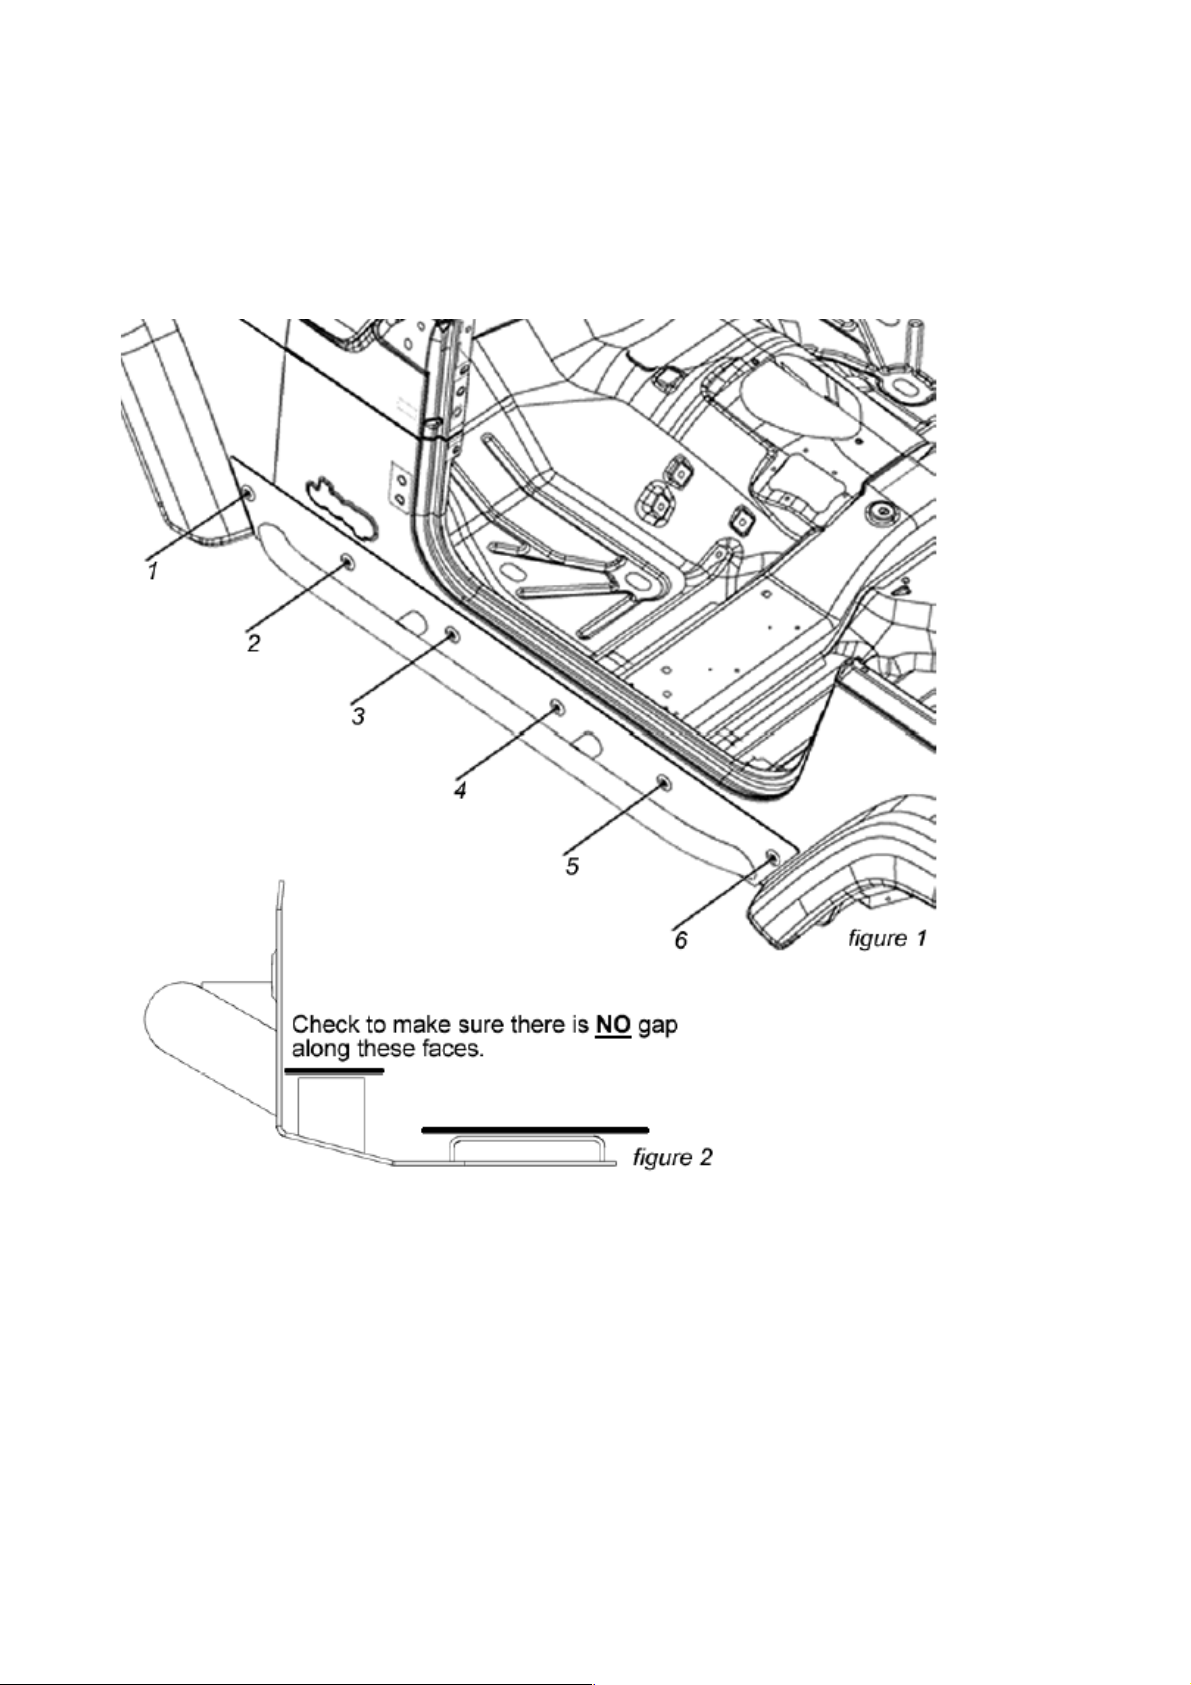
4. Position the guard in place along the body side. From below, begin by positioning the
front of the guard, pull away the rear flare from the body side when raising the rear into
place. Using a floor jack, press the guard up until the surfaces of the guard touch the
bottom of the floor pan as shown in Fig. 2. Centre the guard front to rear.
Note: Take caution around the fender flares, they scratch easily.
5. Once the guard is in position (centred front to rear – guard stand-off touching Jeep floor –
tight along the body side), use the ¼” transfer punch to locate the centre of the six 9/32”
holes you’ll drill through the body side. A normal centre punch can be used, but be careful
to locate the exact centres, otherwise assembly will be difficult.
Page 4

06-05-09 Page 4 of 9
3783182
6. Remove the guard from body side. Drill the six holes out to 9/32”.
Note: A small pilot drill bit is recommended for accuracy.
7. Re-install the guard. Put Neoprene washers on three of the M6x25 stainless button head
screws, potion them through holes #3, 4 & 5 (Fig. 3). Unsnap and pull carpet away, then
place the appropriate internal bracket (Fig. 4) and install three M6 flat washers, and the
three M6 Nyloc nuts. Tighten until the neoprene is compressed and the bolt is tight.
Note: It is best to tighten the nut, and hold with the hex head Allen wrench.
Page 5

06-05-09 Page 5 of 9
3783182
8. Position one M6x25 stainless button head screw and neoprene washer through hole #1.
Place a fender washer and M6 Nyloc nut on the inside by reaching up under the fender, in
front of the firewall. Tighten until the neoprene is compressed and the bolt is tight.
9. Assemble the cage nut brackets exactly as shown in Fig. 5. Be sure the cage nuts are
fully clipped into the cage brackets.
10. Pull the rear fender away slightly and position the assembled cage nut and bracket into the
oval hole in the body side; Remove clear tape if present. Using one M6x25 stainless steel
button head screw and neoprene washer – insert through hole #6 (Fig. 6) and carefully
thread into the cage nut. Tighten until the neoprene is compressed and the bolt is tight.
11. Gently push in the part of the cage nut bracket sticking out and fasten rear fender flare
down using stock hardware.
Page 6

06-05-09 Page 6 of 9
3783182
12. Carefully cut out the template found on the last page of these instructions, locate as shown
in Fig. 7. Punch the location of the 1” hole to be cut.
13. Using a 1” hole saw, cut the hole located in step 12.
14. Position an appropriate cage nut bracket into the 1” hole (Do not drop!), and fasten using
one M6x25 stainless steel button head screw and neoprene washer through hole #2.
Tighten until the neoprene is compressed and the bolt is tight.
15. Gently push in the part of the cage nut bracket sticking out and insert 1” rubber plug to
trim.
16. Using the 3/16” drill bit, drill holes #1-15 as shown in Fig. 8 & Fig 9.
17. Using a Pop-rivet gun, install the 3/16” stainless pop rivets.
18. To trim carpet around the internal bracket, use a sharp blade. (Cut a slit in the carpet, fold
back down, and snap into position.)
19. Repeat all steps for the opposite side.
Care & Maintenance
As with the entire vehicle, try to wash off the guards a few times during the winter, especially in
Eastern United States where the roads are salted more than usual.
For the ultimate in long term durability we recommend the use of a rubberized undercoating on
the bottom portion of the guard. (This is highly recommended for customers in the Eastern United
States.)
Page 7

06-05-09 Page 7 of 9
3783182
Page 8

06-05-09 Page 8 of 9
3783182
Page 9

06-05-09 Page 9 of 9
3783182
 Loading...