

Page 1
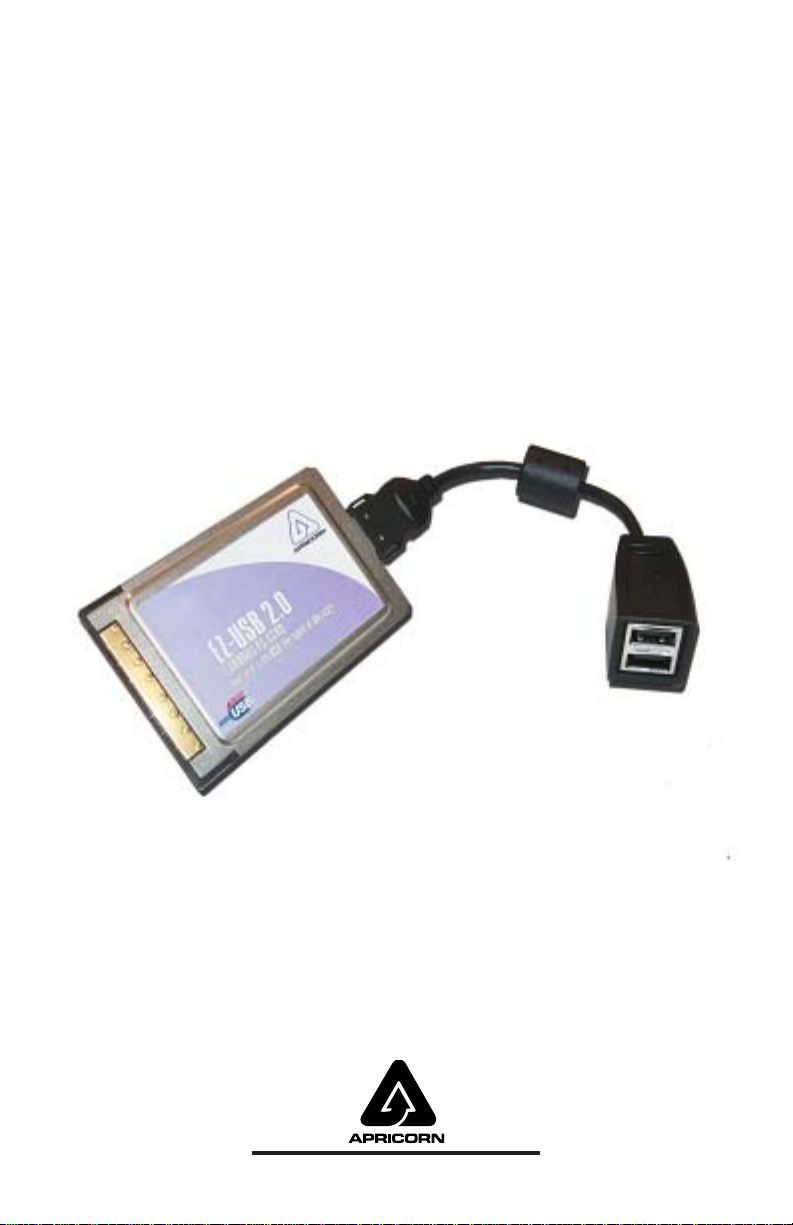
EZ-USB 2.0
CardBus Card
User Manual
www.apricorn.com
Page 2

Table of Contents
Introduction ......1
Installation .......2-3
Drivers (Windows XP & Windows 2000) . . 4
Drivers (Windows 98, 98SE, ME) ...5
Attaching USB Devices .....6
Removing the Card .....7
Tips & troubleshooting .....7
Appendixes
Electronic Compliance ....8
Warranty & Support .....9
Page 3

Introduction
Thank You for purchasing the EZ-USB 2.0 !
The EZ-USB 2.0 CardBus Card allows laptop computers to connect with Hispeed USB devices via your laptop’s CardBus Slot. The EZ-USB 2.0 is compatible with the new USB 2.0 “Hi-Speed” standard, which allows much faster connection speeds and a wider range of devices. It is also backwards-compatible
with all USB 1.0 and 1.1 devices. The EZ-USB 2.0 CardBus Card was designed
as a “Plug and Play” device that is hot-swappable in most Windows Operating
Systems.
Product Requirements:
The EZ-USB 2.0 CardBus card requires a computer with a CardBus slot, and
one of the following Operating Systems:
• Windows 98SE
• Windows ME
• Windows 2000
• Windows XP
This Package Contains:
• 1 USB CardBus Card
• 1 Adapter Cable (PC card to USB)
• 1 Installation CD
• 1 Quick Start Installation Guide
1
Page 4

Installation
1) Windows 98SE and Windows ME users ONLY! Insert the CD-ROM and run
the USB 2.0 Driver installation utility. This installer should start automatically
once the CD-ROM is inserted into your laptop, if not, browse the CD-ROM and
double-click on “U2v2_05.exe”. Reboot your laptop once the USB 2.0 autoinstaller is complete.
2. Insert the EZ-USB CardBus Card into the laptop CardBus slot. (fig 1)
fig 1
3. The Windows Operating System will detect the new hardware and automatically start the Hardware Installation Wizard. The installation steps for the
device drivers will depend upon what Operating System is installed on your
computer. Follow the installation instructions listed under your Operating
System to install the device drivers for EZ-USB 2.0 :
Windows XP
See “Driver Installation for Windows XP” on page 4
Windows 2000
See “Driver Installation for Windows 2000” on page 4
Windows 98 / Windows ME
See “Driver Installation for Windows 98 & Windows Me” on page 5
2
Page 5

Installation
3. Attach the Adapter Cable to the EZ-USB 2.0 Card. (fig 2)
Note: The Adapter Cable is ‘keyed’ for proper alignment into the PC
Card connector, and should gently click into place. Do not force the
connection!
fig 2
4. Attach regular USB devices or USB 2.0 “Hi-Speed” devices to the USB Ports
on the Adapter Cable (fig 3). See notes for “Attaching USB devices” on pg. 6
Note: The installation procedures for USB devices may be different, or
may change depending on the laptop, OS and the type of device you
are trying to install. Check with the documentation for each USB device.
fig 3
3
Page 6

Installing Device Drivers
Driver Installation for Windows XP:
Windows XP contains built-in support for USB 2.0 devices. Windows XP will
automatically install the correct device drivers for this card If USB 2.0 device
drivers were not included with the original XP installation, they can be downloaded automatically from the Windows Update website:
• Make sure you have an active connection to the Internet
• The first time you install the EZ USB 2.0 Card, Windows XP will launch
the ‘Add/Remove HardWare’ Wizard
• Select “Install the software automatically (recommended)” and click the
button marked ‘Next’
• Windows XP will automatically download and Install the USB 2.0 Drivers
from Microsoft website.
Driver Installation for Windows 2000:
Although not included in the original release of Windows 2000, Microsoft has
recently added support for USB 2.0 host controllers. These new device drivers
are available from the Windows Update Website. If your laptop is connected to
the Internet during the driver installation (or driver update) Windows 2000 will
automatically install the correct device drivers for this card:
• Make sure you have an active connection to the Internet
• The first time you install the EZ USB 2.0 Card, Windows 2000 will launch
the ‘Add/Remove HardWare’ Wizard
• The Wizard will ask if you want to include other locations in the Driver
Search. Select the “Windows Update” option, and then click the button
marked ‘Next’
• Windows 2000 will automatically download and Install the USB 2.0
Drivers from Microsoft website.
4
Page 7

Drivers
Driver Installation for Windows 98SE, & Windows ME:
1) Windows will detect a new device: “NEC USB Open Host Controller.”
2) “What do you want Windows to do?”
3) “Windows will search for new drivers in its driver database...”
Note: if Windows cannot locate the standard USB drivers on your hard drive, it may ask you to
insert the Windows Installation CD-ROM.
4) “Windows has found an updated driver for this device...What do you want to install?”
5) Windows will detect a second “NEC Open Host Controller.” Repeat steps 1 through 4.
6) Windows will detect the USB 2.0 controller: “NEC PCI to USB Enhanced Host Controller”
9) “What do you want Windows to do?”
10) “Windows will search for new driver in it’s driver database...and in any of the following
selected locations...”
-Click “Next.”
-Select “Search for the best driver for your device.”
-Then Click “Next”
-UNCHECK all “additional” locations (Windows will search the hard drive ONLY)
-Then Click “Next”
-Select “The updated driver... NEC USB Open Host Controller”
-Then Click “Next”
-Click “Next” at the “Windows is now ready to Install” window
-Then Click “Finish” at the “Windows has finished installing” window.
-Click “Next”
-Select “Search for the best driver for your device.”
-Then Click “Next”
-Select the CR-ROM Drive
-Then Click “Next”
11) “Windows driver file search for the device: EZ USB 2.0 Host Controller...
....location of driver: (your CD-ROM Drive Letter):\NEHCD.INF”
-Click “Next”
-Then Click “Finish” at the “Windows has finished installing” window.
12) Verify the EZ-USB 2.0 CardBus Card is correctly installed by viewing the new components in
Windows’ “Device Manager” (see below).
When installed correctly, the EZ-USB 2.0 CardBus Card installs 3 device-drivers, and shows up as 3
different devices in Windows’ Device Manager:
Universal Serial Bus Controllers
EZ USB 2.0 Host Controller (the USB 2.0 “Hi-Speed” Host)
NEC USB Open Host Controller (a USB 1.0 Host for backwards-compatibility)
NEC USB Open Host Controller (a USB 1.0 Host for backwards-compatibility)
5
Page 8

Attaching USB devices
The EZ-USB 2.0 allows connections with USB 2.0 “Hi-speed” devices, and is
“backwards compatible” with older USB 1.0 and 1.1 devices. You may attach
any combination of these devices to either port on the Adapter cable.
The EZ-USB 2.0 Card will detect what type of USB device is attached and autoconfigure the port for the fastest possible communication speed. No user
intervention is required. Older USB 1.0 and 1.1 devices will communicate at the
original USB rates (up to 12Mb/sec). USB 2.0 enabled devices may communicate with the EZ-USB 2.0 Card at speeds of up to 480Mb/sec.
Adapter Cable and USB ports:
As part of the USB hardware specifications, USB Hubs and Host Controllers
are required to provide a limited amount of power for USB devices. Some
USB devices may require this power to initialize and communicate with the
host controller. Smaller USB devices may run off bus power only.
The EZ-USB 2.0 Card draws power for it’s USB devices directly from the
laptop; No additional power cables are required. The Adapter Cable provides
one full-powered (500mA) port, and one low-powered (100mA) port. The
power ratings for each port are clearly marked on the Adapter Cable at the
side of each USB port.
High Power (500mA):
Use this port to connect with any USB-compliant device.
Low Power (100mA):
Use this port to connect with “low powered” USB devices (mice, keyboards,
etc.) or devices that have their own power supply (monitors, scanners, etc.).
USB Hubs:
Although the EZ-USB 2.0 Card provides enough power for 2 USB devices,
the total power available may vary, depending on the laptop design and
available battery power. For this reason, EZ-USB 2.0 is not recommended
for use with non-powered USB expansion hubs. The EZ-USB 2.0 Card may
be used with self-powered hubs to connect up to 127 additional devices.
6
Page 9

Removing the Card
Card Removal for Windows 2000 & Windows XP:
Use the Window 2000 “Unplug or Eject Hardware” Icon (located in the
Windows System Tray on your desktop) or the Windows 2000 “Add/Remove
Hardware” Wizard to stop all communication with the Card before removing it
from the PC Card slot.
Card Removal for Windows 98, 98SE & ME:
Use the special USB 2.0 Card-Removal Icon (located on the Windows’
System Tray on your desktop). The USB 2.0 Card-Removal Icon is installed
during the driver installation process. NOTE: Unexpected USB 2.0 Card
removals may cause unhandled exceptions in the Windows 98SE or Windows ME Operating Systems. You must use the USB 2.0 Card-Removal
Icon to stop all USB transactions before you attempt to remove the card.
Unexpected removal of USB 2.0 Card while the laptop is running may cause
system-lockups or force you to reboot your computer.
Tips and Troubleshooting
If you are having trouble with the EZ-USB 2.0 CardBus Card, please review the
following solutions to common installation errors:
Card is not automatically detected by the operating system:
Try using Windows “Add New Hardware Wizard” to detect the card. Try
removing all other PC Cards, external devices, etc., and then reinstalling the
card. Verify the Card works by trying to install it in another laptop. Make
sure there are no resource conflicts in Windows’ Device Manager.
USB Device not detected or Overcurrent Notification:
Some non powered USB devices require more than 100mA to operate. Try
the Hi-power (500mA) EZ-USB 2.0 port. If the USB device has an external
power jack, make sure it is plugged in before connecting the device.
Device installs but operates at the slower USB 1.1 Speed.
Review the installation steps and verify that all 3 device drivers for the EZUSB 2.0 are correctly installed. Try reinstalling the EZ-USB. Verify that the
USB device has the correct drivers in installed, and that the USB device
supports USB 2.0 transfer rates.
Visit the EZ-USB 2.0 Support page on the Apricorn website for the latest support
information and driver updates: www.apricorn.com/ezusb2.html
7
Page 10

Appendix A: Electronic Compliance
Federal Communications Commission (FCC) Statement
This product has been tested and found to comply with the limits for a class B digital device, pursuant
to Part 15 of the FCC Rules. These limits are designed to provide reasonable protection against
harmful interference in a residential installation. This equipment generates, uses, and can radiate
radio frequency energy and, if not installed and used in accordance with the instructions, may cause
harmful interference to radio communication. However, there is no guarantee that interference will not
occur in a particular installation. If this equipment does cause interference to radio or television
reception, which can be determined by turning the equipment off and then on, the user is encouraged
to try to correct the interference by one or more of the following measures:
• Reorient or relocate the receiving antenna.
• Increase the separation between the equipment and receiver.
• Connect the equipment to an outlet on a circuit different from that to which the receiver is
connected.
• Ensure that the card and adapter cable are installed correctly and all ground wires are
secured and tight.
• Consult the manufacturer or an experienced radio/TV technician for help.
This device complies with Part 15, of the FCC Rules. Operation is subject to the following two
conditions: (1) this device may not cause harmful interference, and (2) this device must accept any
interference that may cause undesired operation. Changes or modification not expressly approved by
Apricorn could void the user’s authority to operate the equipment.
Responsible Party:
Apricorn
12191 Kirkham Rd
Poway, CA 92064
Telephone: 1-858-513-2000
EZ-USB 2.0 EZUSB2CB
Tested to Comply
With FCC Standards
For Home or Office Use
EC-EMC Declaration of Conformity
EN 55022- “Limits and Methods of Measurement of Radio Interference Characteristics of
Information T echnology Equipment.”
EN 50082-1 “Electromagnetic compatibility - Generic immunity standard Part 1: Residential,
commercial and light industry. ”
IEC 801-2- “Electromagnetic compatibility for industrial-process measurement and control
equipment Part 2: Electrostatic discharge requirements.”
IEC 801-3- “Electromagnetic compatibility for industrial-process measurement and control
equipment Part 3: Radiated electromagnetic field requirements.”
IEC 801-4- “Electromagnetic compatibility for industrial process measurement and control
equipment Part 4: Electrical fast transient/burst requirements.”
8
Page 11

Techincal Support
Before Y ou Contact Technical Support:
• Review the Installation Section of the User’s Guide to verify the EZ-USB
2.0 and it’s device drivers are installed correctly. Make sure all USB
devices have been installed correctly.
• Visit the Apricorn Website: http://www.apricorn.com. The Support section has complete tech support information, driver downloads, FAQ’s,
warranty information.
If you need further assistance, please contact our technical support Dept. Please have
the Apricorn part number (from your box or receipt), laptop model, and a specific description of the error when you contact us. Apricorn’s Technical Support Specialists
are available from 8:00 am to 5:00 pm, Monday through Friday, PST:
Technical Support E-mail: support@apricorn.com
Technical Support help line: (858)-513-2000
Warranty Information
One-Year Warranty
Apricorn will warrant the EZ USB 2.0 CardBus Card against defects in materials and
workmanship under normal use for one year. This warranty does not cover expendable parts.
Disclaimer and Terms of the Warranties:
THE WARRANTY BECOMES EFFECTIVE ON THE DATE OF PURCHASE AND MUST BE VERIFIED WITH YOUR SALES
RECEIPT OR INVOICE DISPLAYING THE DATE OF PRODUCT PURCHASE.
APRICORN WILL, AT NO ADDITIONAL CHARGE, REPAIR OR REPLACE DEFECTIVE PARTS WITH NEW PARTS OR
SERVICEABLE USED PARTS THAT ARE EQUIVALENT TO NEW IN PERFORMANCE. ALL EXCHANGED PARTS AND
PRODUCTS REPLACED UNDER THIS WARRANTY WILL BECOME THE PROPERTY OF APRICORN.
THIS WARRANTY DOES NOT EXTEND T O ANY PRODUCT N OT PURCHASED DIRECTLY FROM APRICORN OR TO ANY
PRODUCT THAT HAS BEEN DAMAGED OR RENDERED DEFECTIVE: 1. AS A RESULT OF ACCIDENT, MISUSE, NEGLECT , ABUSE OR FAILURE AND/OR INABILITY TO FOLLOW THE WRITTEN INSTRUCTIONS PROVIDED IN THIS IN-
STRUCTION GUIDE; 2. BY THE USE OF PARTS NOT MANUFACTURED OR SOLD BY APRICORN; 3. BY MODIFICATION
OF THE PRODUCT; OR 4. AS A RESULT OF SERVICE, ALTERATION OR REPAIR BY ANYONE OTHER THAN APRICORN
AND SHALL BE VOID. THIS WARRANTY DOES NOT COVER NORMAL WEAR AND TEAR.
NO OTHER WARRANTY, EITHER EXPRESS OR IMPLIED, INCLUDING ANY WARRANTY OF MERCHANTABILITY AND
FITNESS FOR A PARTICULAR PURPOSE, HAS BEEN OR WILL BE MADE BY OR ON BEHALF OF APRICORN OR BY
OPERATION OF LAW WITH RESPECT TO THE PRODUCT OR ITS INSTALLATION, USE, OPERATION, REPLACEMENT
OR REPAIR.
APRICORN SHALL NOT BE LIABLE BY VIRTUE OF THIS WARRANTY, OR OTHERWISE, FOR ANY INCIDENTAL, SPECIAL
OR CONSEQUENTIAL DAMAGE INCLUDING ANY LOSS OF DA TA RESULTING FROM THE USE OR OPERA TION OF THE
PRODUCT, WHETHER OR NOT APRICORN WAS APPRISED OF THE POSSIBILITY OF SUCH DAMAGES.
9
Page 12

www.apricorn.com
Apricorn
12191 Kirkham Road
Poway CA, 92064
 Loading...