

Page 1

Active Speaker
OPERATING INSTRUCTIONS
En (English)
System
(Powered Subwoofer)
TS-W150
U
For assistance and information
(United States and Puerto Rico)
8B-YP3-913-01
011220BMI-U
MANUAL DE INSTRUCCIONES
MODE D'EMPLOI
E (Español)
F (Français)
Page 2
WARNING
To reduce the risk of fire or electric shock, do not expose
this appliance to rain or moisture.
CAUTION
RISK OF ELECTRIC SHOCK
En
“CAUTION:TO REDUCE THE RISK OF
DO NOT REMOVE COVER (OR BACK).
NO USER-SERVICEABLE PARTS INSIDE.
REFER SERVICING TO QUALIFIED
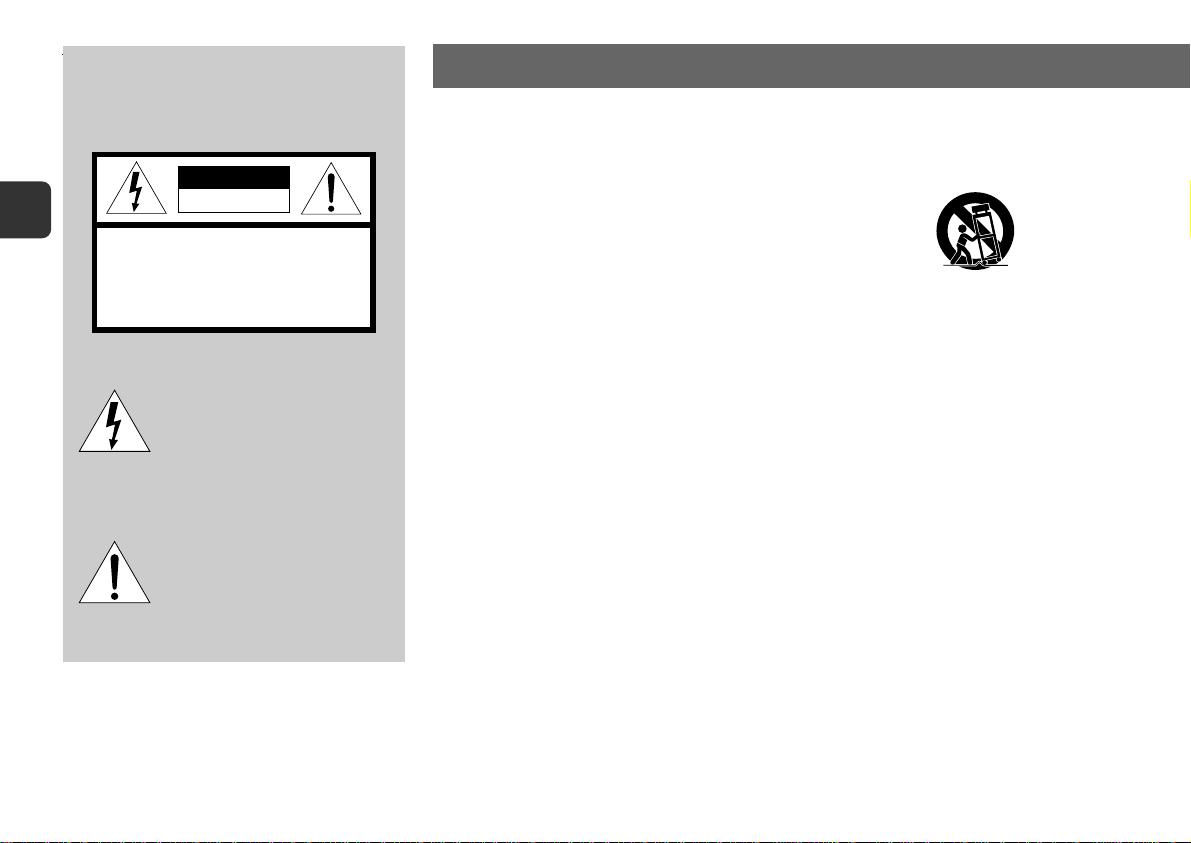
Explanation of Graphical Symbols:
DO NOT OPEN
ELECTRIC SHOCK,
SERVICE PERSONNEL.”
The lightning flash with arrowhead
symbol, within an equilateral triangle, is
intended to alert the user to the presence
of uninsulated “dangerous voltage” within
the product’s enclosure that may be of
sufficient magnitude to constitute a risk
of electric shock to persons.
The exclamation point within an
equilateral triangle is intended to alert the
user to the presence of important
operating and maintenance (servicing)
instructions in the literature
accompanying the appliance.
2
IMPORTANT SAFETY INSTRUCTIONS
Read the Operating Instructions carefully and completely
before operating the unit. Be sure to keep the Operating
Instructions for future reference. All warnings and cautions
in the Operating Instructions and on the unit should be
strictly followed, as well as the safety suggestions below.
Warning
To prevent electric shock or injury, these safety instructions
should be followed in the installation, use and servicing the
unit.
Installation
Attachments - Do not use attachments not recommended
by the unit manufacturer as they may result in the risk of fire,
electric shock or injury to persons.
Water and Moisture - Do not use this unit near water - for
example, near a bathtub, washbowl, kitchen sink, or laundry
tub, in a wet basement, or near a swimming pool, and the
like.
Heat - Do not use this unit near sources of heat, including
heating vents, stoves, or other appliances that generate heat.
It also should not be placed in temperatures less than 5˚C
(41˚F) or greater than 35˚C (95˚F ).
Mounting surface - Place the unit on a flat, even surface.
Accessories - Do not place this unit on an unstable cart,
stand, tripod, bracket, or table. The unit may fall, causing
serious injury to a child or an adult, and serious damage to
the appliance. Use only with a cart, stand, tripod, bracket, or
table recommended by the manufacturer, or sold with the unit.
Any mounting of the appliance should follow the
manufacturer’s instructions, and should use a mounting
accessory recommended by the manufacturer.
Portable cart - An appliance and cart combination should
be moved with care. Quick stops, excessive force, and uneven
surfaces may cause the appliance and cart combination to
overturn.
Ventilation - The unit should be situated with adequate space
around it so that proper heat ventilation is assured. Allow 10
cm clearance from the rear and the top of the unit, and 5 cm
from the each side.
Slots and openings in the cabinet and the back or bottom are
provided for ventilation, and to ensure reliable operation of
the unit and to protect it from overheating, these openings
must not be blocked or covered. The openings should never
be blocked by placing the unit on a bed, sofa, rug or other
similar surface. This unit should not be placed in a built-in
installation such as a bookcase unless proper ventilation is
provided.
Object and Liquid Entry - Never push objects of any kind
into this unit through the cabinet slots as they may touch
dangerous voltage points or short-circuit parts that could result
in a fire or electric shock. Never spill liquid of any kind on the
unit.
Page 3

Electric Power
Power Sources - This unit should be operated only from
the type of power source indicated on the marking label. If
you are not sure of the type of power supply to your home,
consult your appliance dealer or local power company. To
operate unit on battery power, or other sources, refer to the
operating instructions.
Grounding or Polarization - This unit is provided with a
polarized alternating-current line plug (a plug having one blade
wider than the other). This plug will fit into the power outlet
only one way. This is a safety feature. If you are unable to
insert the plug fully into the outlet, try reversing the plug. If
the plug should still fail to fit, contact your electrician to replace
your obsolete outlet. Do not defeat the safety purpose of the
polarized plug.
Power-Cord Protection - Power-supply cords should be
routed so that they are not likely to be walked on or pinched
by items placed upon or against them, paying particular
attention to cords at plugs, convenience receptacles, and the
point where they exit from the product.
Overloading - Do not overload wall outlets, extension cords,
integral convenience receptacles as this can result in a risk of
fire or electric shock.
Lightning
For added protection for this unit receiver during a lightning
storm, or when it is left unattended and unused for long periods
of time, unplug it from the wall outlet and disconnect the
antenna or cable system. This will prevent damage to the unit
due to lightning and powerline surges.
Maintenance
Cleaning - Unplug this unit from the wall outlet before
cleaning. Do not use liquid cleaners or aerosol cleaners. Use
a damp cloth for cleaning.
Damage Requiring Service
Unplug this unit from the wall outlet and refer servicing to
qualified service personnel under the following conditions:
1) When the power cord or plug is damaged.
2) If liquid has been spilled, or objects have fallen into
the unit.
3) If the unit has been exposed to rain or water.
4) If the unit does not operate normally by following the
operating instructions. Adjust only those controls that
are covered by the operating instructions as improper
adjustment of other controls may result in damage and
will often require extensive work by a qualified
technician to restore the unit to normal operation.
5) If the unit has been dropped or the cabinet has been
damaged.
6) When the unit exhibits a distinct change in performance
- this indicates a need for service.
Do not attempt to service this unit yourself as opening or
removing covers may expose you to dangerous voltage or
other hazards. Refer all servicing to qualified service personnel.
Replacement Parts - When replacement parts are required,
be sure the service technician has used replacement parts
specified by the manufacturer or having the same
characteristics as the original part. Unauthorized substitutions
may result in fire, electric shock or other hazards.
Safety Check - Upon the completion of any service or repairs
to this unit, ask the service technician to perform safety checks
to determine that the unit is in proper operating condition.
TABLE OF CONTENTS
IMPORTANT SAFETY INSTRUCTIONS ......... 2
PREPARATIONS ................................... 4
OPERATIONS ...................................... 6
SPECIFICATIONS ................................. 7
Supplied accessories
Connecting cord with RCA phono plugs (1)
Speaker cords (2)
OWNER'S RECORD
Record the model number and serial number of your set
(found at the rear of your set) below. Refer to them when
contacting your Aiwa dealer.
Model No. _____________________________
Serial No. _____________________________
En
3
Page 4

PREPARATIONS
Positioning
Because low-frequency sound reproduced by the powered
subwoofer is mostly non-directional, the listener will be unable
to localize the bass source. Accordingly, the powered
subwoofer provides maximum flexibility in terms of
positioning. For the most effective low-frequency sound, the
powered subwoofer should be placed on the floor close to a
En
wall or in a corner of the room.
(Position example)
Connection
There are two ways (A and B) to connect TS-W150
to equipment (stereo system, receiver or etc).
If the epuipment has an output jack for subwoofer,
use AConnection.
If not, use BConnection..
Note
Do not connect TS-W150 to equipment in both A and B
ways simultaneously.
AA
A Connection
AA
Note
Do not plug in the AC power cords of both TS-W150 and the
epuipment to the AC power outlets before all other connections
are made.
1
Connect the SUB WOOFER or SUPER WOOFER
jack on Ethe equipment to the INPUT 1 (FROM
SUBWOOFER TERMINAL) jack on STS-W150
with C the supplied connecting cord.
2
Set the INPUT SELECT switch to “1”.
3
Connect the AC power cord to an AC outlet.
4
Page 5

Note
Do not plug in the AC power cords of both TS-W150 and the
epuipment to the AC power outlets before all other connections
are made.
Preparations
Turn off the power of the equipment and remove the speaker
cords from the speaker terminals on the equipment.
1
Connect the speaker terminals on E the
equipment to the INPUT 2 (FROM SPEAKERS
OUT) terminals on S TS-W150 with C the
supplied speaker cords.
• Make sure the L and R and the ) and (cords
are connected correctly.
2
With the speaker cords removed from the
equipment (see “Preparations” above), connect
R the right and L left speakers to the SPEAKERS
OUT terminals on STS-W150.
3
Set the INPUT SELECT switch to “2”.
4
Connect the AC power cord to an AC outlet.
Note
Use left/right speakers whose impedance corresponds with
the value specified on the equipment.
En
5
Page 6

OPERATIONS
En
Power and Volume
Adjust the volume balance between the powered subwoofer
(TS-W150) and the left and right speakers of the connected
equipment.
1
Press the POWER button.
The indicator above the button lights up.
2
Start playback on the connected equipment.
3
Adjust the volume of the powered subwoofer.
Moderate volume setting
To get natural bass sounds, adjust the volume of the powered
subwoofer according to its position and the graphic equalizer
setting of the connected equipment.
Adjustment examples
a Set the VOLUME control to a little lower than the middle
when the subwoofer is placed on the floor and the
graphic equalizer is set to off.
b Set the VOLUME control to the middle when the subwoofer
is positioned higher than the floor and the graphic
equalizer is set to off.
Notes
•To avoid overloading the powered subwoofer, do not set the
volume of the connected equipment so high that the sound
is distorted.
•Low frequency sounds may be distorted when they are
emphasized by the graphic equalizer on the connected
equipment. Adjust the VOLUME control on the powered
subwoofer or the graphic equalizer on the connected
equipment.
•If the powered subwoofer will not be used for a long period
of time, press the POWER button to turn off the power, and
unplug the AC cord from the wall outlet.
6
Page 7

Phase
Depending upon the room or the characteristics of the right
and left speakers, sound from the powered subwoofer may
seem unnatural or unusually loud or soft.
In this case, try changing the PHASE switch setting. Set to the
NORMAL or REVERSE position, whichever sounds better.
BASS SOUND RANGE
You can adjust the sound range of the powered subwoofer to
complement the sound range of the other speakers.
Set the TURN OVER switch to one of the three positions.
60 Hz: Output 60 Hz and under.
100 Hz: Output 100 Hz and under.
150 Hz: Output 150 Hz and under.
AUTO POWER
Before using this function, make sure the POWER button is
set to ON.
While the AUTO POWER switch is set to ON, the power is
automatically turned on when receiving a signal input from
either INPUT 1 or INPUT 2. The power is automatically turned
off if no signal is input for a while and the indicator of the
POWER button turns off.
If input signal is too weak (e.g. at a quiet scene in a DVD
playback), this function may not work.
In such a case, set the AUTO POWER switch to OFF.
SPECIFICATIONS
Input terminals INPUT 1 jack
Input sensitivity/impedance INPUT 1:
Output terminals SPEAKERS OUT terminals
Power output 150 W (4 ohms, T.H.D. less than 1%,
Frequency response 50 Hz – 200 Hz
Speaker type Bass reflex type
Speaker unit 25 cm (9 7/8 in.)(Magnetically
Power requirement AC 120 V, 60 Hz
Power consumption 70 W
Dimensions (w/h/d) 320 × 378 × 447 mm
Weight 14.1 kg (31 lbs 1 oz.)
Specifications and external appearance are subject to change
without notice.
INPUT 2 terminals
400 mV/10 kilo ohms (at 50 Hz)
INPUT 2:
4 V/4.5 kilo ohms (L and R)
(at 50 Hz)
at 50 Hz to 200 Hz)
180 W (4 ohms, T.H.D. 10%,
at 100 Hz)
shielded type)
( 12
5
/8 × 15 × 17
5
/8 in.)
En
7
Page 8

For assistance and information
(United States and Puerto Rico)
Printed in China
 Loading...