

Page 1

User´s Manual
EN
Table of Content
Welcome ........................................................................................................................ 2
About the product ........................................................................................................... 2
General safety information ............................................................................................. 2
Notice for Long-time Projection ...................................................................................... 4
Package Content ............................................................................................................ 4
Knowing your LED Projector .......................................................................................... 5
Getting Started ............................................................................................................... 6
CHARGE YOUR FLICKS ................................................................................. 6
WATCH MOVIES IN FLICKS ........................................................................... 7
Turning on the projector ................................................................................... 7
Adjusting Volume ............................................................................................. 7
Adjusting Focus................................................................................................ 7
Keystone Correction ......................................................................................... 7
Flipping image horizontally (Rear projection) ................................................... 7
Adjusting projection angle ................................................................................ 7
Turning off the projector ................................................................................... 7
LISTENING TO BLUETOOTH MUSIC ON FLICKS ......................................... 7
Turning on speakers ........................................................................................ 7
Adjusting Volume ............................................................................................. 8
Turning off speaker .......................................................................................... 8
Charging the External Mobile Device ............................................................................. 8
Troubleshooting .............................................................................................................. 8
Technical Data ............................................................................................................... 9
Page 1
Page 2

User´s Manual
EN
Welcome
Thank you very much for purchasing this product. Before you start, you are
recommended to read this manual step by step to obtain the best results with your
new projector. We wish you enjoy it.
About the product
Flicks is a mobile party powerhouse bringing video and music to any environment. The
LED HD projector projects ultra‐bright and sharp pictures from a HDMI source. The
DLP chip in use, known from large cinema projectors, provides rich colors and high
contrasts. With an embedded rechargeable battery, Flicks is free from any power
source for real mobile presentations and movie nights. The 3‐ways speakers with
subwoofer are well balanced and powerful enough for your party. Enjoy movies or
music with Flicks wherever you are, free from a power source.
General safety information
Physical injury or damage to the device or loss of data can result from improper
handling.
SETTING UP THE DEVICE
The device should be placed securely on a stable, flat surface. Position all cables in
such a way that no one will stumble on them, thus avoiding possible injuries to
persons or damage to the device itself.
Do not plug in the device in moist rooms. Never touch the mains cable or the mains
connection with wet hands.
The device must have sufficient ventilation and may not be covered. Do not put your
device in closed cabinets or boxes.
Do not place the machine on soft surfaces such as tablecloths or carpets and do not
cover the ventilation slits. Otherwise the device could overheat or catch fire.
Protect the device against direct sunlight, heat, large temperature fluctuations and
moisture. Do not place the device in the vicinity of heaters or air conditioners.
Do not allow liquids to enter into the device. Switch off the device and disconnect it
from the mains supply if liquids or foreign substances end up inside the device. Have
the unit inspected by a technical service department.
Always handle the unit with care. Avoid touching the lens. Never place heavy or sharp
objects on the projector or the power cable.
If the projector gets too hot or emits smoke, shut it down immediately and unplug the
power cable. Arrange for your device to be investigated by a technical service centre.
To prevent the spread of fire, open flames should be kept away from the device.
Under the following conditions, a layer of moisture can appear inside the device which
can lead to malfunctions:
if the device is moved from a cold to a warm area
after a cold room is heated
when this device is placed in a damp room
Page 2
Page 3
User´s Manual
EN
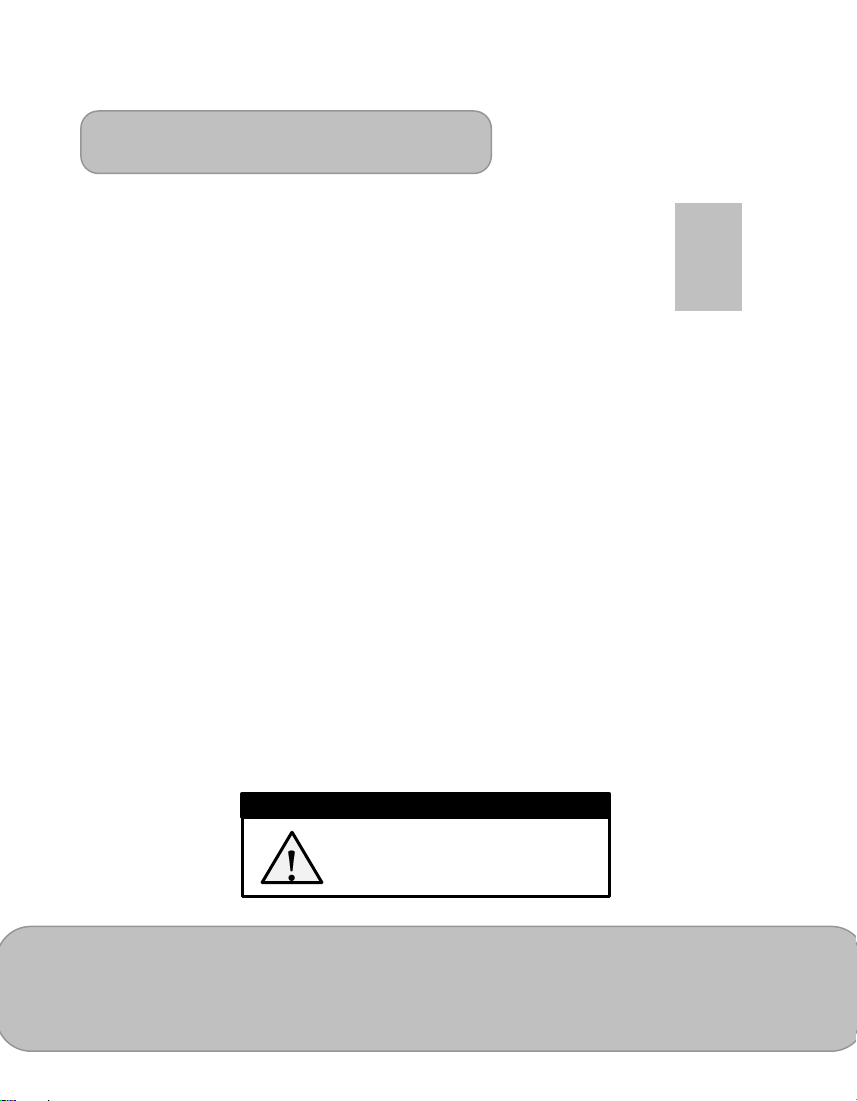
High Power LED
This device is equipped with high power LED
(Light Emitting Diode), which emits very bright
light. Do not look directly into the projector lens.
This could cause eye irritation or damage.
DANGER!
Proceed as follows to avoid any moisture build-up:
1. Seal this device in a plastic bag before moving it to another room, in order
for it to adapt to room conditions.
2. Wait one to two hours before you take the device out of the plastic bag.
The device should not be used in a very dusty environment. Dust particles and other
foreign objects may damage the unit.
Do not expose the device to extreme vibrations. It may damage the internal
components.
Do not allow children to handle the device without supervision. The packing materials
should be kept out of the hands of children.
REPAIRS
Do not repair the device yourself. Improper maintenance can result in injuries or
damage to the device. Your device must be repaired by an authorised service centre.
Find details of authorised service centres on the warranty card.
Do not remove the type label from your device; this would void the warranty.
AUTOMATIC DEVICE TEMPERATUR CONTROL
This device includes an automatic thermal management controller. If the internal
temperature gets too hot, the Fan speed will automatically increase (noise increase)
and the product will automatically turned off.
POWER SUPPLY
Before turning on your device, check that the outlet that you are going to plug it into
conforms to the indications shown on the information plate (voltage, current, power
network frequency) located on your device. This device shall be connected to a single
phase power network. The device shall not be installed on bare ground.
Only use the power cable that is supplied with your device. Your device is delivered
with a grounded power cord. It is imperative to connect a grounded connector to a
grounded outlet connected to the building earthing.
The socket outlet shall be installed near the equipment and shall be easily accessible.
In case of failure, turn off the master switch and disconnect the power cable from the
electrical outlet.
Turn off the device and unplug from the power outlet before cleaning the surface. Use
a soft, lint-free cloth. Never use liquid, gaseous or easily ammable cleansers (sprays,
abrasives, polishes, alcohol). Do not allow any moisture to reach the interior of the
device.
Page 3
Page 4
User´s Manual
EN
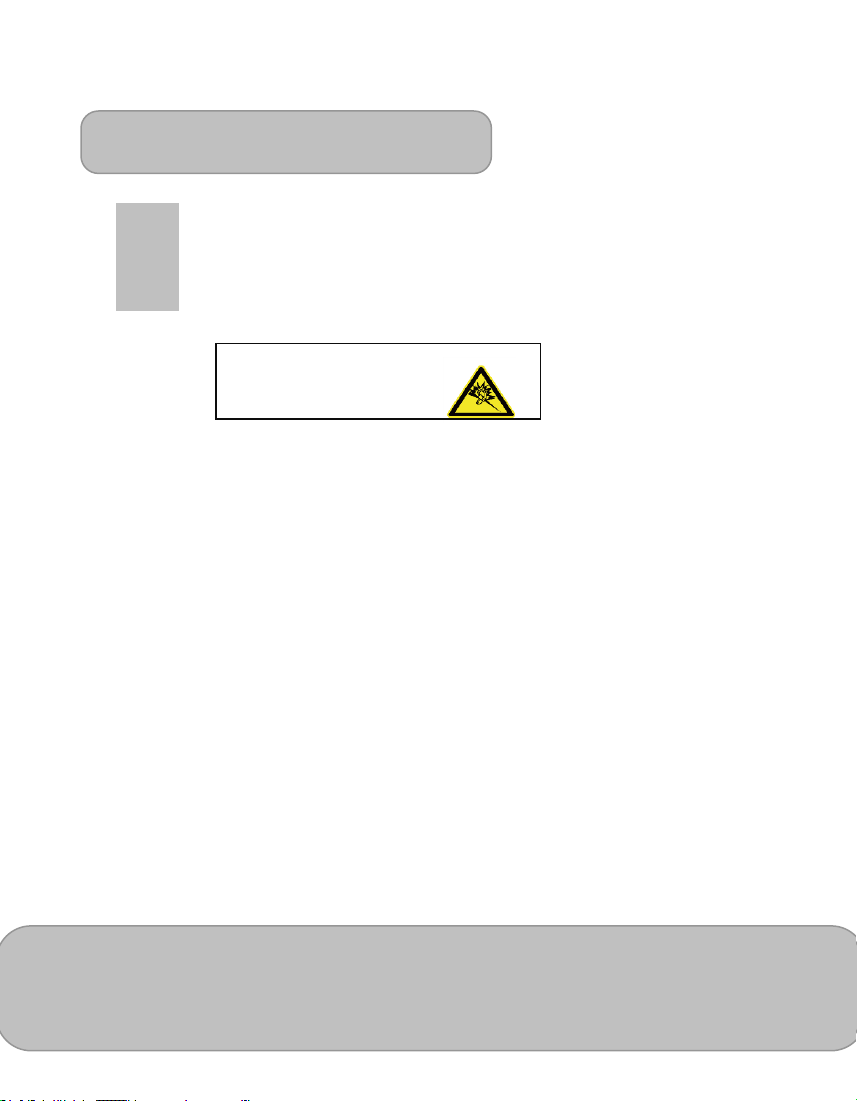
Avoid Hearing Damage:
Listening at high volume for a
long period of time could cause
damage to your ears.
WIRELESS NETWORK (BLUETOOTH)
The functioning of security systems, medical equipment or sensitive devices can be
disrupted by the transmission power of the device. Observe any usage regulations (or
restrictions) in the vicinity of such equipment.
The use of this device can affect the operation of insufficiently shielded medical
devices and hearing aids and pacemakers through the release of high frequency
radiation. Also consult a doctor or the manufacturer of the medical device to establish
whether these are sfficiently shielded from external high frequency radiation.
Notice for Long-time Projection
The built-in battery supports approximately 4 hours of movie playback and 28 hours
of music playback. For long time projection, you are recommended to use AC
adapter.
When the battery is too weak to stay in operation, the low battery capacity icon will
flash. You need to charge the product while the icon showed.
It’s normal that the projector will feel warm with continuous use due to its high
performance. If the projector runs for a long time and over-heated, the Fan speed will
automatically increase (noise increase) and the product will automatically turned off.
Package Content
Please check if the following items are located in your packaging:
Flicks 140
Remote Control
Power Supply
HDMI cable
User´s Manual
Page 4
Page 5

User´s Manual
EN
Ventilation holes
USB Connector
Audio output
Focus ring
Speaker
HDMI
input
Projection lens
Power input
AUX input
Elevator feed
Micro USB
Connector
Knowing your LED Projector
Page 5
Page 6

User´s Manual
EN
LED indicator
Power Button Projector
Speaker Power Button
Menu Button
Bluetooth Button
Sound Source Button
+ Button
– Button
Battery Control Button
Bluetooth indicator
HDMI indicator
AUX indicator
Getting Started
TURN ON THE MASTER SWITCH
You won´t be able to operate Flicks without turning on the master switch
located at the bottom of Flicks.
CHARGE YOUR FLICKS
Fully charge your Flicks using only the included power adapter before first use. It will
take approximately 4 to 10 hours to fully charge your Flicks depending on the Flicks
models you purchase:
140WH Flicks models fully charged in 4 to 6 hours
280WH Flicks models fully charged in 8 to 10 hours
The battery level indicator (4 white LEDs) will flash and show the charging status. The
LEDs will go off when your Flicks is fully charged.
Page 6
Page 7

User´s Manual
EN
WATCH MOVIES IN FLICKS
Turning on the projector
1. Press and hold the projector power button for 2 seconds to turn on the
projector. The speaker will turn on automatically along with the projector
so you don´t need to do anything else.
2. The HDMI sound source will be automatically selected and the LED
indicator will be lit. If not, manually press the sound source button to make
the selection.
3. Connect Flicks to your HDMI-compatible device using the included HDMI
cable.
Adjusting Volume
Adjust the volume of your movie by pressing the + and – buttons located on the top
panel of Flicks.
Adjusting Focus
Place the projector on a flat surface and toward a wall or a projection screen. The
projectional distance and projectional size are:
Distance: 50 – 310 cm
Size: 49 – 305 cm
Rotate the focus ring clockwise / counterclockwise to sharpen the image.
Keystone Correction
Press the Menu button until you see the Keystone adjustment icon. Press the + or button to make the adjustment. The default setting is automatic keystone.
Flipping image horizontally (Rear projection)
Press the menu button until you see the image Flip adjustment icon. Press the + or button to flip the image horizontally to project from behind a translucent screen.
Adjusting projection angle
Flicks is equipped with two elevator feet. They change the image height and vertical
projection angle. Screw the elevator feet clockwise / counterclockwise to fine tune the
angle until the image is positioned where you want it.
Turning off the projector
Press and hold the projector power button for 2 seconds. Turn off the projector by
pressing the projector power button again.
LISTENING TO BLUETOOTH MUSIC ON FLICKS
Turning on speakers
1. Press and hold the speaker power button for 2 seconds to turn on the
speakers.
Page 7
Page 8

User´s Manual
EN
Symptom
Check Point
The projector does not
work when connecting
to a smartphone
notebook or PC with
cable.
Check if the HDMI cable is plugged correctly.
The projected image
is too dark.
1. Use the projector in a darker environment.
2. Increase the brightness by using the power adapter.
3. Scale down the projectional image size.
2. The Bluetooth sound source will be automatically selected and the LED
indicator will be lit. If not, manually press the sound source button to
make the selection.
3. Turn on Bluetooth on your Bluetooth-enabled device.
4. When prompted select “Dashbon Flicks” to pair. It may take up to a
minute to pair.
Adjusting Volume
Adjust the music volume by pressing the + and - buttons located on the top panel of
Flicks or the volume buttons on your Bluetooth-enabled device.
Turning off speaker
Press and hold the speaker power button for 2 seconds to turn off the speaker.
Checking the Battery Status
Press the Battery control button to check the battery status. All four LEDs of the
battery indicator will flash once. Afterwards, depending on the battery level, 1, 2, 3, or
all 4 LEDs will flash again once and then the battery indicator will turn off again.
Charging the External Mobile Device
The build-in battery can not only be used for projection but also to charge mobile
devices.
Connect your mobile device to the projector via the USB cable with the end of Type A
connector plugged into the USB port on the front side of the projector.
The device will be charged automatically.
Some MHL device does not follow the standard power design, so that its battery can
not be charged by the projector (e.g. Samsung Galaxy Nexus, HTC M8).
Note: A USB cable is not included in the package content.
Troubleshooting
If your projector does not seem to be functioning properly, check the items below
before you contact an authorized service center.
Page 8
Page 9

User´s Manual
EN
PRODUCT FEATURES
Optical Technology
DLP
Light Source
RGB-LED
LED Lifetime
Up to 20.000h
Contrast
10000:1
Native Resolution
1280 x 800 Pixel (HD Ready)
Aspect Ratio
16:9 (4:3 compatible)
Projection image
Size (Diagonal)
49 ~ 305 cm (19“ ~ 120“)
Projection distance
50 ~ 310 cm (20“ ~ 122“)
Throw ratio
1.2
Brightness
Up to 700 lumens
Focus
Manual
Offset
100%
Projection source
HDMI
Audio source
AUX, HDMI, Bluetooth
Smarthphone charging
Yes
Adjustable feed
Yes
Microphone
Yes
FUNCTIONS
Volume
Yes
Image flip
Yes (Rear projection)
Keystone correction
Vertical: +/-40°
SPEAKER
Drivers
Stereo, full range, 2x 10 Watt
Subwoofer
Passive Radiator
The projected image
is blurred.
1. Adjust the focus. Please refer to “Adjusting Focus”.
2. Check if the lens is dirty.
The surface
temperature of
projector is high.
Because of the high-luminance LED, it is normal that this
projector generates heat in long-time use. It will not affect
the performance of the projector. Always keep the
ventilation slots free of dirt or obstructions and operate the
projector in a properly ventilated environment.
Technical Data
Page 9
Page 10

User´s Manual
EN
CONNECTIONS
USB
For charging Smartphones
(micro USB for service updates)
HDMI in
HDMI (Type A)
AUX in
3.5 mm mini jack
Audio Out
3.5 mm mini jack
Bluetooth
4.0
PRODUCT DETAILS
Dimensions
299 mm x 166 mm x 135 mm (LxWxH)
Color
White
Weight
2.9 kg
Cooling
Active
Model-Code
BK01DW45AW
POWER
Power supply
Input: 100 ~ 240V, 1.5 A AC
Output: 19V, 4.74 A DC
Battery type
Embeeded, 13.000 mAh, 10.8 V
Lithium‐Ion rechargeable battery
Battery lifetime
Movie playback: 4 hrs
Music playback: 28 hrs
Standby: 28 days
Power consumption
Movie playback: 35 W
Music playback: 5 W
Standby: < 0.5 W
CE Marking
The CE marking certifies that the product meets the main requirements
of the European Parliament and Council directives 1999/5/EG,
2006/95/CE, 2004/108/CE and 2009/125/CE on information technology
equipment, regarding safety and health of users and regarding
electromagnetic interference. The declaration of compliance can be
consulted on the site www.aiptek.de.
Preservation of the environment as part of a sustainable development plan is an
essential concern of Aiptek International GmbH. The desire of Aiptek is to operate
systems observing the environment and consequently it has decided to integrate
environmental performances in the life cycle of its products, from manufacturing to
commissioning use and elimination.
Page 10
Page 11

User´s Manual
EN
Packaging: The presence of the logo (green dot) means that a
contribution is paid to an approved national organisation to improve
package recovery and recycling infrastructures. Please respect the sorting
rules set up locally for this kind of waste.
Product: The crossed-out waste bin stuck on the product means that the
product belongs to the family of electrical and electronic equipment. In this
respect, the European regulations ask you to dispose of it selectively;
• At sales points in the event of the purchase of similar equipment.
• At the collection points made available to you locally (drop-off centre,
selective collection, etc.).
In this way you can participate in the re-use and upgrading of Electrical and Electronic
Equipment Waste, which can have an effect on the environment and human health. The
paper and cardboard packaging used can be disposed of as recyclable paper. Have the
plastic wrapping and Styrofoam packaging recycled or dispose of it in the non-recyclable
waste, depending on the requirements in your country.
Trademarks
The mentioned references in this manual are trademarks of the respective companies.
The lack of the trademarks ® and TM does not justify the assumption that these
dedicated terminologies are free trademarks. Other product names used herein are for
identification purposes only and may be trademarks of their respective owners. Aiptek
International GmbH disclaims any and all rights in those marks.
Neither Aiptek International GmbH nor its affiliates shall be liable to the purchaser of this
product or third parties for damages, losses, costs, or expenses incurred by the
purchaser or third parties as a result of accident, misuse, or abuse of this product or
unauthorized modifications, repairs, or alterations to this product, or failure to strictly
comply with Aiptek International GmbH operating and maintenance instructions. Aiptek
International GmbH shall not be liable for any damages or problems arising from the use
of any options or any consumable materials other than those designated as original
Aiptek International GmbH / Dashbon products or Aiptek International GmbH / Dashbon
approved products. Aiptek International GmbH shall not be held liable for any damage
resulting from electromagnetic interference that occurs from the use of any interface
cables other than those designated as Aiptek International GmbH / Dashbon products.
All rights reserved. No part of this publication may be reproduced, stored in a retrieval
system or transmitted in any form or by any means, electronic, mechanical,
photocopying, recording, or otherwise, without the prior written permission of Aiptek
International GmbH. The information contained herein is designed only for use with this
product. Aiptek International GmbH is not responsible for any use of this information as
applied to other devices
This user manual is a document that does not represent a contract.
Errors, printing errors and changes are reserved.
Copyright © 2015 Aiptek International GmbH
Page 11
 Loading...