

Acer Z320 Service manual

1
Z320
SERVICE GUIDE

i
Table of Contents
Chapter 1 Product Features and Hardware Specifications
Features………………………………………………….………………………………..……......…1-4
Phone Tour………………………………………………………………………….…………........…..5
Front View…………………………………………………………………………………….…….…...6
Rear View…………………………………………………………………………………….……….…7
Top View………………………………………………………………………….………….…………..8
Bottom View………………………………………………………………………………….……........9
Left View………………………………………………………………………………………..………10
Right View……………………………………………………..……………...…………………....…..11
Chapter 2 Diagnostic Utilities
Introduction………………………………………………………………...……….………………….12
Qualcomm Multiple Download Tool Guide……………………………………………..............12-22
Qualcomm WriteStation User Guide………………………………………..….........................23-40
Chapter 3 Service and Maintenance
Introduction…………………………………………………………………………………………41-42
Disassembly and Reassembly Guide…………………………………………….....................43-64
L2 Troubleshooting Guide………………………………………………………….……………..65-71
How to modify sku change………………………………………………………………………..72-74
Chapter 4 Diagnostic Tool SOP
Introduction and Installation Method…………………………………………...……..………...75-76
Test Items and Function Description…………………………………………..……….............77-79
Operational Methods of Test Items……………………………………………………………….…79
Test Content Description…………………………………………………………......................79-92
Chapter 5 Serial Number Definition
Introduction of Acer FG SN………………………………………………………...…………....93-100
Introduction of Acer KC PN and Acer KC SN………………………………….....................101-102
Chapter 6 FRU (Field Replaceable Unit) List
Exploded Diagram………………………………………………………………..………….….103-105
FRU List………………………………………………………………………………...........….105-109

ii
Revision History
Please refer to the table below for the updates made on this service guide.
Date
Chapter
Update
Copyright
Copyright 2015 by Acer Incorporated. All rights reserved. No part of this publication may be
reproduced, transmitted, transcribed, stored in a retrieval system, or translated into any
language or computer language, in any form or by any means, electronic, mechanical, magnetic,
optical, chemical, manual or otherwise, without the prior written permission of Acer
Incorporated.
Disclaimer
The information in this guide is subject to change without notice.
Acer Incorporated makes no representatives or warranties, either expressed or implied,
with respect to the contents hereof and specifically any warranties of merchantability or fitness
for any particular purpose. Any Acer Incorporated software described in this manual is sold or
licensed “as is”. Should the program prove defective following their purchase, the buyer (and
not Acer Incorporated, its distributor, or its dealer) assumes the entire cost of all necessary
servicing, repair, and any incidental or consequential damages resulting from any defect in the
software.
Acer is a registered trademark of Acer Corporation.
Other brand and product names are trademarks and/or registered trademarks of their
respective holders.

iii
General Information
This Service Guide provides you with all technical information relating to the basic
configuration for Acer’s global product offering. To better fit local market requirement and
enhance product competitiveness, your regional office may have decided to extend the
functionality of a machine (e.g. add-on card, modem, or extra memory capabilities). These
localized features are not covered in this generic service guide. In such cases, contact your
regional offices or the responsible personnel/channel to provide you with further technical
details.
When ordering FRU parts:
Check the most up-to-date information available on your regional web or channel. If, for
whatever reason, a part number change is made, it may not be noted in this printed service
guide.
For Acer-authorized service providers:
Your Acer office may have a different part number code than those given in the FRU list of
this printed service guide. The list provided by your regional Acer office must be used to order
FRU parts for repair and service of customer machines.

CHAPTER 1
Product Features and Hardware Specifications
Product Features and Hardware Specifications
Features………………………………………………….………………………………..……......…1-5
Phone Tour………………………………………………………………………….…………........…..6
Front View…………………………………………………………………………………….…….…...7
Rear View…………………………………………………………………………………….……….…8
Top View………………………………………………………………………….………….…………..9
Bottom View………………………………………………………………………………….……......10
Left View………………………………………………………………………………………..………11
Right View……………………………………………………..……………...…………………....….12
1
Product Features and Hardware Specifications
Features
Following is a summary of the phone’s main specifications:
Operating System
Android 5.1 Lollipop
Can be upgraded to
N/A
UI Version
Acer Liquid UI
Processor
MSM8209 Quad-core 1.1GHz
Memory
RAM
1GB LPDDR3 or 2GB LPDDR3
Internal Memory
8GB or 16GB
Available Memory for User
3GB or 11GB
Micro-SD slot
Up to 32GB, SDHC 2.0 compatible
Display
Size
4.5 inch
Display Type
■TFT-LCD □ AMOLED □2D □3D
IPS Support
□No (But needs complied) ■Yes
Resolution
FWVGA 854(H)x480(W) 16:9 ratio
Ppi
218 ppi
Touch
Touch technology
Capacitive
Multi Touch Support
□Single □Single with gesture
□Multi; 5 Points touch
■Single Layer Two Touch
Touch Lens Type,
□G/G ■G/F □G/F/F □Single Glass (OGS2 , Gorilla 3 , 2.5D
glass)□ On cell
□In cell
Air Gap
Air bonding
Cover Surface Hardness
7H – AGC
Feature
With Anti-Finger print Coating, Without Gloves and Quick
touch
Printing
Acer logo
Dimensions
136 X66.5 X 9.6mm
Weight
142g (with battery)
Radio
3G :
HSPA/WCDMA: [EU] [TW]850MHz(B5) /900MHz(B8) / 1900MHz(B2) / 2100MHz(B1)
HSPA/WCDMA: [PA] 850MHz(B5) /1900MHz(B2) / AWS Band(B4)
2G :
GSM/GPRS/EDGE: 850MHz / 900MHz / 1800MHz / 1900MHz for All
HSDPA up to 42Mbps(Cat 24) , HSUPA up to 5.76Mbps (Cat 6)
GPRS Class 12 /EDGE Class 12
MMS, SMS, Email, IM
Dual Carrier Support
□No ■Yes (remark: only down link )
AWS Band layout reserved
□No ■Yes
2
AU Band (850/2100) layout reserved
■No □Yes
Connectivity
Wireless LAN
IEEE 802.11 b/g/n
GPS
GPS, with A-GPS support and SUPL
FM
□No ■Yes (Using Headset as antenna)
Micro-USB
□No ■Yes
HDMI
■No □Yes
Acer Cloud
□No ■Yes
WPS
■No □Yes
Wireless Display(Miracast)
■No □Yes; Type
WiFi Direct
■No □Yes
Wireless Charging
■No □WPC □A4WP
Bluetooth
Bluetooth® 4.0 with EDR
BT Profile Support:
■A2DP □ATT■AVRCP □BIP □BPP □CIP □CTP □DIP □DUN □FAX ■DID
□FTP □GAVDP ■GAP □GATT □GOEP □HCRP □HDP ■HFP ■HID ■HSP □ICP □LAP ■MAP □OBEX
■OPP■PAN ■PBAP□ PBA □SPP □SDA ■HOGP
□SAP □SIM □SYNCH □VDP □WAPB
Camera
Main
5M AF
Flash LED
■Ye s □No
2nd (3D)
No
Front
2M FF
Torch LED
□Yes ■No
Others
HD Voice
Multi Microphone for noise cancellassions
□No ■ Yes
Echo Cancelation
□No ■Yes
WB-AMR
□No ■Yes
Audio
Dolby Mobile
■No □Yes
DTS
□No ■Yes
Receiver
Single
Audio Jack
3.5mm
Speaker
Single (without Box)
Media Format and
Codec Support
Video Encoder
H.263, H.264 AVC, VP8 (Android 4.3+)
Video Decoder
H.263, H.264 AVC, H.265 HEVC, MPEG-4 SP, VP83, VP9 (Android 4.4+),
WMV9
Audio Encoder
AAC LC, AMR-NB, AMR-WB, PCM/WAVE (Android 4.0+), AAC+ (Android
4.1+), AAC ELD (Android 4.1+)
Audio Decoder
AAC LC, AAC+, eAAC+, WAV, MP3, MIDI, Vorbis, AMR-NB, AMR-WB,
FLAC (Android 3.1+), AAC ELD (Android 4.1+), PCM/WAVE (Android
4.0+), Opus (Android 5.0+)
Image Encoder
JPEG, PNG, WEBP
Image Decoder
JPEG, GIF, PNG, BMP, WEBP
Ergonomic Design
1. Touch Screen
2. Side keys:
- Volume Up/Down/ Power Button
3
LED Indication
Yes.
Sensors
Ambient L-sensor
□No ■Yes
G-sensor
□No ■Yes
e-Compass
■No □Yes
Proximity Sensor
□No ■Yes
Gyro-sensor
■No □Yes
Barometer Sensor
■No □Yes
Hall-sensor
■No □Yes
NFC
■No □ Yes with Securety in SIM □ Yes with Securety in both SIM and IC
SIM slot
SIM Type
□Mini SIM ■ Micro SIM □Nano SIM
SIM Slot Numbers
■Single SIM only ■ Dual SIM □ Tri SIM only
Water Proof
■No □ Yes; IP Level: _______________
Lanyard
■No □Yes
Text Entry
Google input
Messaging
Universal inbox
SMS, MMS, email
Email
Gmail
IM
Gtalk
Web
Browser
Chrome
Search
Google Search
Entertainment
Video, Music
Google Default
Music streaming
No
Video streaming
YouTube
Social network
Facebook
Productivity
Push mail
Gmail
PC sync
Google cloud sync
Cloud sync
Google Cloud; Acer Cloud
Office
Google drive PDF reader
Location-based
Services
A-GPS
Satellite Data Update
Maps & directions
Google Maps, Latitude, Street View
Online App. Store
Google Play
Power
Voltage range/frequency: 100 ~ 240V AC, 50/60 Hz
DC output: 5V 1A
Battery
Rechargeable/ Replaceable Li-Polymer battery
Capacity: 2,000mAh (Minimum /4.35V)
2G Stand-by > 250 hours (TBD)
2G Talk Time > 6 hours (TBD)
3G Stand-by > 250 hours (TBD)
3G Talk Time > 4 hours (TBD)
Quick Charge > 50% in 1 hour.
Removable: ■ Yes; □No
4
Packing List
Device (With battery) ■AC adaptor, ■USB cable, ■3.5mm headset, ■ quick start guide,
■warranty card, ■Screen Protector film(removable), ■safety leaflet, □Pouch (optional) , □HDMI
Cable, □2nd Battery, □Universal Charger, □Extra Battery Cover(optional), □Active Pen,
□COA Label, □ Others: _____________________________________________
Optional Accessories
(In-Box)
□Wi-Fi display Adapter □Soft pouch □Stylus(active pen) ■Slim case ■Flip cover ■Bumper
band(TBD)
Optional Accessories
(Retail Box)
■Slim case ■Flip cover ■Bumper band(TBD)
Certification
EU SKU : CE / GCF Conformance / GCF OTA / GCF FT / GCF IOP / BQB / WiFi logo / WHQL / CTS /
Battery : BSMI
US SKU : FCC / IC / CTIA OTA / WiFi OTA / PTCRB report
TW SKU : NCC/CE
HAC
■No □Yes
Green Design
Must Comply with acer 707-0008-V7 Guidance of Restricted Substances In proceducts
Complete acer Eco-profile (including attachments) and tender questionnaire if any.
RoHS/WEEE
□No ■Yes
PVC Free
■No □Yes
Halogens Free (FCS date after 2012.1.1, must comply with HF)
■No □Yes
Special New
Feature Requirement
□ Magic conference call function
Accessory
Certification
Adapter :
■ CE logo for EU EMC (CB test report & EMC test report) /.
Safety:
□ UL license (for America safety)
■ TUV Certification (for German safety)
■ Gost-R license (for Russia)
□ C-Tick license (for Australia) / ……
■ BSMI license & CNS 14336-1 report for Taiwan and Malaysia.
Battery Cell :
■ UN38.3 (including 1.2 meter Drop Test Report) –SRICI or Beijing Inspection Bureau
■ U.N. Battery Shipping Regulations - Drop test 1.2m) and MSDS data.
■ EN60950-1 CB shall be included
1) 4.6.5 Adhesives for constructional purposes
2) 2.5 Limited power sources
3) 4.2.4 Mechanical strength – 250N force test
4) 4.2.6 Mechanical strength – drop test
5) 4.2.7 Stress Relief Test
□ TISI(Thailand only)

5
Phone Tour
Six View

6
Front View
Figure 1.1 Front View
#
Item
Description
1
FRONT CAMERA
6*6*4.0_200W
2
IR HOLE
/ 3 LED LAMP
/ 4 TOUCH SCREEN
Cutting glass, bottom silkscreen
5
RECEIVER DECEORAION
Aluminum, silver
6
RECEIVER MESH
Black
2 6 3 5 4
1
7
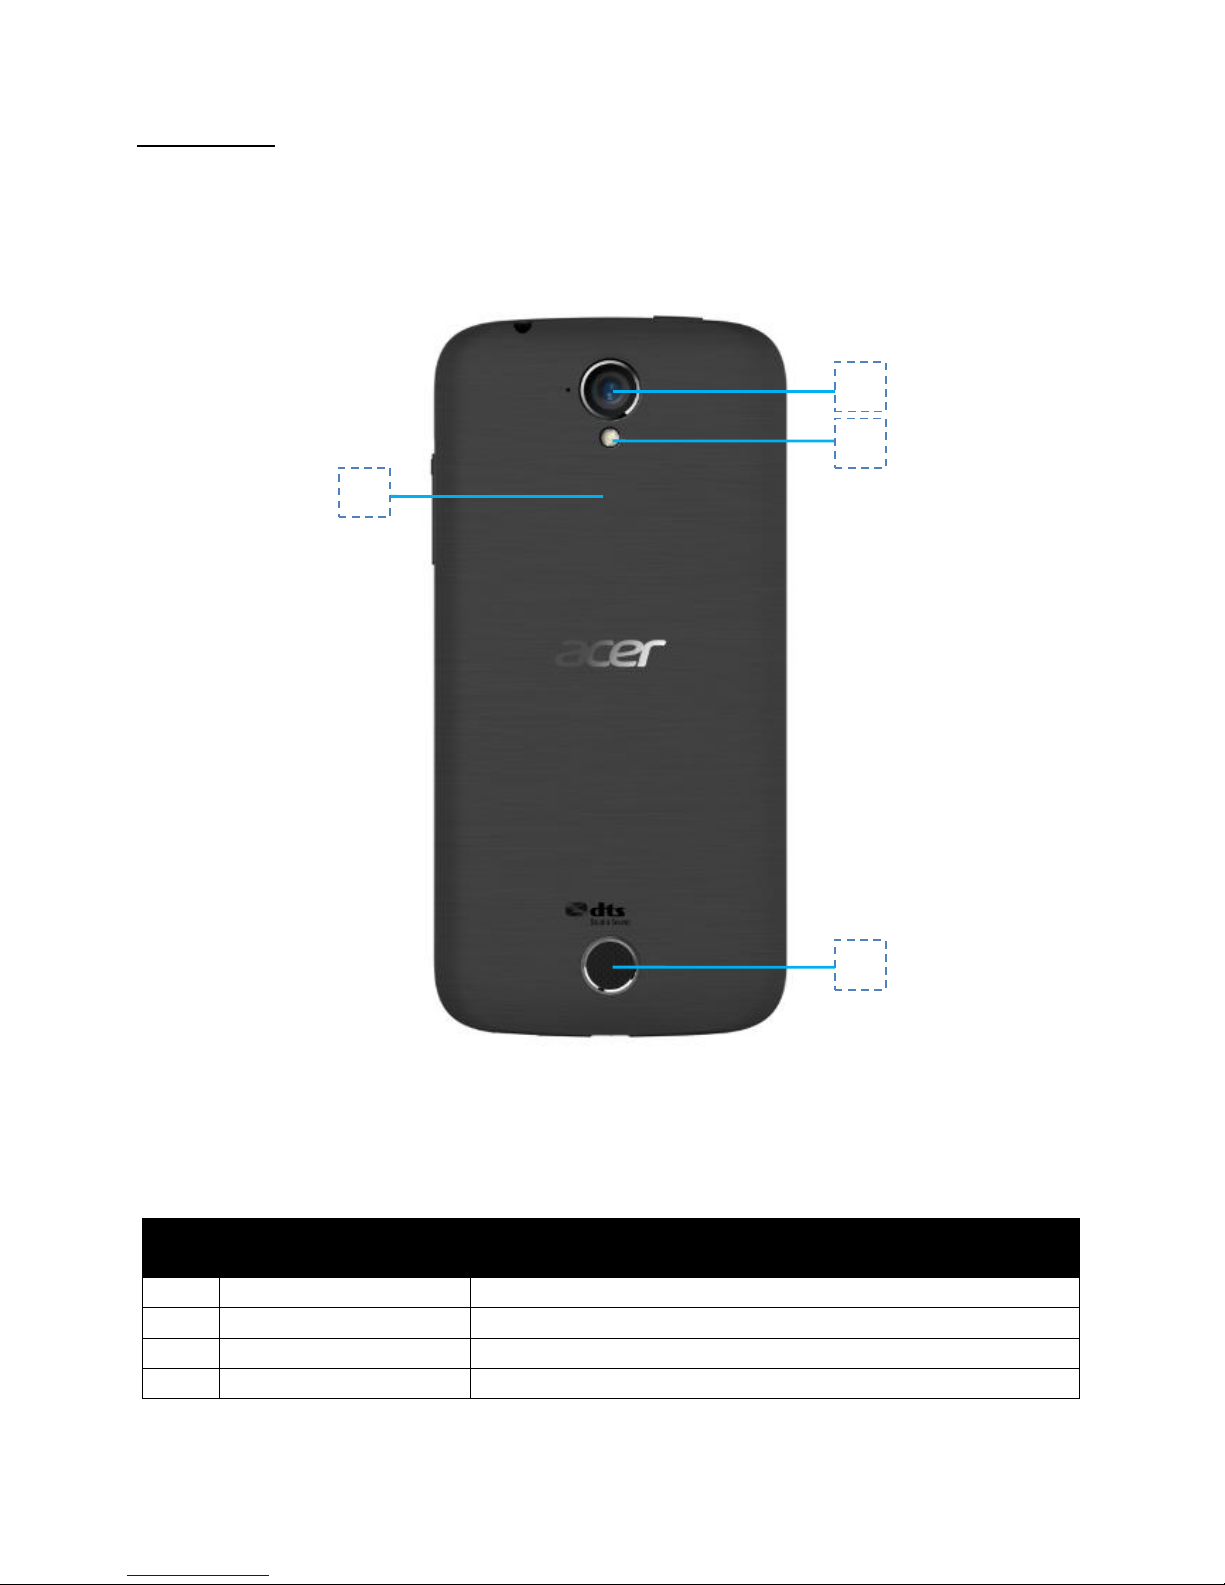
Rear View
Figure 1.2 Rear View
#
Item
Description
1
REAR COVER
PC, black
2
REAR CAM LENS
Black, cutting glass, bottom silkscreen
3
FLASH LAMP
PMMA, transparent
4
SPEAKER MESH
Black
1 2 3
4

8
Top View
Figure 1.3 Top View
#
Item
Description
1
POWER KEY BUTTON
Power on or off the phone.
2
AUDIO JACK
/
2
1

9
Bottom View
Figure 1.4 Bottom View
#
Item
Description
1
USB Port
/
1

10
Left View
Figure 1.5 Left View

11
Right View
Figure 1.6 Right View
#
Item
Description
1
FRONT COVER
PC+10%GF, black
2
MIDDLE COVER
PC, silver
3
VOLUME KEY BUTTON
Increases or decreases the volume.
1
2
3

12
CHAPTER 2
Diagnostic Utilities
Introduction
The Z320 has a Qualcomm Multiple Download Tool designed to software upgrading and a
WriteStation Tool designed to write SN/IMEI/BT/Wifi, etc.
Qualcomm Multiple Download Tool Guide
1. Purpose:
This document is Qualcomm platform EMMC multiple download tool operating instructions. Applicable to
HQXA_CustomerDL_EMMC_V *. *. * And subsequent upgrade version, If the document version has updated
to the latest version shall prevail.
2. Scope:
Download the program applies to support Qualcomm support EMMC smartphone, Use the relevant operator
to upgrade the software for updates. This guidance document is intended for customers to upgrade to guide
use.
3. Driver Install:
Unzip drive directory Driver all-in-one.rar, run hwdriverinstall.exe, proceed as follows.
3.1 Welcome
Pic 1

13
3.2 Install Process
Pic 2
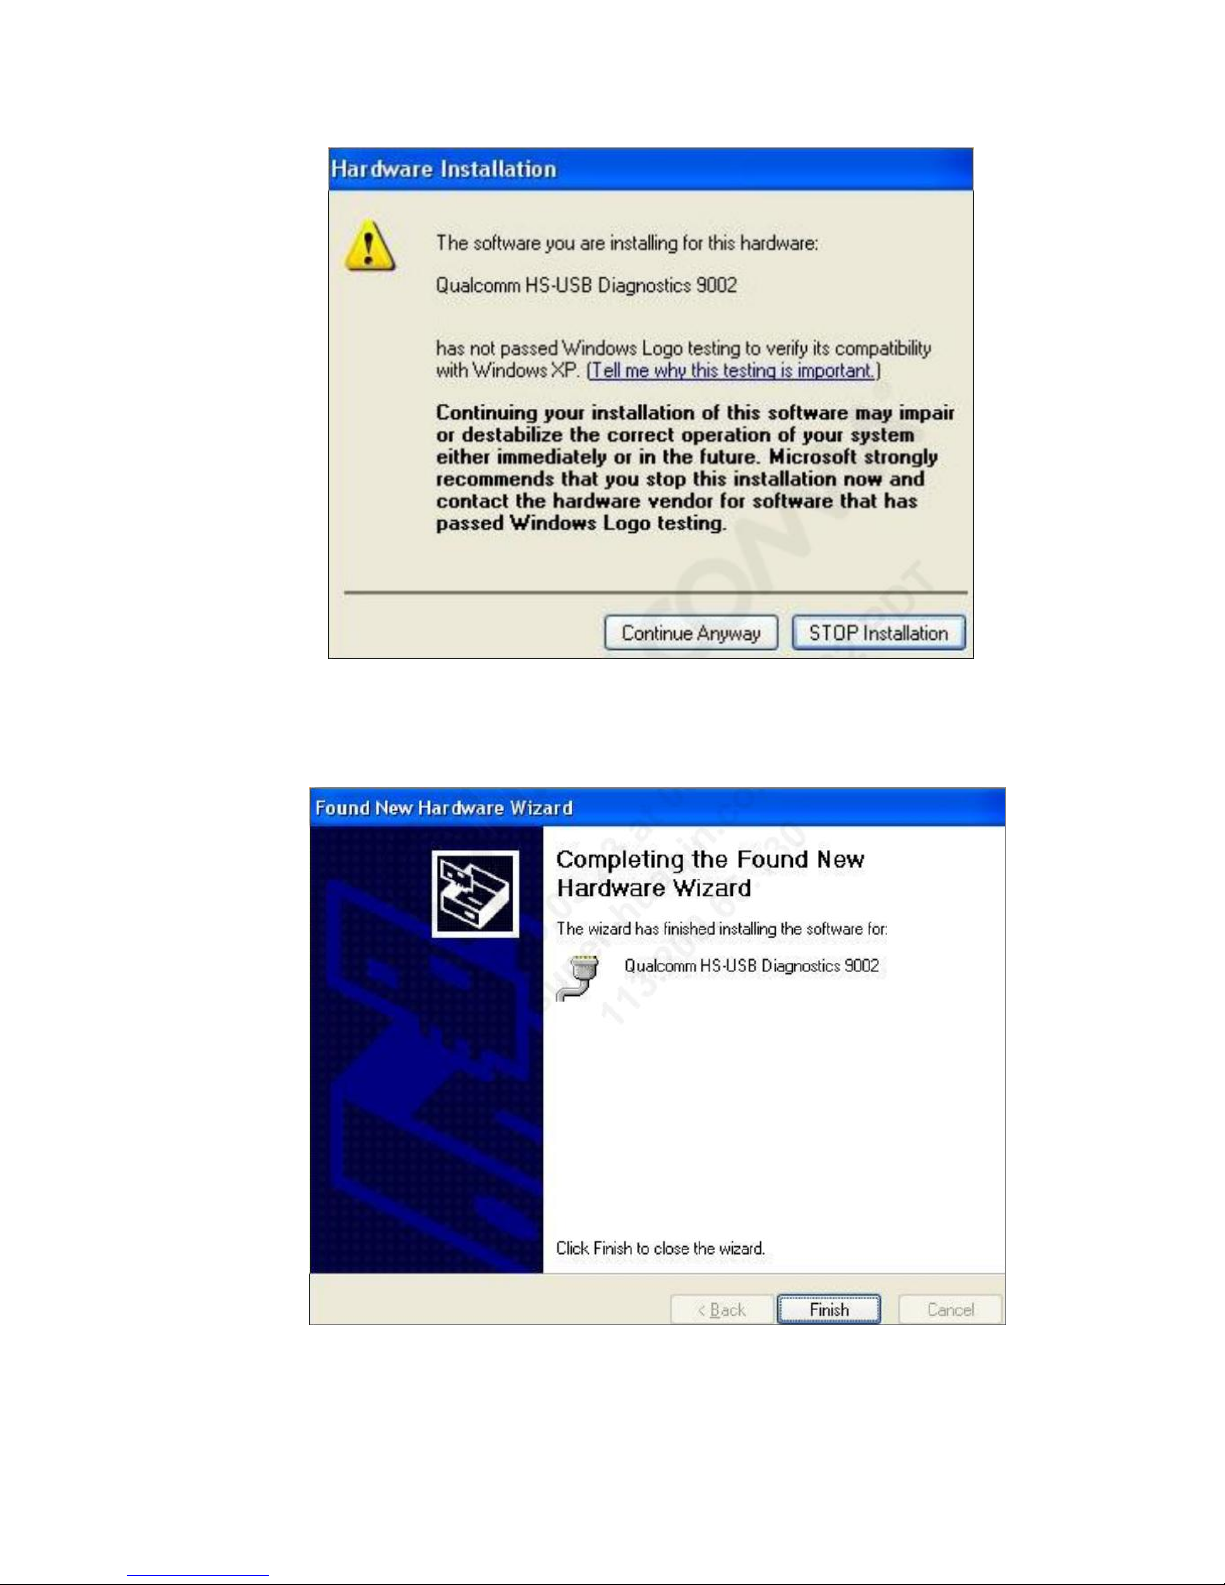
3.3 Driver Warning
Driver is not certified WHQL. The first installation will show the following dialog box. Please click still proceed
with the installation. The installation process to support multi-port will Tip many times.
Pic 3
14
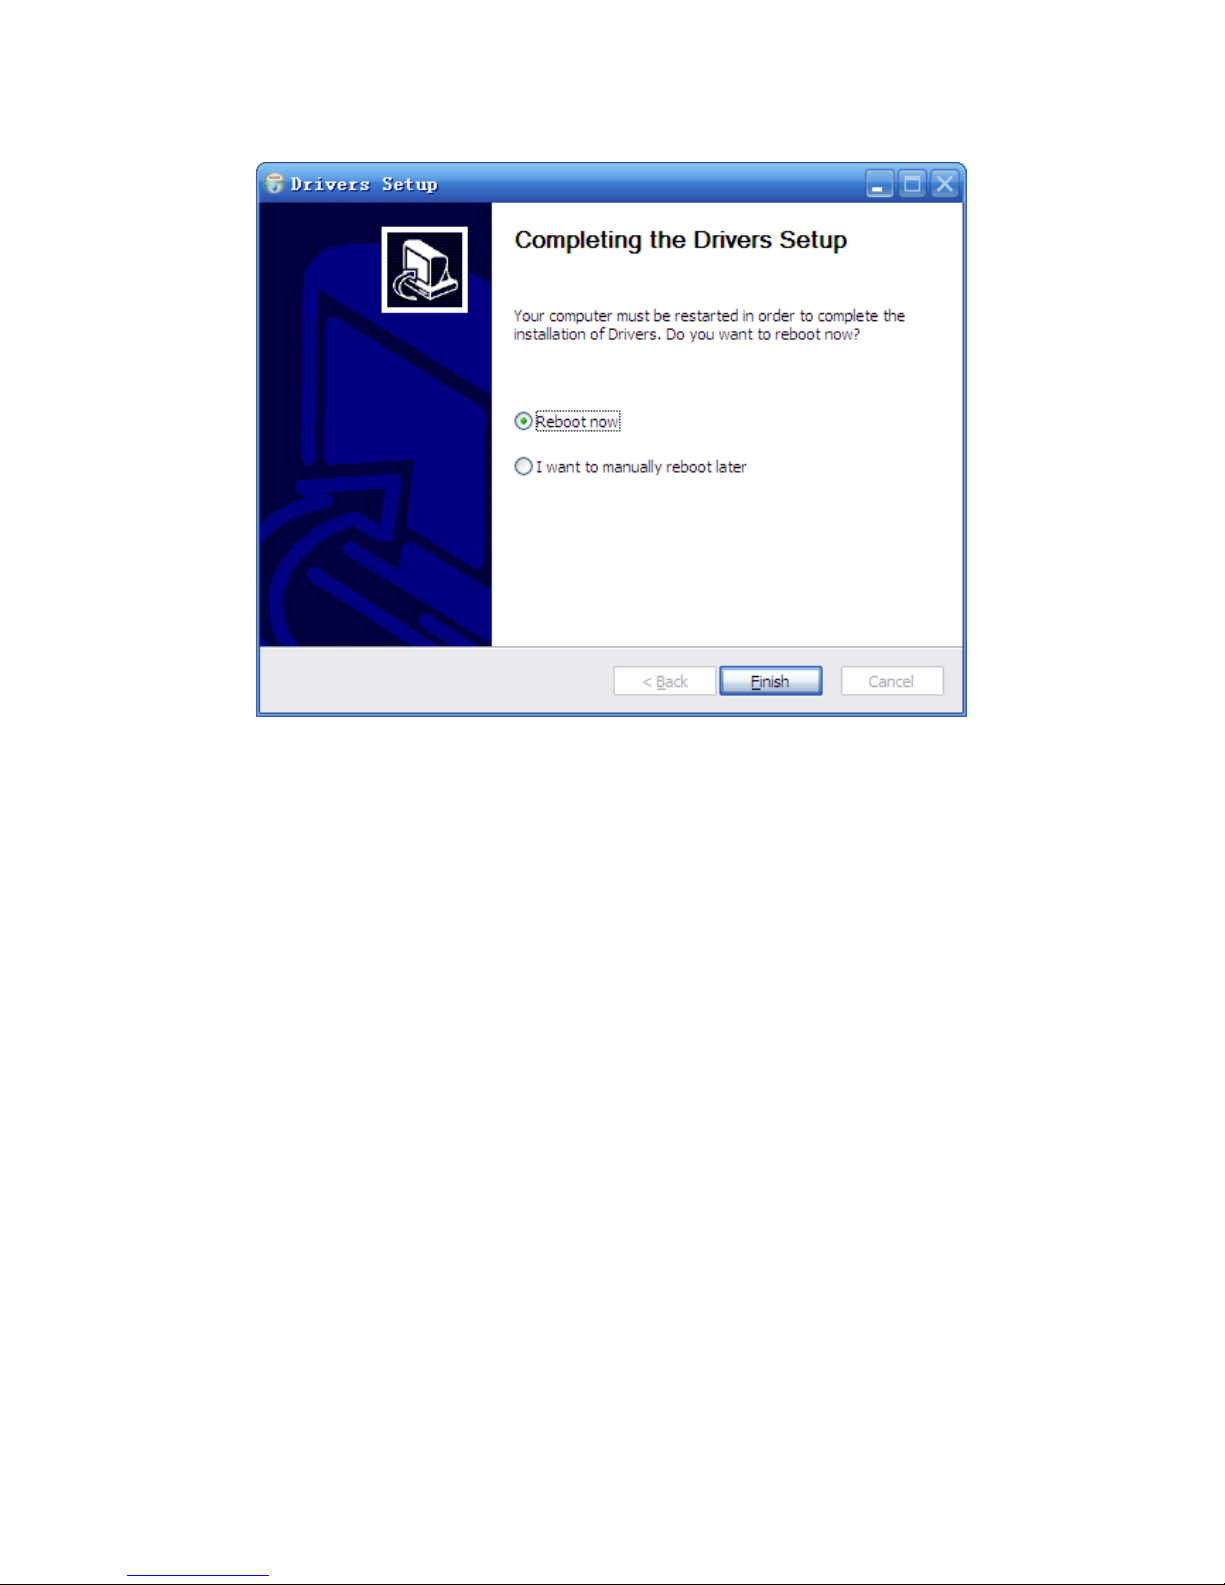
3.4 Driver Finish
Pic 4
After the installation is complete, the drive will need to restart the computer drives can automatically take
effect.

15
4. Procedure
4.1 Program Install
The program can decompress compressed files used.
4.2 System Connect
PC through the USB port and the phone connection and to be upgraded
4.3 Run Program
(1) Connect to PC, Settings-->Storage-->Menu-->USB Computer Connection--> Uncheck "Media device
(MTP)"
(2) Run “ets.startrun.exe” Program. Program will starts normal.
(3) Login: Interface will show as below.
Pic 5
The default Port is NULL. After configure, you can use the Download tools.
5. Install Considerations
(1) Driver has been properly installed - Please refer to the driver installation 3.
(2) Do not insert the SD card (T card) in phone before upgrade.
(3) Do not open other tools used Diag Port. for QPST.
(4) No open Log engineering instruction. If open, Please close, Engineering instruction: ####7878#和
####8787#

16
6. Download Configure
6.1 Path Configure
The need for the path and port software to configure the software after the open as below.
Pic 6
Select the software version of the root directory, if the path is not correct, download tooltip error.
Pic 7
6.2 Port Configure
The tools need to configure the USB port number, and the corresponding need to use the USB Device
Manager tool to view the USB port. Point in the parameter configuration dialog "USB Device Manager" button
in the main interface point or "USB" toolbar icon can start a USB device manager (Pic 8-10).

17
Pic 8
Pic 9
Pic 10
Select auto-refresh mode, each insert a cell phone, the USB Manager will appear in a line of new equipment.
USB device port number information in front of the line in the second column shows that is the thread you
need to configure the port number. 0X12D1 is the equipment, as follows:

18
Pic 11
Find the matching phone in Device Manager according to PID0X12D1. It will show USB_507 in Device
Manager. The download tool interface’s port configuration should keep the same as Device Manager. Choose
USB507 in parameter setting as below:
Pic 12
7. Download Process
Pic 13

19
After you configure the path and port directly point the main interface "Start All" button to start the
download process. You can also double-click the left mouse button to start the download process of the
thread on the corresponding thread information line.
This tool supports up to 8 threads to download, based on software running stability considerations, it
would be best six threads running.
Pic 14
8. Test Result
And other production line download tool, this download tool after the download failed or successful "state
(P / F)" column corresponding to the position of the message will become successful (green) or failure (shown
in red
After the download is complete phone is black screen, built-in battery project requires a long press to
boot, non-built-in battery data items need to unplug the data catch and battery re-boot.
9. Download Except Process
Encountered in the process of download abnormal situation lead to the upgrade fails. Mobile phones can't
boot. Insert USB Cable. Open Device Manage, Double click the red part of the picture, it will display driver
information. If there is a failure of the 9008 said the mobile phone has been upgraded. This is Emergency
download, Appear such circumstance needs the following upgrade.

20
Pic 15
9.1 Configure
Download mode needs to choose empty area, port configuration is the same as 6.2, path selection software.
Pic 16
10. FAQ
(1) No Phone
Device Manager has a port, but the tool still shows No Phone, because there may be other tools occupy Diag
port. Investigation as follows:
Step 1: Please see if there is open to other PC side tools such as QPST and other tools on the computer. Yes
please turn off.
Step 2: See the end of the process there is no tool out of the high-pass process, such as QPSTServer.exe or
emmcdownload.exe Qualcomm and other similar tools process. Yes please exit out these processes.
21
Step 3: enter engineering instruction #### 8787 #### 7878 # # and turn off the phone Log.
Step 4: redisconnect the phone, power, re-open the tool, and then connect the phone.
The fifth step, if it cannot resolve. Please restart your computer and then connect your phone to open the tool
to try.
(2) Upgrade mode switch failure
Make ensure that before upgrading T card is not inserted, the investigation is as follows:
Step 1: Open the Device Manager to see whether the port to see if a drive is not installed.
Step 2: Check the battery, if the battery is low, the switch no device(the driver has not been WHQL certified,
need to manually update drivers)
Step 3 USB cable may be connected to the front USB port on the computer, hanging dead after switching
USB ports. Please plugged into the rear USB port.
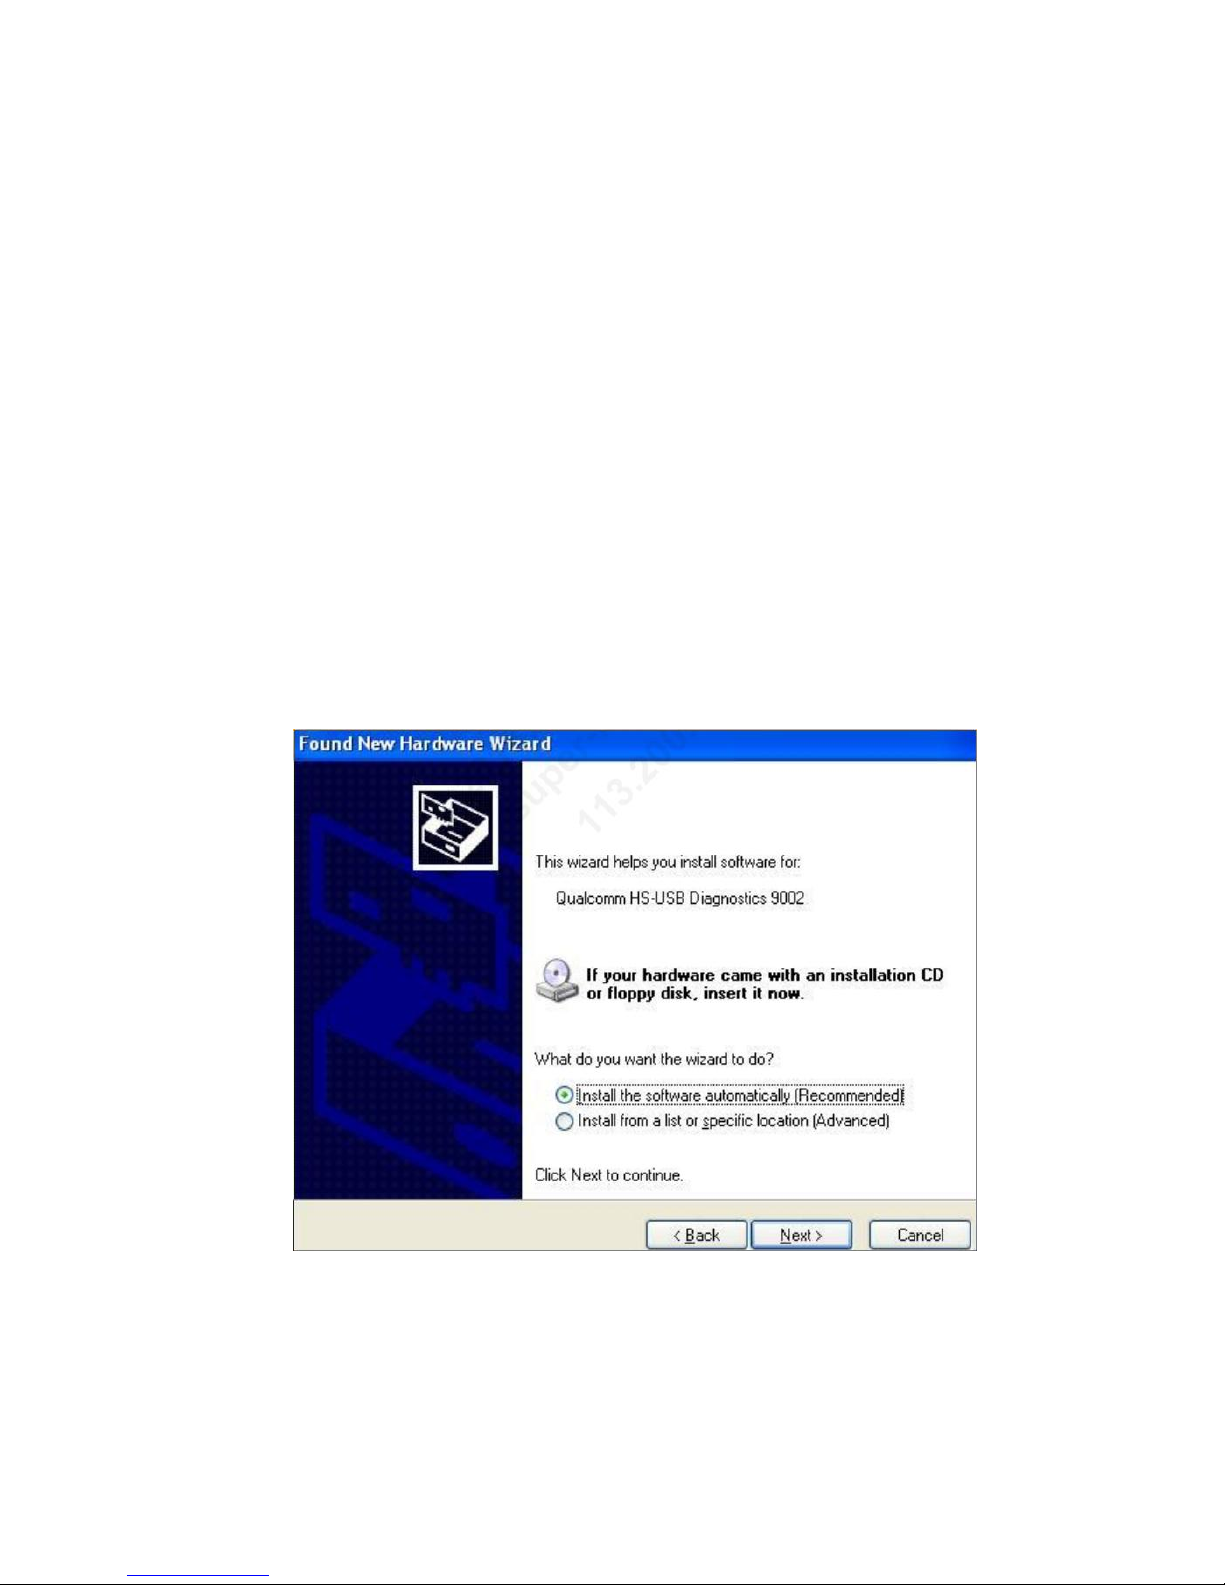
(3) Manually update drivers
Automatically after the installation is complete driver, if the driver has not been certified WHQL, following
dialog box will pop up:
22
Click Next:
Automatic install:

23
Qualcomm WriteStation User Guide
1:Environment requirement
1.1.Hardware environment
1.1.1. Computer,CPU 1.7GHz or above, 512M ram or above
1.1.2. Monitor,the resolution is 1024×768 or above
1.1.3. Stabilized D.C. source (4.0V/2A) or full charged battery of mobile phone
1.1.4. Mobile phone
1.2.Software environment
1.2.1. OS: Window2000, XP
1.2.2. WriteStation program: “HQ_WriteStation_V2.1.30_150724”
1.2.3. HQ Framework: “HQ_Framework_v3.6_150810”
1.2.4. USB driver: “PlatDriversInstall1.8” or above
1.3.Others
1.3.1.Power cable
1.3.2.USB data cable or UARR to usb cable
1.3.3. USB Hub when needed. Please note that USB Hub should be powered
2:Connection
3:Setup
2.1: Driver should be installed first.
2.2: HQ Framework should be installed before WriteStation tool was installed. Please keep default
settings while installing.
2.3: At last, WriteStation tool should be installed, and please keep default settings while installing.
2.4: All tools or drivers are mentioned above can be download from: http://192.168.25.184/wiki/tools.html
4:Write
4.1:Double click the icon show as below picture to run WriteStation:

24
4.2:User interface of WriteStation
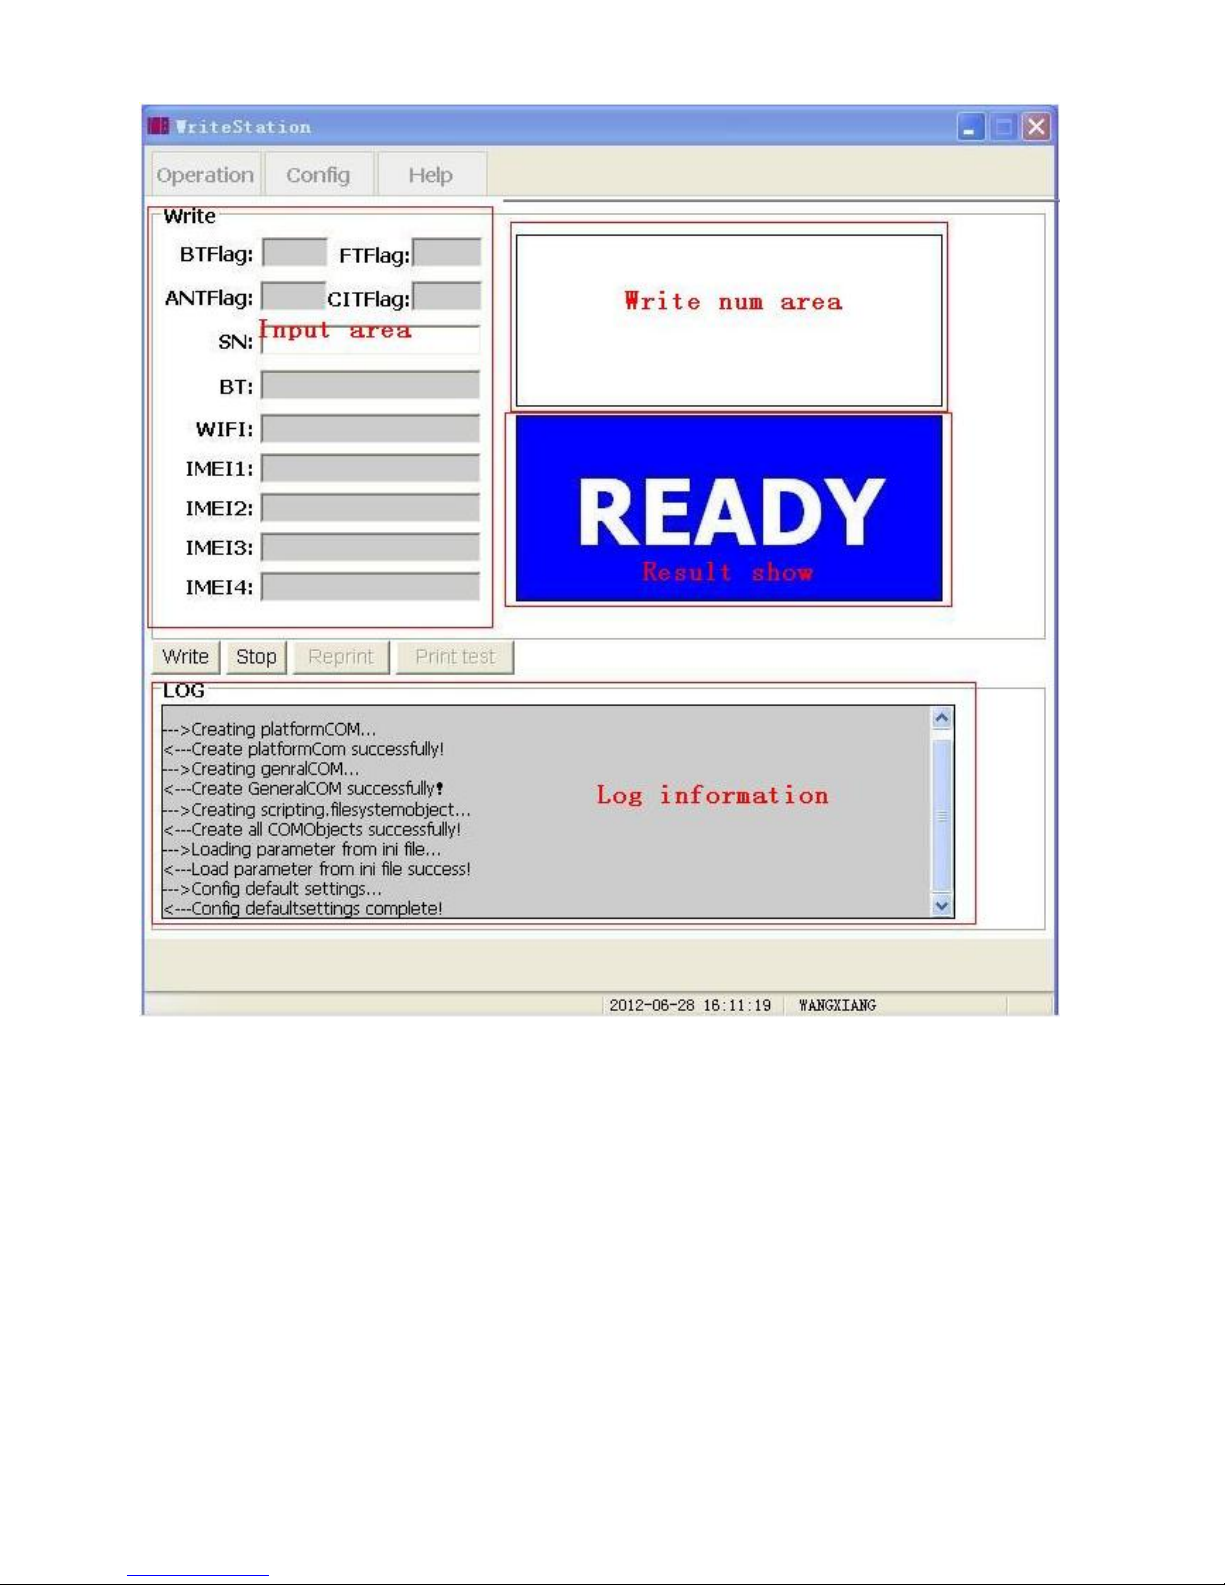
25
 Loading...