


ZyXEL Communications NetAtlas Workgroup User Manual

NetAtlas Workgroup
Ethernet Switch Manager
Quick Start Guide
Version 1.02
Edition 1
3/2006

NetAtlas Workgroup Quick Start Guide
1 Introduction
The NetAtlas Workgroup Ethernet Switch Manager is an Element
Management System (EMS) that retrieves management information
from switches using the SNMP protocol. The EMS allows you to
manage multiple switches from a central location.
This guide shows you how to install NetAtlas Workgroup. Refer to the
user’s guide for background and configuration information.
2 Minimum System Requirements
• CPU: Intel Pentium 4, 1.6 GHz or faster
• Memory (RAM): 1 GB or more
• Hard Disk free space: 20 GB or more
• Screen Resolution: 1024 x 768 pixels
• Ethernet Adaptor: 10/100 Mbps
• Operating System (using NTFS file system): Windows 2000 (with service pack 1), Windows XP or Windows Server 2003.
• Database Program: PostgreSQL 8.0.
• Castle Rock’s SNMPc 6.
2.1 Installation Overview
The following gives an overview of what you need to do to install the
EMS:
1 Install NetAtlas Workgroup.
Note: The installation program will install or upgrade PostgreSQL
and SNMPc if they are not installed or are of an older version
than the minimum requirement.
2 Add custom MIB files in SNMPc.
3 Locate device(s) that you want the EMS to manage.
4 If required, configure the ODBC (Open DataBase Connectivity)
driver to connect to the database.
2

NetAtlas Workgroup Quick Start Guide
3 Installation
Follow the steps below to install the EMS on a computer.
1 Find and double-click
NetAtlasWorkgroup_S102.exe on
the installation CD.
2 A Welcome screen displays. Click
Next to continue.
3 Read the license agreement. Click
Yes to accept the agreement.
4 A screen displays indicating
whether SNMPc or PostgreSQL
installation/upgrade is required.
Click Next.
If you need to install/upgrade
SNMPc, you see the screen as
shown in Step 5.
If you need to install/upgrade
PostgreSQL, you see the screen as
shown in Step 12.
Otherwise, you see the screen as shown in Step 16.
3
NetAtlas Workgroup Quick Start Guide
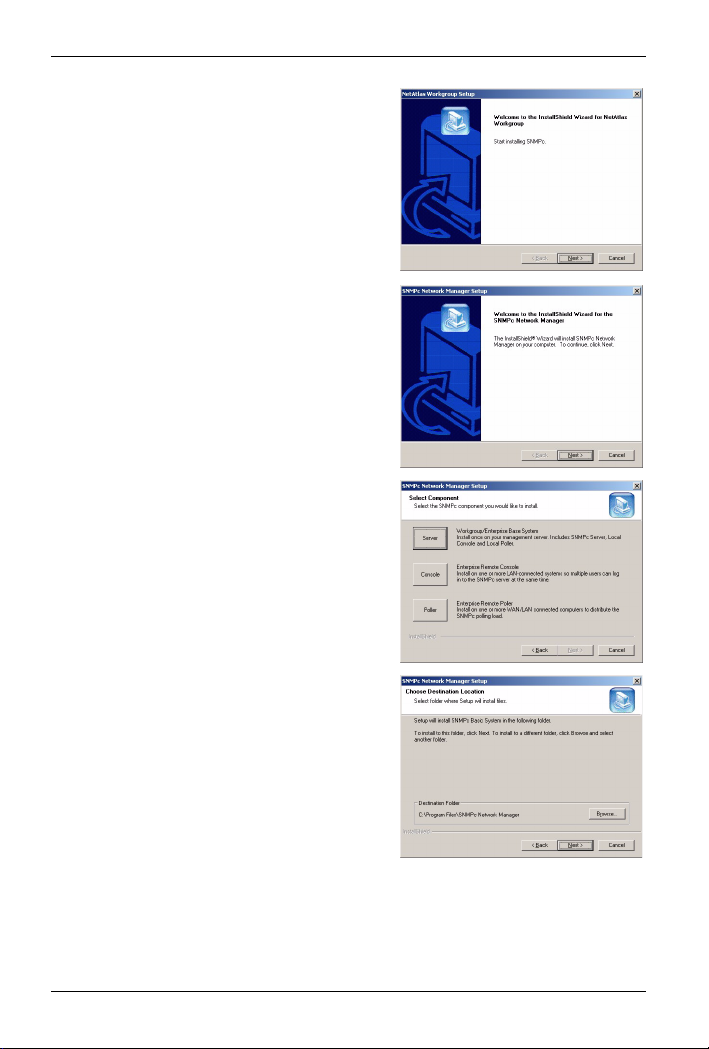
5 A screen displays. Click Next to
proceed to install/upgrade SNMPc.
6 Click Next to continue.
7 In the next screen, click an icon to
install the EMS server or remote
client.
If this is the first time you install EMS,
install the Server version.
8 Accept the default file directory or
click Browse to specify a new
location.
Click Next to continue.
4