

Page 1

Quick Installation Guide
ZP 500 Plus Thermal Printer
Page 2
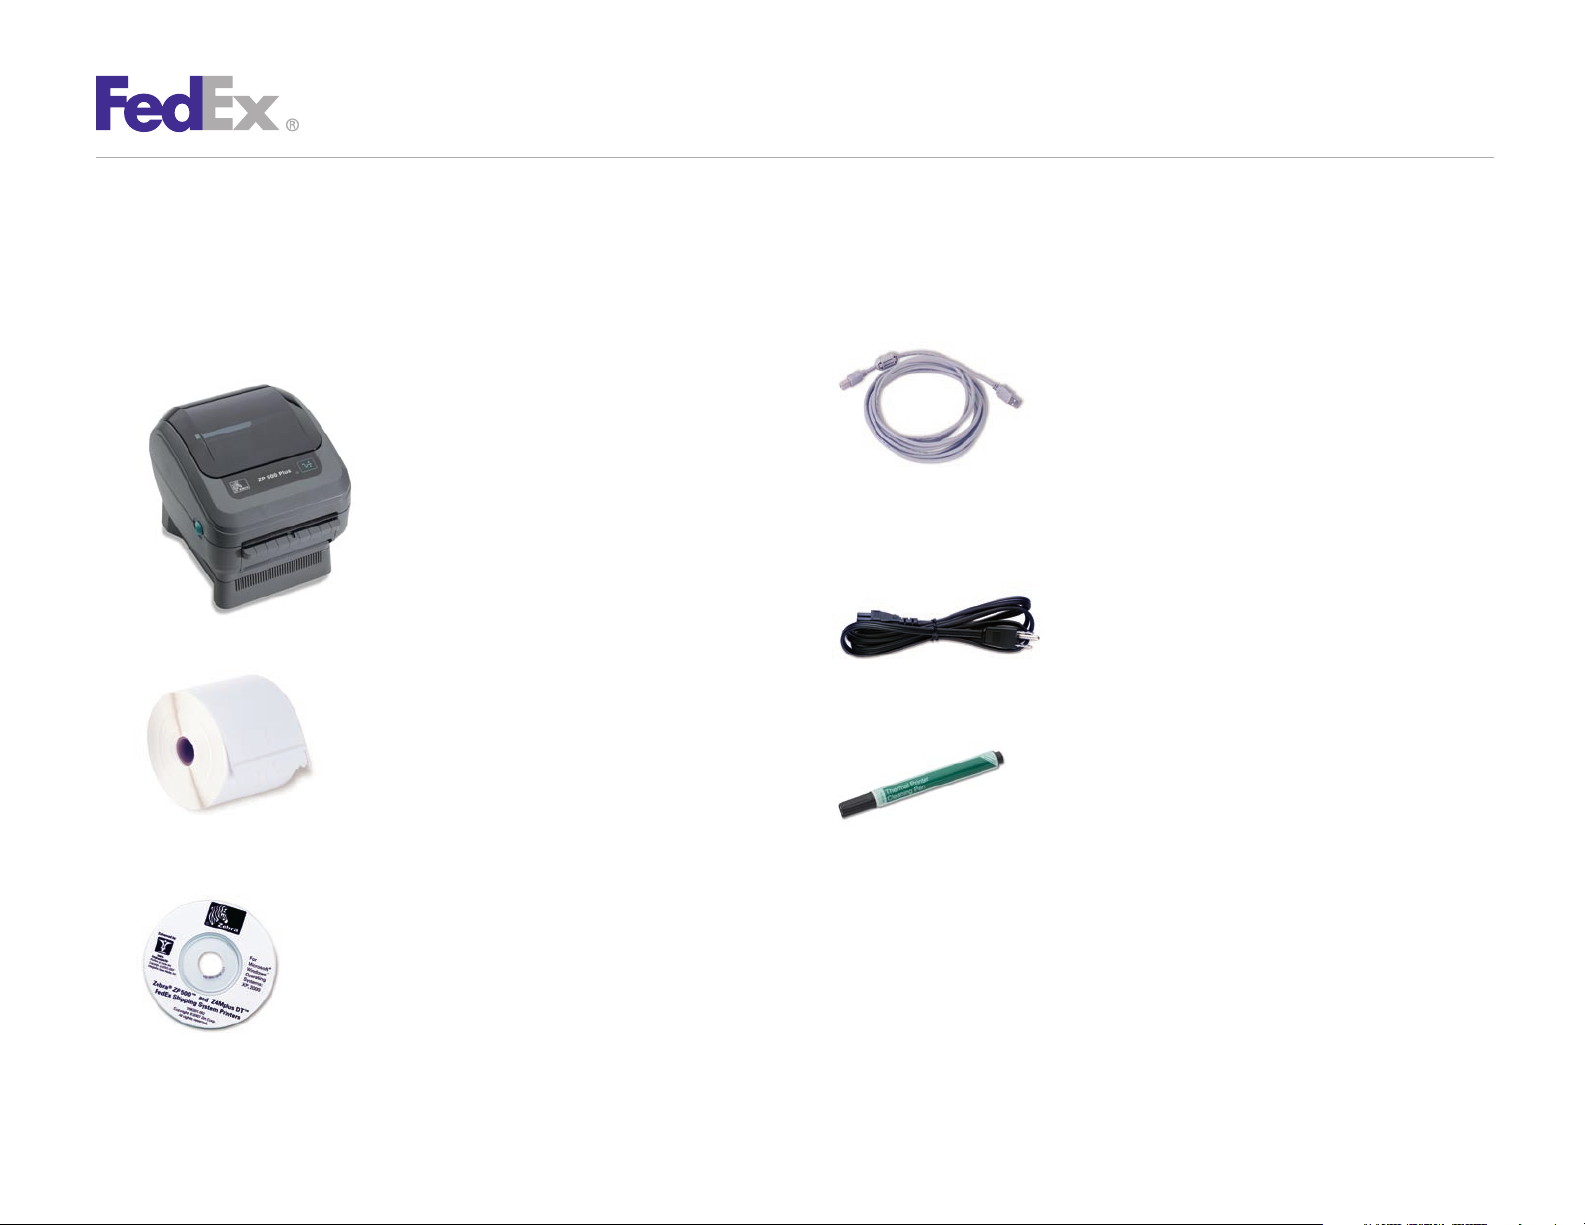
Step 1: Confirm Printer Kit Contents
ZP 500 Plus Thermal Printer
Your printer kit contains:
Thermal Printer 1.
Thermal Labels 2.
®
ZP 500 Plus™ and Z4Mplus DT™
Zebra3.
FedEx Shipping System Printers Mini-CD
USB Cable 4.
Note: If you prefer to use the serial port instead of the USB port,
you must obtain a null modem cable.
Power Cord 5.
The Clean Penn6.
™
With the Clean Penn you can preserve print quality
and extend print head life. You should use it to clean residue
on the thermal print head whenever you are replacing
a roll of labels.
Quick Installation Guide 2
Page 3

Step 2: Install Printer Labels
ZP 500 Plus Thermal Printer
Install the printer labels as indicated in the steps below.
The instructions can also be found in the inside of the top
of the printer cover.
Open the printer by applying 1.
pressure to the release levers
located on the sides of the
printer, toward the front.
Remove any test bar code
labels if present.
Move the left media 2.
hanger to the side.
Position the media roll so that 3.
the printing surface faces up
as it exits the printer. Place the
roll between the hangers and
release the left media hanger
to hold the core. Remove the
first 2 to 3 labels from the roll.
Make sure that the core is 4.
resting on the hangers and
that the roll turns freely.
The roll must not sit in
the bottom of the
media compartment.
Close the printer cover. 5.
Connect the power cord
to the printer first and
then to the power source
(e.g., wall outlet). Ensure that
the labels are installed correctly.
Note: You can obtain additional labels for the thermal printer by utilizing the
Order Supplies Online application on fedex.com or by calling 1.800.GoFedEx
1.800.463.3339. Label part numbers are preprinted on labels in purple
or orange ink. FedEx Ship Manager® Software supports several part numbers.
FedEx Ship Manager® at fedex.com supports only non-doc-tab labels
(item # 156297-435).
Feed
Button
Quick Installation Guide 3
Page 4

ZP 500 Plus Thermal Printer
Step 3: Connect the Printer
to Your Computer
Turn off your computer and the printer before connecting the
supplied USB cable to a dedicated USB port on the printer.
Be sure to thread the USB cable through the strain relief clip
before connecting it to the printer. Then connect the USB cable
from the printer to a dedicated USB port on the computer.
Step 4: Turn Your Computer On
After connecting the printer, turn your computer on,
but do not turn the printer on yet.
Quick Installation Guide 4
Page 5

Step 5: Install the Printer Driver
ZP 500 Plus Thermal Printer
If you previously installed a thermal printer with FedEx Ship
Manager at fedex.com or FedEx Ship Manager Software,
follow the Remove Legacy Zebra Printer Driver procedure first.
Then follow the Install ZP 500 Thermal Printer Driver procedure.
If you do not need to remove the legacy Zebra printer driver,
proceed to the Install ZP 500 Thermal Printer Driver procedure.
Remove Legacy Zebra Printer Driver
®
Insert the Zebra1.
Shipping System Printers Mini-CD into your CD drive. The
Zebra Printers for FedEx Shipping Applications screen displays.
Click the ZP 500 icon. The ZP 500 installation screen displays.2.
In the Software and Maintenance section, click 3. Printer Driver
Uninstall Utility. The Welcome to Printer Uninstall Wizard
screen displays.
Click 4. Next, then follow the onscreen instructions to
uninstall the old thermal printer driver (e.g., for LP2844
thermal label printer).
When you have completed this process, reboot your computer. 5.
When it restarts, the Zebra Printers for FedEx Shipping
Applications screen displays, so you can install the ZP 500
thermal printer driver.
Note: If the Zebra Printers for FedEx Shipping Applications screen does
not display, navigate to the CD drive and double-click the Setup.exe file.
The Zebra Printers for FedEx Shipping Applications screen displays.
ZP 500 Plus™ and Z4Mplus DT™ FedEx
Install ZP 500 Thermal Printer Driver
Insert the Zebra ZP 500 Plus and Z4Mplus DT FedEx Shipping 1.
System Printers Mini-CD into your CD drive. The Zebra Printers
for FedEx Shipping Applications screen displays.
Click the ZP 500 Plus icon. The ZP 500 installation 2.
screen displays.
In the Software and Maintenance section, click 3.
Install Windows Driver Suite. The FedEx ZUD OEM
Driver popup displays.
Click 4. Yes. The Welcome to the InstallShield Wizard for the
FedEx ZUD OEM Driver screen displays.
Click 5. Next. The End User License Agreement screen displays.
Click the 6. I accept the terms in the license agreement
radio button.
Click 7. Next. The Location to Save Files screen displays.
Click 8. Next to save the printer driver files to the designated
directory (e.g., C:\ZUD4233) or click Change to save the printer
driver files to another directory. After the printer driver files have
been saved to the selected directory, the Language Selection
popup displays showing UK–English (United States) as the
default entry in the Language field.
Click 9. Cancel.
Quick Installation Guide 5
Page 6

Step 5: Install the Printer Driver (cont.)
ZP 500 Plus Thermal Printer
Turn on the printer. The printer starts the auto-calibration 10.
process and feeds out one or more labels. After the printer
completes the auto-calibration process, remove these
excess labels. The Welcome to the Found New Hardware
Wizard screen displays.
Click the 11. Install from a list or specific location
(Advanced) radio button.
Click 12. Next. The Hardware Type screen displays.
Scroll down the list and select 13. Printers.
Note: If the Hardware Type screen does not display, continue on
with the next step.
Click 14. Next. The Please Choose Your Search and Installation
Options screen displays.
Note: If the Hardware Type screen does not display, the Please Choose
Your Search and Installation Options screen automatically displays.
Click the 15. Search for the best driver in these locations
radio button. Also select the Include this location in the
search checkbox.
Click 16. Browse to navigate to the designated directory where
you saved the printer driver files. The default directory
is C:\ZUD4233. Click OK.
Note: If the Windows Logo testing message displays, click Continue Anyway.
The Completing the Found New Hardware Wizard screen displays.
Click 18. Finish. Close the Zebra Printers for FedEx Shipping
Applications screen and remove the Zebra ZP 500 Plus and
Z4Mplus DT FedEx Shipping System Printers Mini-CD
from your CD drive.
To print a test label, click 19. Start > Settings > Printers
and Faxes. The Printers and Faxes screen displays.
Right-click 20. Zebra ZP 500 (ZPL) and select Properties.
The Zebra ZP 500 (ZPL) Properties screen displays.
Click 21. Print Test Page to print a test label. The test label
prints and the Zebra ZP 500 (ZPL) screen displays. Click OK
to close this screen.
Click 22. OK to close the Zebra ZP 500 (ZPL) Properties screen.
Close the Printers and Faxes screen.
Note: If the test label does not print, repeat the Install ZP 500 Thermal
Printer Driver procedure.
When you have completed this process, reboot your 23.
computer again. The ZP 500 thermal printer driver is now
installed on your system.
Click 17. Next. The Completing the Found New Hardware Wizard
screen displays.
Quick Installation Guide 6
Page 7

Step 6: Complete Setup
ZP 500 Plus Thermal Printer
Now that you have installed the ZP 500 thermal printer driver,
follow the procedure below to complete the setup of
your thermal printer driver with the appropriate FedEx
®
Ship Manager
solution.
If you are using FedEx Ship Manager at fedex.com:
Log in to FedEx Ship Manager at fedex.com. (Go to 1.
fedex.com, place your cursor over the Ship tab and select
Prepare Shipment from the drop-down menu. The fedex.com
Login screen displays.)
Click 2. Preferences at the top of the screen.
In the Printer and Scale Options area of the Preferences 3.
screen, click the Thermal Printer radio button or click
Set up thermal printer. The Thermal printer setup
instructions screen displays.
Note: If the Thermal printer setup instructions screen displays for the LP 2844
thermal printer, select ZP 500 from the Select thermal printer drop-down
menu in Step 1.
Note: To prevent printing problems, you must comply with the Java requirements
listed in the thermal printer setup instructions. To access the Java requirements
for the ZP 500 Plus thermal printer, click Detailed instructions on the Thermal
printer setup instructions screen. When the resulting screen displays, click
FedEx Ship Manager at fedex.com – Thermal Label Printer Selection.
Scroll through the Frequently Asked Questions section and locate the “What are
the minimum hardware requirements?” question. The current Java requirements
for the ZP 500 Plus thermal printer are located in the ZP 500 minimum hardware
requirements list.
Click 4. Done, and then click Save changes on the Preferences
screen to save the ZP 500 printer as the default printer.
On the Preferences screen, click the 5. Thermal Printer radio
button or click Set up thermal printer.
Click 6. Print test message in step 5 of the online instructions
to make sure the printer is properly set up.
Once you’ve completed the procedure, click 7. Done, and then
click Save changes on the Preferences screen.
If you intend to use FedEx Ship Manager Software but you have
not installed the software yet, insert the FedEx Ship Manager
Software CD and follow the installation procedure.
If you are using FedEx Ship Manager Software and have
already installed the software:
Launch FedEx Ship Manager Software.1.
From the tool bar, click 2. Customize and select
System Settings.
Select the appropriate system number and click 3. Modify.
Select the 4. 2 – FedEx Customer Admin tab.
Quick Installation Guide 7
Page 8

Step 6: Complete Setup (cont.)
At the bottom of the screen in the section labeled Set Default 5.
Printers, click the printer icon next to the Label Printer field.
Select the ZP 500 thermal printer driver you just installed and
click OK.
Click 6. OK to exit System Settings. To verify that the printer is
properly configured, click Utilities from the tool bar and select
Printer Setup. The label printer you just installed should
display in the Label Printer section. If not, select the label
printer from the drop-down menu. Click Test Printer and then
click OK.
Now you can begin printing using your ZP 500 Plus
Thermal Printer. Thank you for choosing FedEx.
ZP 500 Plus Thermal Printer
Quick Installation Guide 8
 Loading...