

Yamaha M7CL-48ES User Manual
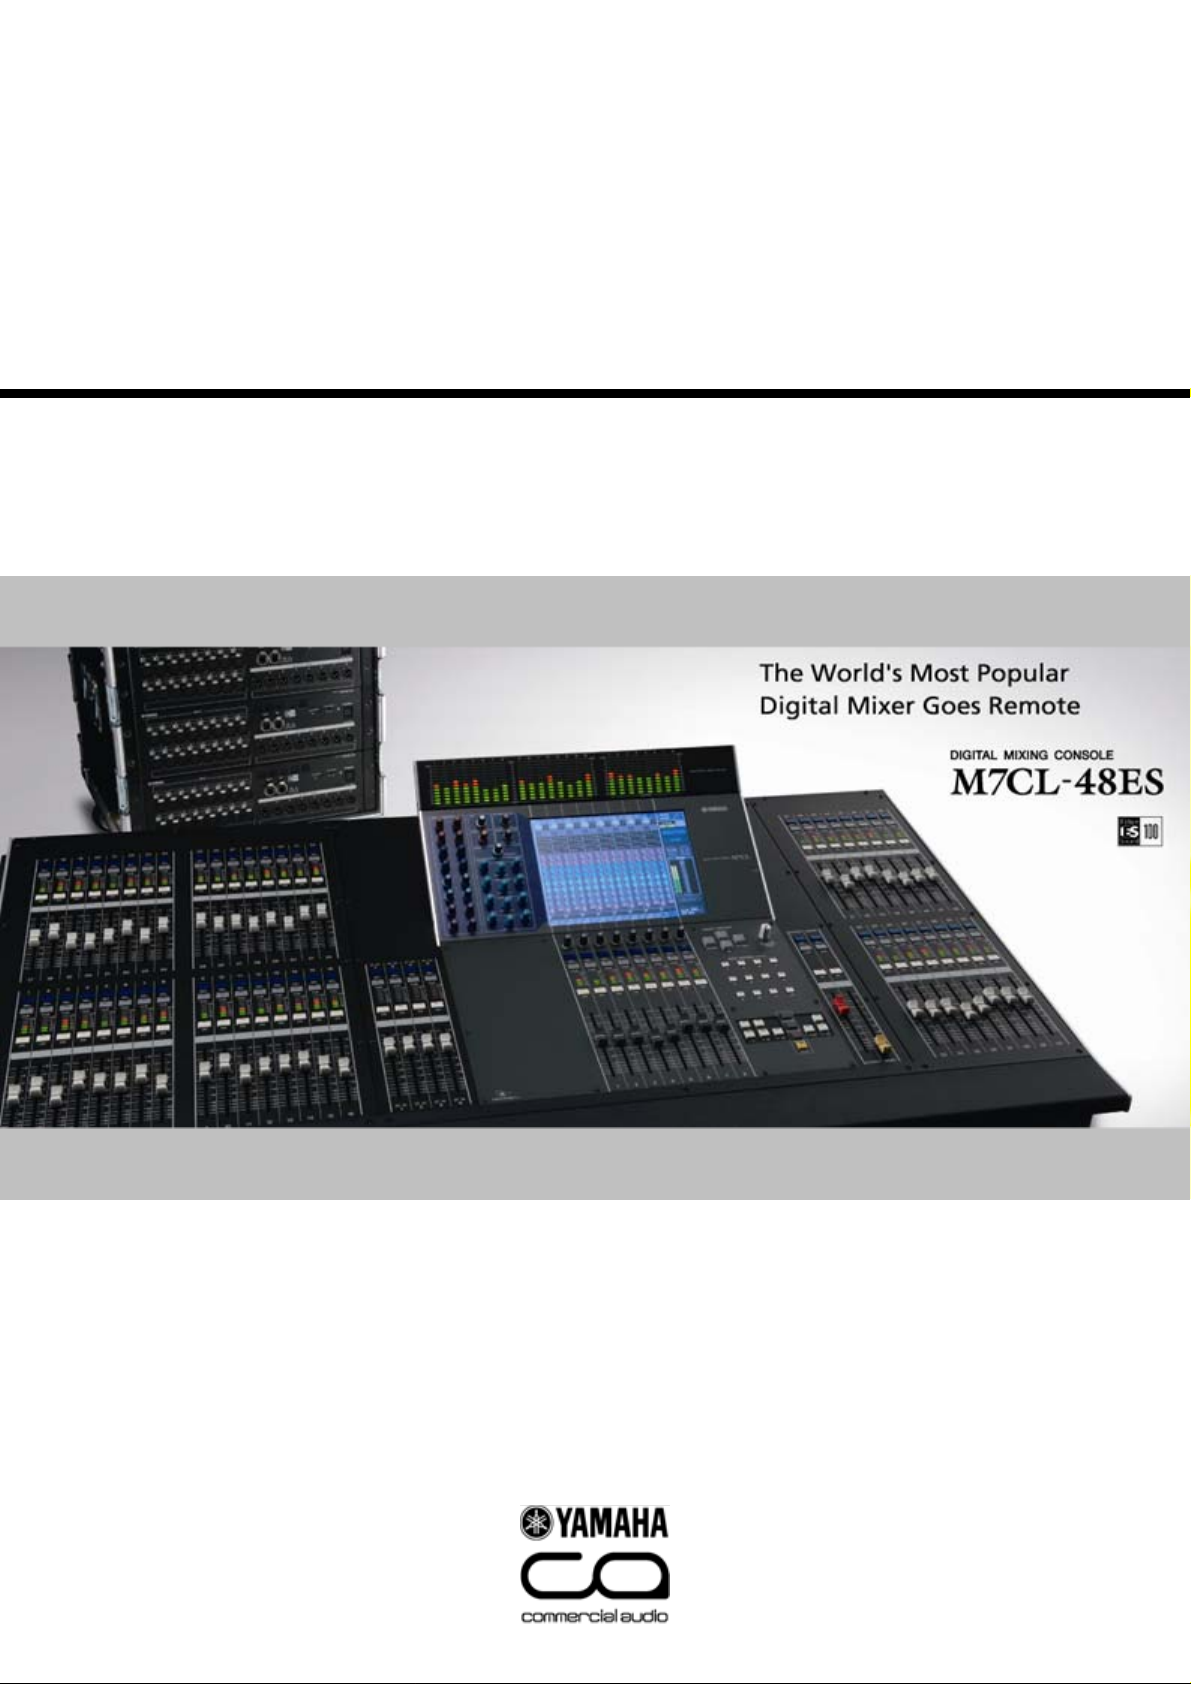
M7CL-48ES
Auto Configure Guide
February, 2010
M7CL-48ES Auto Configure Guide
What is “Auto Configure”?
The Auto Configure function patches M7CL-48ES and SB168-ES
any need for external PC connections. You can setup your system in three steps as
shown below. Please note that Auto Configure supports the combination of M7CL-48ES
and SB168-ES only. Now, start configuring your system!
*1) SB168-ES firmware must be V1.10 or later, and EtherSound module must be 0C16 or later for Auto Configure.
*1)
automatically without
Step 0: Open the boxes
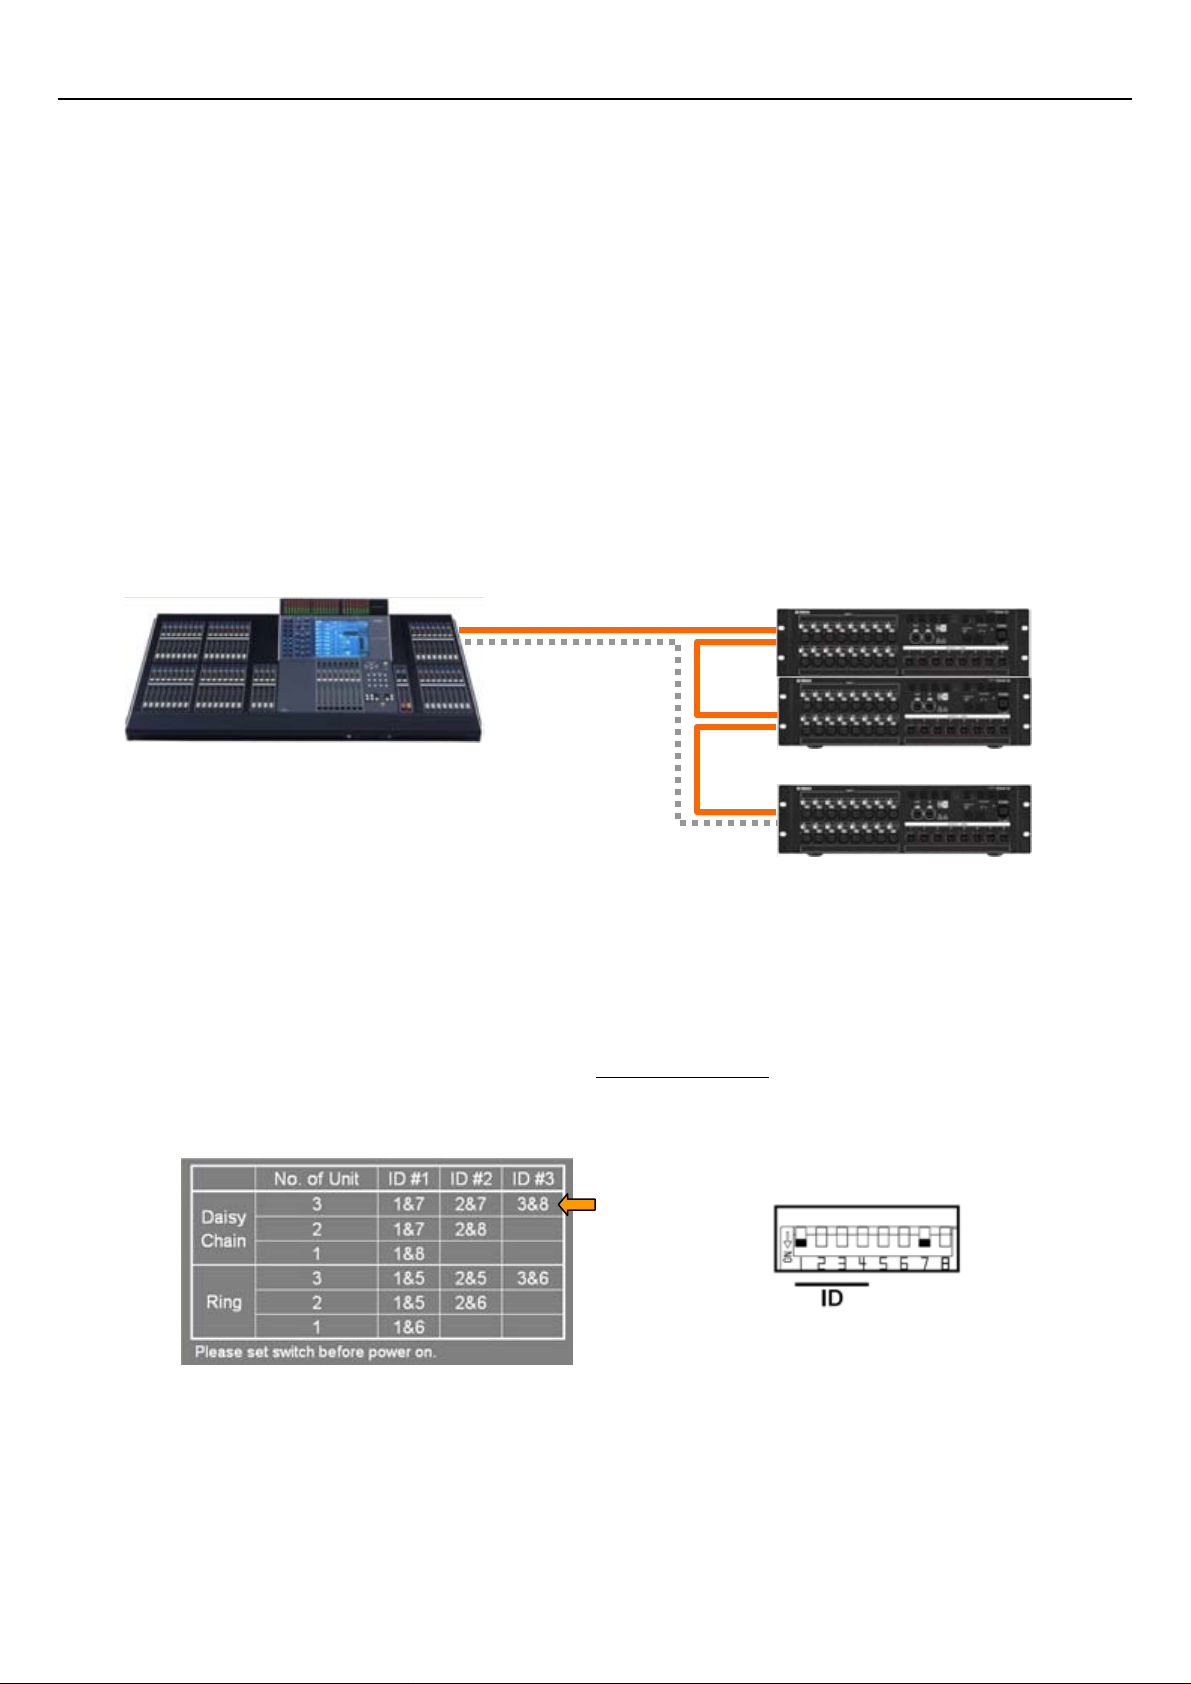
Step 1: Connect cables between ES OUT and ES IN
Connect standard cat5e cables with etherCON connectors as below for “three SB168-ES in
Daisy Chain mode” configuration .
M7CL-48ES
ES OUT
ES IN
*2) Connect last SB168-ES’s ES OUT and M7CL-ES’s ES IN for Ring mode.
Ring mode provides a fault tolerant or redundant system that can survive a cable fault. In Ring mode, the
total audio channel count is limited to 64. In Daisy Chain mode, it is 64 each direction =128.
If you choose Ring mode you must select “Ring” Auto Configure on M7CL EXT-ES HA rack screen.
Option
*2)
ES IN
ES OUT
ES IN
ES OUT
ES IN
ES OUT
SB168-ES
Step 2: Setup dip switches on SB168-ES
Setup dip switches on SB168-ES front panel before power on
The dip switches give each SB168-ES their channel numbers and position information.
You should set dip switches as shown in the top row of the chart below for the example above.
.
ID #1
ID #2
ID #3
Example for Daisy Chain ID #1 : 1&7
Step 3: Turn on the devices. Your console is ready!
Turn on M7CL-48ES and SB168-ES. Setup is completed!
This Auto Configure is activated as factory preset. Both “Daisy Chain” mode and “Ring” mode
are available as options. Default mode is “Daisy Chain”.
Detail of the patching you’ve got on the SB168-ES is shown in the Appendix.
1
 Loading...