

Yamaha EX7, EX5R, EX5, A3000, A4000 Owner's Manual
...
YAMAHA Wave Editor TWE
Version 2.2.0
for Macintosh
Owner's manual (1/3)
The TWE wave editor (hereafter referred to as TWE) is software for digitally
recording sounds (instrumental sounds, sound effects, voice, etc.) to the
hard disk of a personal computer, and for editing recorded sound data. If an
external Yamaha sampler (*) is connected via a SCSI connection, the sound
data recorded in the sampler can be loaded into TWE and edited, and then retransmitted back to the sampler.
*This software supports the Yamaha A3000/4000/5000 professional samplers and
the EX5/5R/7 synthesizers.
TWE was created by the Yamaha Corporation, and is distributed at no cost.
Yamaha Corporation makes no guarantees, implicit or explicit, regarding the
quality or performance of this software. Yamaha Corporation will accept no
responsibility for any damages, direct or consequential (including extended
damages), which may result from use of this software. You must make backups
of data files you create.
In order to use this software, you will need to be familiar with the
Macintosh and the connected devices. Before using this software, please
carefully read this manual and the manuals for your connected device and
Macintosh.
*By using this software, it is possible to create sound data which could not
be produced by normal recording. However, be aware that playing back high
volume full-scale data, or data of extremely low frequencies below 20 Hertz,
or data with a large direct current component may damage your ears and/or
any speakers or headphones that are connected. Please use caution.
•The software and this owner's manual are the exclusive copyrights of Yamaha
Corporation.
•Copying of the software or reproduction of this manual in whole or in part
by any means is expressly forbidden without the written consent of the
manufacturer.
•Yamaha makes no representations or warranties with regard to the use of the
software and documentation and cannot be held responsible for the results of
the use of this manual and the software.
•Since this software is being distributed in free of charge, no user support
will be provided.
•Copying of the commercially available music sequence data and/or digital
audio files is strictly prohibited except for your personal use.
- 1 -

•The company names and product names in this owner's manual are the
trademarks or registered trademarks of their respective companies.
•The screen displays as illustrated in this owner's manual are for
instructional purposes, and may appear somewhat different from the screens
which appear on your computer.
[Contents]
1. Basics
1.1. Operating environment
1.2. Applicable data
1.3. Recording/playback
2. Installing and starting TWE
3. Tag Window and Transport Window
3.1. Tag Window
3.2. Transport Window
4. Waveform Window
4.1. File information display
4.2. Device information display
4.3. Playback start location display
4.4. Selected region display
4.5. Loop region display
4.6. Display resolution
4.7. Waveform display
4.8. Overall waveform display
4.9 Status bar
5. File menu
5.1. New...
5.2. Open...
5.3. Close
5.4. Save
5.5. Save As...
5.6. Revert
5.7. Resample...
5.8. Convert Bit Size...
5.9. Add Channel...
5.10. Delete Channel...
5.11. Swap Channels...
5.12. Import From Sampler...
5.13. Export To Sampler...
- 2 -

5.14. Load Preferences...
5.15. Save Preferences As...
5.16. Page Setup...
5.17. Print...
5.18. Quit
6. Edit menu
6.1. Undo (or Redo)
6.2. Cut
6.3. Copy
6.4. Paste
6.5. Insert
6.6. Clear
6.7. Select All
6.8. Trim
6.9. Mix
6.10. Reverse
6.11. Invert
6.12. Fade In
6.13. Fade Out
6.14. Loop Crossfade...
6.15. EQ…
6.16. Time Comp / Exp …
6.17. Pitch Shift …
6.18 Gain
6.19. Normalize...
6.20. Silence
6.21. DC Offset...
7. View menu
7.1. Go to
7.2. Zoom
7.3. Selection
7.4. Auto Snap
7.5. Hide (or Show) File/Device Info
7.6. Hide (or Show) Waveform
7.7. Hide (or Show) Overview
7.8. Time Ruler
7.9. Level Ruler
7.10. Scroll During Playback
7.11. Connect Dots
7.12. Waveform Scanning
8. Options menu
8.1. Rescan SCSI
8.2. Select Working Dir...
- 3 -

8.3. Preferences …
9. Window menu
9.1. Hide (or Show) Tag Window
9.2. Hide (or Show) Transport
9.3. Cascade
9.4. Tile Horizontally
9.5. Tile Vertically
9.6. Next Window
9.7. Close All
9.8. (Select Window)
10. List of shortcut key default settings
11. Main new functions in version 2.2.0
[1. Basics]
1.1. Operating environment
<Computer>
•Macintosh
<CPU>
•PowerPC
<OS>
•System 7.6.1 or newer
<Display>
•256 colors or more, resolution 640 x 400 or higher
<Free memory>
•6MB or more (8MB or more is recommended)
<Hard disk>
•Average access time 30ms or less
*If you are using the OS earlier than System 7.5, there are some limitations
on the use of the Transport Window. For details refer to "3.2. Transport
Window."
1.2. Applicable data
- 4 -

<File formats>
•Apple AIFF (displayed by TWE as "AIFF")
•Digidesign Sound Designer II (displayed by TWE as "Sd2f")
•Microsoft Wave PCM (displayed by TWE as "WAVE")
<Sample size>
•1 bit to 32 bit
<Sampling frequency>
•11,025Hz to 96,000Hz
<Number of channels>
•1 to 16 channels
1.3. Recording/playback
•Recording/playback via the Macintosh Sound Manager is supported. (Sound
Manager 3.0 or higher is recommended.)
•Only the first one or two channels are used for recording/playback. (This
depends on the Macintosh that you are using.)
•If there is sufficient space on your hard disk, a maximum of two hours of
continuous recording is possible.
•SCSI sample dump data can be transferred between TWE and the A3000/4000/
5000 or EX5/5R/7.
•Loop playback of the desired number of samples can be performed.
[2. Installing and starting TWE]
The TWE application can be used by itself, without any particular
installation procedure.
Double-click the TWE icon. A "Select Working Dir…" dialog box will appear.
Here you can specify the directory in which TWE will create its temporary
working files. (The working directory that you specify here can be changed
using the [Options] menu command [Select Working Dir...]. Refer to "8.2.
Select Working Dir...".)
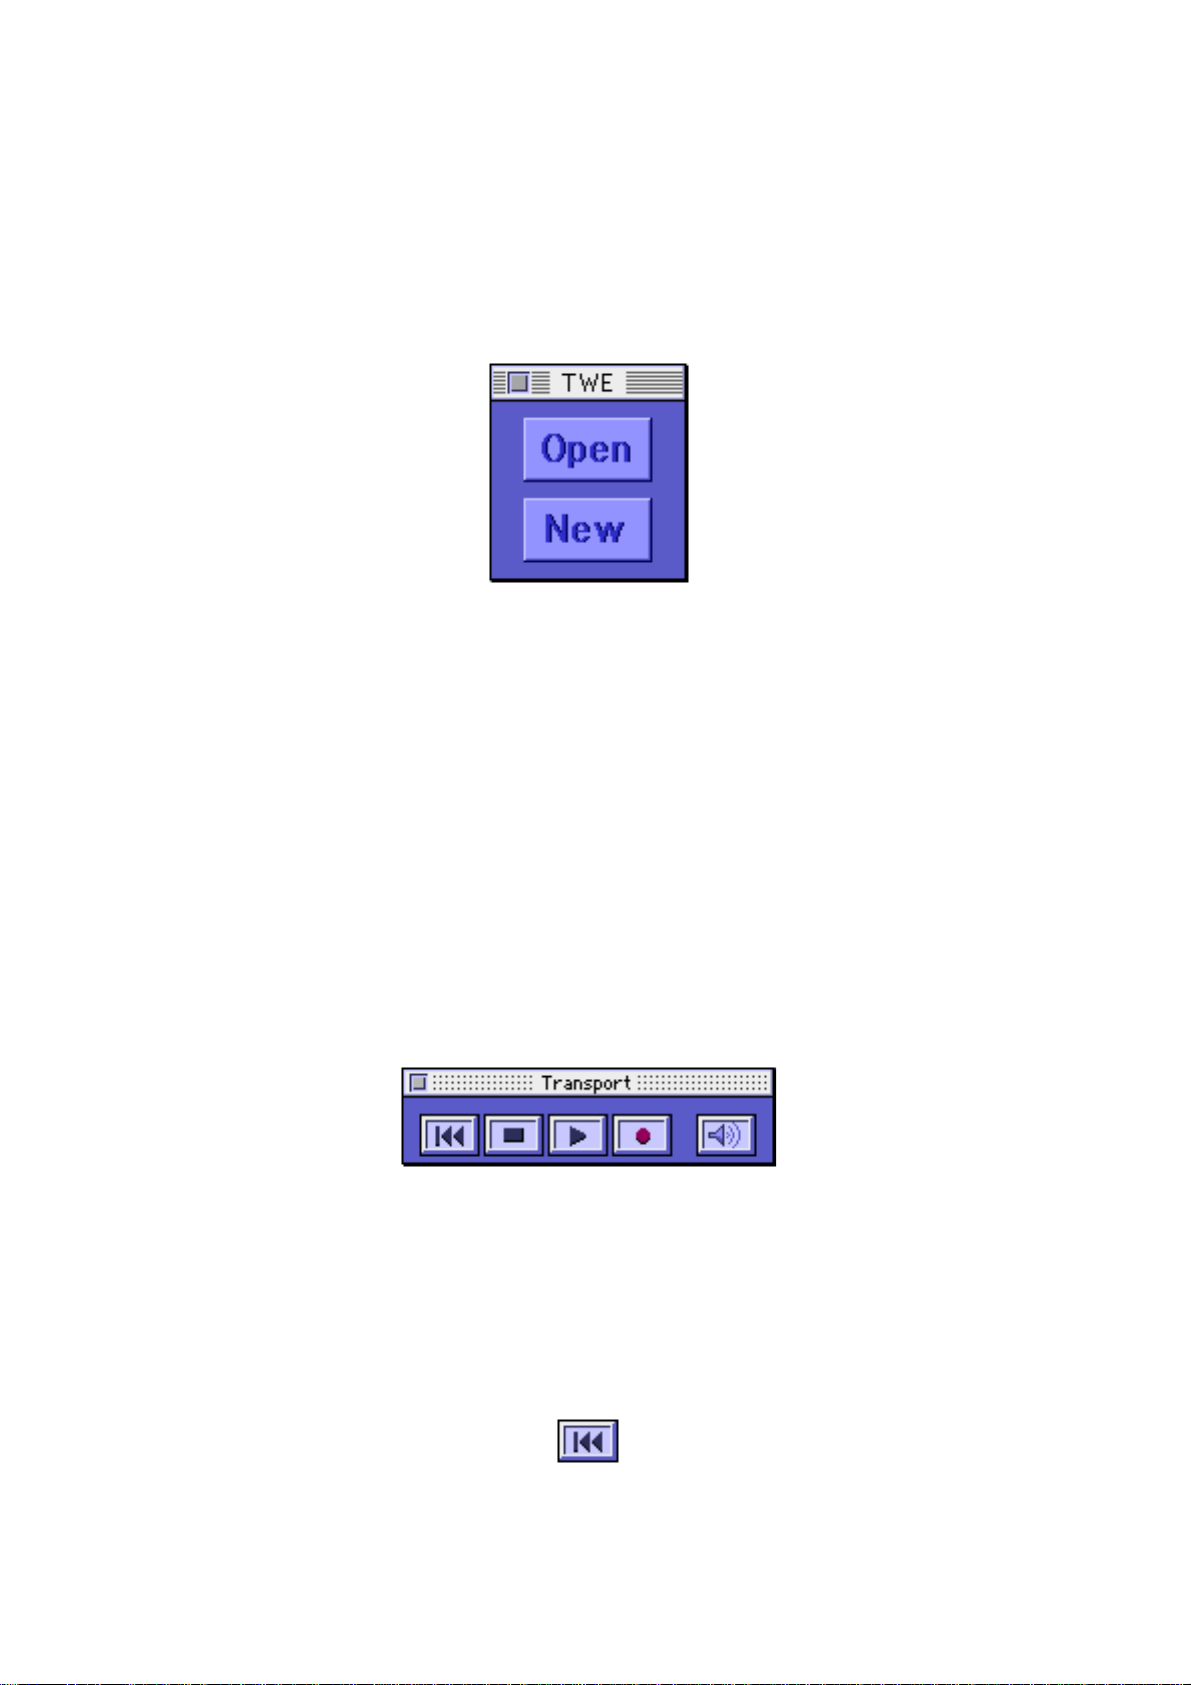
After you specify the working directory, the TWE title will appear, and Tag
window (the window containing the [Open] button and [New] button) and
Transport window (which contains buttons for playback and recording) will
open.
Then, use the [File] menu commands [Open] or [New...] etc. to open a sound
data file (sound file), and the Waveform Window (TWE's main window which
- 5 -
displays various settings of the sound file) will appear. The following
chapters explain the various parts of TWE's windows.
[3. Tag Window and Transport Window]
3.1. Tag Window
The Tag Window is a small window with two buttons: [Open] and [New].
Clicking [Open] will open an existing sound data file (sound file). (This is
the same function as the [File] menu command [Open...].) Clicking [New] will
create new sound data. (This is the same function as the [File] menu
command [New...].)
If you are using other applications while TWE is running, you may find it
convenient to place the Tag Window at the edge of the screen, so that it can
simply be clicked when you once again want to use TWE.
3.2. Transport Window
The Transport Window contains the buttons which allow sound data to be
played back and recorded, etc.
<Rewind>
- 6 -

Moves the playback start location (Play Location) to the beginning of the
sound data.
<Stop>
Stops playback/recording.
<Play>
Begins playback from the playback start location.
<Record>
Begins recording from the playback start location. During recording, the
loop region setting is ignored. If sufficient space is available on your
hard disk, a maximum of two hours of recording is possible.
<Play Selection>
If a region is selected in the waveform display area, only that region will
play back. While the region is playing back, the loop region setting is
ignored.
*The TWE window contains two waveform displays. In this manual, the larger
display located below is referred to as the "waveform display (Waveform)."
The smaller display located above is referred to as the "overall waveform
display (Overview)." The waveform display can be made to show a magnified
portion of the overall waveform display. For details on the waveform
display, refer to "4.7. Waveform display," and on the overall waveform
- 7 -

display refer to "4.8. Overall waveform display."
*If the OS you are using is earlier than System 7.5, there will be cases in
which it will not be possible to switch applications while the Transport
Window is being used. In such cases, temporarily close the Transport Window
before switching applications.
[4. Waveform Window]
The Waveform Window is TWE's main window, in which various settings of the
sound file are shown.
A Waveform Window will open when you execute one of the [File] menu commands
[New...], [Open...], or [Import From Sampler...]. Up to twenty of these
windows can be open at once.
4.1. File information display (File)
This display section is located at the left of the waveform display.
The following information is displayed for the sound file currently opened
by TWE. If the device information display (Device) is open, click the File
tab.
<Creator>
The creator (the ID code of the application which created the sound file) is
displayed. Sound files created by TWE are displayed as "YHWO." For sound
files created by other applications, this display will depend on the
application.
<File type>
Displays the file type (AIFF, Sd2f, or WAVE).
<Size>
Displays the sample size of the sound file in bits.
<Rate>
Displays the sampling frequency of the sound file in Hertz (Hz).
<Channels>
Displays the number of channels within the sound file.
<Length>
Displays the total playback time of the file
(hours:minutes:seconds.milliseconds).
- 8 -
<Samples>
Displays the total number of samples in the sound file.
<Data size>
Displays the size (number of bytes) of the sound file.
<Modified>
Displays the last time the file was modified (year.month.day and time).
4.2. Device information display (Device)
This display section is located at the left of the waveform display.
The following information on the audio input/output devices etc. is
displayed. If the file information is displayed (File), click the Device
tab.
<Output Volume>
Specify the volume for playback. In the case of multi-channel sound data, it
is not possible to set the volume of the channels independently.
<Audio Device>
Indicates the version of the Sound Manager being used.
<Working Volume/Working Directory>
Indicates the currently selected working directory and its volume (disk
name).
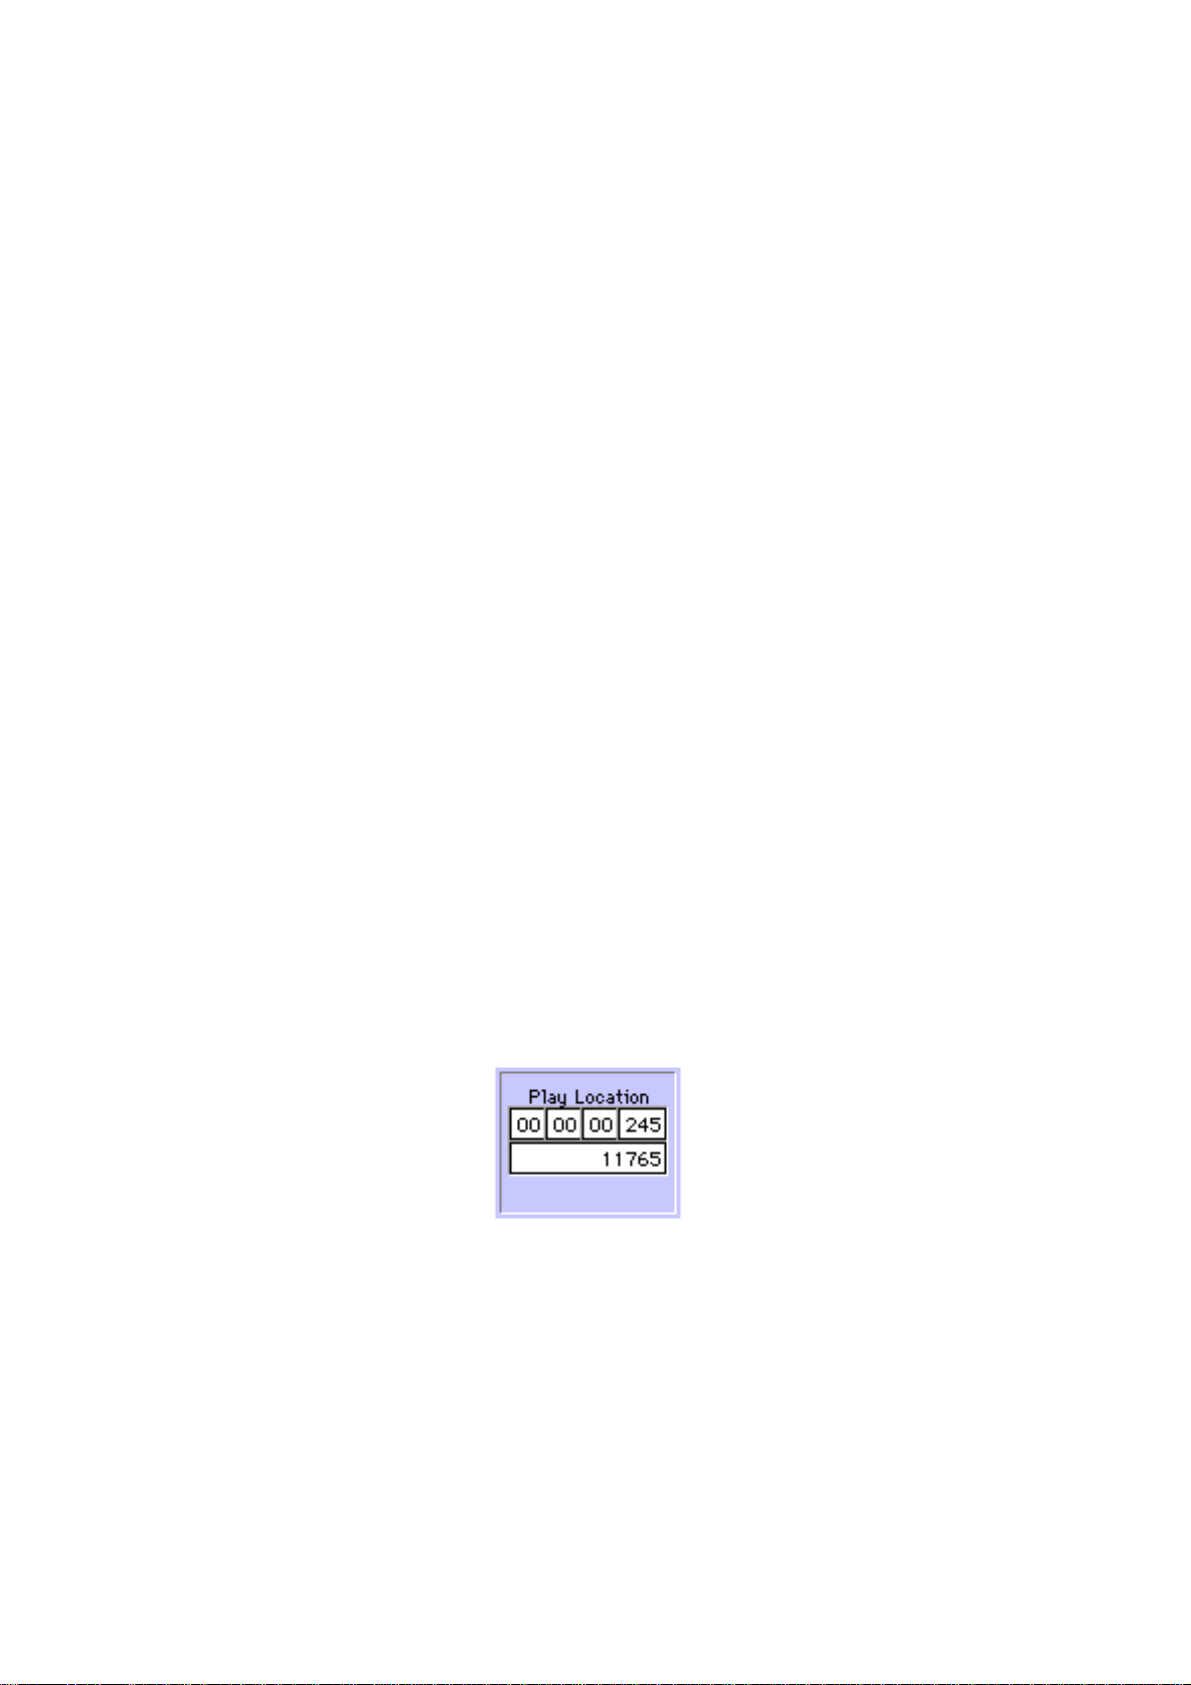
4.3. Playback start location display (Play Location)
This numerically indicates the location at which playback will begin. The
upper line shows the time location (hours/minutes/seconds/milliseconds), and
the lower line shows the number of samples up to that point.
You can click on one of these values and type in the numerical value from
the keyboard of your computer. Numerical values can be input either for the
upper (time) or lower (sample) fields. Changing one will cause the other to
be calculated and set automatically.
- 9 -
If you click on the time axis markings (Time Ruler) of the waveform display
area, the location at which you clicked will be specified as the playback
start location.
While sound data is being played back or recorded, the current location is
displayed in realtime.
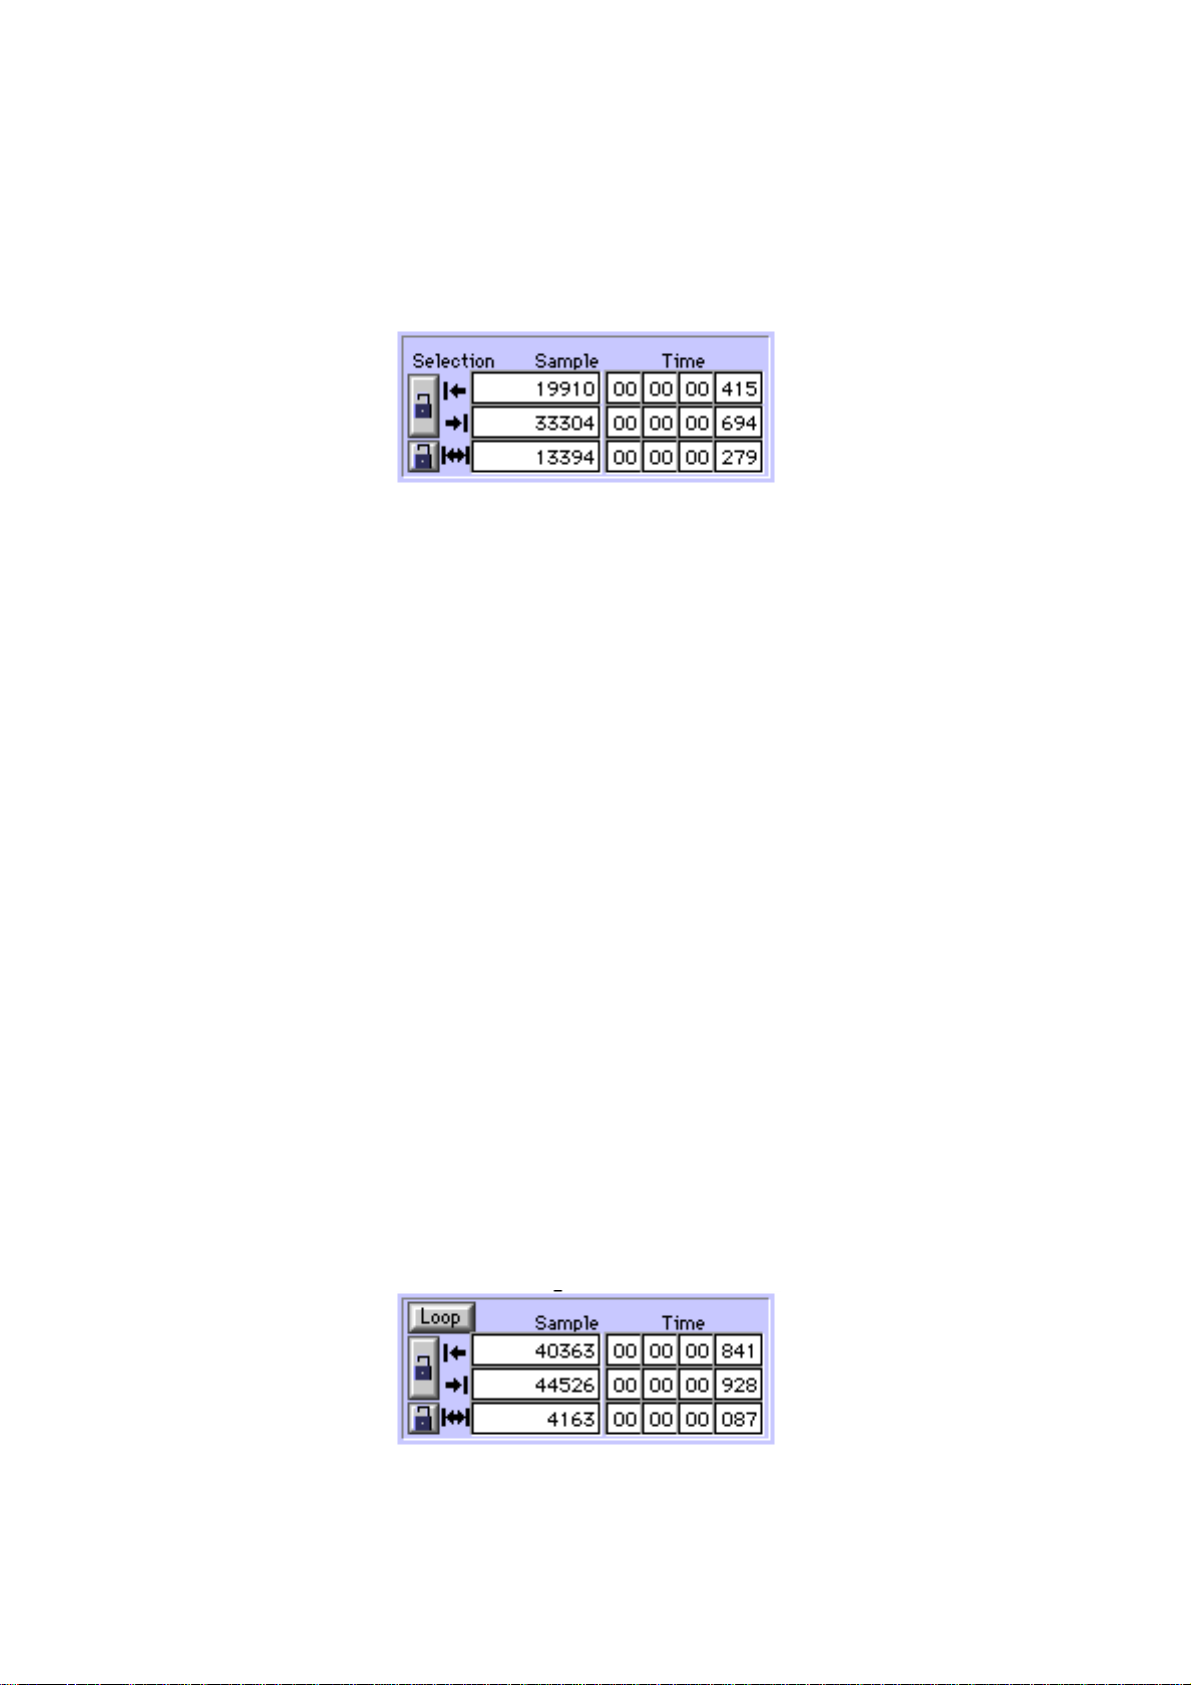
4.4. Selected region display (Selection)
This numerically indicates the region that has been selected in the waveform
display. The start, end, and length of the region are displayed as a number
of samples (Sample) and as hours/minutes/seconds/milliseconds (Time).
You can click on one of these values and type in the numerical value from
the keyboard of your computer. Numerical values can be input either for
Sample or Time fields. Changing one will cause the other to be calculated
and set automatically.
You can also specify the selected region by dragging to left or right in the
waveform display area.
During playback, you can press the start point setting button [|<] / end
point setting button [>|] to set the currently-playing location as the start
or end point of the selected region.
If the region lock button is pressed, these values cannot be changed.
If the region length lock button is pressed, modifying either the start or
the end of the selected region will cause the other point to be shifted so
as to maintain the length of the region.
4.5. Loop region display (Loop)
- 10 -
This numerically indicates the loop region. The start, end, and length of
the loop region are displayed as a number of samples (Sample) and as hours/
minutes/seconds/milliseconds (Time).
If you specify a loop range and turn on the Loop button, the loop region
will continue to repeat during playback.
*The loop range settings have no effect during recording or during Play
Selection (playback of the selected region).
You can click on one of these values and type in the numerical value from
the keyboard of your computer. Numerical values can be input either for
Sample or Time fields. Changing one will cause the other to be calculated
and set automatically.
You can also set the loop range by holding down the Option key and dragging
over the time axis (Time Ruler) located above the waveform display.
During playback, you can press the start point setting button [|<] / end
point setting button [>|] to set the currently-playing location as the start
or end point of the loop region.
If the loop region lock button has been pressed, it will not be possible to
modify the various loop region values.
If the loop length lock button has been pressed, changing either the loop
start point or loop end point will automatically modify the other point so
as to preserve the length of the loop region.
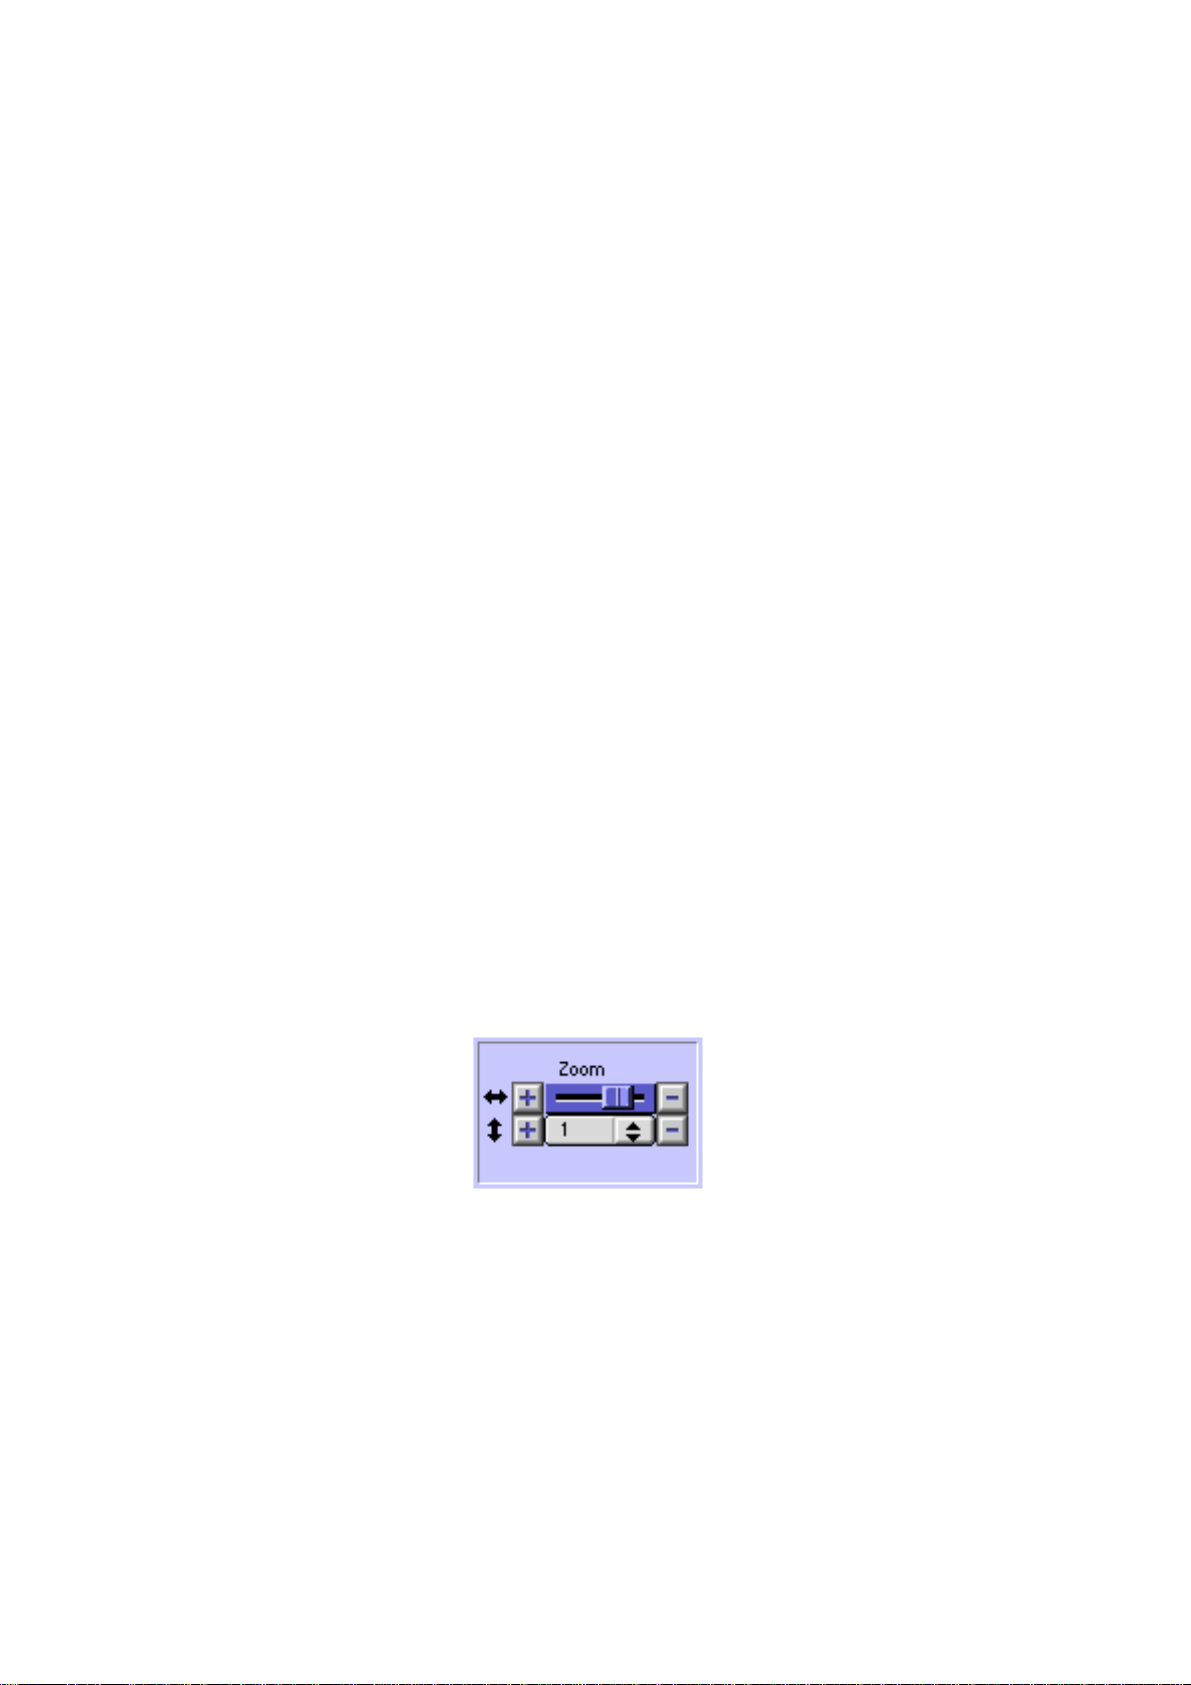
4.6. Display resolution (Zoom)
This indicates the resolution of the time axis (horizontal) and amplitude
axis (vertical) at which the waveform is displayed in the waveform display
area.
To change the resolution of the time axis, drag the slider knob to left or
right, or click the +/- buttons located at each end. To change the
resolution of the amplitude axis, press the mouse button on the numerals and
then select a value from the popup menu that appears, or click the +/buttons located at each end.
- 11 -

4.7. Waveform display (Waveform)
This area shows a magnified portion of the currently opened sound file.
You can use the horizontal and vertical scroll bars to move the displayed
portion. You can also click on the overall waveform display (Overview) to
move the displayed area.
*For details on the overall waveform display, refer to "4.8. Overall
waveform display."
When a sound file is first opened or created, TWE creates waveform display
data that is separate from the actual sound data, in order to speed up the
waveform display. This waveform display data will be saved in the same file
as the sound data when the [File] menu command [Save As...] is executed, so
that even long sound files can be displayed immediately next time.
This waveform display data can be created in the background gradually (refer
to "8.3.3. Others" paragraph "Full scan on open," and "7.12. Waveform
Scanning"). At this time, the entire waveform is displayed in general
outline, and the display will gradually become more accurate. However,
display data for the portion that is actually shown in the waveform display
area will be given priority.
The portion in which the display data is still begin generated will be shown
in a different color than the portion which has already been completed
(refer to "8.3.1. Colors").
By dragging to left or right over a desired region of the waveform display,
you can select that region. If the selected region is not locked, clicking
in the waveform display area will defeat the previously selected region.
For sound data which contains two or more channels (stereo, etc.), you can
drag the mouse across the dividing lines between channels to simultaneously
select adjacent channels. Some operations which modify the length of the
waveform, such as the [Edit] menu command [Cut], cannot be executed unless
all channels are selected simultaneously.
If you press the Option key while the mouse cursor is located in the
waveform display, a cross-shaped cursor will appear. This is convenient when
you wish to use the time axis (Time Ruler) and amplitude axis (Level Ruler)
to learn the precise position of the mouse.
By holding down the Option key and dragging across the time axis (Time
Ruler) located above the waveform display, you can set the loop region.
Also, when you move the mouse pointer near the left (or right) edge of the
- 12 -
loop region shown in the time axis ruler, the mouse pointer will change
shape, and you can drag to left or right to modify the start/end points of
the loop region. By dragging the mouse within the loop region (brown, with
the default settings) in the time axis ruler, you can change the location of
the loop region without affecting the length of the loop. In addition, if
you hold down both the Option key and the Shift key and then click outside
the loop region shown in the time axis ruler, the loop region will be
extended to that point.
By clicking any other point in the time axis ruler, you can set the playback
start time to that location.
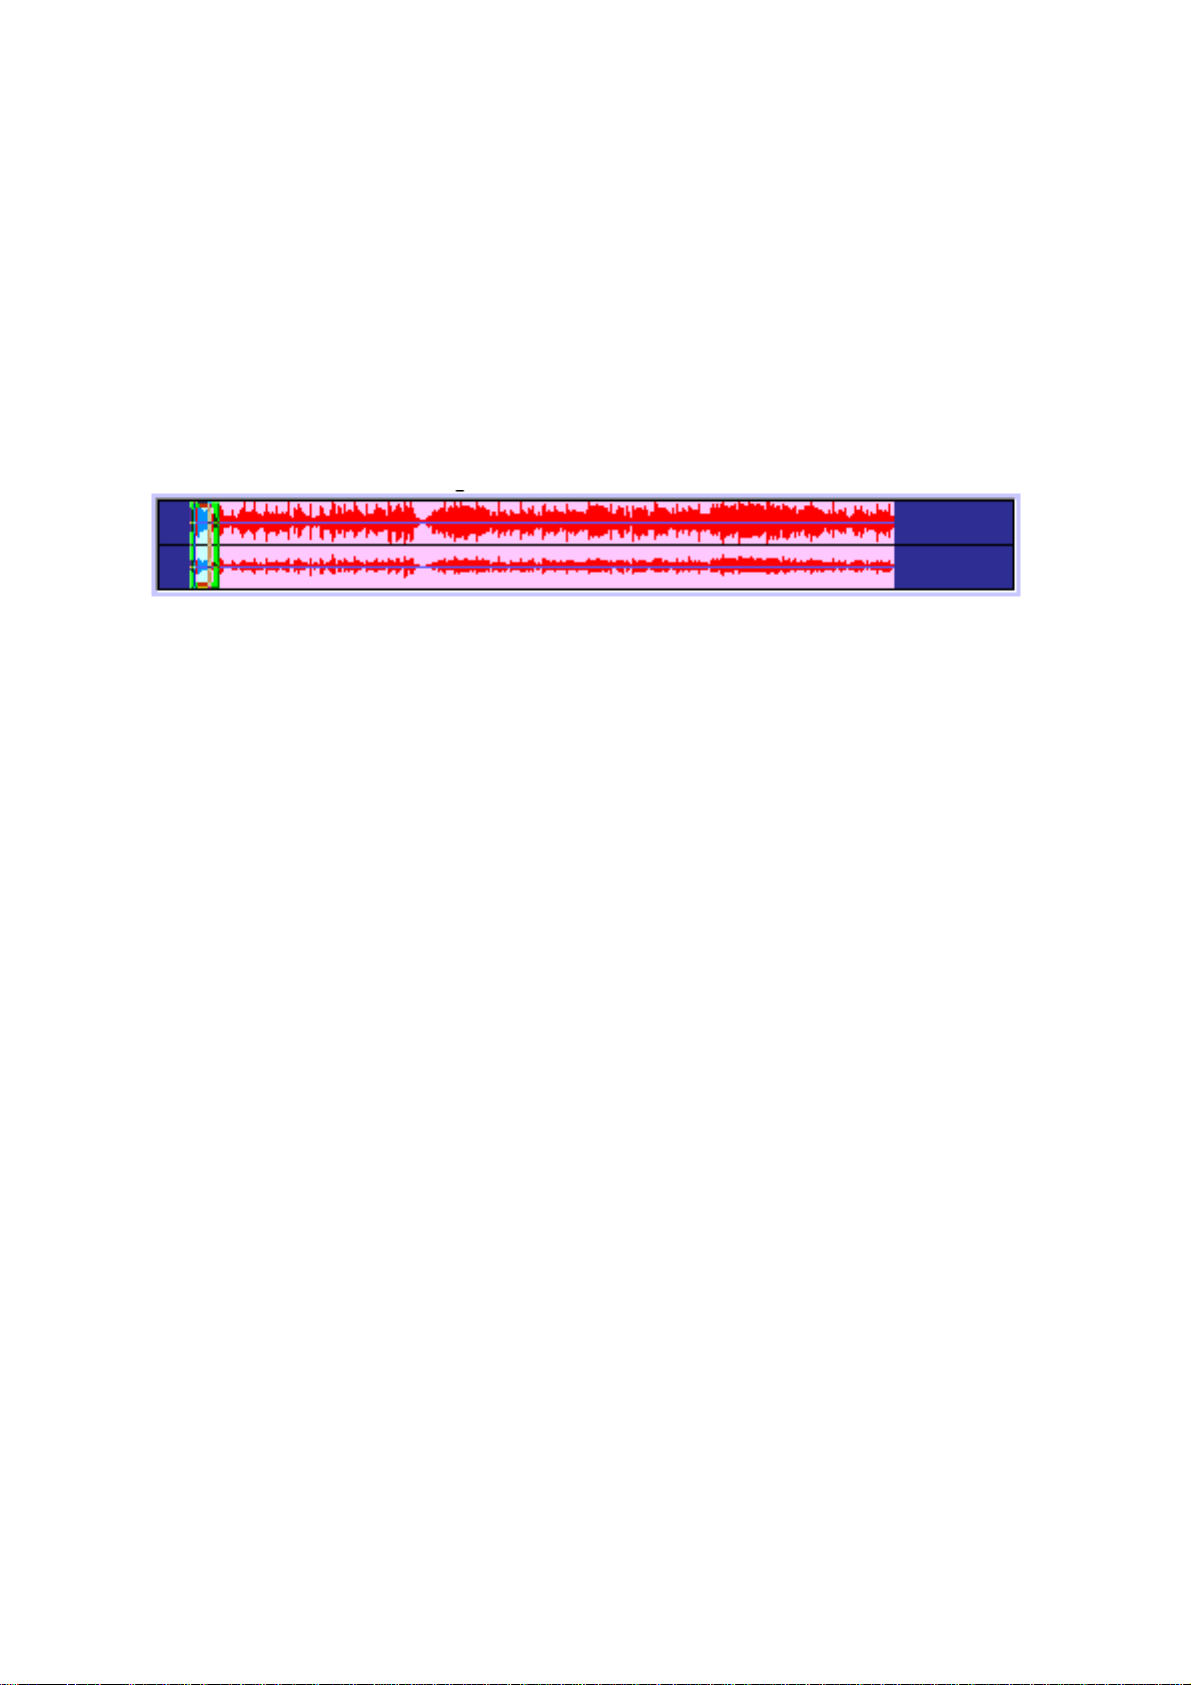
4.8. Overall waveform display (Overview)
The overall waveform display shows a graphic image of the entire sound file
that is currently opened by TWE. The rectangular bar (light green by
default) indicates the portion of the entire waveform that is currently
displayed at a higher magnification in the waveform display.
By clicking in the overall waveform display, you can specify the region of
the waveform which will be displayed in the waveform display. You can also
hold down the Option key and drag to specify the region of the waveform
which will be displayed in the waveform display.
4.9. Status bar
The status bar located in the lower part of the Wave window displapys the
following information, from left to right.
< Waveform scan ratio >
The progress of the scanning that is performed in order to generate the
waveform display data is displayed here as a percentage. When the scan is
completed, this will indicate "100.0%."
< Mouse cursor location on the time axis >
This indicates the location of the mouse pointer within the waveform display
area. The units are the same as those currently selected for the Time Ruler.
If the Time Ruler is not being used, this location will be shown as time
(hours:minutes:seconds.milliseconds).
- 13 -
 Loading...