

Page 1
®
Xerox
Color C60/C70 Printer
Simple Image Quality Adjustment (SIQA)
Quick Use Guide
Simple Image Quality Adjustment (SIQA) is a set of maintenance tools that adjust the quality of the printed images generated by the printer. SIQA performs
three types of adjustments, which must be performed in the order given. For details on the procedures outlined below, refer to the Xerox
Printer System Administrator Guide.
Image Transfer
Alignment
Density Uniformity
These are the three sets of steps that are performed when calibrating the printer with the SIQA tools:
1. Print the SIQA targets.
2. Scan the targets using either the Document Feeder or the Platen Glass.
3. Save the adjustment data to a file on the printer providing the file with a unique name.
®
Color C60/C70
Accessing the SIQA Tools
1. At the printer UI, select the Login/Logout button.
2. Log-in as a System Administrator.
3. Press the Machine Status button on the control panel.
4. Tou ch th e To o ls tab.
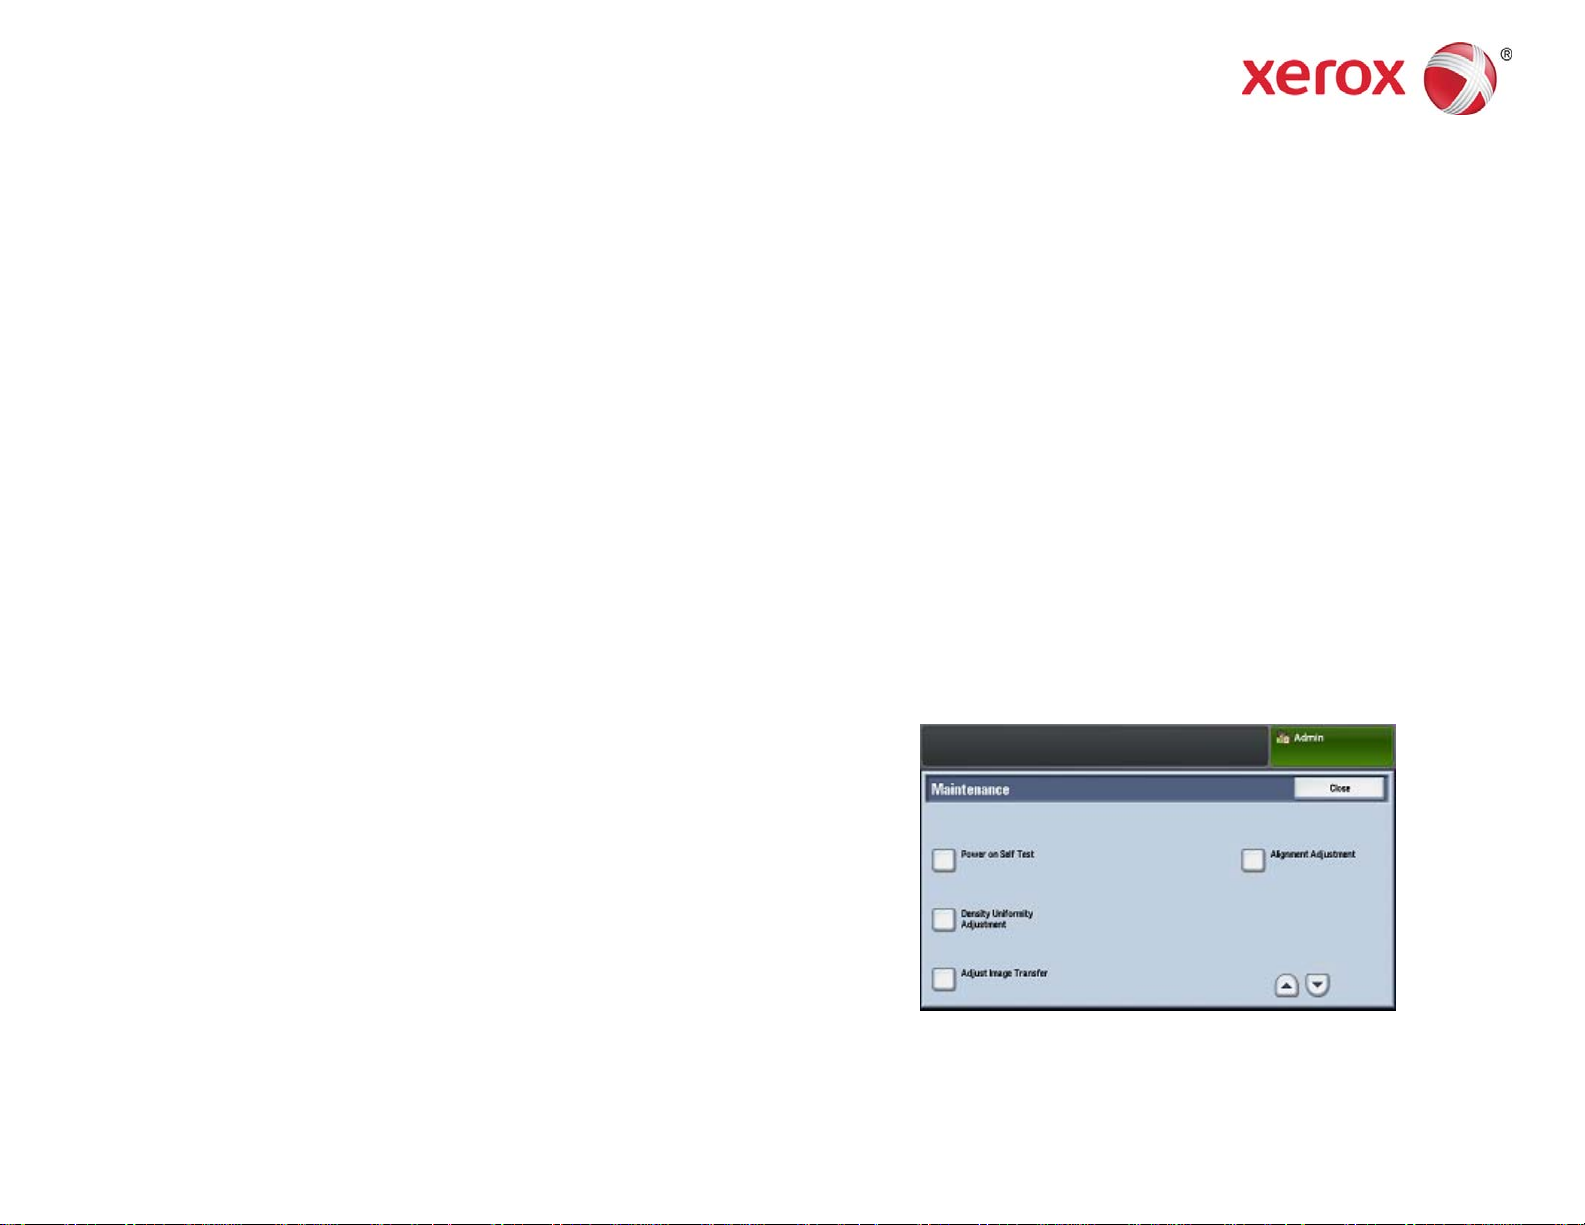
5. In the Features column, scroll down and touch Maintenance.
6. Touch the down arrow to access the SIQA tools on the next screen.
®
Xerox
Simple Image Quality Adjustment (SIQA) Quick Use Guide
Color C60/C70 Printer 1
SIQA Tools
Page 2

Adjust Image Transfer
You must perform this adjustment for each paper type loaded in the
printer.
1. Log-in as a System Administrator and access the SIQA tools screen.
2. To u ch Adjust Image Transfer.
3. To u ch Paper Type, and choose a paper type from the list.
4. To u ch Close.
5. Load the selected paper type into Tray 5 (bypass).
Acceptable paper sizes:
• 11 x 17 in.
• 8.5 x 11 in.
• A3
• A4
• SRA3
6. To u ch Print Sample.
7. Select a paper size.
8. Select 1 Sided or 2 Sided for the calibration chart.
9. Press the Start button on the control panel to print the calibration
chart.
10. To u c h Confirm.
11. To u c h Close.
12. To u c h Scan Calibration Chart.
Note
If you printed a 2-sided sample, scan both sides.
13. Follow the instructions on the control panel touch screen to complete
the calibration.
14. To u c h Confirm to exit the scan.
15. View the adjustment numbers for Side 1 and Side 2.
16. To u c h Adjust to complete and save the calibration.
17.
To u ch Close twice to exit the SIQA tool.
18. To log out of Admin mode, select the Admin icon on the top right of
the screen and touch Logout.
Auto Alignment Adjustment
1. Print a duplex copy of the Black Paper PDF file that corresponds to the
paper size used in your region. The PDF files are located on
www.xerox.com/support under the Color C60/C70 Printer
documentation.
• 11 x 17 in.: SIQA Black Paper for Adjustment-Tabloid.pdf
• A3: SIQA Black Paper for Adjustment-A3.pdf
2. Log-in as a System Administrator and access the SIQA tools screen.
3. To u ch Alignment Adjustment.
4. To u ch Auto Alignment Adjustment.
5. To u ch Print Calibration Chart.
6. Select a paper tray with 11 x 17 in. or A3 size paper.
7. Set the value for Coverage 1 and Coverage 2 to 1.
8. To u ch Print to print the calibration chart.
9. To u ch Confirm.
10. To u c h Document Feeder Scan Precision Adjustment.
11. Follow the instructions on the control panel touch screen to complete
the scan using the Document Feeder and Document Glass.
a) Position the Black Paper and Calibration Chart as shown on the
Black Paper.
b) Reposition the Calibration Chart as indicated on the control panel
touch screen and Black Paper and then touch Scan for each scan.
c) After all scans are completed, touch Start.
12. Touch Confirm.
13. To u c h Print Calibration Chart.
14. Select a paper tray with the correct paper size.
15. Select a coverage value for Coverage 1 and Coverage 2 using the
table below as a guide.
®
Xerox
Simple Image Quality Adjustment (SIQA) Quick Use Guide
Color C60/C70 Printer 2
Page 3

Coverage Value Area Coverage
1 - 3 Low area coverage - text only
4 - 8 Medium area coverage - equal mixture of
text and graphic images
9 - 10 High area coverage - primarily graphic
images
16. To u c h Print.
17. To u c h Confirm.
18. Select a scan method:
• Tou c h Scan Chart with Document Feeder for a target media size
of 11 x 17 in. / A3 or smaller and less than 220 gsm. Accuracy is
within 0.2 mm.
• Tou c h Scan Chart with Document Glass for a target media size of
larger than 11 x 17 in. / A3 and more than 220 gsm. Accuracy is
within 0.1 mm.
19. To u c h Start to complete the adjustment.
20. Touch the tray name that displays on the control panel touch screen.
This is the paper tray to which the alignment adjustment is applied.
21. Under Items, select a type.
22. To u c h Change Settings.
Note
Selecting Save will overwrite the existing settings
23. Under Items, select 1. Name.
24. To u c h Change Settings to name the Type.
Note
You should use a name that identifies the paper type loaded in the
tray.
25. To u c h Save four times to save the settings.
26. To log out of Admin mode, select the Admin icon on the top right of
the screen and touch Logout.
Setting the Type when Loading Media
Each time you load media, you must associate the paper type with the
tray. To associate the correct Type with the media loaded:
1. Log-in as a System Administrator and access the SIQA tools screen.
2. To u ch Alignment Adjustment.
3. Touch Manual Alignment Adjustment.
4. Select the paper tray just loaded.
5. Touch Change Settings.
6. Select the desired Type.
7. Touch Save.
8. Touch Close three times to save the settings and exit the SIQA tool.
9. To log out of Admin mode, select the Admin icon on the top right of
the screen and touch Logout.
Density Uniformity Adjustment
1. Log-in as a System Administrator and access the SIQA tools screen.
2. To u ch Density Uniformity Adjustment.
3. To u ch Semi Auto Process Using Scanner.
4. To u ch Print Calibration Chart.
5. To u ch Print and follow the instructions on the control panel touch
screen to print the two charts
6. To u ch Confirm.
7. To u ch Scan Calibration Chart.
8. Follow the instructions on the control panel touch screen to scan the
two calibration charts.
9. To u ch Start to begin the density uniformity adjustment.
10. When the adjustment has completed, touch Confirm.
11. To u c h Save to save the adjustment.
12. To u c h Close three times to exit the SIQA tool.
13. To log out of Admin mode, select the Admin icon on the top right of
the screen and touch Logout.
©2016 Xerox Corporation. All rights reserved. Xerox® is a trademark of Xerox Corporation in the United States and/or other countries.
BRxxxx. v 1.0 August 2016.
 Loading...