

Page 1
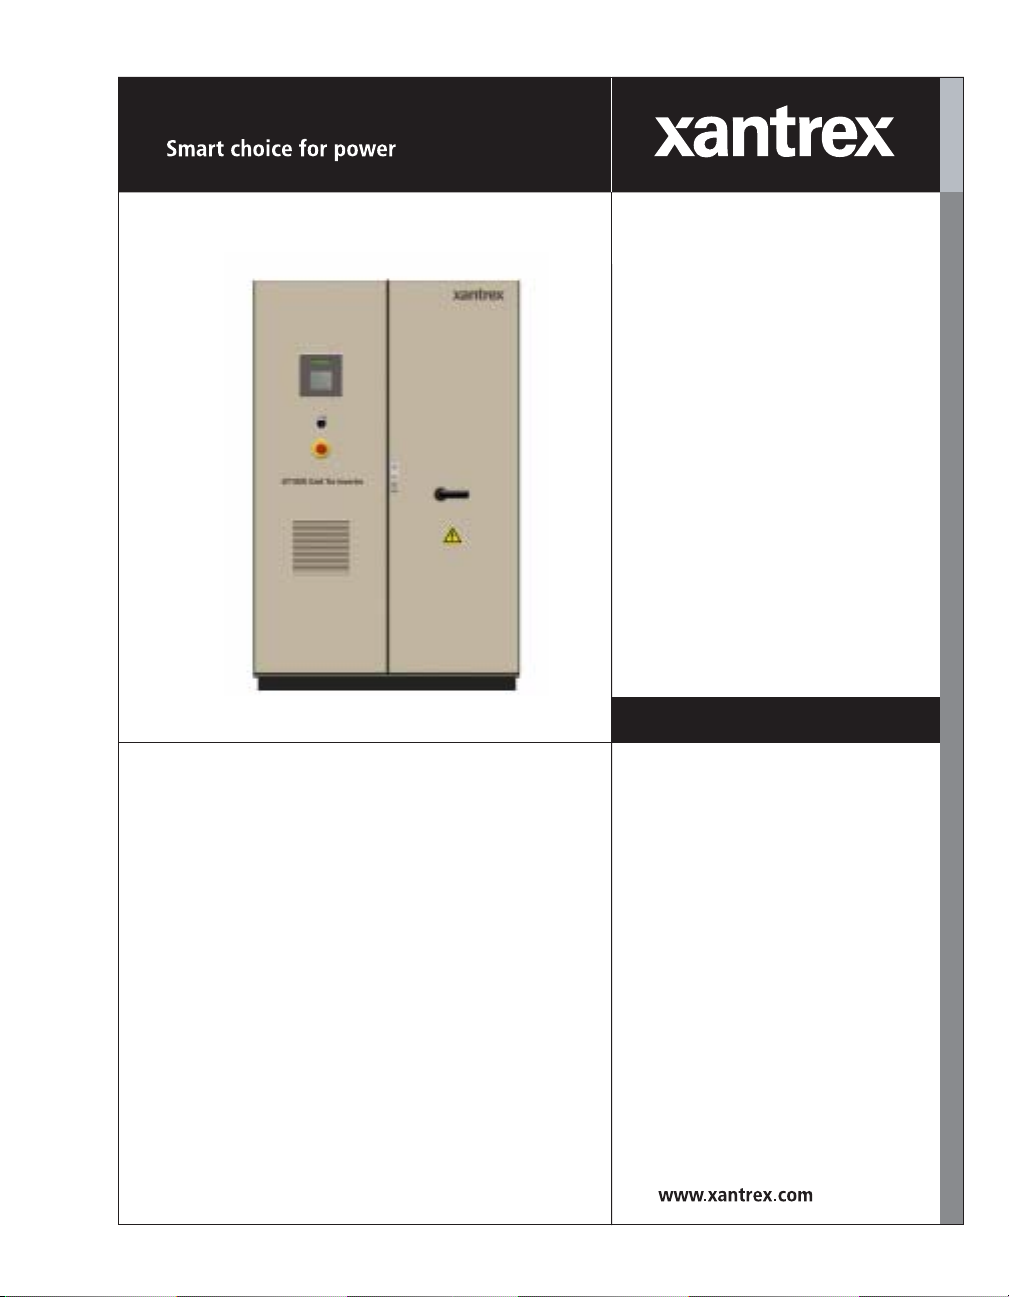
GT100E Wireless
Modem Option
Owner’s Manual
Page 2

Page 3

GT100E Wireless Modem
Option
Owner’s Manual
Page 4

About Xantrex
Xantrex Technology Inc. is a world-leading supplier of advanced power electronics and controls with
products from 50 watt mobile units to one MW utility-scale systems for wind, solar, batteries, fuel cells,
microturbines, and backup power applications in both grid-connected and stand-alone systems. Xantrex
products include inverters, battery chargers, programmable power supplies, and variable speed drives
that convert, supply, control, clean, and distribute electrical power.
Trademarks
GT100E Wireless Modem Option is a trademark of Xantrex International. Xantrex is a registered
trademark of Xantrex International.
Other trademarks, registered trademarks, and product names are the property of their respective owners
and are used herein for identification purposes only.
Notice of Copyright
GT100E Wireless Modem Option Owner’s Manual© November 2004 Xantrex International. All rights
reserved.
Disclaimer
UNLESS SPECIFICALLY AGREED TO IN WRITING, XANTREX TECHNOLOGY INC.
(“XANTREX”)
(a) MAKES NO WARRANTY AS TO THE ACCURACY, SUFFICIENCY OR SUITABILITY OF
ANY TECHNICAL OR OTHER INFORMATION PROVIDED IN ITS MANUALS OR OTHER
DOCUMENTATION.
(b) ASSUMES NO RESPONSIBILITY OR LIABILITY FOR LOSS OR DAMAGE, WHETHER
DIRECT, INDIRECT, CONSEQUENTIAL OR INCIDENTAL, WHICH MIGHT ARISE OUT OF
THE USE OF SUCH INFORMATION. THE USE OF ANY SUCH INFORMATION WILL BE
ENTIRELY AT THE USER’S RISK.
Date and Revision
November 2004 Revision A
Part Number
152524
Contact Information
Telephone: 1 800 670 0707 (toll free North America)
1 360 925 5097 (direct)
Fax: 1 800 994 7828 (toll free North America)
1 360 925 5143 (direct)
Email: customerservice@xantrex.com
Web: www.xantrex.com
Page 5

About This Manual
Purpose
The purpose of this Owner’s Manual is to provide explanat ion s an d
procedures for installing and configuring the GT100E Wireless Modem
Option.
Scope
The Manual provides safety guidelines, procedures for installing the
GT100E Wireless Modem Option, as well as information about
configuring the modem. It does not provide details about the GT100E
Grid Tie Inverter. You need to consult the GT100E Grid Tie Inverter
Installation Manual and GT100E Grid Tie Inverter Operation and
Installation Manual for this information.
Audience
The Manual is intended for anyone who needs to install and operate the
GT100E Wireless Modem Option. Installers should be certified
technicians or electricians.
Organization
This Manual is organized into three chapters:
Chapter 1, “Introduction”, Chapter 1 contains a description of the
Wireless Modem and lists the specifications and requirements needed to
use it.
Chapter 2, “Installation”, Chapter 2 contains procedures on how to deenergize the GT100E, remove the old telephone modem, install the new
Wireless Modem and re-energize the GT100E.
Chapter 3, “Configuration”, Chapter 3 describes how to configure the
Wireless Modem to establish communication with the GT100E and how
to set-up fault notification via the Xantrex Solar GUI.
iii
Page 6
About This Manual
Conventions Used
The following conventions are used in this guide.
WARNING
Warnings identify conditions or practices that could result in personal injury or
loss of life
CAUTION
Cautions identify conditions or practices that could result in damage to the unit or
other equipment.
Important:
but not as serious as a caution or warning.
These notes describe things which are important for you to know,
Abbreviations and Acronyms
GSM - Global System for Mobile Communication
Related Information
You can find more information about Xantrex Technology Inc. as well as
its products and services at www.xantrex.com
iv 152524
Page 7

Important Safety Instructions
WARNING
This chapter contains important safety and operating instructions. Read and keep
this Owner’s Manual for future reference.
1. Before installing and using the GT100E Wireless Modem Option,
read all instructions and cautionary markings on the G T100E W ireless
Modem Option, GT100E Grid Tie Inverter, and all appropriate
sections of this manual.
2. Use only attachments recommended or sold by the manufacturer.
Doing otherwise may result in a risk of fire, electric shock, or injury
to persons.
3. To avoid a risk of fire and electric shock, make sure that existing
wiring is in good condition and that wire is not undersized. Do not
operate the GT100E Wireless Modem Option with damaged or
substandard wiring.
4. Do not operate the GT100E W irele ss Modem Option if it has received
a sharp blow, been dropped, or otherwise damaged in any way. If the
GT100E Wireless Modem Option is damaged, see the Warranty
section.
5. Do not disassemble the GT100E Wireless Modem Option. It contains
no user-serviceable parts. See Warranty for instructions on obtaining
service. Attempting to service the GT100E Wireless Modem Option
yourself may result in a risk of electrical shock or fire. Internal
capacitors remain charged after all power is disconnected.
6. To reduce the risk of electrical shock, disconnect both AC and DC
power from the GT100E Grid Tie Inverter before attempting any
maintenance or cleaning or working on any circuits connected to the
GT100E Wireless Modem Option. Turning off controls will not
reduce this risk.
v
Page 8

vi
Page 9

Contents
Important Safety Instructions
1
Introduction
Description of the Wireless Modem- - - - - - - - - - - - - - - - - - - - - - - - - - - - - - - - - - 1–2
Data Communication Specifications - - - - - - - - - - - - - - - - - - - - - - - - - - - - - - - - - 1–2
Interface Requirements - - - - - - - - - - - - - - - - - - - - - - - - - - - - - - - - - - - - - - - 1–2
GUI Requirements - - - - - - - - - - - - - - - - - - - - - - - - - - - - - - - - - - - - - - - - - - 1–2
2
Installation
Equipment Required - - - - - - - - - - - - - - - - - - - - - - - - - - - - - - - - - - - - - - - - - - - - 2–2
Isolation Procedure - - - - - - - - - - - - - - - - - - - - - - - - - - - - - - - - - - - - - - - - - - - - - 2–2
Removing the Telephone Modem - - - - - - - - - - - - - - - - - - - - - - - - - - - - - - - - - - - 2–3
Installing the Wireless Modem - - - - - - - - - - - - - - - - - - - - - - - - - - - - - - - - - - - - - 2–4
Turn-On Procedure - - - - - - - - - - - - - - - - - - - - - - - - - - - - - - - - - - - - - - - - - - - - - 2–7
3
Configuration
Configuring the Wireless Modem - - - - - - - - - - - - - - - - - - - - - - - - - - - - - - - - - - -3–2
Warranty and Return Information
- - - - - - - - - - - - - - - - - - - - - - - - - - - - - - - - - - -v
- - - - - - - - - - - - - - - - - - - - - - - - - - -WA–1
152524 vii
Page 10

viii
Page 11

Figures
Figure 2-1 Removing the Telephone Modem - - - - - - - - - - - - - - - - - - - - - - - - - - - 2–3
Figure 2-2 Installing Mounting Clips to the Wireless Modem - - - - - - - - - - - - - - - - 2–4
Figure 2-3 Installing the Wireless Modem to the GT100E- - - - - - - - - - - - - - - - - - - 2–4
Figure 2-4 Installing the Power Supply into the Bracket - - - - - - - - - - - - - - - - - - - - 2–5
Figure 2-5 DC Cord Looped Through Toroid - - - - - - - - - - - - - - - - - - - - - - - - - - - 2–5
Figure 2-6 Finished Configuration- - - - - - - - - - - - - - - - - - - - - - - - - - - - - - - - - - - 2–6
Figure 3-1 Fault Notification Set-up - - - - - - - - - - - - - - - - - - - - - - - - - - - - - - - - - 3–2
152524 ix
Page 12

x
Page 13

1
Introduction
Chapter 1 contains a description of the Wireless
Modem and lists the specifications and requirements
needed to use it.
Page 14

Introduction
Description of the Wireless Modem
The Wireless Modem is an option for the GT100E Grid Tie Inverter. The
Wireless Modem will provide remote access to the GT100E through the
GSM cellular network. The customer will have the ability to control and
monitor the status of the inverter through this connection. Wireless
Modem also has the ability to notify the customer that a fault has occurred
on the inverter.
Data Communication Specifications
All methods of data communications with the GT100E unit – landline
modem, Wireless modem, FAX modem, and LAN interface – are
interchangeable.
Application of the GT100E modem in a manner inconsiste nt with these
specifications may cause the modem to have improper functionality.
Interface Requirements
Customer is responsible for acquiring a Provider of GSM network
wireless modem service configured for Circuit Switch Data. The Provider
will issue a SIM card to be installed into the modem, to enable service.
GUI Requirements
Xantrex Solar GUI Software Revision: 2.0.0 or higher
1–2 152524
Page 15

2
Installation
Chapter 2 contains procedures on how to de-energize
the GT100E, remove the old telephone modem, install
the new Wireless Modem and re-ener gize the GT100E.
Page 16

Installation
Equipment Required
• Metric hex wrench set
• Philips Screwdriver
Isolation Procedure
Use the following procedure to de-energize the GT100E for
maintenance:
1. Turn the ON/OFF switch to the OFF position.
2. Place the Emergency switch in the active position (push in).
3. Open the AC disconnect switch.
4. Open, lockout, and tag the PV input circuit breaker at the PV array.
5. Open, lockout, and tag the AC Grid power circuit breaker at the Grid
transformer.
WARNING: Shock hazard
The terminals of the PV input may be energized if the arrays are energized. In
addition, allow 5 minutes for all capacitors within the enclosure to discharge after
disconnecting the GT100E Grid Tie Inverter from AC and DC sources.
2–2 152524
Page 17

Removing the Telephone Modem
Use the following proced ur e to remove the existing telephone modem:
1. Remove the two M5 screws mounting the modem bracket to the
panel. Remove the bracket.
Removing the Telephone Modem
Important:
Modem.
Keep the M5 hardware; it will be used to reinstall the Wireless
2. Disconnect the D-sub connector P13 from the modem.
3. Disconnect the telephone line from the modem.
4. Disconnect the modem power supply from the modem.
5. Disconnect the AC power cord from the power supply.
6. Remove the modem and power supply from the GT100E.
AC Power Cord
Telephone Cord
P13 DSUB
Connector
Modem Power
Supply
Modem Bracket
M5 Screws
Figure 2-1
152524 2–3
Removing the Telephone Modem
Page 18

Installation
Installing the Wireless Modem
Use the following procedure to install the new Wireless Modem:
1. Install the SIM card, from your GSM provider, into the modem. You
must first pull out the rubber cover of the SIM bay. Replace the
rubber cover after installation.
2. Install the mounting clips onto the wireless modem, see Figure 2-2.
3. Install the antenna onto the SMA connector.
Antenna
Mounting Clips
Figure 2-2
4. Install the Wireless Modem onto the GT100E panel using the M5
hardware, see Figure 2-3.
Figure 2-3
5. Insert the power supply into the power supply bracket, see Figure 2-4.
6. Connect the power supply to the unit's AC power cord.
2–4 152524
Installing Mounting Clips to the Wireless Modem
Installing the Wireless Modem to the GT100E
Page 19

AC Power Cord
Power Supply
Bracket
Power Supply
Installing the Wireless Modem
Figure 2-4
Installing the Power Supply into the Bracket
7. Loop the DC cord from the power supply through the toroid 2-3
times, see Figure 2-5.
Figure 2-5
DC Cord Looped Through Toroid
8. Connect the DC cord to the Wireless Modem, see Figure 2-6.
9. Connect the Wireless Modem Interface cable (1-152522-01) J1 3 to
the GT 100E's P13 connector.
152524 2–5
Page 20

Installation
10. Connect the RS232 connector of the modem cable (supplied with
modem) to the Wireless Modem Interface cable connector 'to
modem'.
11. Connect the Wireless connector of the modem cable to the modem.
Interface Cable
(1-152522-01)
Modem Cable
Power Supply Wireless Modem Toroid
Figure 2-6
2–6 152524
Finished Configuration
DC Power Cord
Page 21

Turn-On Procedure
Use the following procedure to turn on the GT100E:
1. Remove any lockout devices from the PV and utility grid circuit
breakers.
2. Close the PV and utility grid circuit breakers.
3. Close the AC disconnect switch.
4. Turn the on/off switch to the on position.
5. Disengage (pull out) the Emergency Stop switch.
After a 15 second initialization period and a 5 minute wake up period,
the GT100E will automatically begin power tracking, given the PV
voltage is greater than the PV start voltage setpoint.
Turn-On Procedure
152524 2–7
Page 22

2–8
Page 23

3
Configuration
Chapter 3 describes how to configure the Wireless
Modem to establish communication with the GT100E
and how to set-up fault notification via the Xantrex
Solar GUI.
Page 24

Configuration
Configuring the Wireless Modem
The Wireless Modem can be configured through the Xantrex Solar GUI
software.
You can establish remote or local communication with the G T100E, using
the Xantrex Solar GUI software.
Use the following procedure to set-up Fault notification for a W ireless
Modem interface:
1. From the Xantrex Solar GUI main page, click Tools
2. Click Inverter Data
3. Click Connection
4. Click Telephone Fault Configuration
Figure 3-1
Important:
calling.
Refer to the GUI Help menu for complete configuration instructions.
3–2 152524
Fault Notification Set-up
Your GSM provider may require the area code, even for local
Page 25

Warranty and Product Information
Limited Warranty
1.1 What does this warranty cover and how long does it last?
This Limited Warranty is provided by Xantrex Technology Inc. ("Xantrex") and covers defects in
quality in workmanship and materials ("Defects") in your GT100E Wireless Modem Option. This
warranty lasts for a period of Warranty period (the "Warranty Period") from the date of commissioning
indicated on the product warranty registration form submitted to Xantrex. .
1.2 What will Xantrex do?
If there is a Defect, Xantrex will repair or replace the defective product free of charge, provided that:
a. you have followed the procedure at 1.3 and not been able to get a remedy from the system integra-
tor of the product;
b) you notify Xantrex, without undue delay, of the Defect within the Warranty Period; and
c) Xantrex, through inspection, troubl eshooting, or other means establishes the existence of a Defect
that it is covered by this Limited Warranty.
Xantrex will, at its option, use new and/or reconditioned parts in performing warranty repair and
building replacement products. Xantrex reserves the right to use parts or products of original or
improved design in the repair or replacement. If Xantrex repairs or replaces a product, the warranty is
suspended during the repair or replacement and continues for the remaining portion of the original
Warranty Period or 90 days from the date of the completed repair activity, whichever is greater. All
replaced products and all parts removed from repaired products become the property of Xantrex.
Xantrex covers both parts and labour necessary to repair the product. If the product was sold in Spain,
Xantrex will cover costs via a Xantrex-selected non-expedited surface freight and packing.
1.3 How do you get service?
If you are unable to contact your system integrator. If the system integrator is unable to provide service,
contact Xantrex directly at the following numbers:
GERMANY
Telephone: 49 0180 2240400
Fax: 49 (0) 7531 8199868
Email GTsupport.Germany@xantrex.com
SPAIN
Telephone: 34 935 560 976
Fax: 34 934 736 093
Email GTsupport.Spain@xantrex.com
152524 WA–1
Page 26

Warranty and Return
1.4 What does this warranty not cover?
This Limited Warranty does not cover normal wear and tear of the product or costs associated with
replacing consumable items such as like air filter, fuses, arrestors etc. A shorter than normal life during
the Warranty Period caused by excessive use, or incorrect use not considered a Defect. Please consult
your Owner’s Manual to determine the proper use of the product.
This warranty does not apply to and Xantrex will not be responsible for any damage to the product:
a. if it has not been used in accordance with the Owner’s Manual supplied with the product, if it has
been damaged during shipping, mishandled, neglected, improperly installed, physical ly damaged
or altered (either internally or externally) or damaged from improper use or use in an unsuitable
environment;
b) if it has been subjected to fire, water, generalized corrosion, biological infestations, or input voltage
that creates operating conditions beyond the maximum or minimum limits listed in the Xan trex
product specifications including high input voltage from generators and lightning st rik e s;
c) if repairs have been done to it other than by Xantrex or an Authorized Service Center;
d) if it is used as a component part of a product expressly warranted by another manufacturer; and
e) if its original identification (trade-mark, serial number) markings have been defaced, altered, or
removed.
1.5 Exclusions
This Limited Warranty is the sole and exclusive warranty provided by Xantrex in connection with your
Xantrex product and is, where permitted by law, in lieu of all other warranties, conditions, guarantees,
representations, obligations and liabilities, express or implied, statutory or otherwise in connection with
the product, however arising (whether by contract, tort, negligence, principles of manufacturer's
liability, operation of law, conduct, statemen t or otherwise) including without restriction any implied
warranty or condition of quality, merchantability or fitness for a particular purpose. Any implied
warranty of merchantability or fitness for a particular purpose to the extent required under applicable
law to apply to the product shall, where permitted by law, be limited in duration to the period stipulated
under this Limited Warranty.
In no event will Xantrex be liable for any special, indirect, incidental or consequential damages, losses,
costs or expenses however arising whether in contract or tort including, without restriction, any
economic losses of any kind, any loss or damage to property, or any damage or injury arising from or as
a result of misuse or abuse or the incorrect installation, integration or operation of the product.
1.6 Limitations on Exclusions
This Limited Warranty does not affect your rights as prescribed by law and as established in the Law on
Warranties for Consumer Goods (Spain) or the German Civil Code ("BGB"). In Germany, the legal
provisions regarding suspension or expiration ("Ablaufhemmung"), suspension ("Hemmung") and
recommencement of limitation periods remains unaffected.
Some countries do not allow limitations or exclusions on implied warranties or on the duration of an
implied warranty or on the limitation or exclusion of incidental or consequential damages, so the above
limitation(s) or exclusion(s) may not apply to you.
For example, in Germany, the exclusion at 1.5 shall not apply in the case of mandatory liability, i.e.
under the German Product Liability Act ("Produkthaftungsgesetz") or in the case of intent, gross
negligence, and injury of life, body or health, or breach of a condition which goes to the root of the
contract ("wesentliche Vertragspflichten"). However, claims for damages arising from a breach of a
condition which goes to the root of the contract shall be limited to the foreseeable damage which is
intrinsic to the contract, unless caused by intent or gross negligence or based on liability for injury of
life, body or health. The exclusion at 1.5 in Germany also does not imply a change in the burden of
proof to your detriment.
WA–2 152524
Page 27

Warranty and Return
1.7 Exclusion for Documentation
Without limiting the generality of the foregoing, unless specifically agreed to by it in writing, Xantrex:
a. makes no warranty as to the accuracy, sufficiency or suitability of any technical or other informa-
tion provided in manuals or other documentation provided by it in connection with the product; and
b) assumes no responsibility or liability for losses, damages, costs or expenses, whether special,
direct, indirect, consequential or incidental, which might arise out of the use of such information.
The use of any such information will be entirely at the user's risk.
1.8 WARNING: LIMITATIONS ON USE
Please refer to your Owner’s Manual for limitations on uses of the product. Specifically, please note that
the GT100E Wireless Modem Option is not intended for use in connection with life support systems or
other medical equipment or devices and Xantrex makes no representation or warranty in connection
with any use of the product for such purposes.
Xantrex Technology Inc.
8999 Nelson Way
Burnaby, British Columbia
Canada
V5A 4B5
Out of Warranty Service
If the warranty period for your GT100E Wireless Modem Option has expired, if the unit was damaged
by misuse or incorrect installation, if other conditions of the warranty have not been met, or if no dated
proof of purchase is available, your unit may be serviced, repaired or replaced for applicable charges.
152524 WA–3
Page 28

WA–4
Page 29

Page 30

Xantrex Technology Inc.
1 800 670 0707 Tel toll free NA
1 360 925 5097 Tel direct
1 800 994 7828 Fax toll free NA
1 360 925 5143 Fax direct
customerservice@xantrex.com
www.xantrex.com
152524
Printed in USA
 Loading...