

Whirlpool ADG 986 FD WP, PDSX 6232/1 PROGRAM CHART
How to use the appliance
Further indications are given in the single chapters and in the user instructions.
Open the door,
switch on the appliance
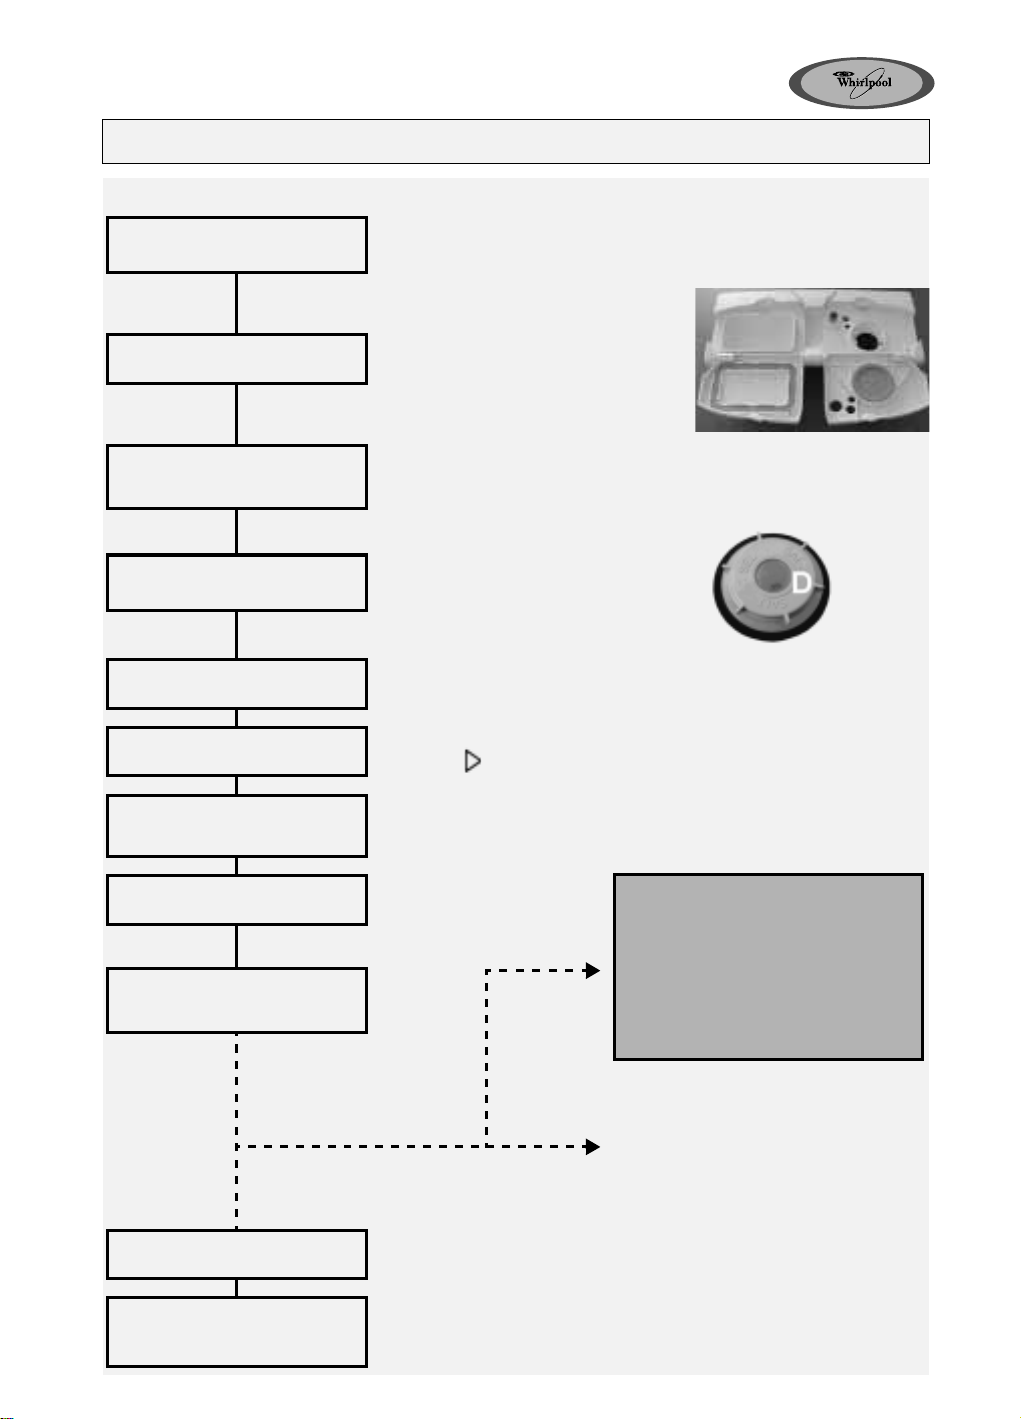
How to fill the
detergent dispenser
Check the rinse aid level
Check the regeneration
salt level
Load the racks
Select a programme
Press the ON button.
Compartment
With each wash cycle.
Compartment
For programmes with pre-wash only.
If using combined action dishwasher
tabs, follow the user instructions!
Mechanical indicator C.
Electric indicator on control panel (if provided).
On models with water softener
system only.
Mechanical indicator D. Electric
indicator on control panel (if provided).
Refer to the dishwasher loading instructions.
The display shows the last programme selected.
Press P or until the selected programme lights up.
A:
B:
ABC
Select options
Press the Start button
Turn on the water tap
close the dishwasher door
Wash cycle
Switch off the appliance
Turn off the water tap,
unload the racks
If necessary (and if provided) the corresponding indicator lamp lights up.
The selected programme is
then memorised (even in the
event of power failure).
At the end of the programme an acoustic signal will sound and
appear on the display. Once the
all the indicator lights will switch off.
Warning: when the door is opened steam comes out!
Unload the appliance, starting from the lower rack.
“Change programme in progress”
1. Press the “Reset” button.
2. Automatic drai ni ng approx. 30 sec.
3. Select a new programme.
4. Select the desired options again (except
“Set detergent” - if provided and “Water
hardness setting”).
5. Start the dishwasher again by pressing the
Start button.
- Only open the dishwasher if necessary
(Warning: beware of hot steam).
- If the appliance is switched off during a
wash cycle, when switched on again it
will resume the cycle from where it was
interrupted.
will
button has switched off: press
Start
“End”
OFF
,
Dishwasher loading instructions and racks provided
depending on the model
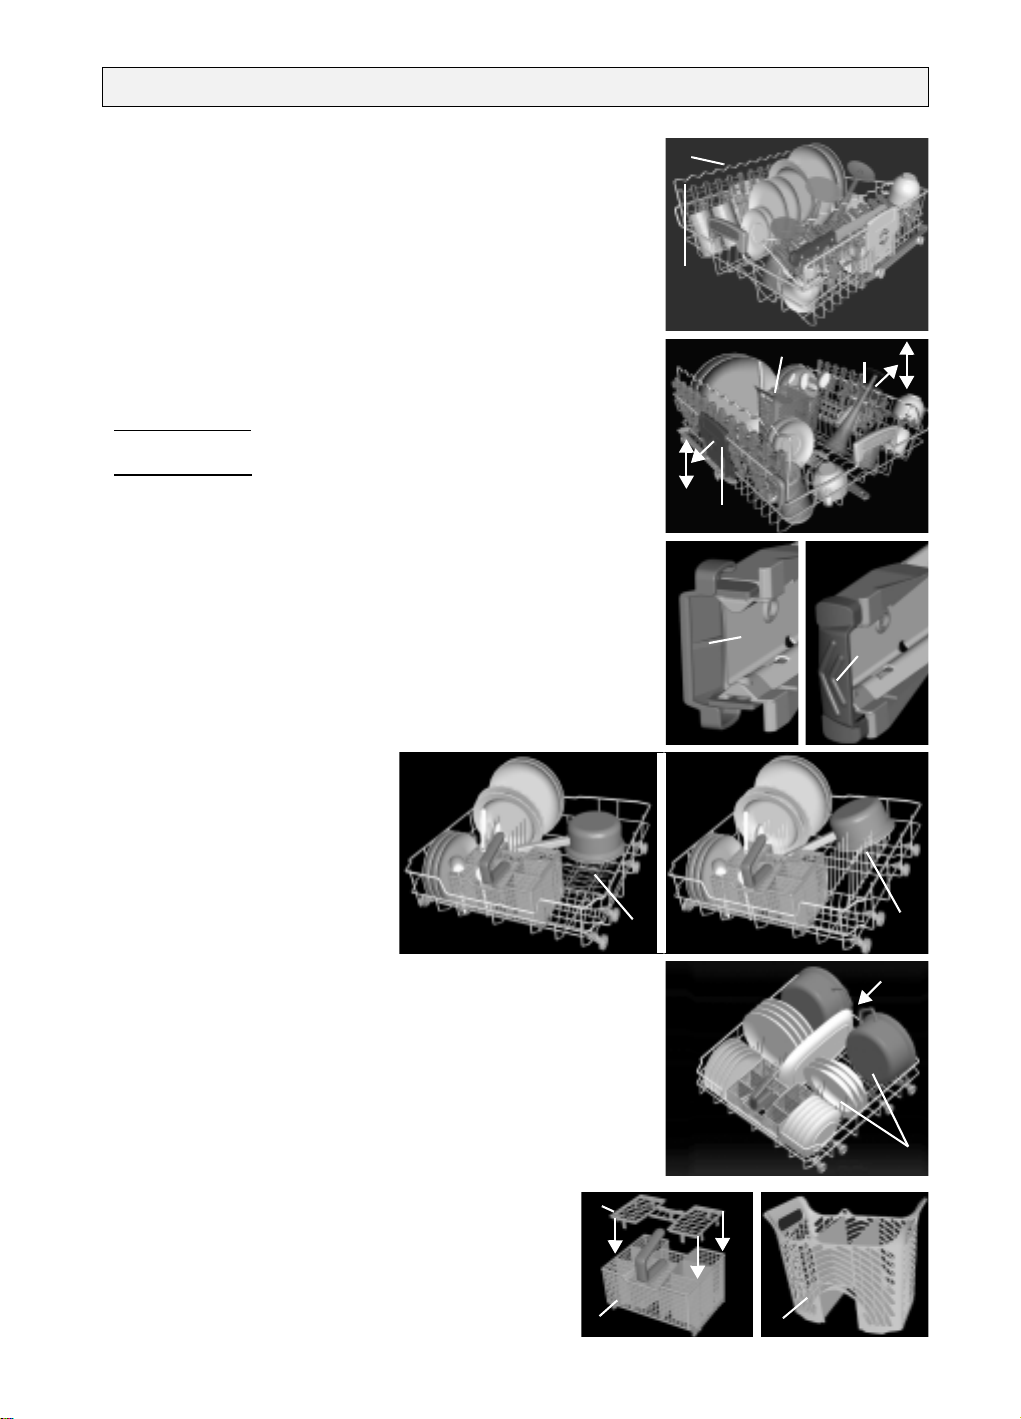
Upper rack:
Crockery holder (A):
Depending on the position, for long-handles utensils, cups and
plates.
Glass holder (B):
Long-stemmed glasses.
Long-handled utensils (e.g. carving forks, knives) must
be arranged with the sharp end facing in towards the
appliance.
Half Load:
Load the upper rack (see description of Options). Place the
cutlery basket (C), if provided, in the upper rack.
Rack height adjustment (also when loaded):
Lower adjustment:
Upper adjustment:
The rack must be level on both sides.
Removing the top rack to provide clearance for large
items of crockery in the bottom rack:
Open the rack guide retainers (E) on the right and left and
remove the top rack.
When the upper rack is in place the retainers must always be
closed.
Pull the
outwards and lower the rack.
Pull the
upwards until the rack clicks
into place (factory setting).
rack handles (D)
two
rack handles (D)
two
B
A
C
D
D
Retainer
open
E
Retainer
closed
E
Lower rack:
Depending on the model with
fixed, tilting (F) or tilting split
plate holders (G).
Half Load:
Load the lower rack (see
description of Options).
Greater washing power,
particularly for plates and
saucepans.
F
F
H
Power Clean load
Increased wash power in the dedicated area (H) and high
flexibility for lower rack loading.
G
Cutlery basket (I):
Grid (J) to keep items separate.
Sharp knives and forks that might cause injury must be
placed in the cutlery basket with the sharp end facing
downwards.
Only use dishwasher-proof crockery and dishes. Do not use the appliance for items not suitable for washing in a
dishwasher, for example wooden items, aluminium, tin, hand-decorated crockery (unglazed), silver cutlery.
J
I
C
 Loading...